The Virginia Secretary of State business entity search puts users in touch with the business entity’s information they seek. This query tool can search the state’s entity database using just a partial name while providing additional search options. Once visitors find the target, they can access its information through the query’s result tables.
Business Name Availability Check
State of Virginia

Business Entity Search
Step 1. Access the Virginia Business Entity Search Tool
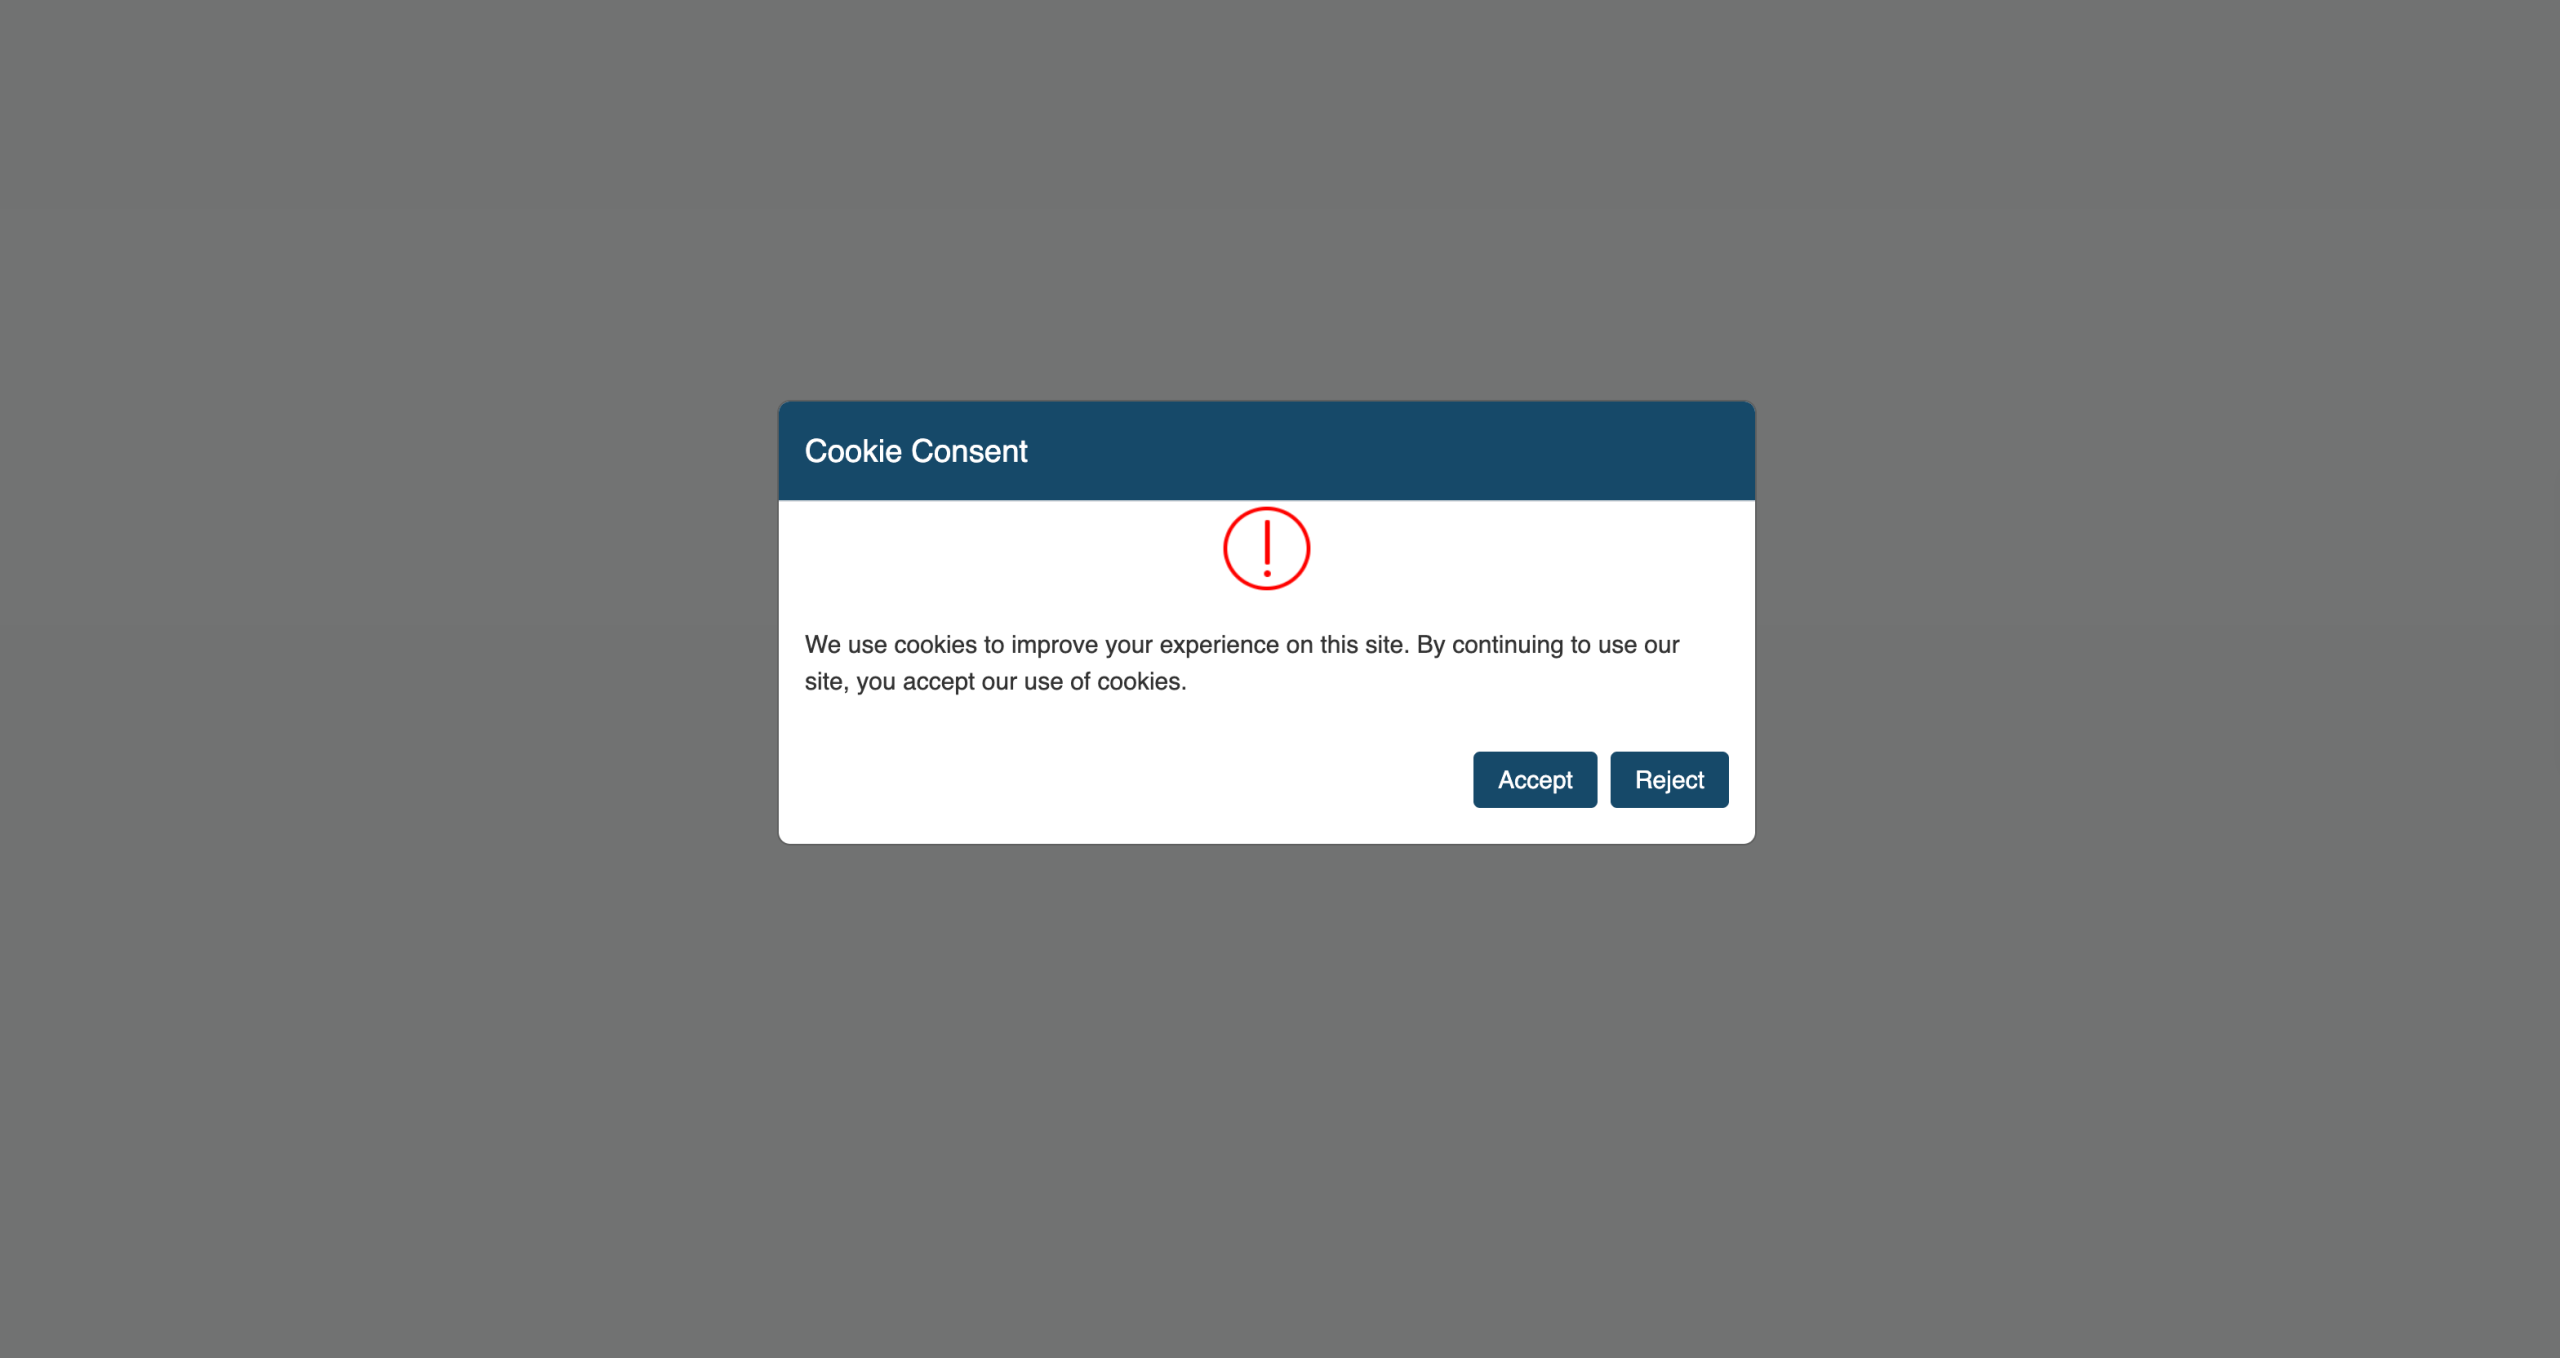
Visit the Secretary of State’s business entity search page. Notice this page specifically requests you accept cookies to function (see image) before allowing the browser to open it.
Step 2. Organize Your References and Assess the Page Options
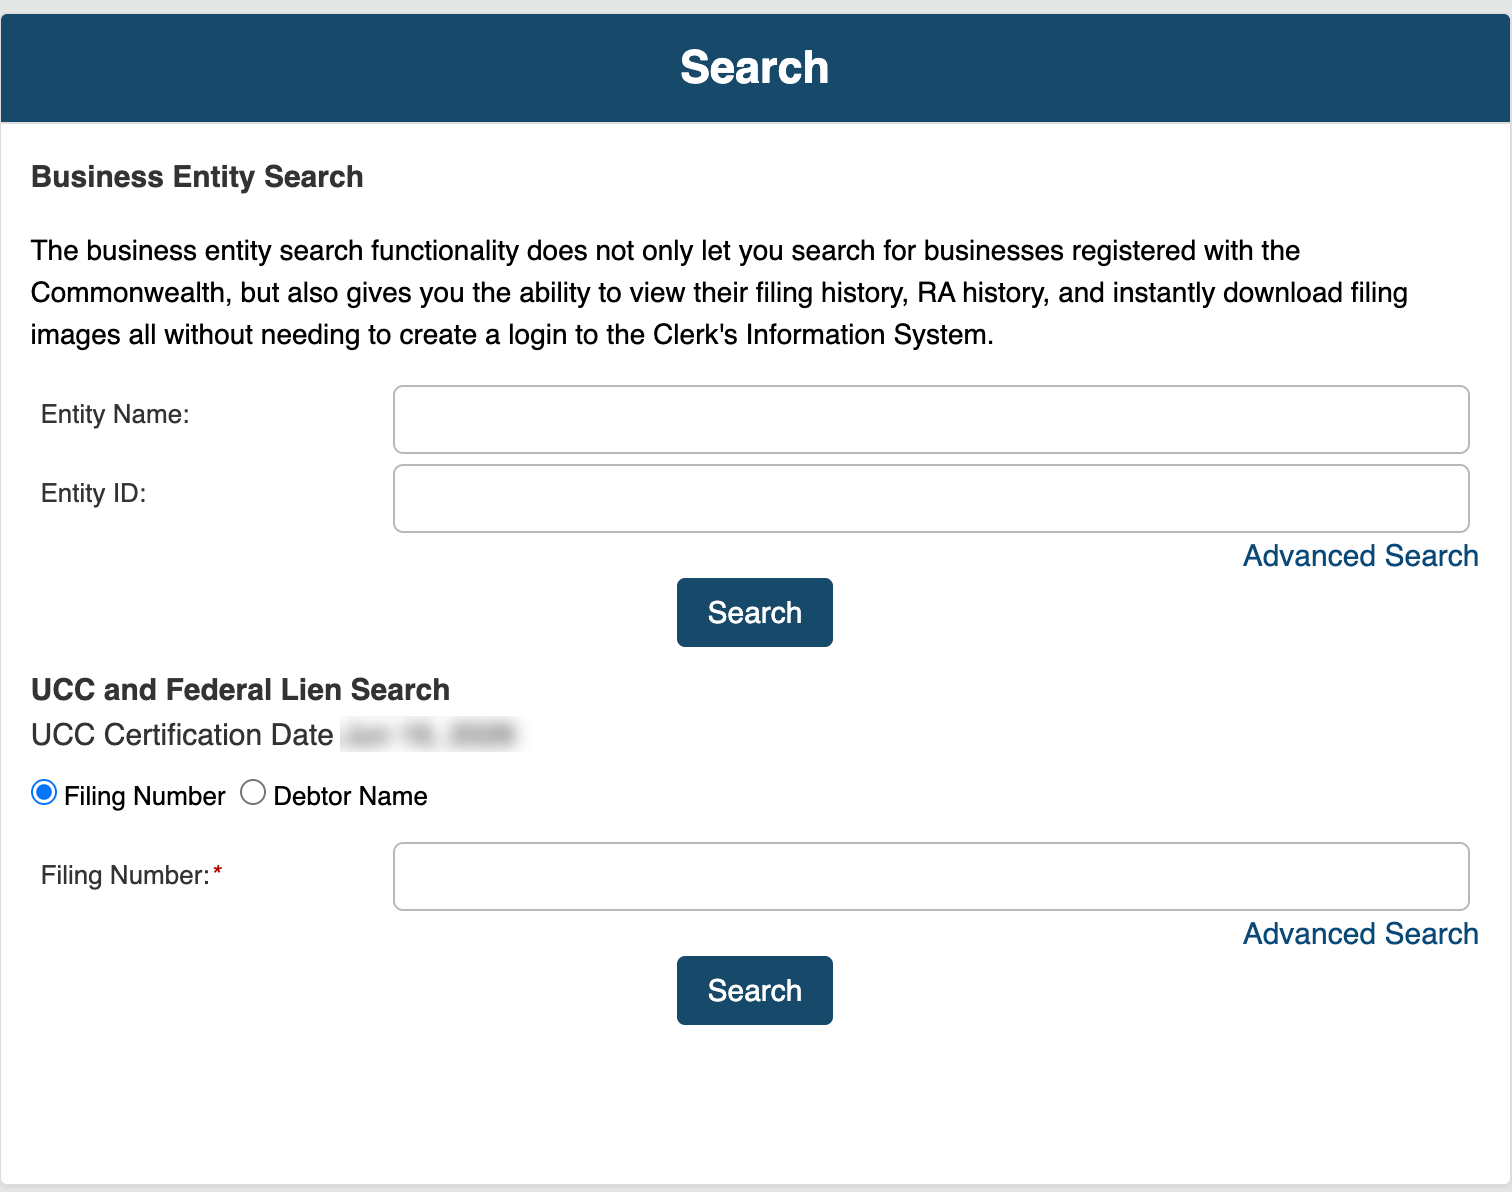
Review your search options once your references are ready. While there are a few query types to choose from, we shall conduct a name-based query.
- Business Entity Search
- Entity Name
- Entity ID
- Advanced Search
- Search
- UCC and Federal Lien Search
- Filing Number
- Debtor Name
- Filing Number
- Advanced Search
- Search
Step 3. Produce a Business Name or Search Phrase
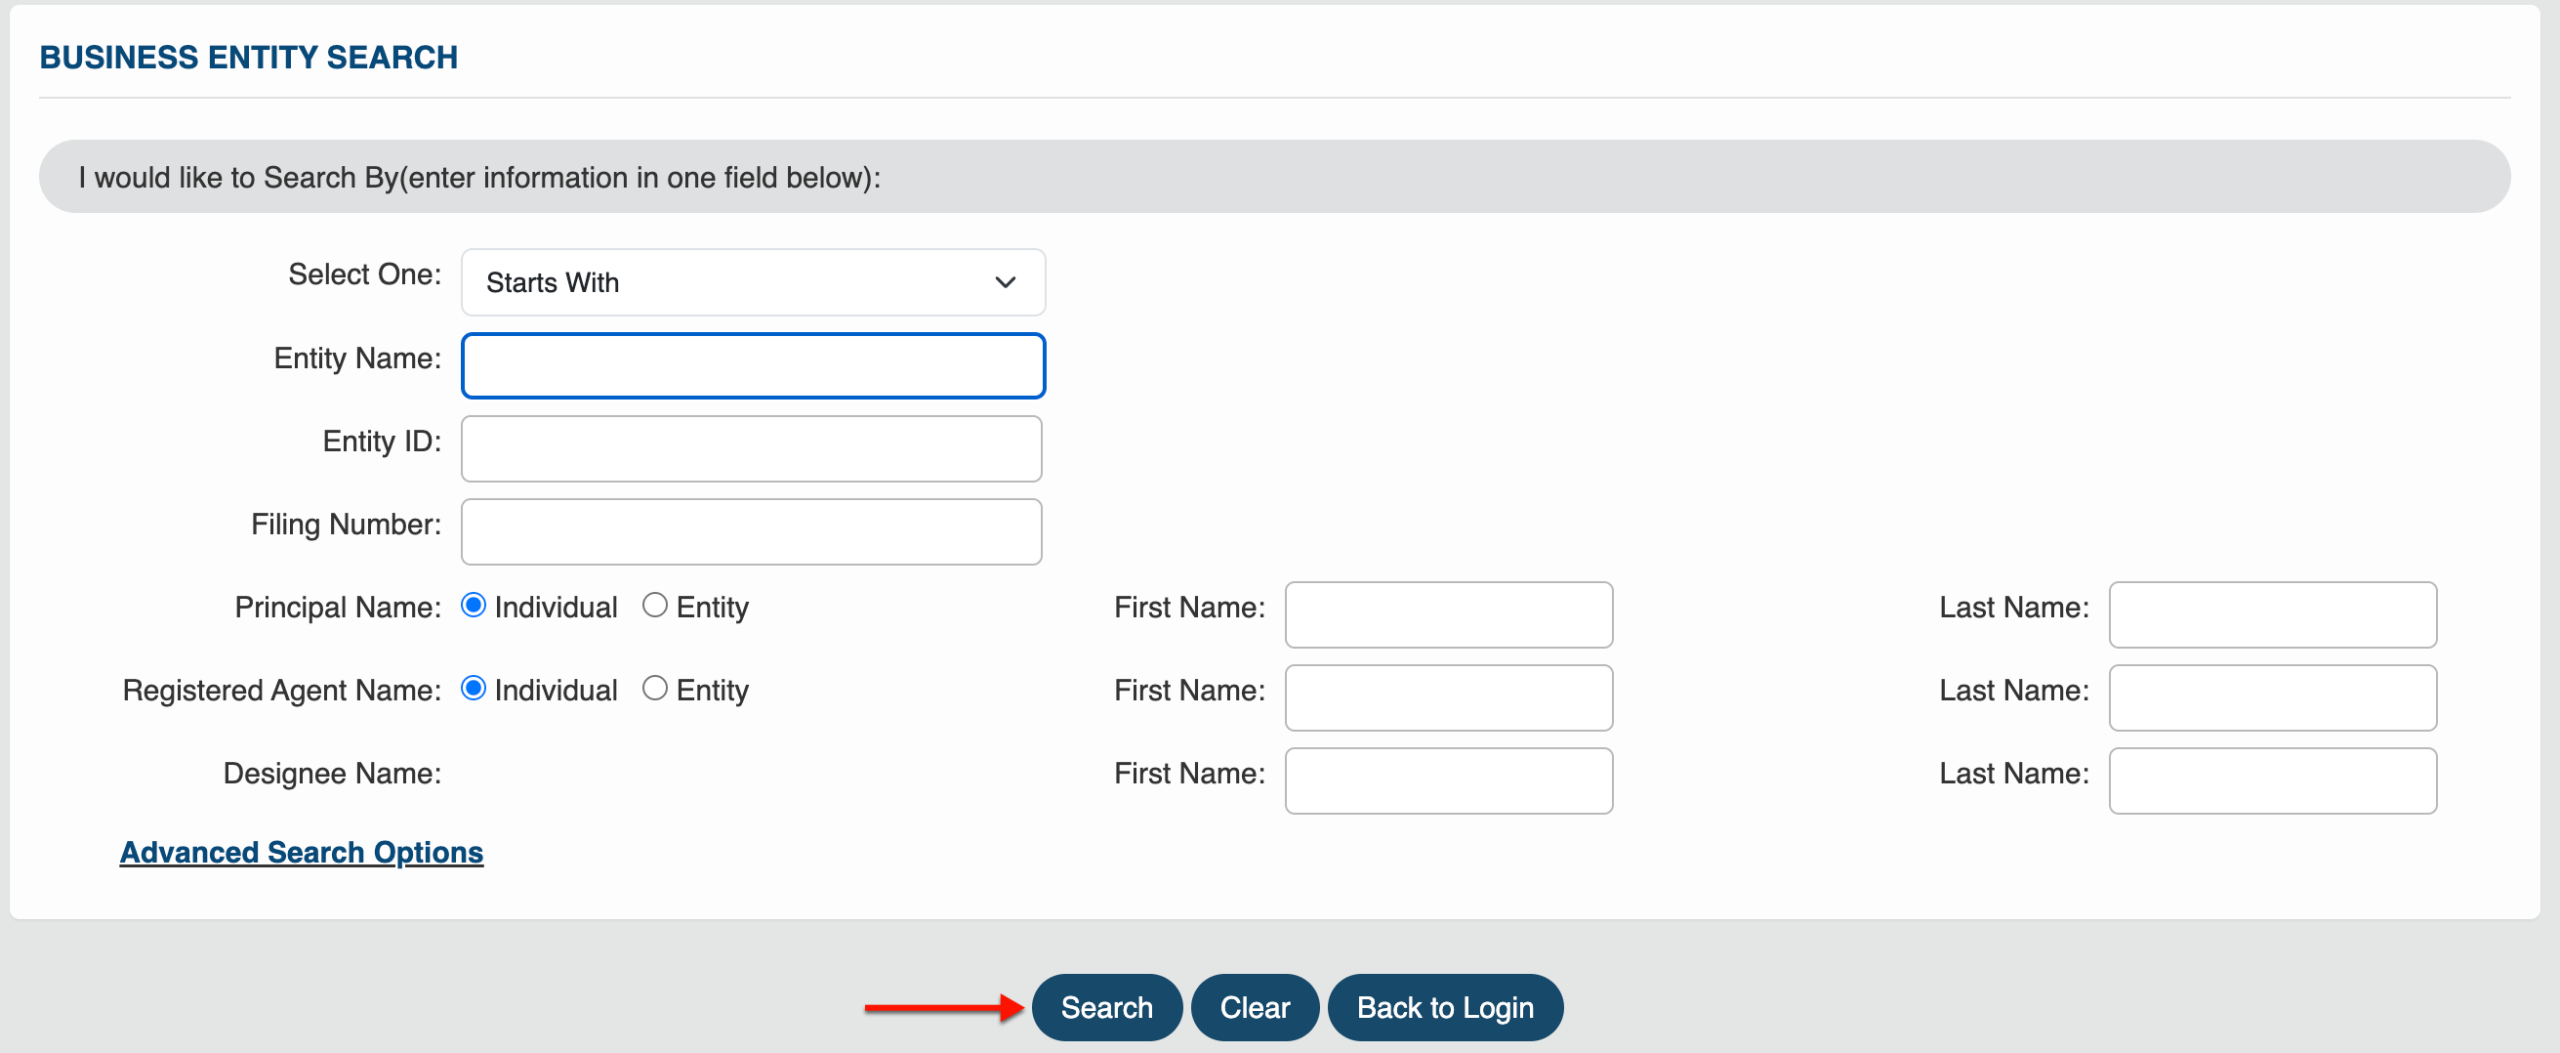
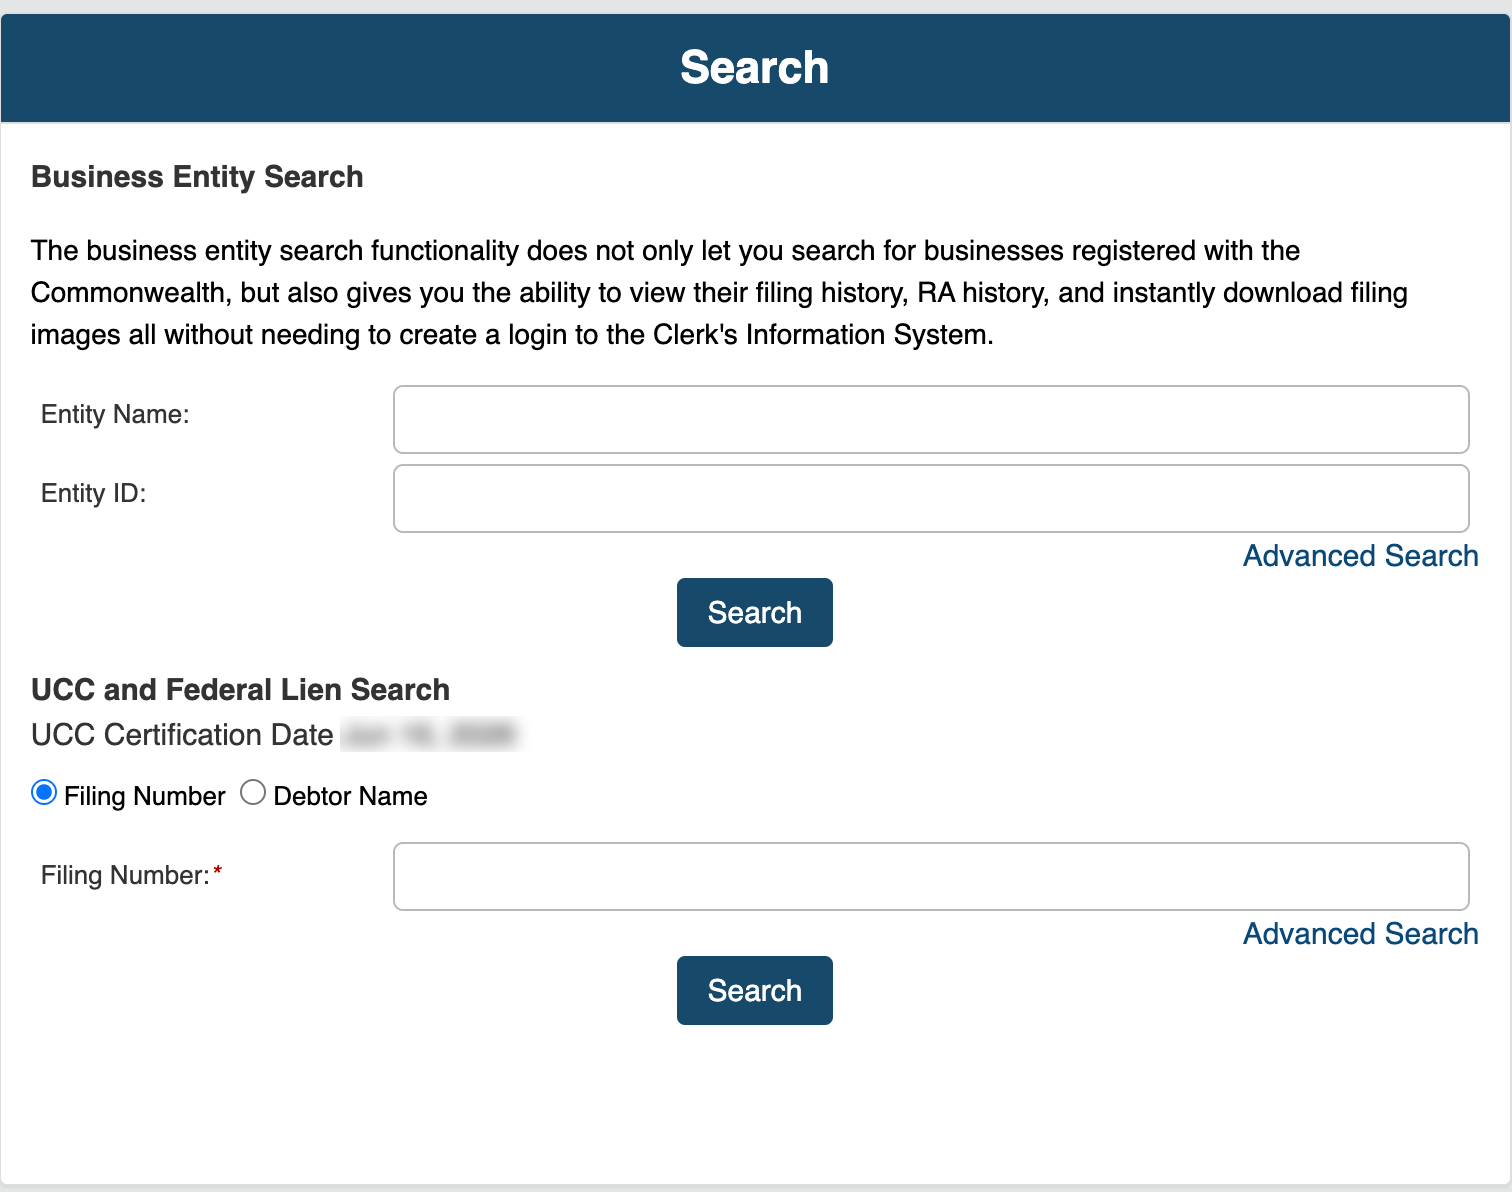
Supply a search phrase in the “Entity Name” box. Use specific wording if possible, since this is the only requirement for a basic search.
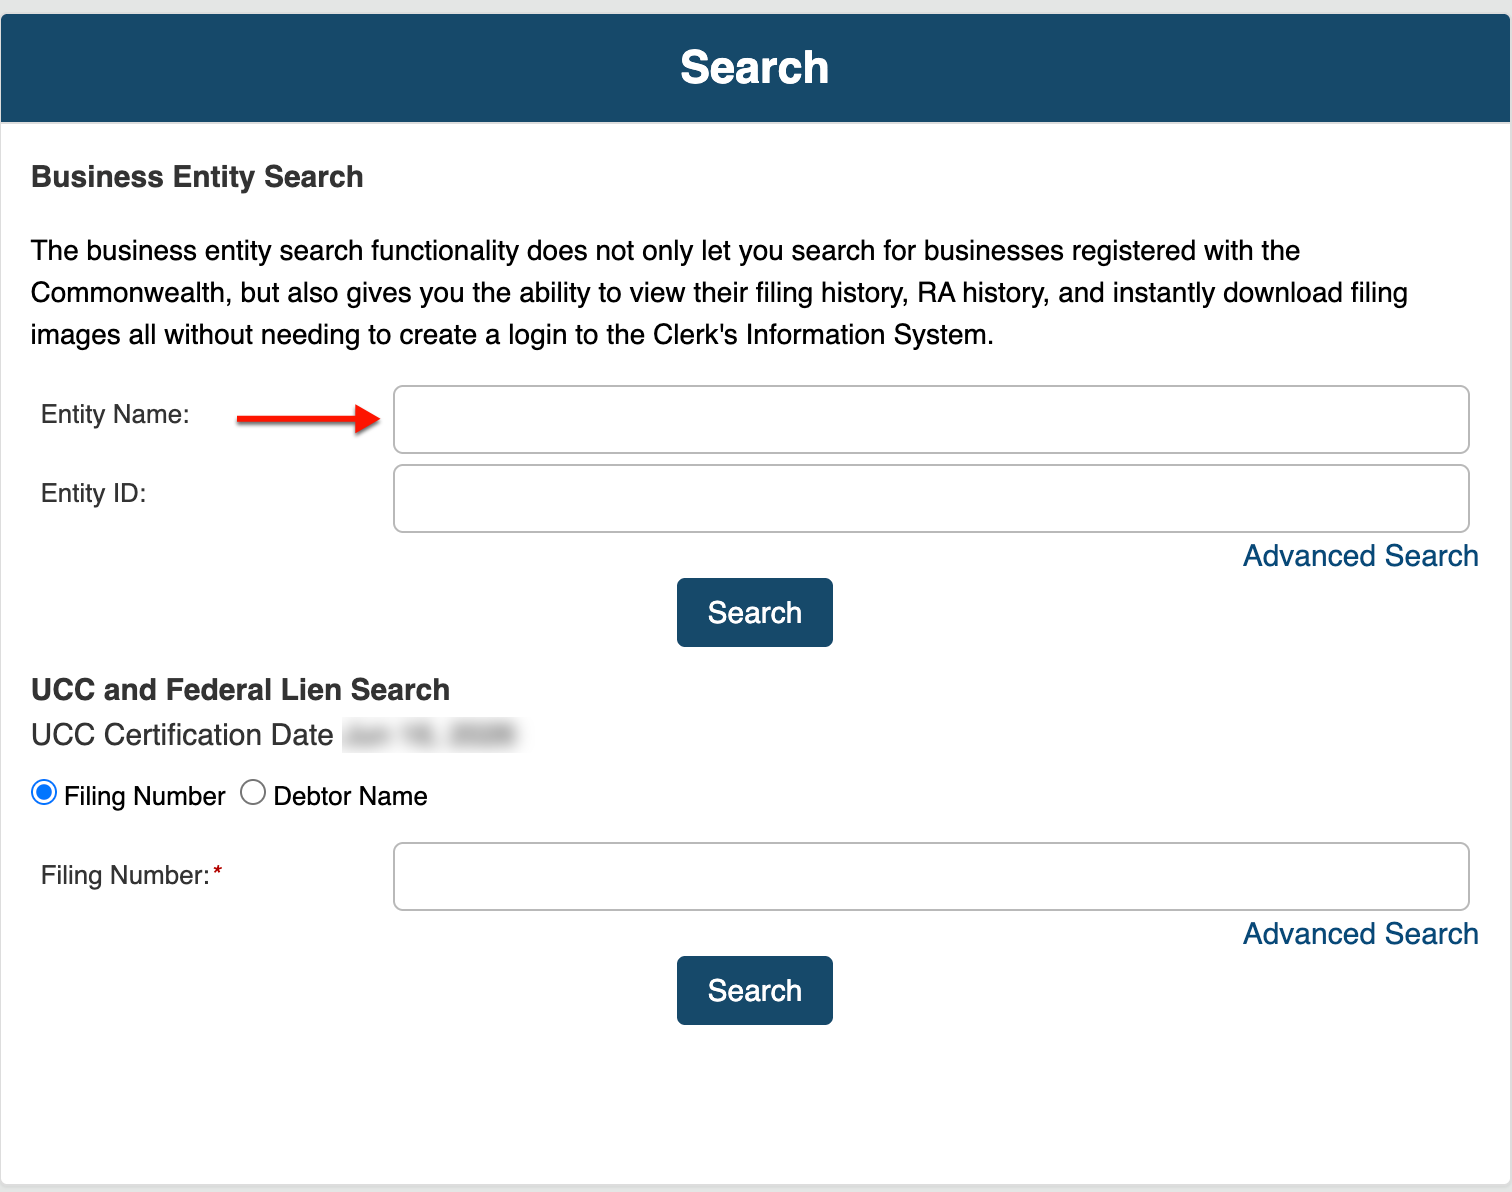
Step 4. Run the Basic Search
Next, use the mouse to select “Search,” then go to Step 24. Optionally, to place additional requirements on your current search criteria, continue to Step 4.
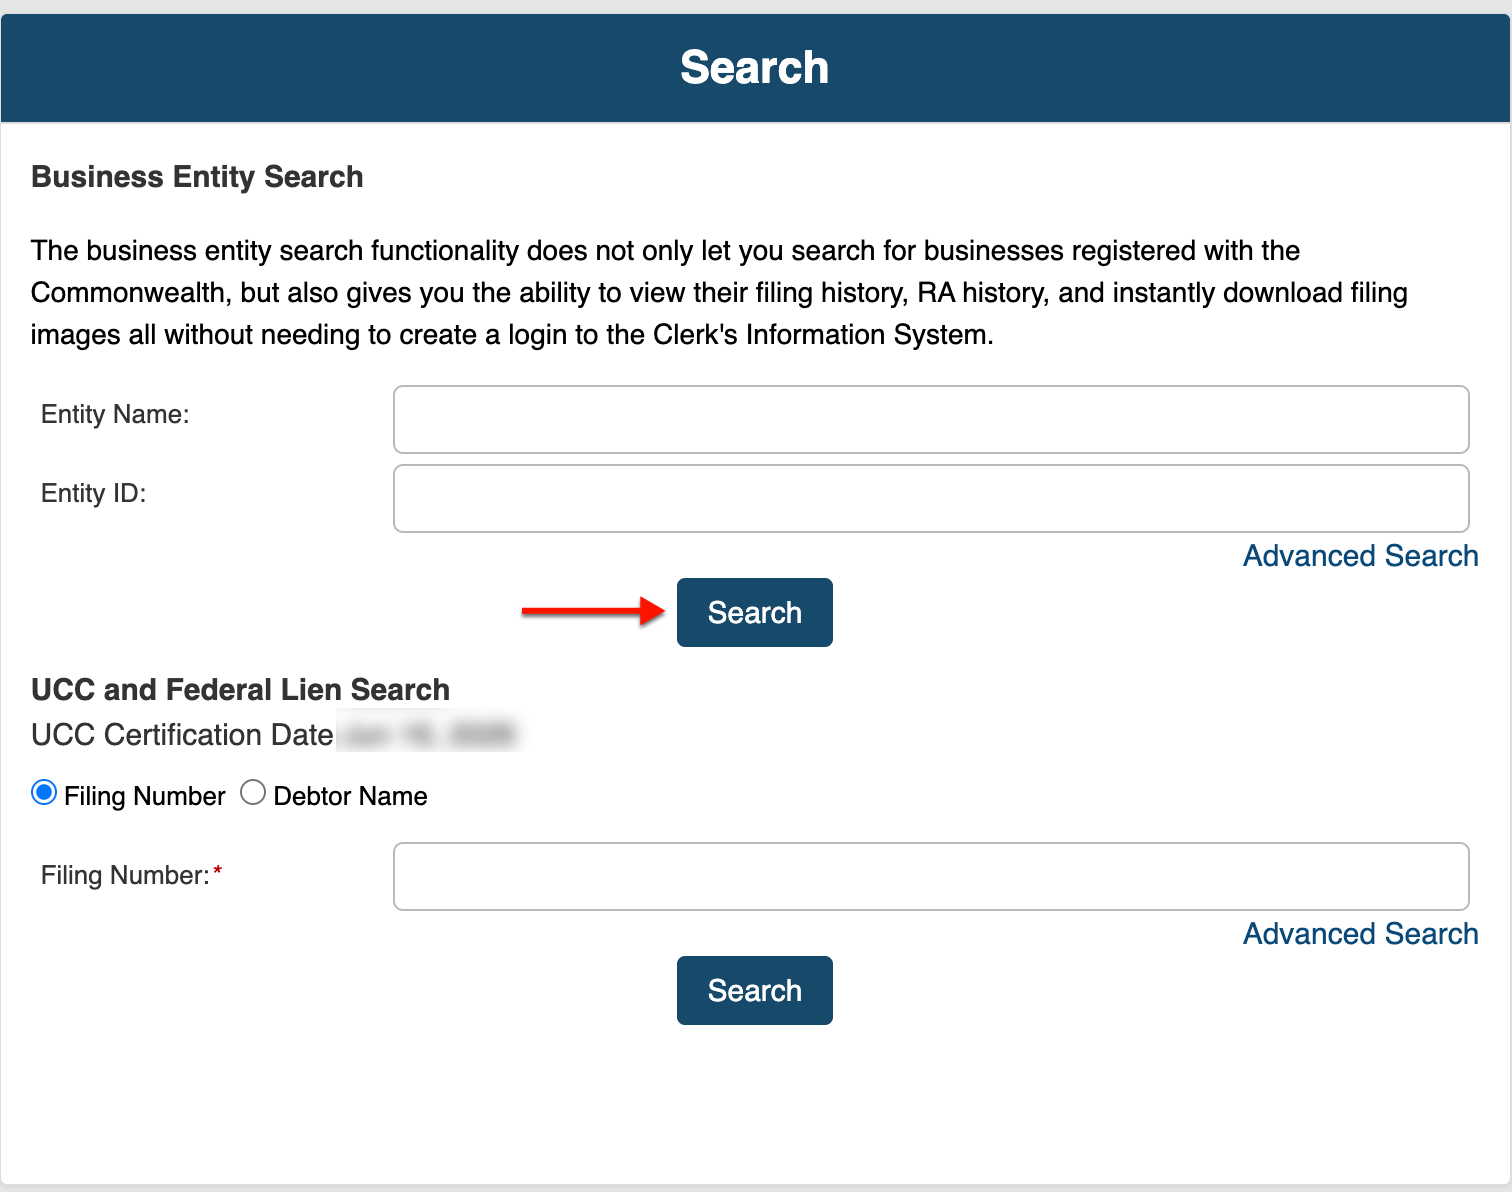
Step 5. Continue with Advanced Options
In order to access the advanced area of this tool, look for and then select the words “Advanced Search.” The tool will generate additional options for selection.
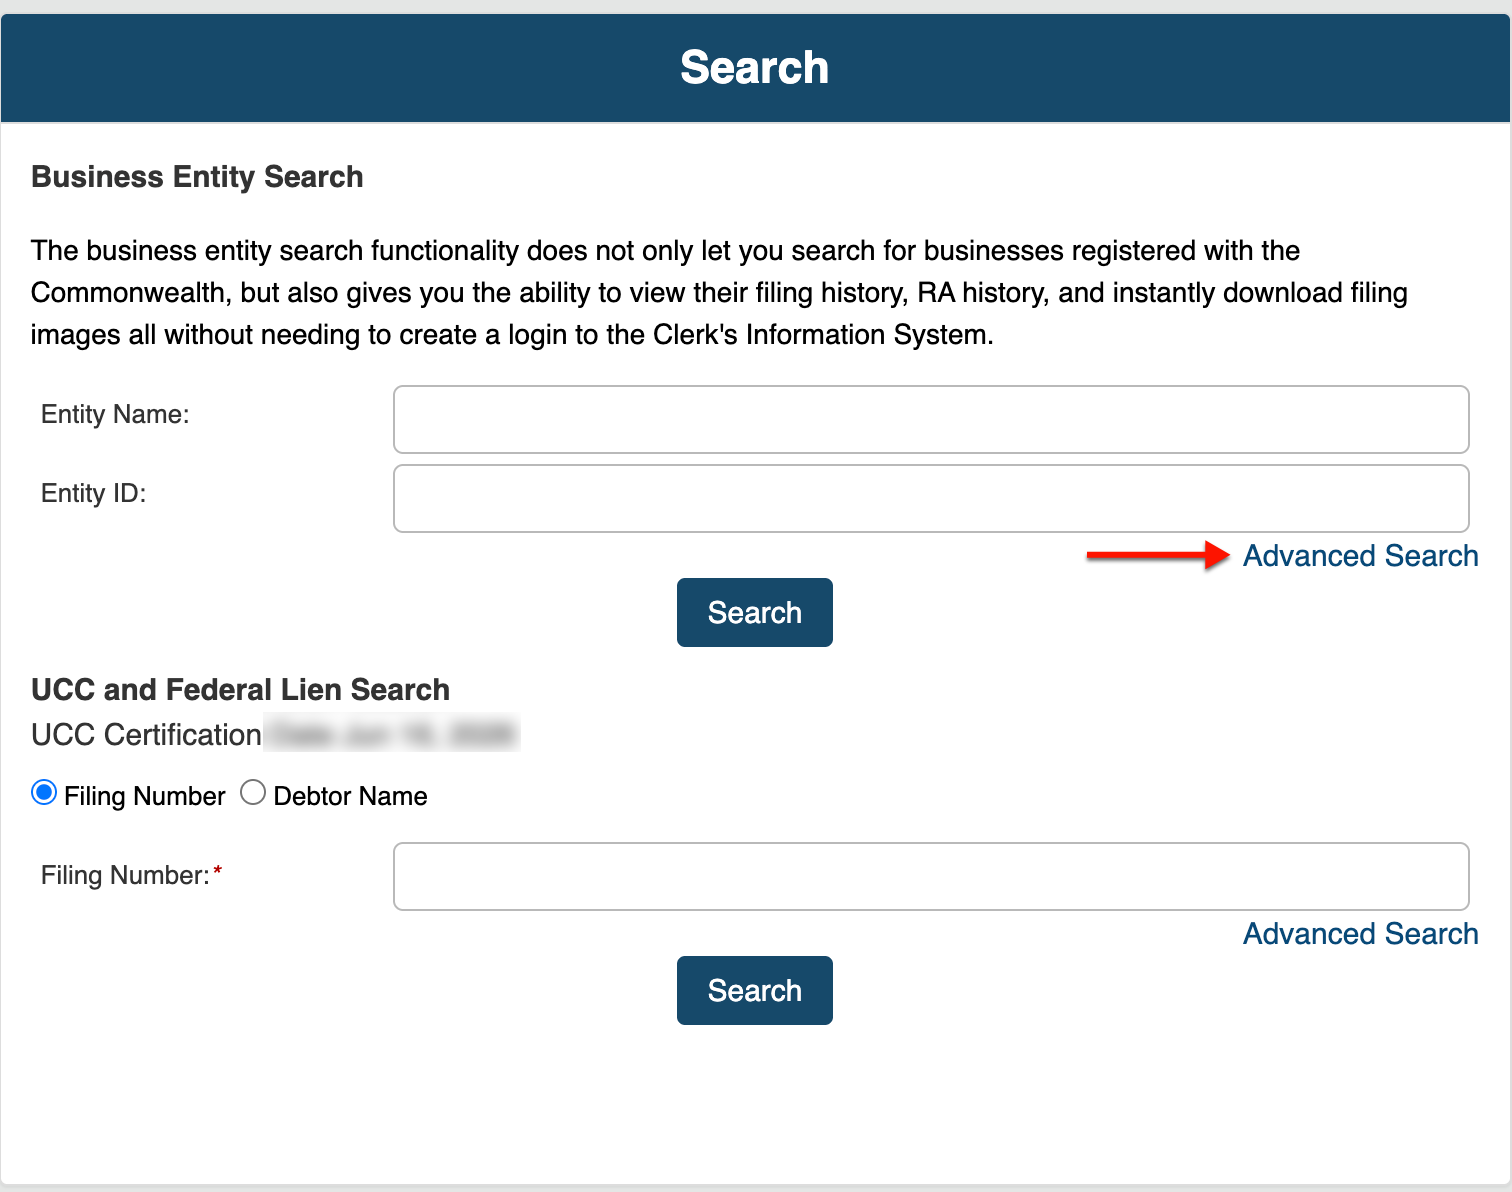
Step 6. Determine the Best Method
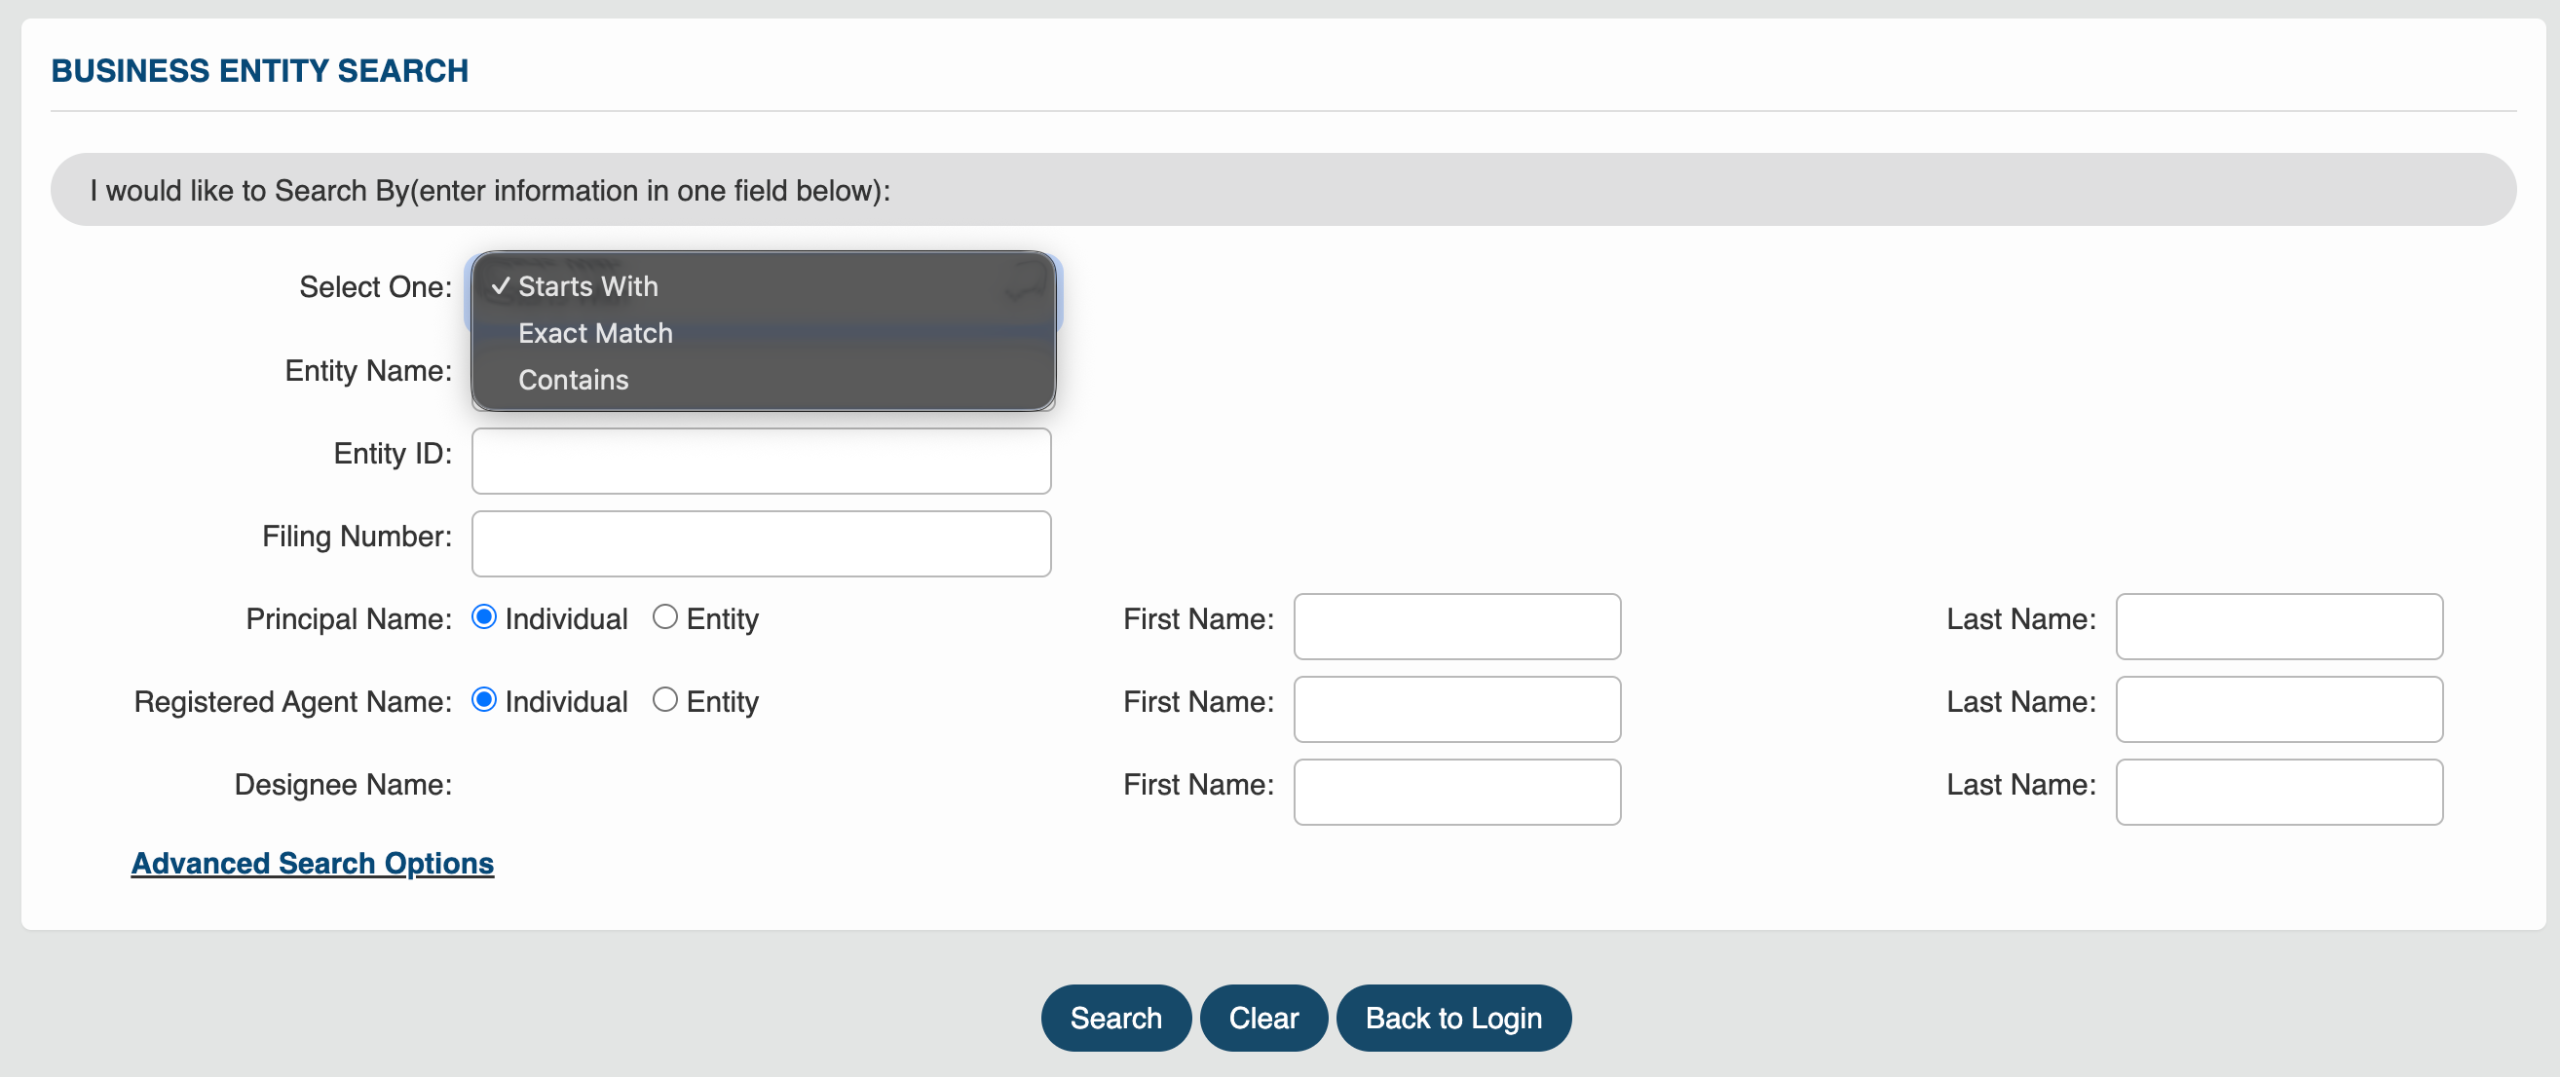
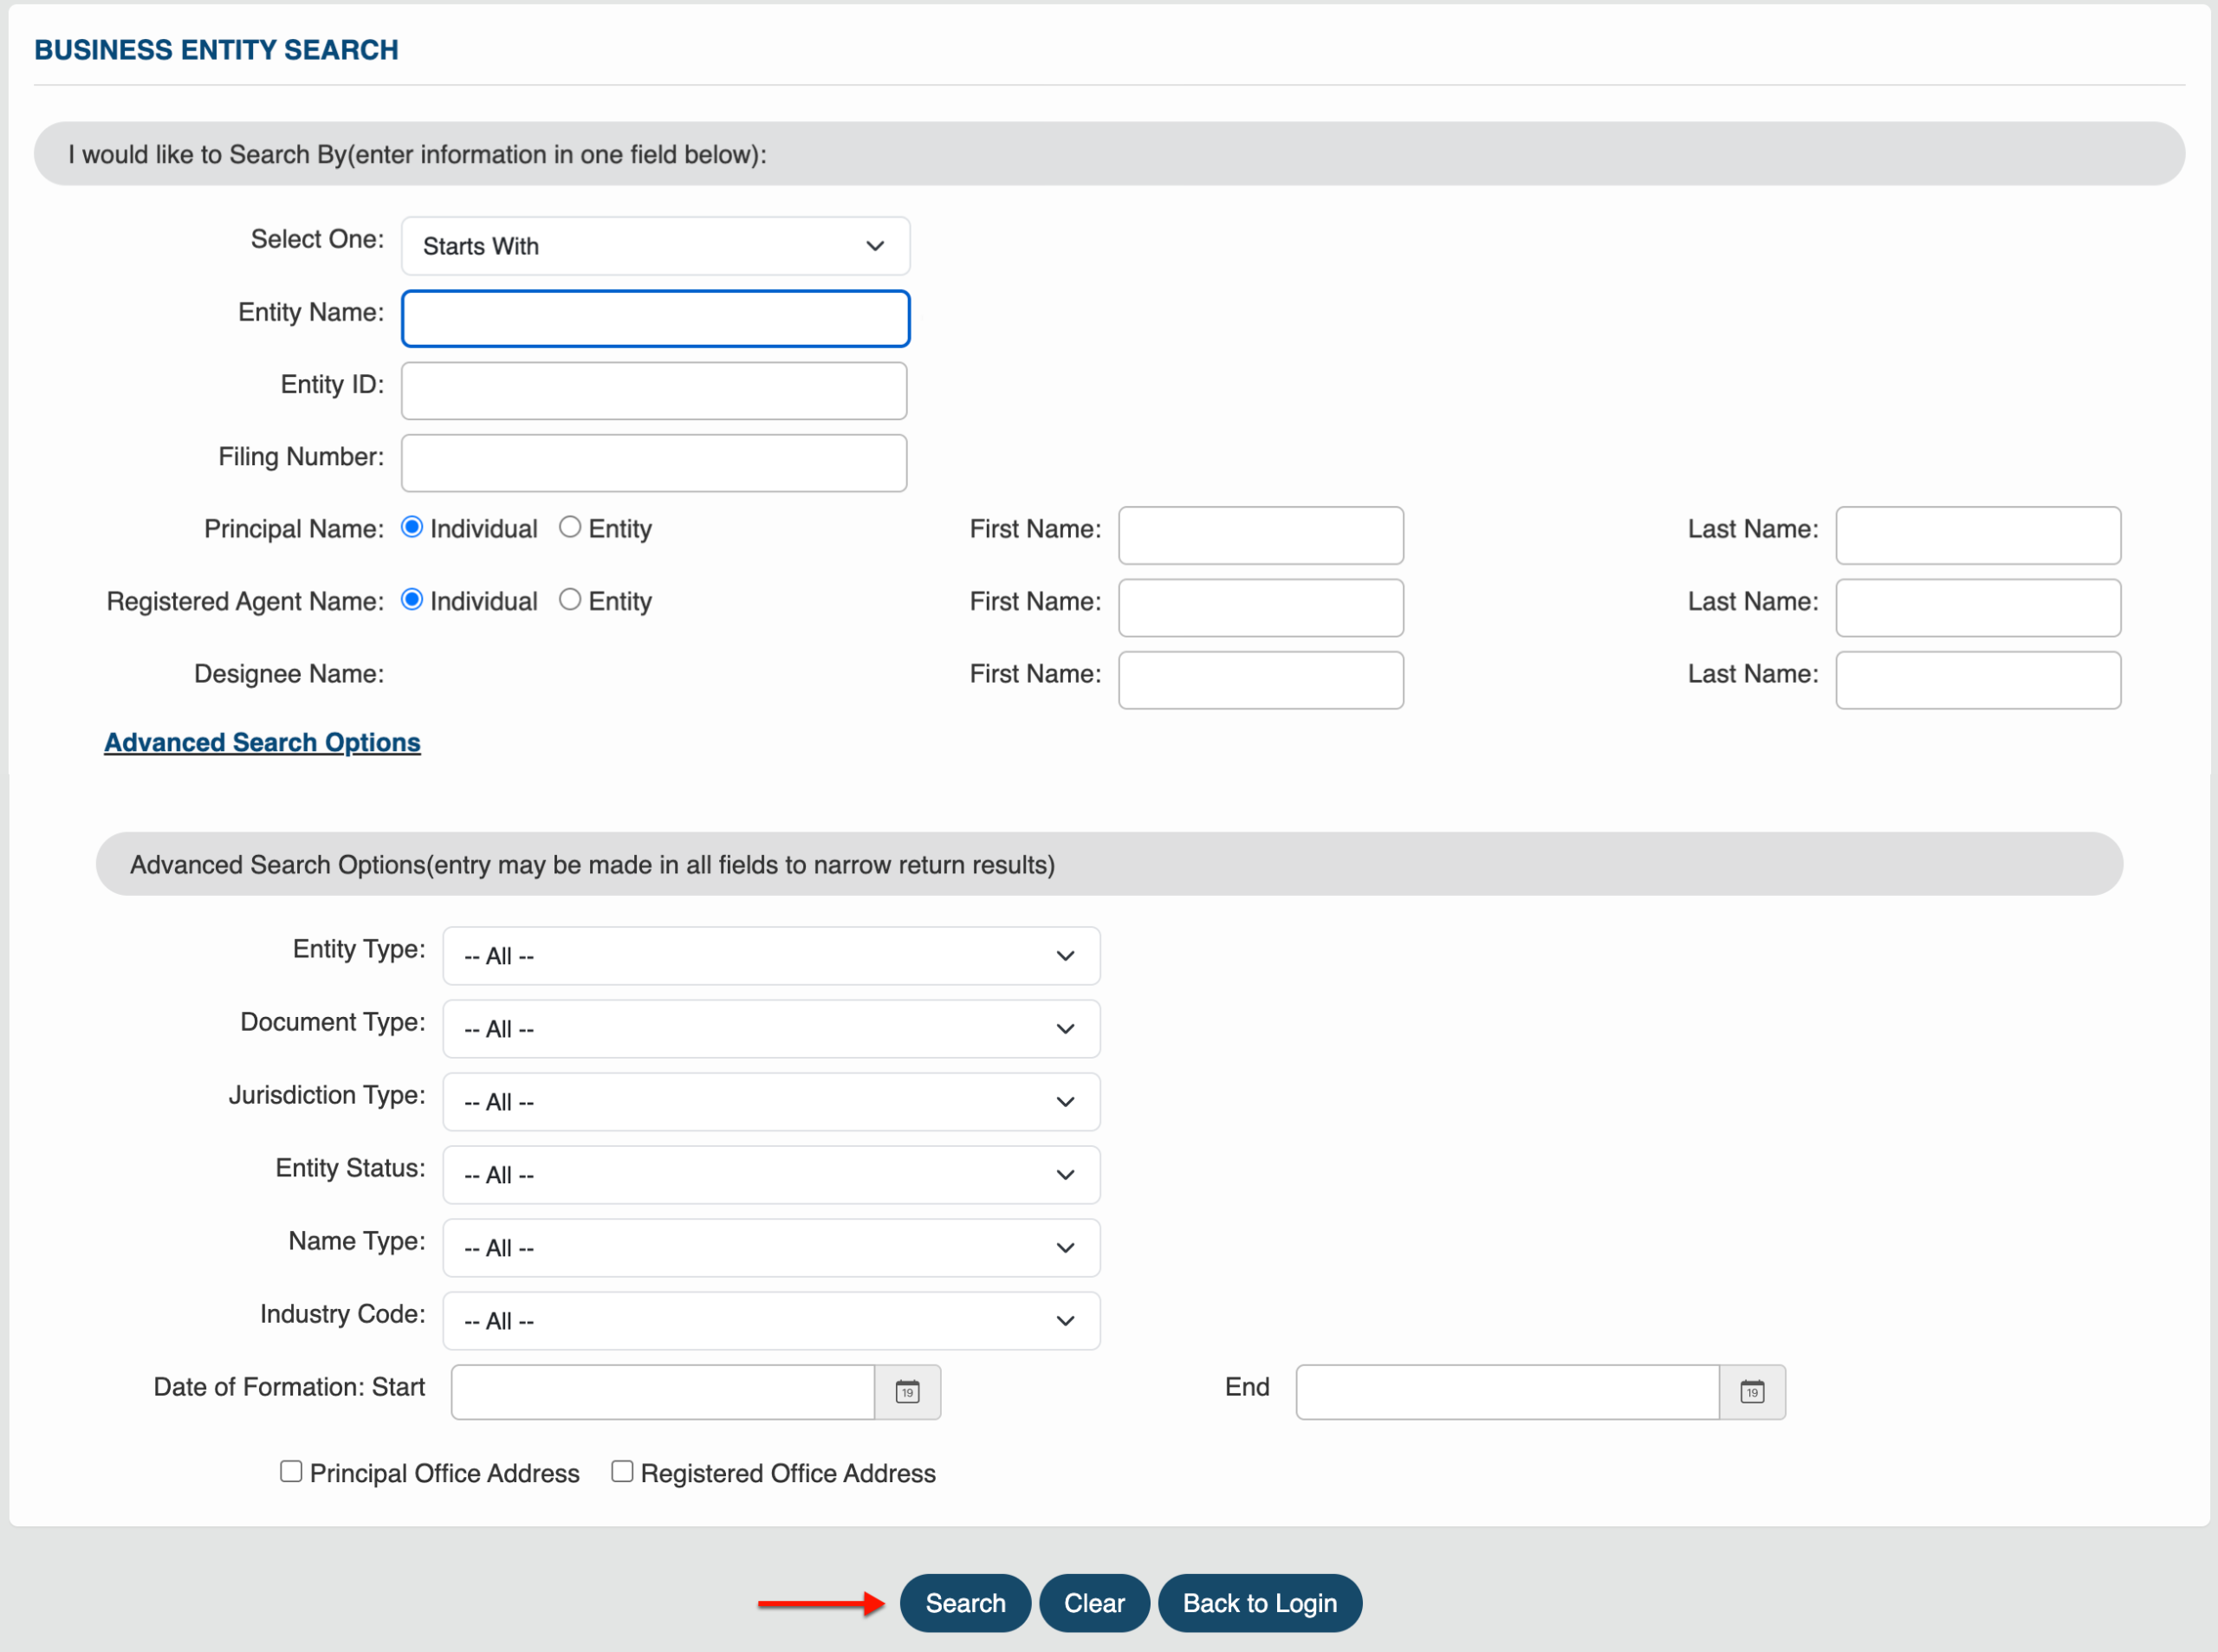
Locate the first drop-down (see image) menu on the page. Use your selection to instruct the query on where to search for the search item in a record.
- Select One (Search Method)
- Entity Name
- Entity ID
- Filing Number
- Principal Name
- Individual
- Entity
- First Name
- Last Name
- Registered Agent Name
- Individual
- Entity
- First Name
- Last Name
- Designee Name
- First Name
- Last Name
- Advanced Search Options
- Search
- Clear
- Back to Login
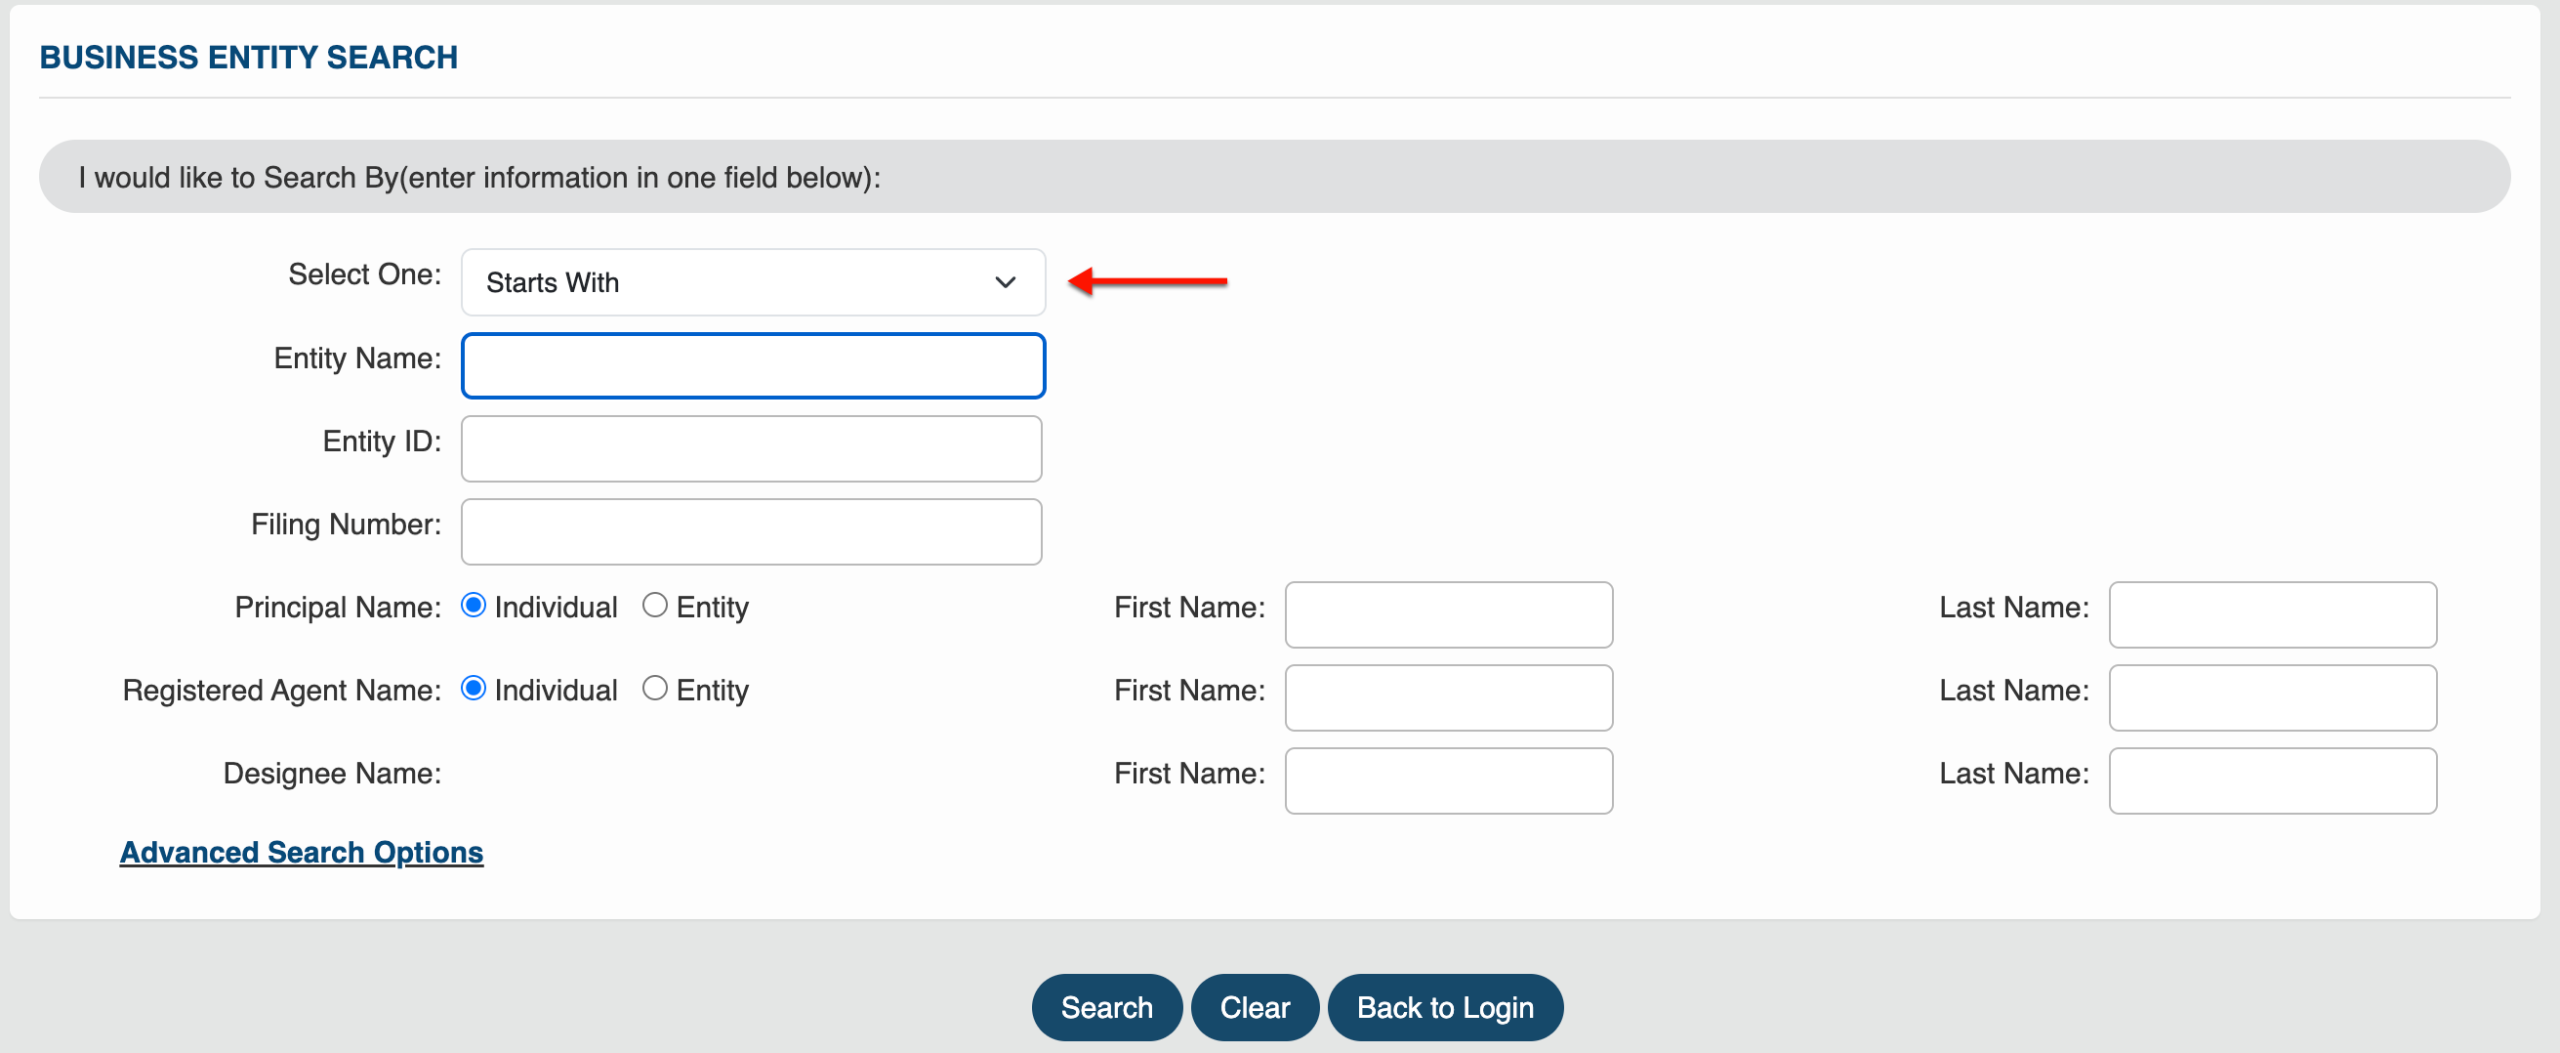
Step 7. Furnish A Search Item as Criteria
Generate a business name or similar search item in the “Entity Name” field. If possible, supply the full name; however, partial names or keywords are also acceptable.
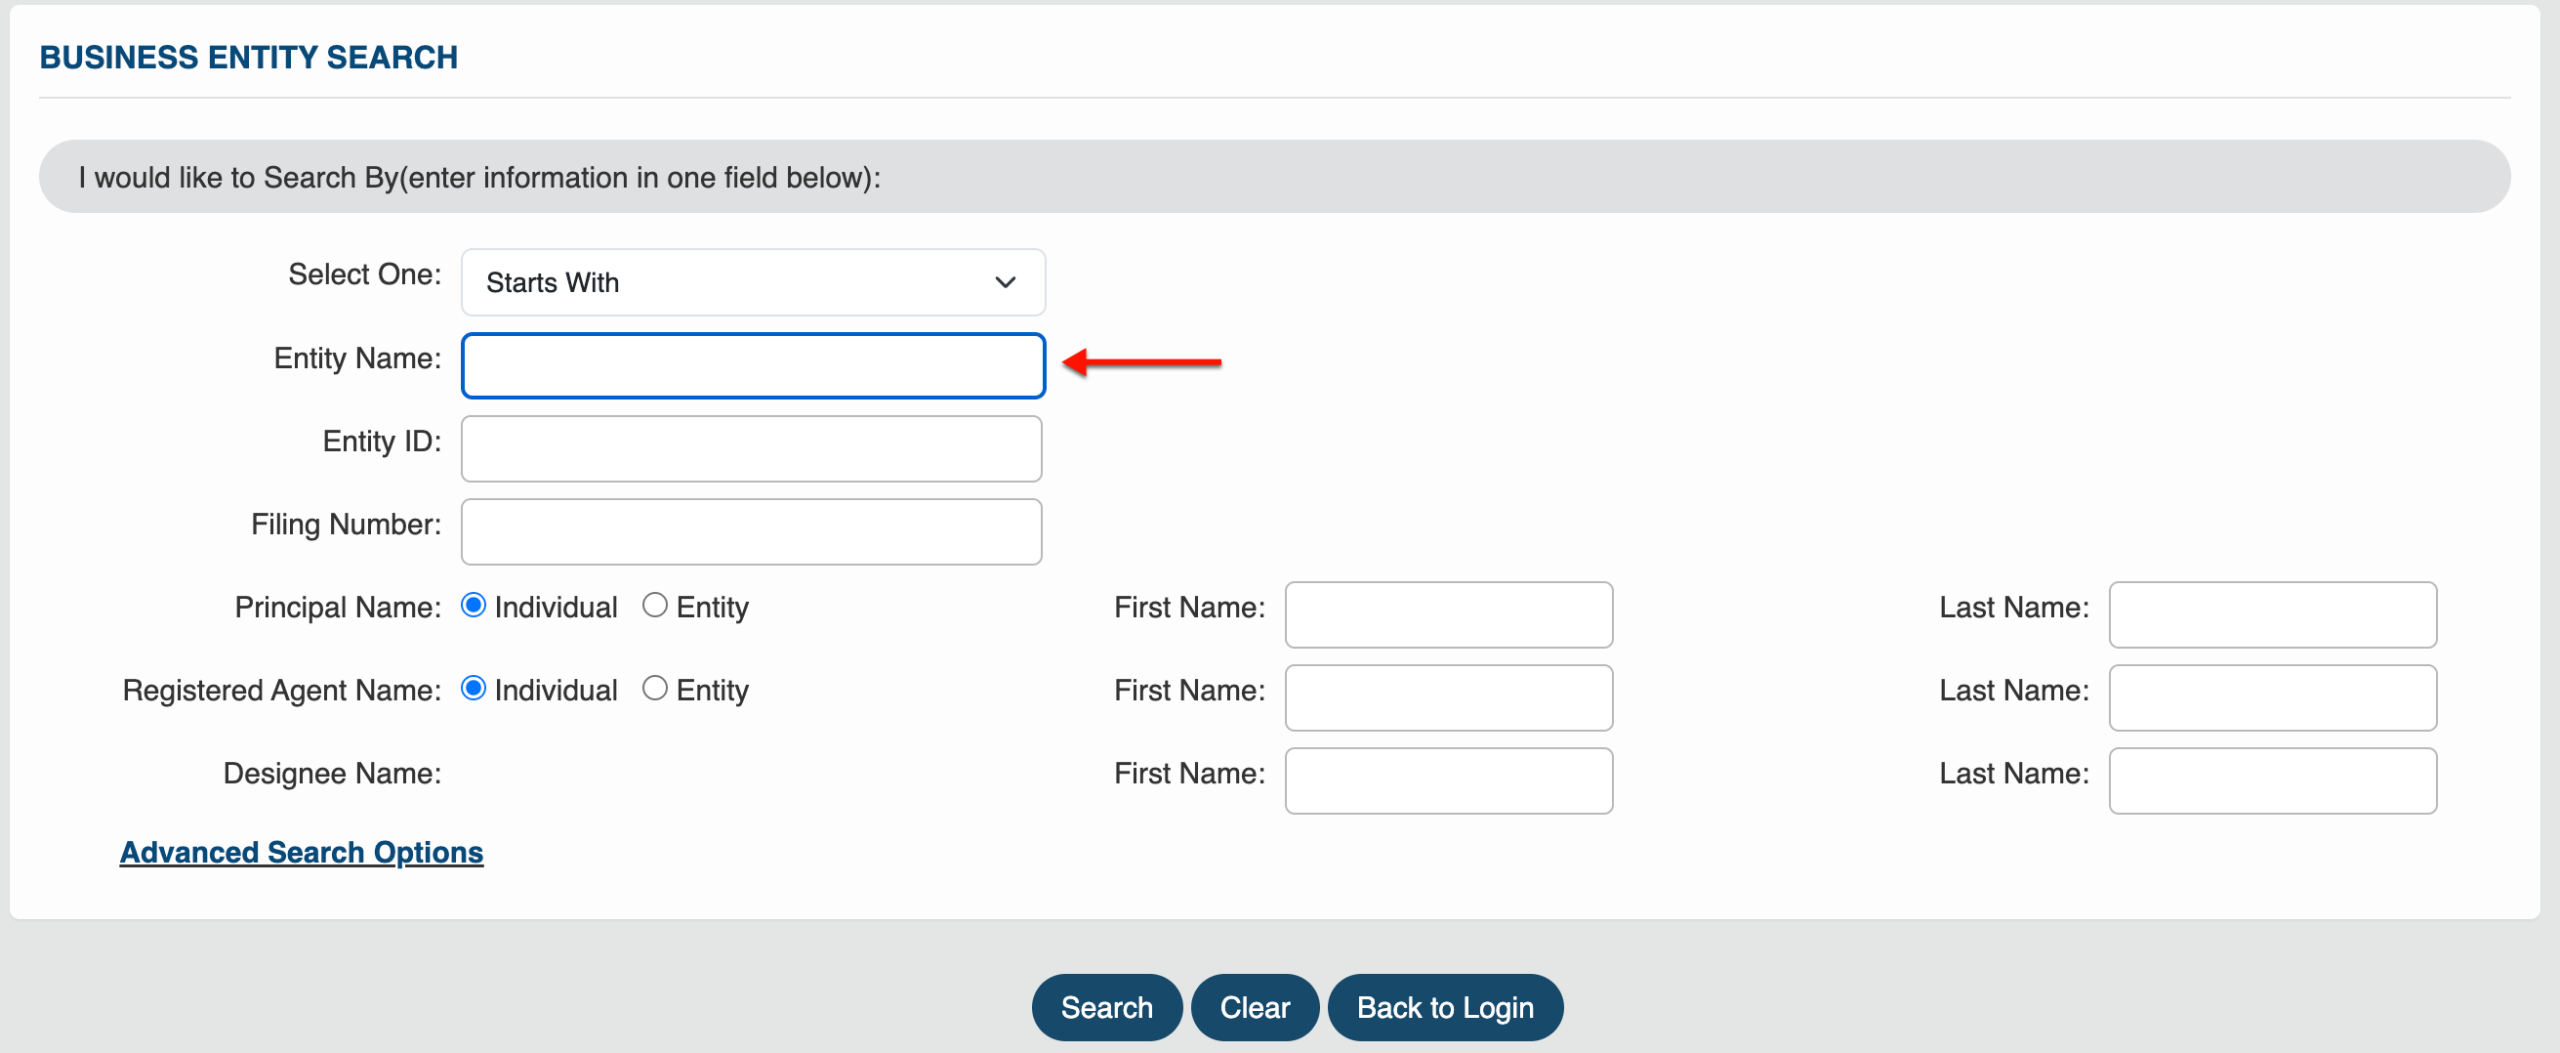
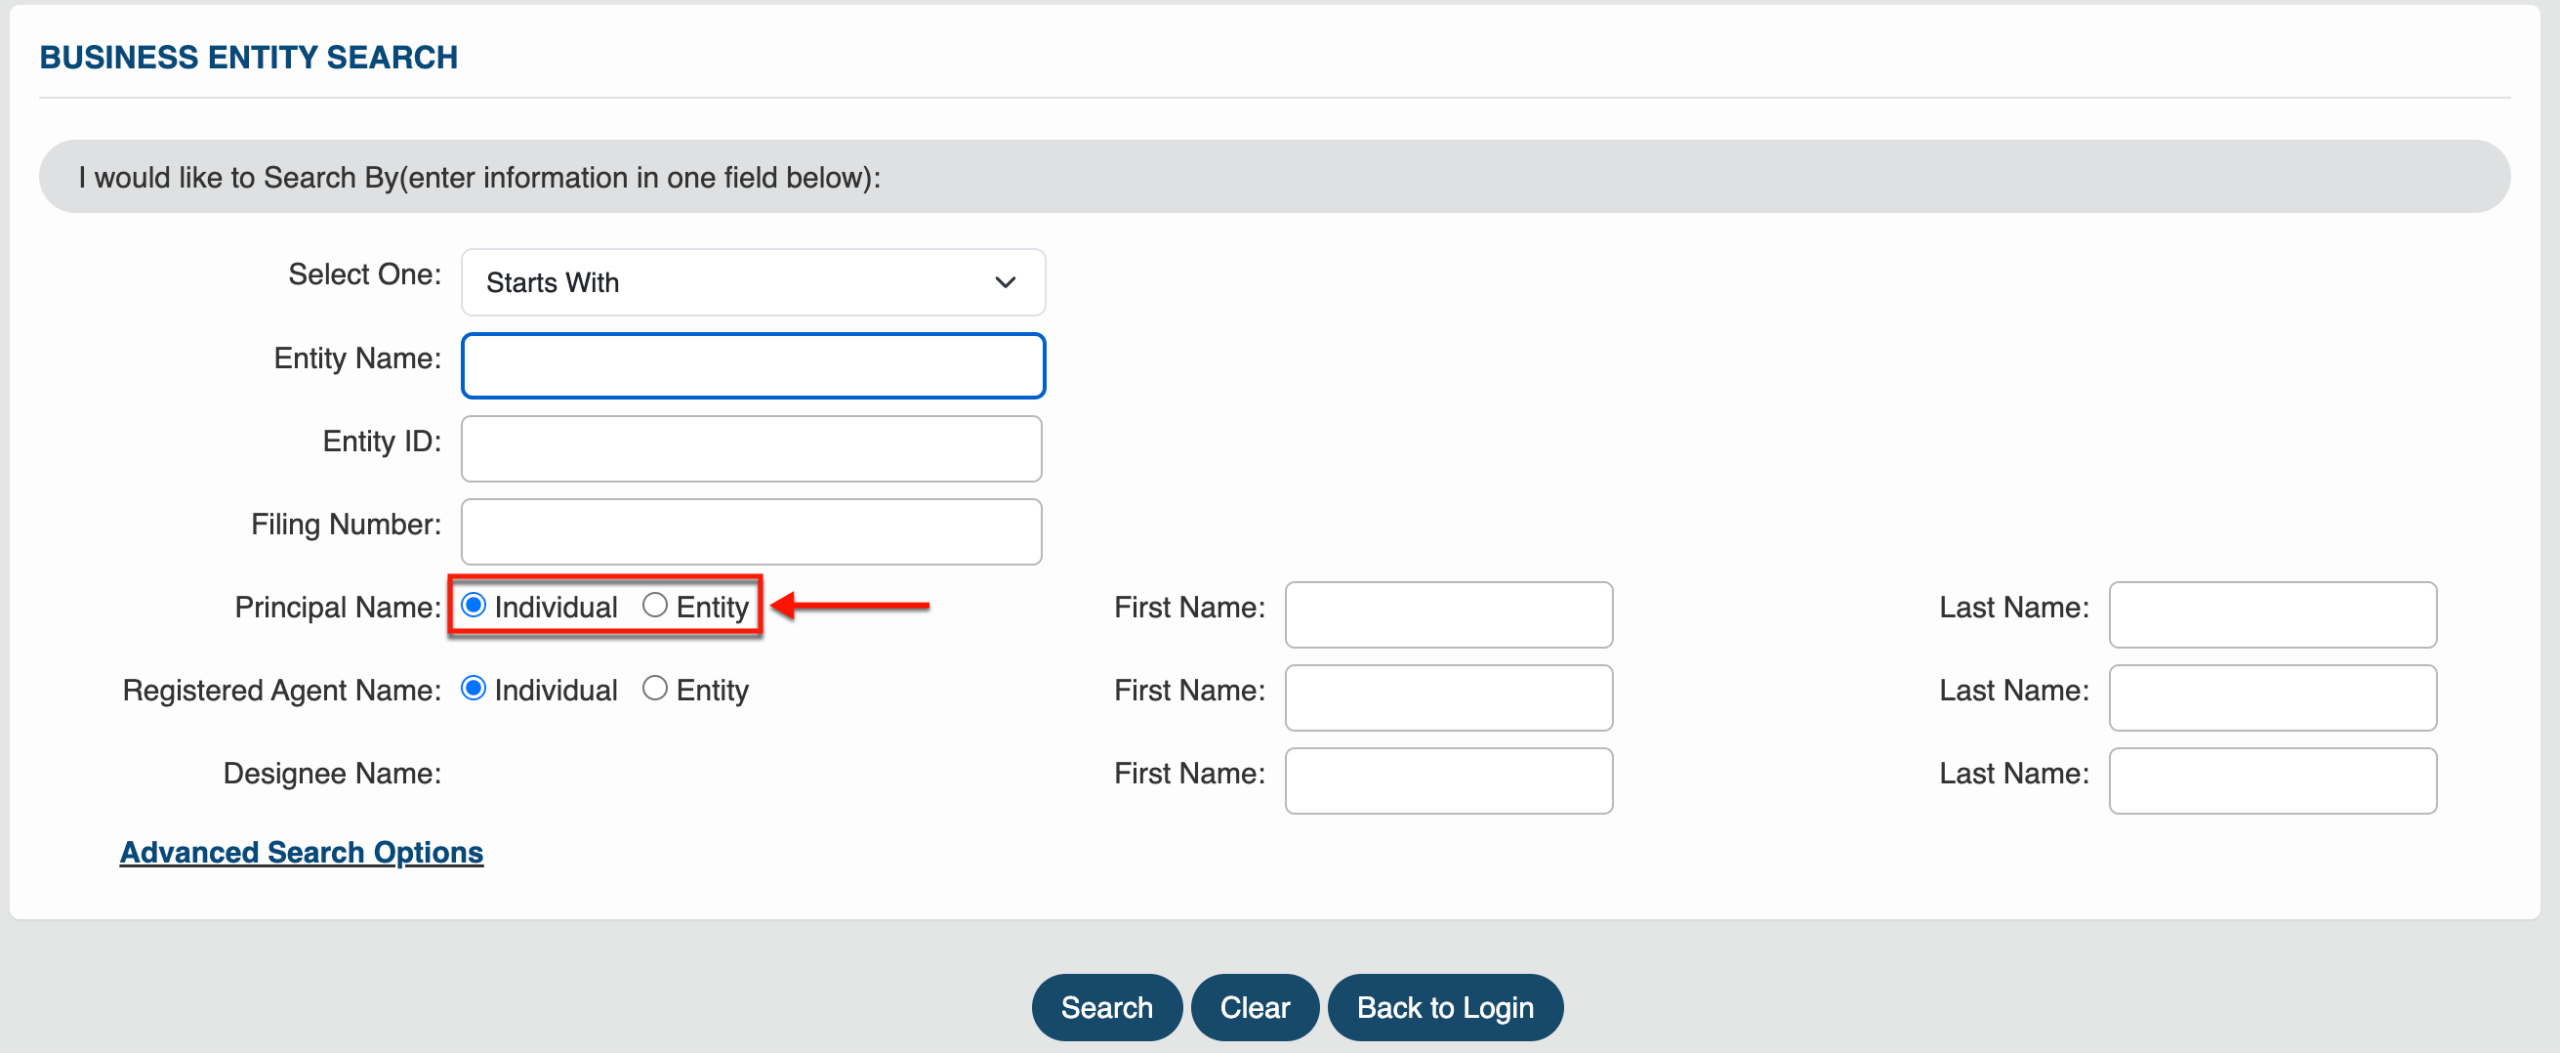
Step 8. Add A Principal Name
Locate the “Principal Name” if seeking an entity with a specific principal. Mark the appropriate radio button to properly classify the principal.
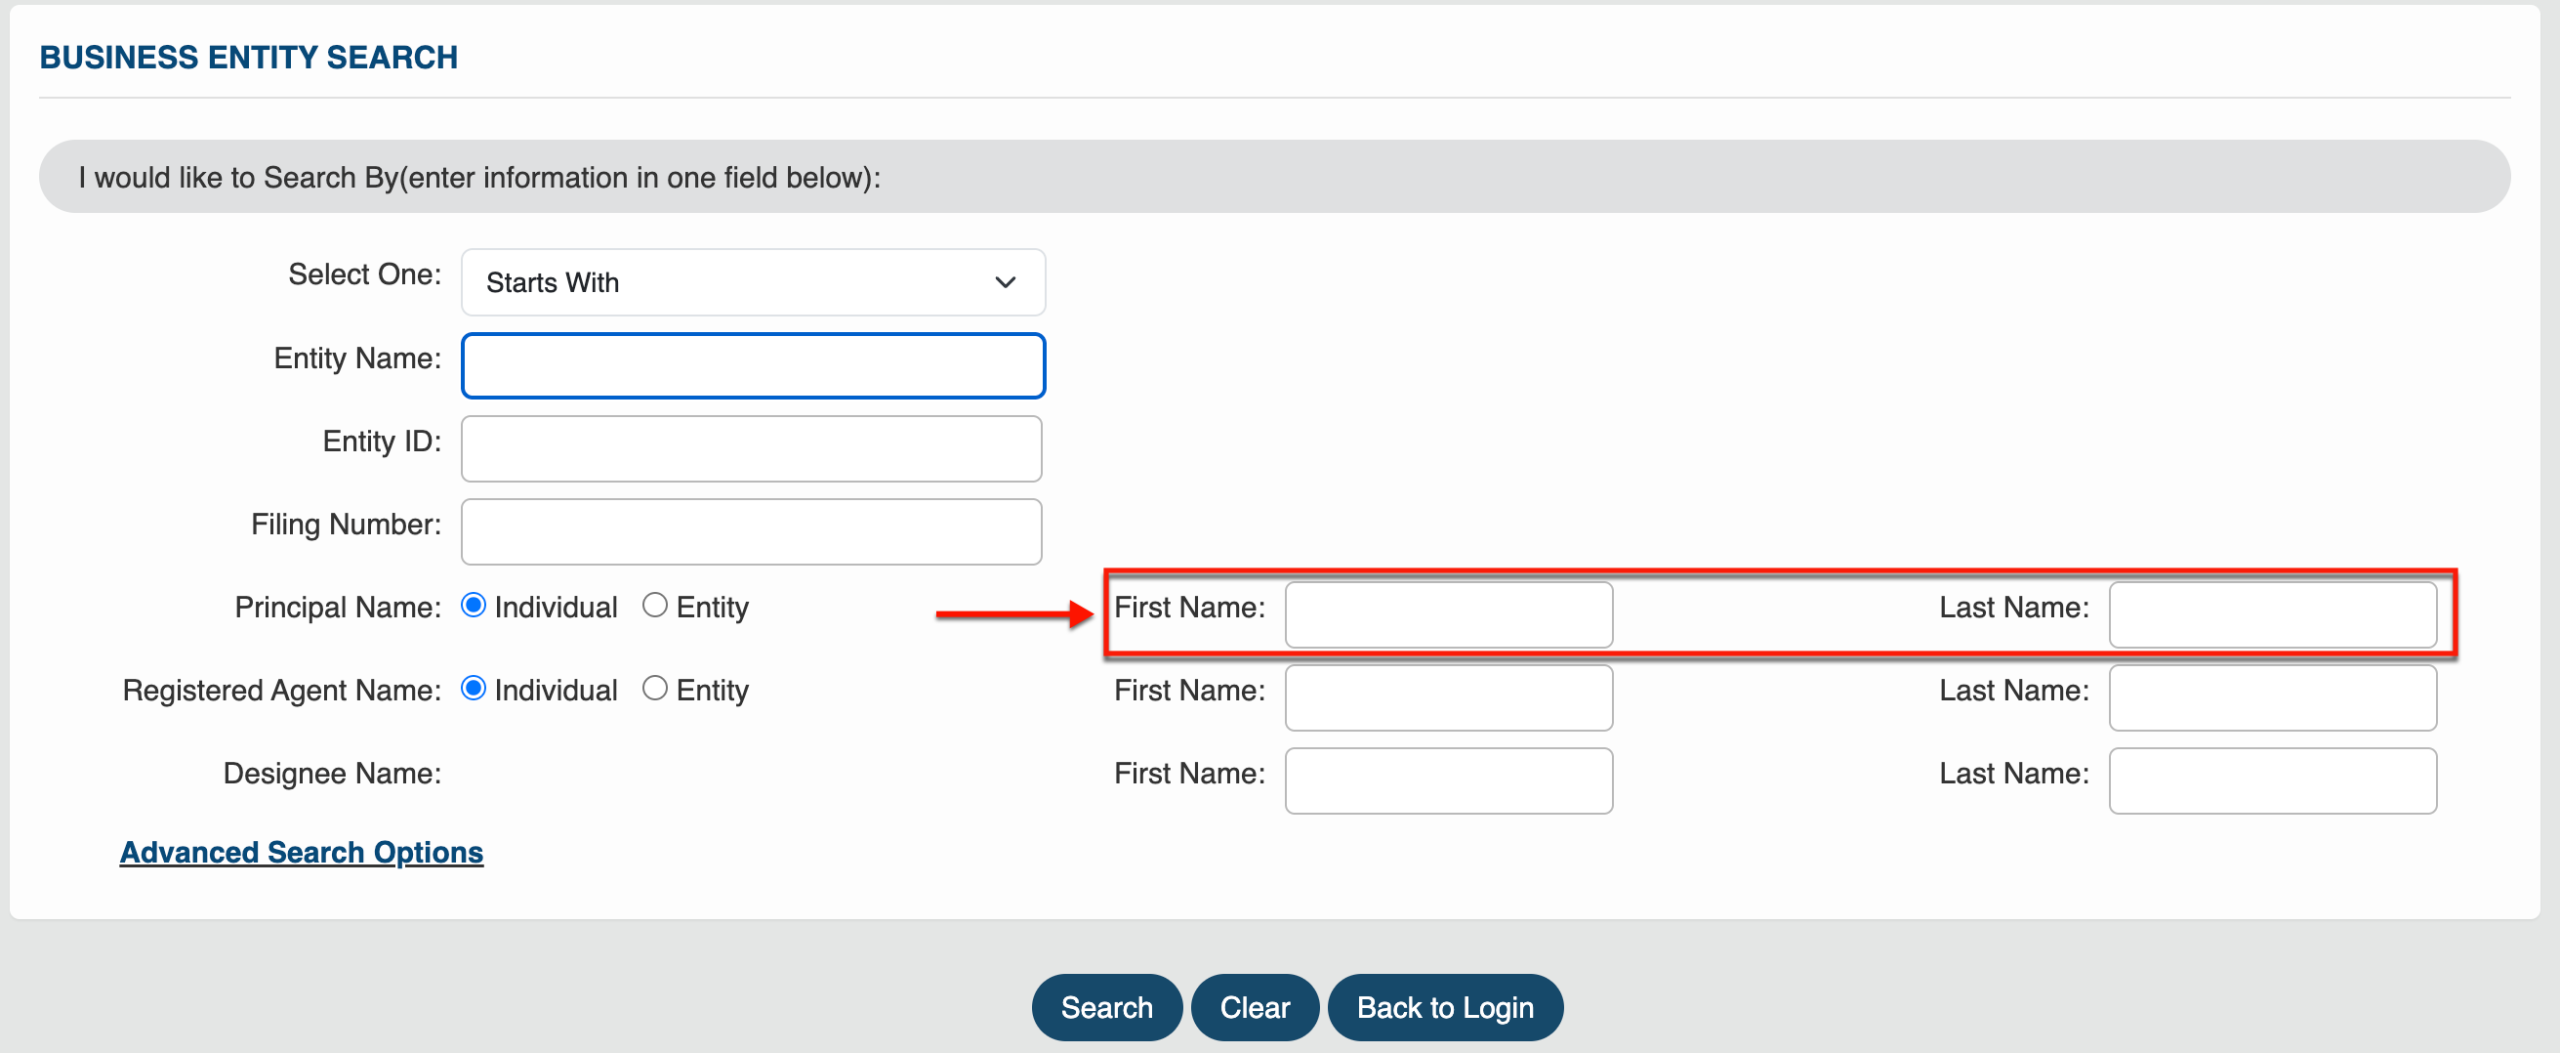
Step 9. Name the Principal
Use the text boxes available in the “Principal Name” section to report the name of the principal. While not mandatory, a principal significantly lowers the number of results.
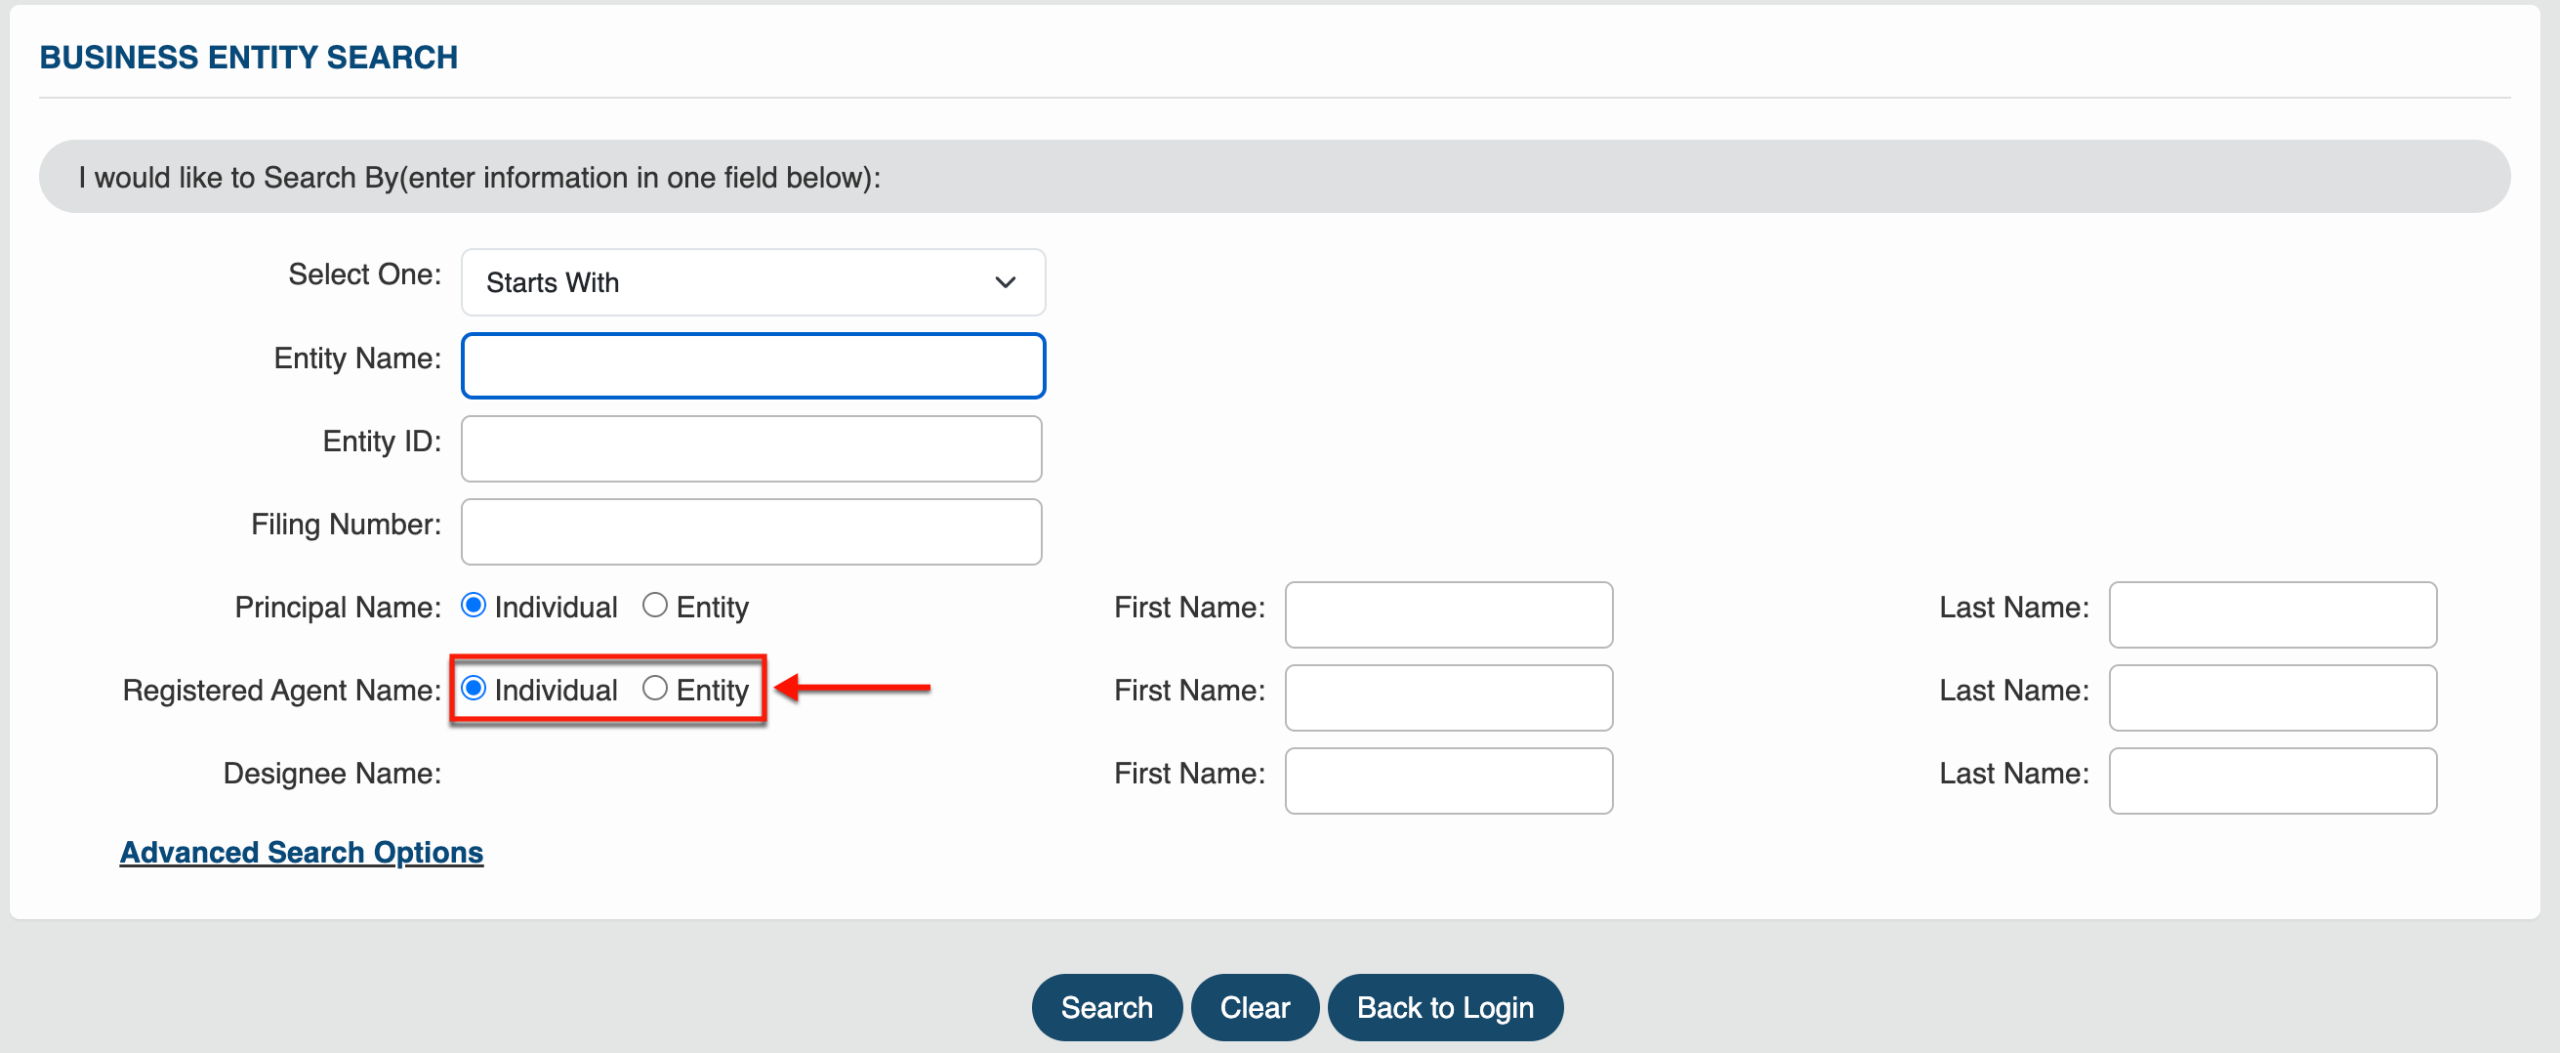
Step 10. Attach a Registered Agent
Require the query to filter out entities that do not use a specific registered agent. Begin by categorizing the registered agent using the “Registered Agent” radio buttons.
Step 11. Identify the Required Registered Agent
Use the text boxes to name the registered agent of the entity the query must find. Keep in mind that your information must be up to date.
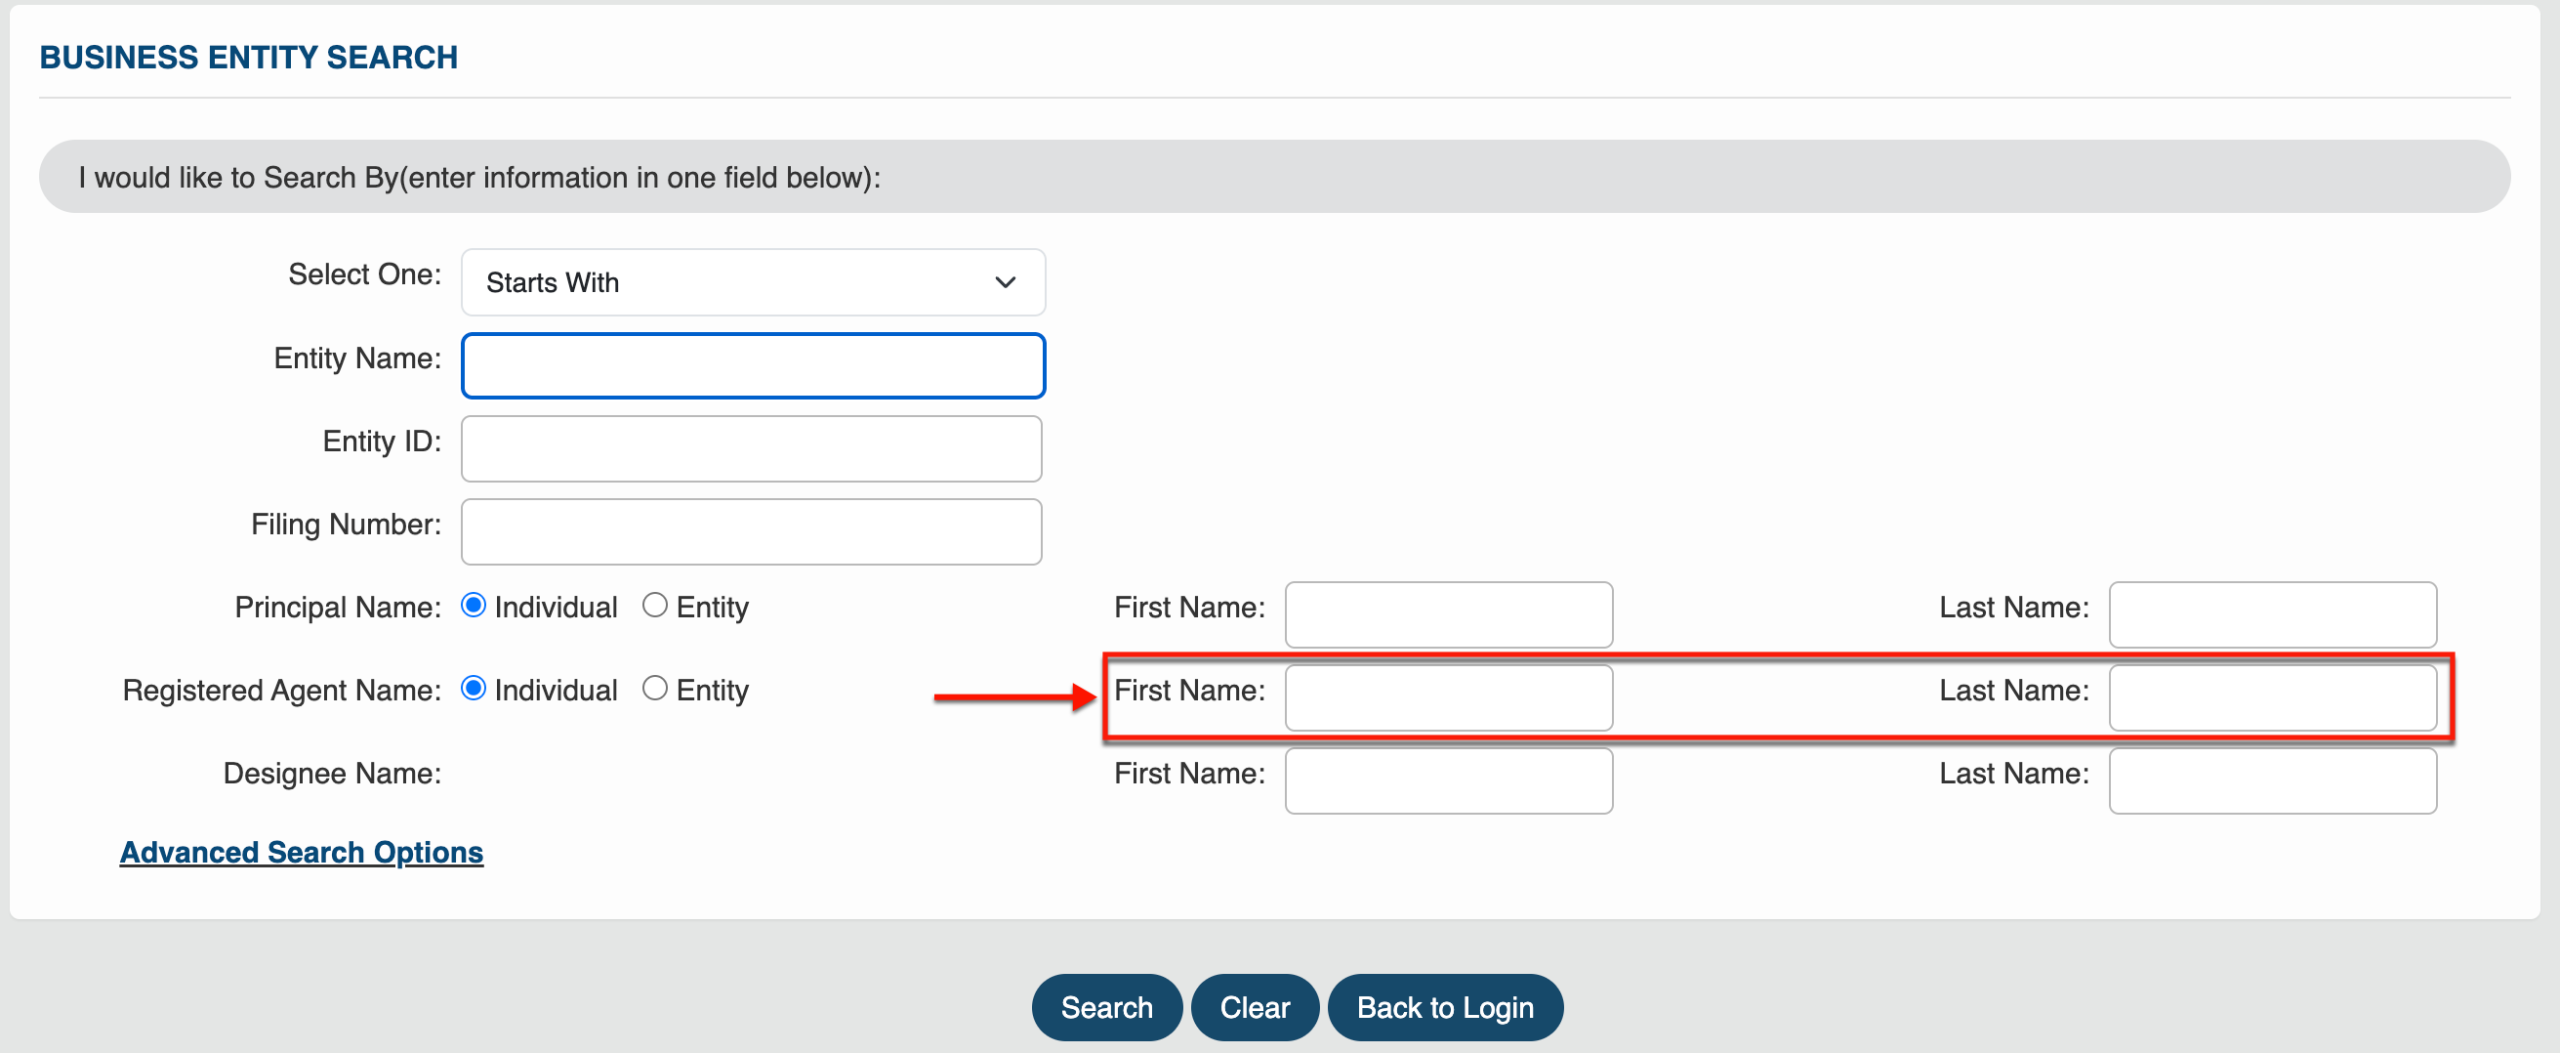
Step 12. Use a Designee Filter
If the entity has a designee that differs from the registered agent you identified, then you could use this as a filter. Supply their name to the “Designee” section.
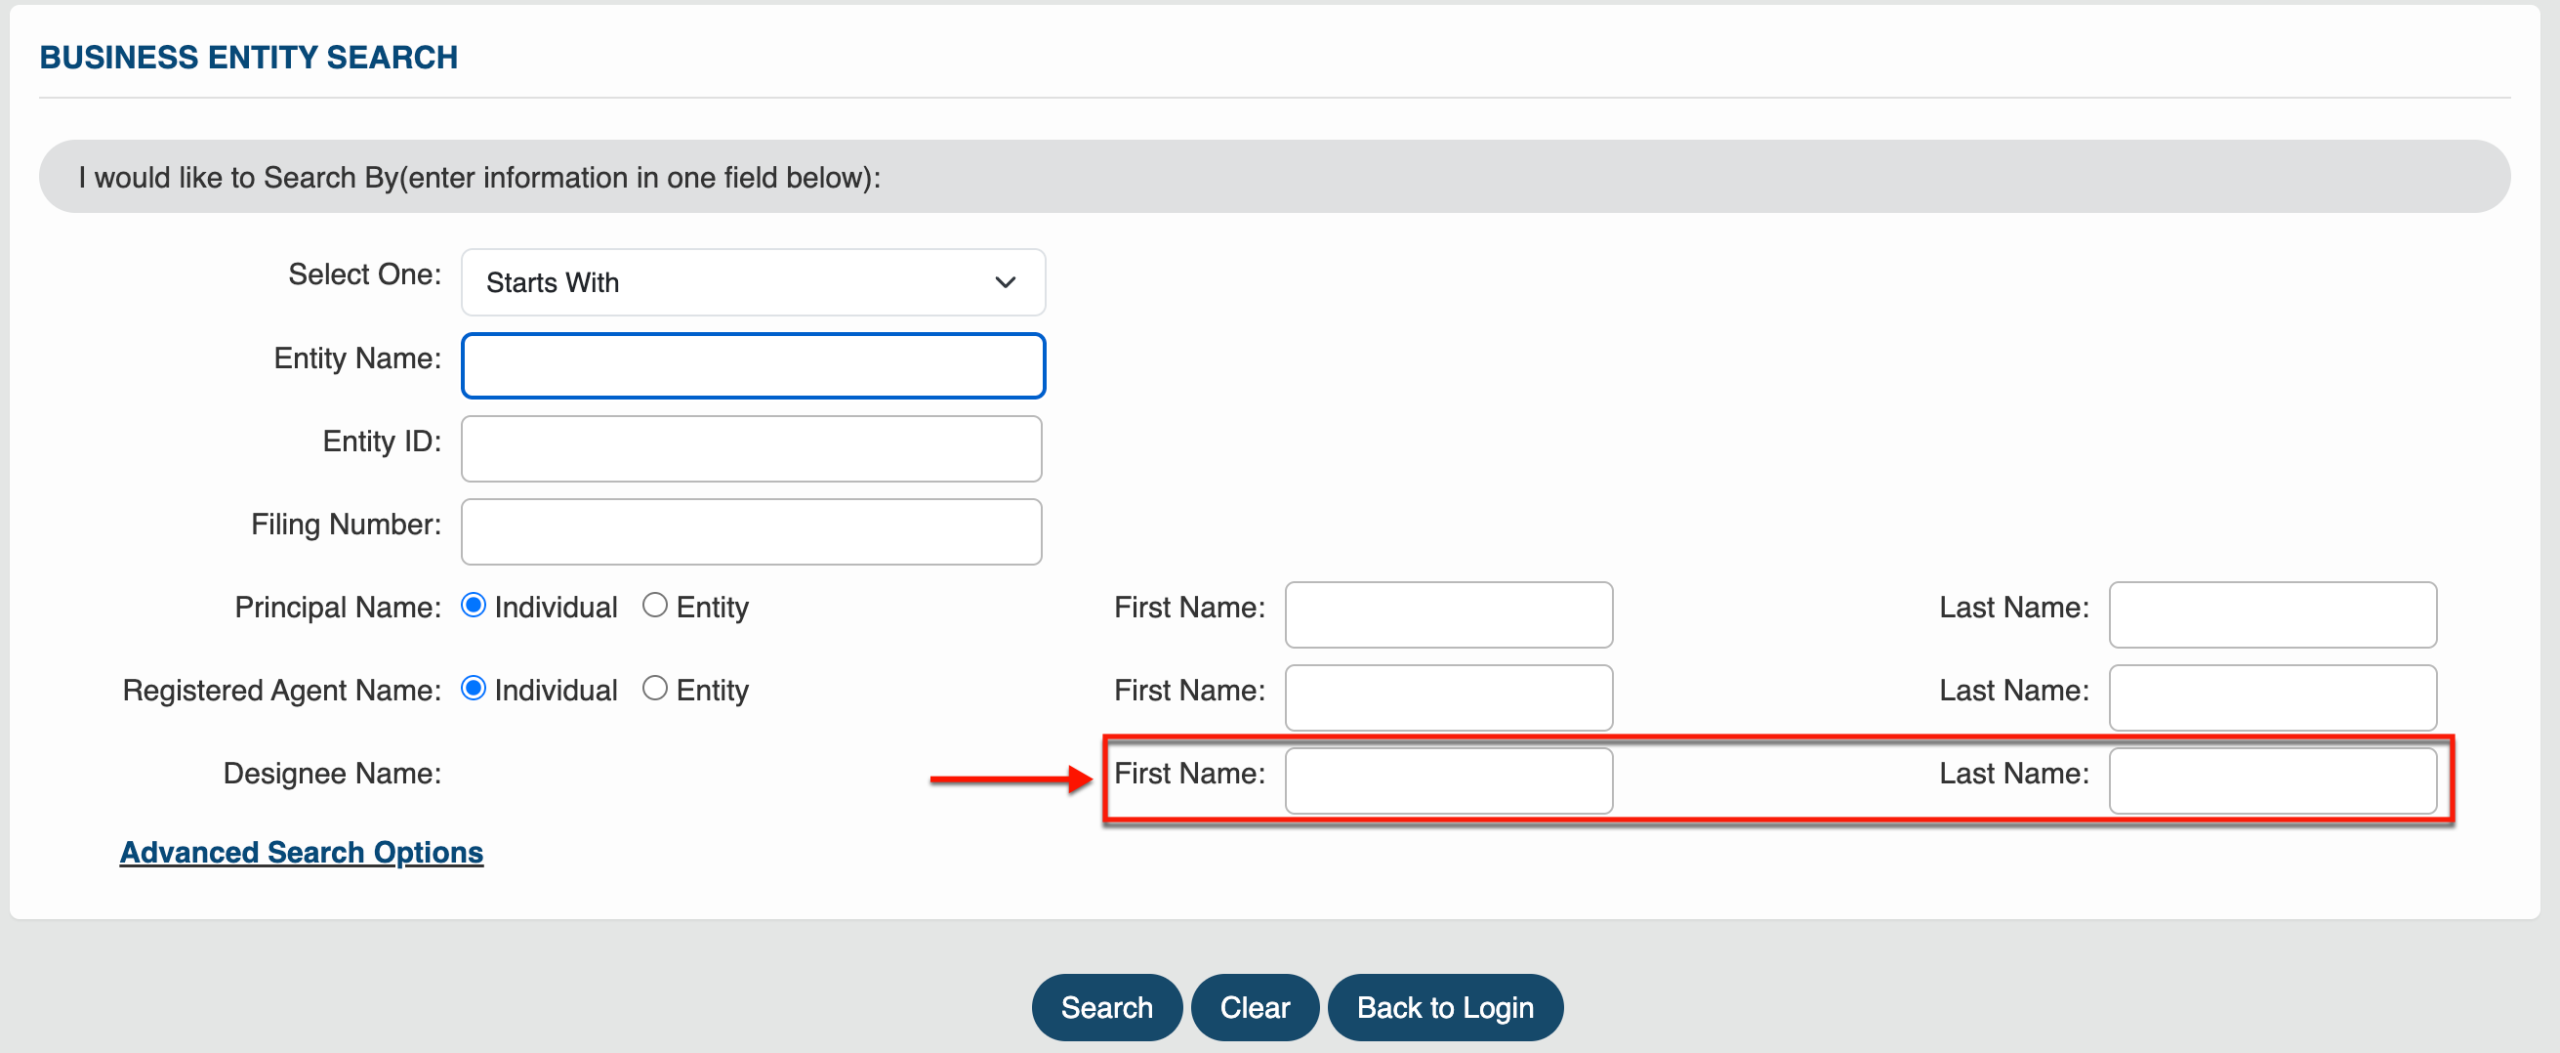
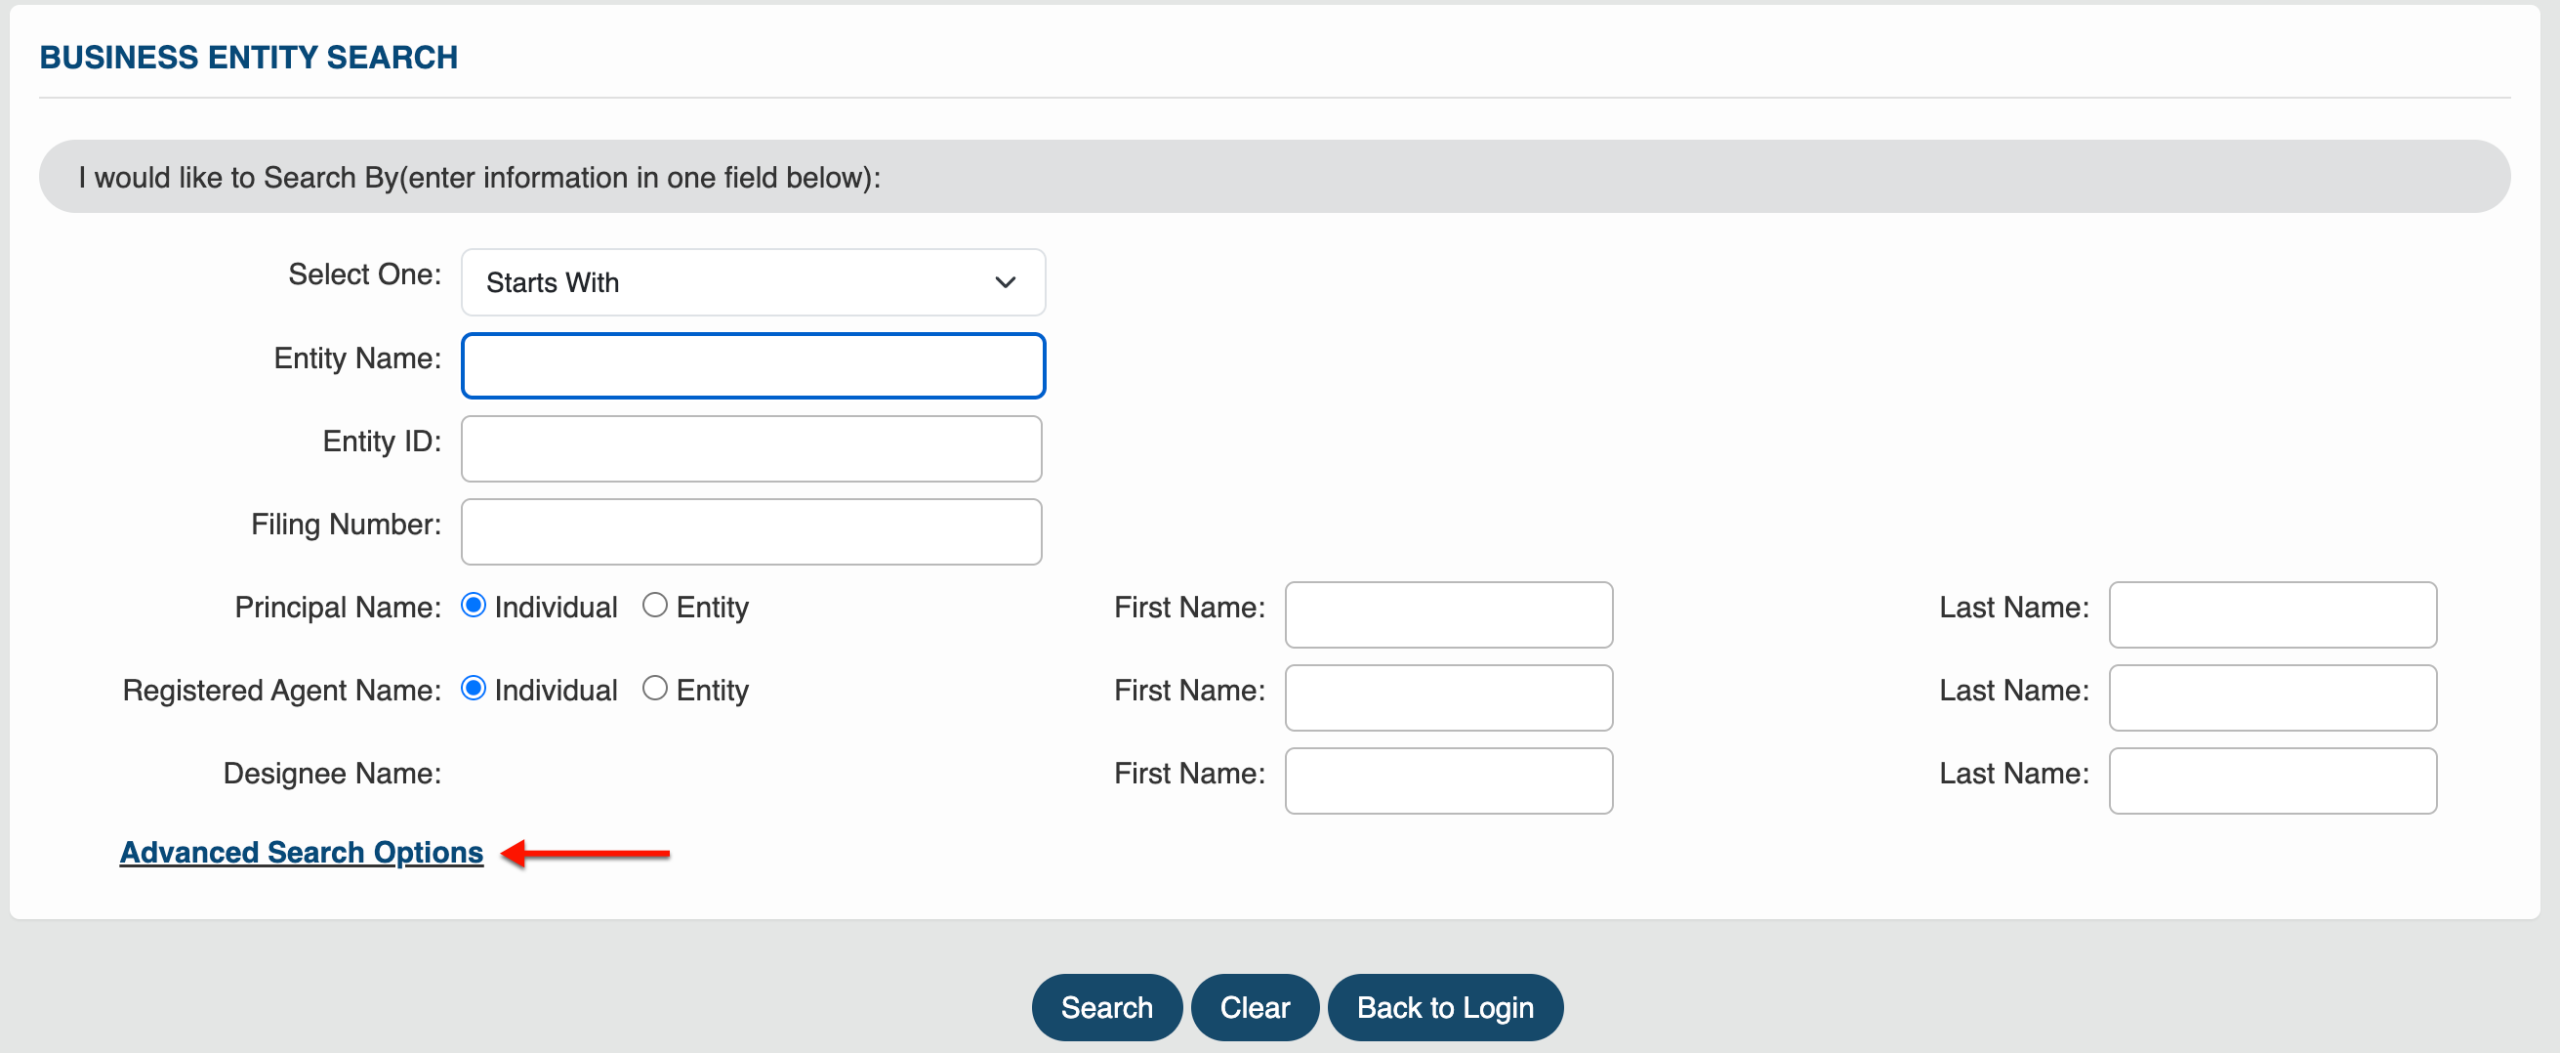
Step 13. Prompt an Advanced Search
Select “Advanced Search Options” and go to Step 14 to pursue an advanced search with additional options. Otherwise, begin the search (see image) and continue to Step 24.
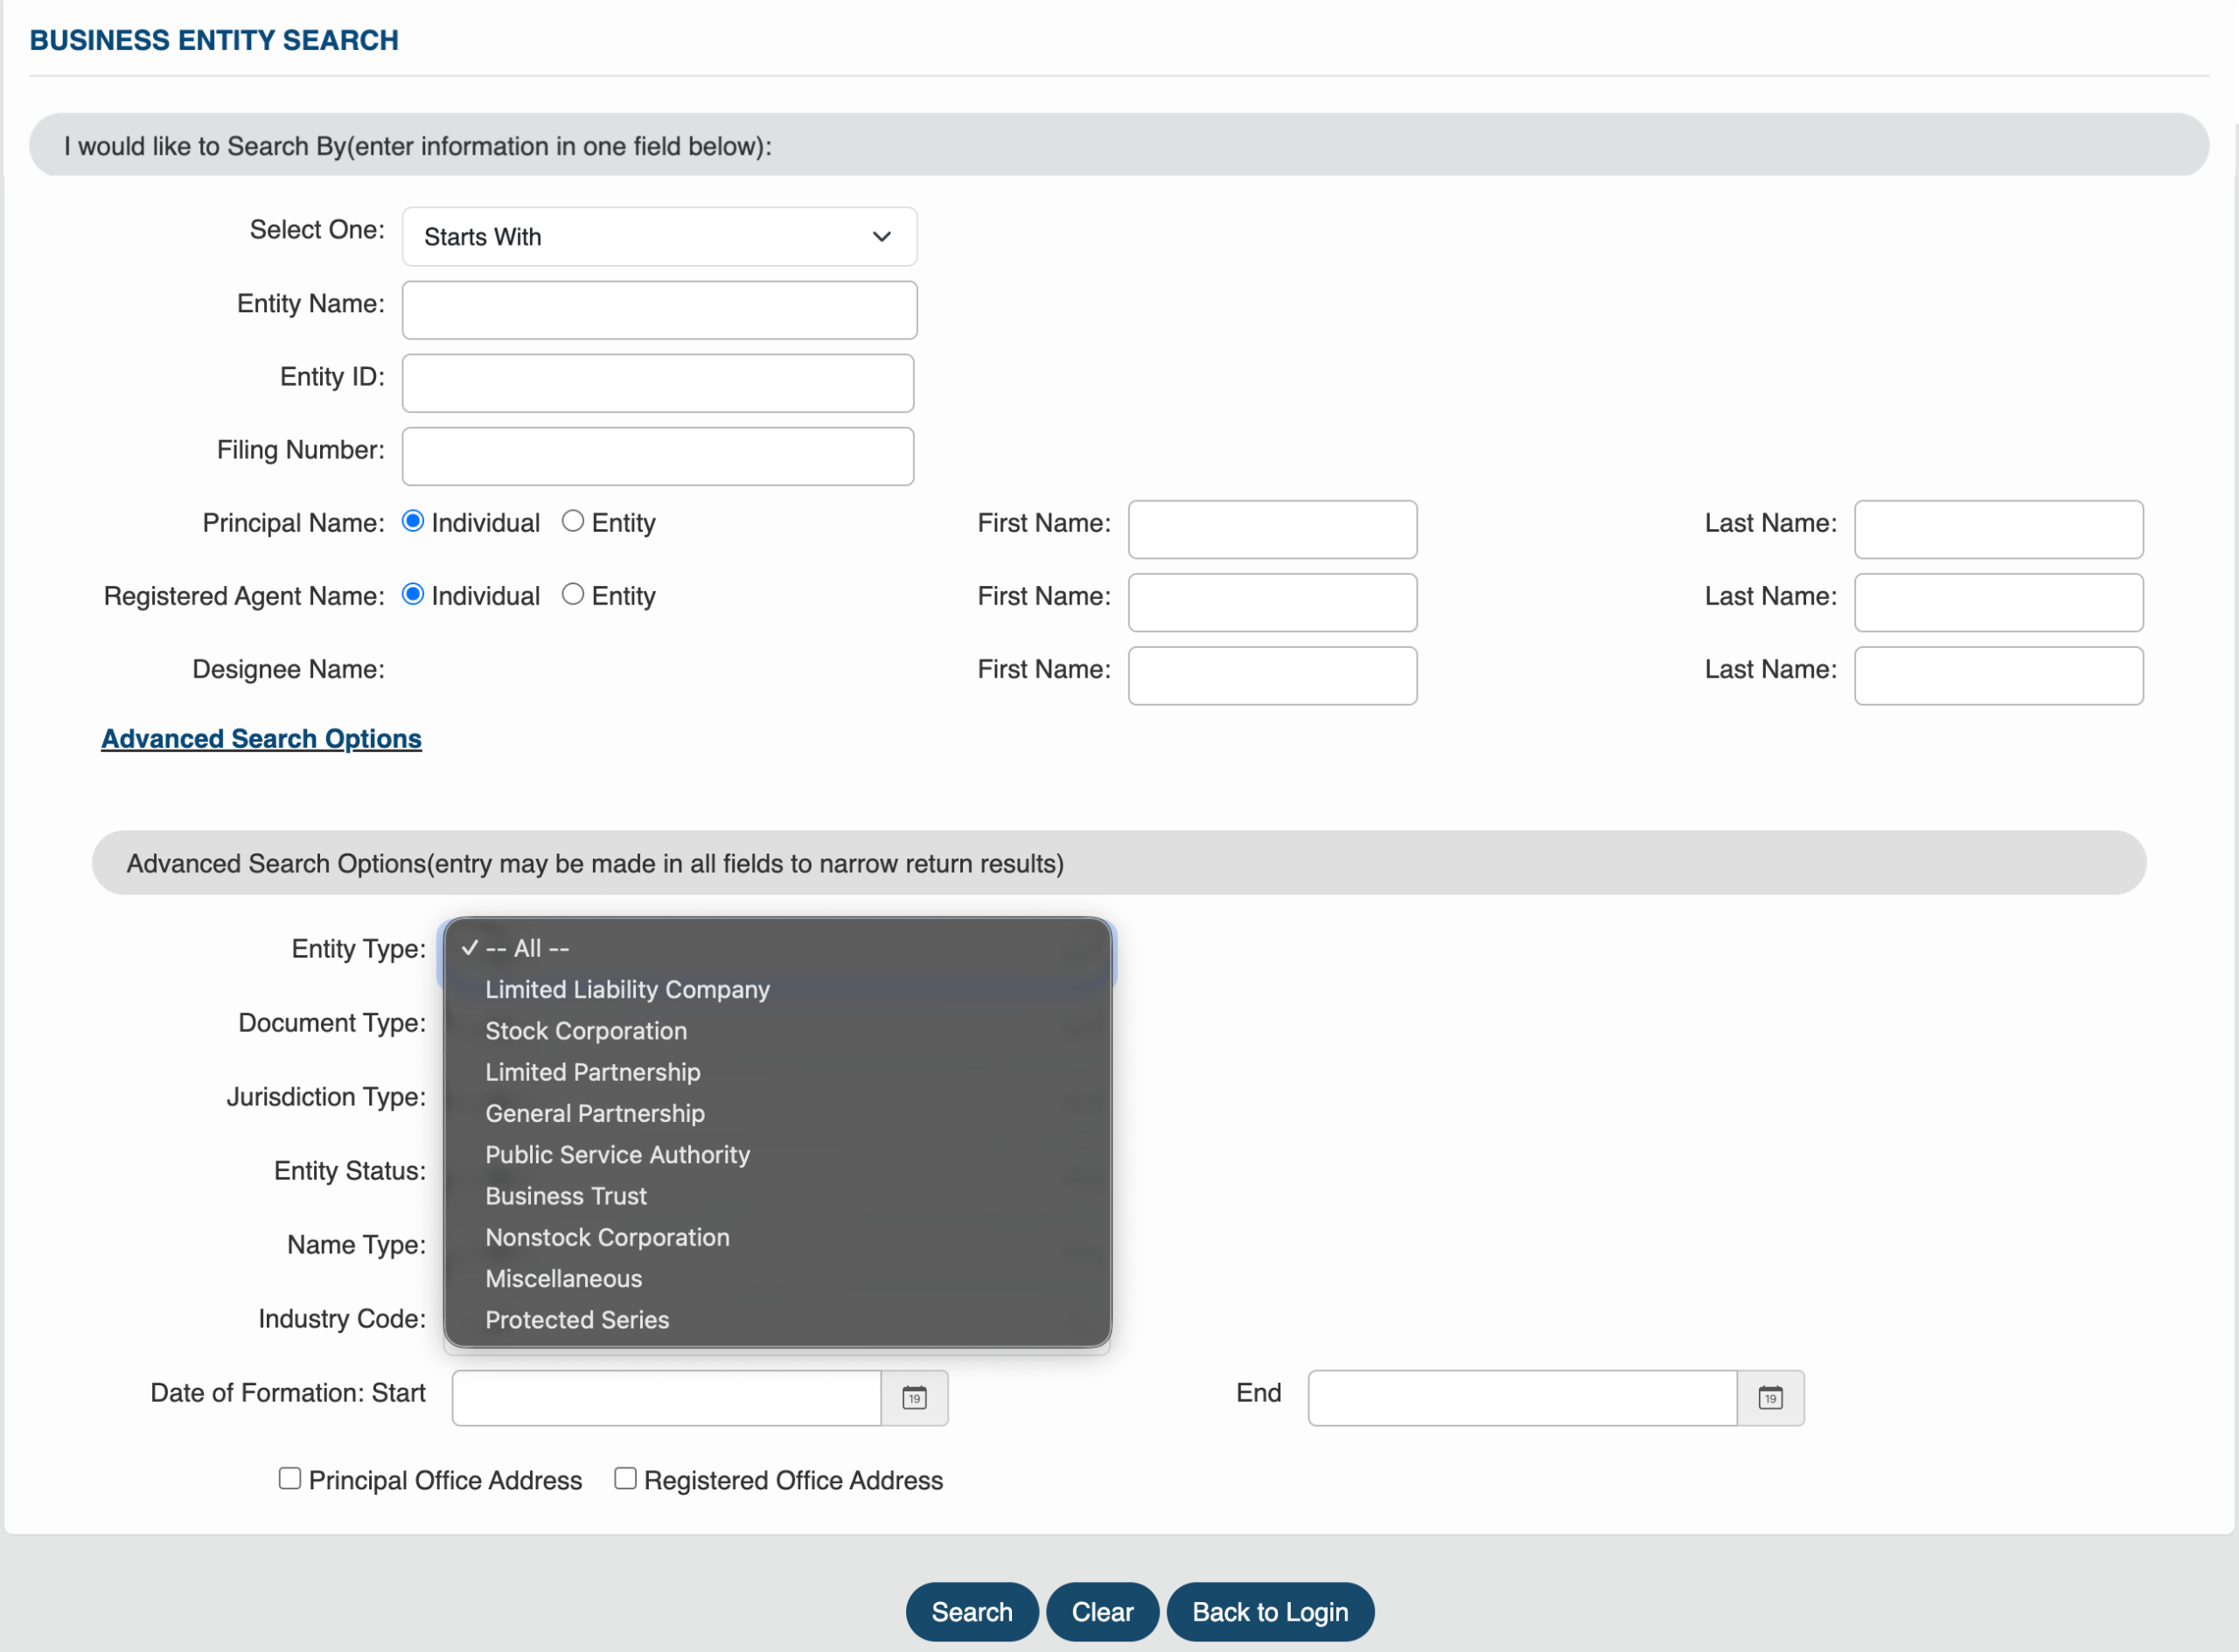
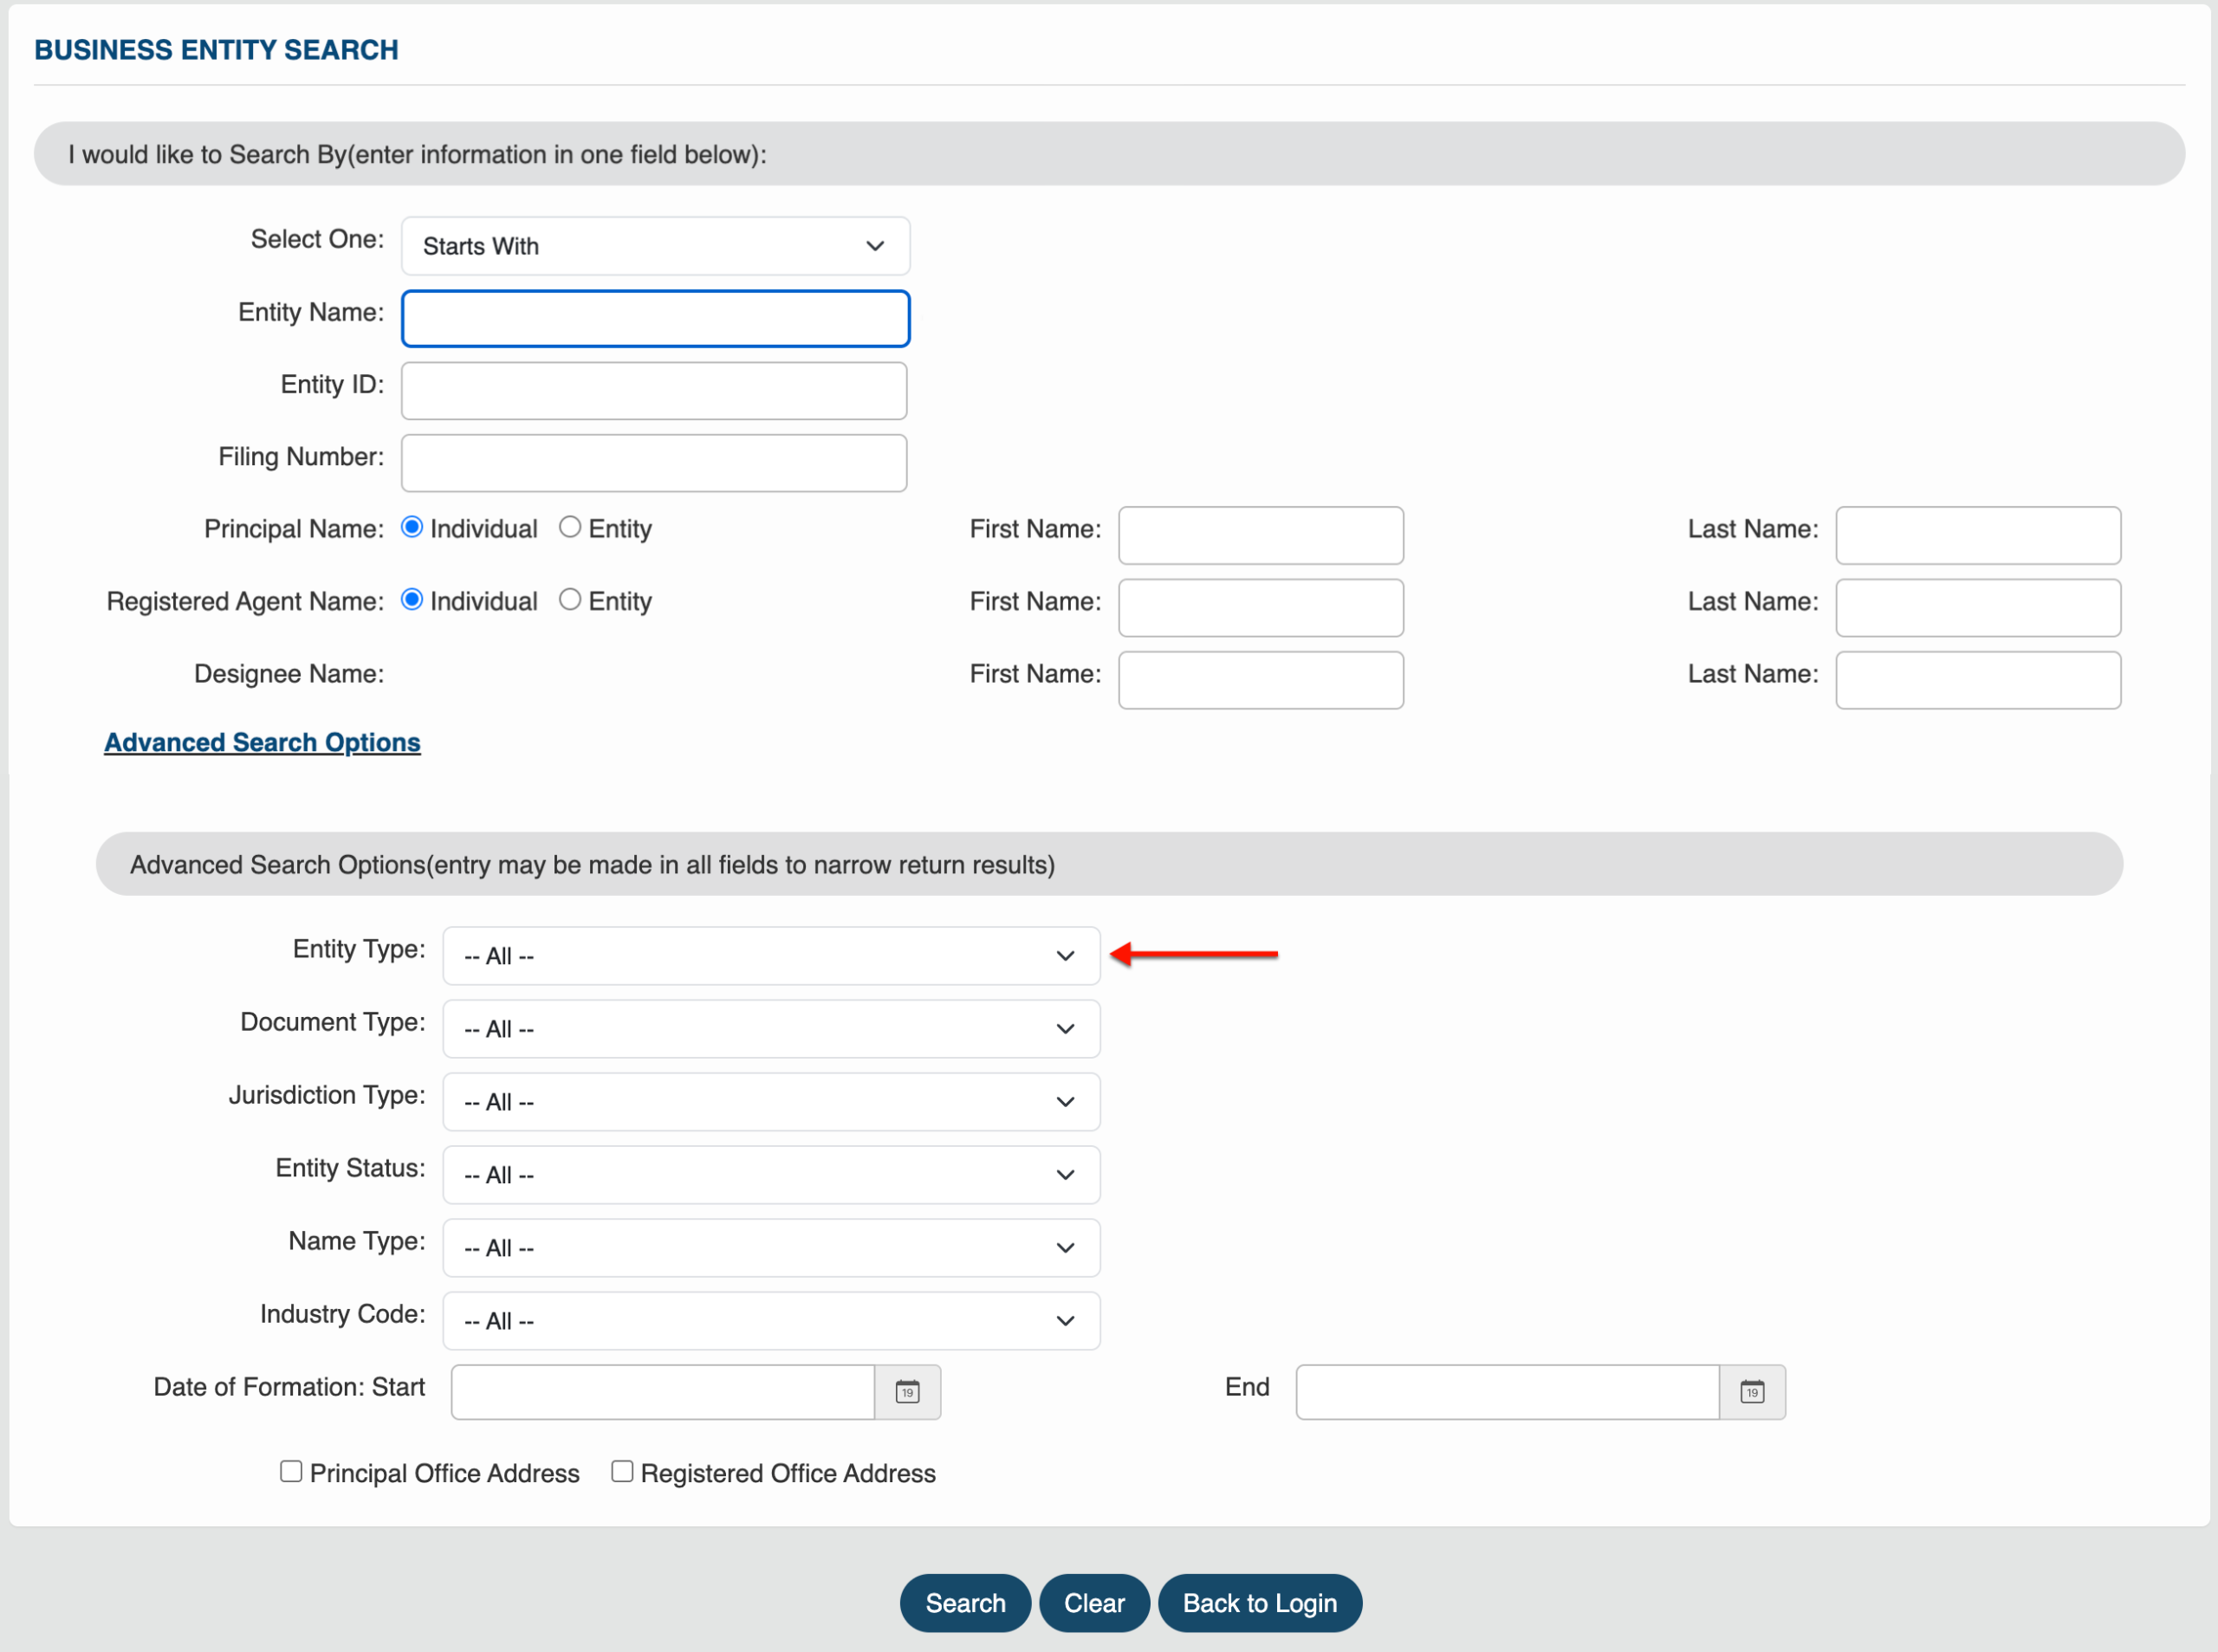
Step 14. Make Use of the Entity Type Filter
Review the drop-down menus, with a specific focus on “Entity Type.” Instruct the query to only show records with the entity type you choose (see image).
- Entity Type
- Document Type
- Jurisdiction
- Entity Status
- Name Type
- Industry Code
- Date of Formation
- Start
- End
- Principal Office Address
- Registered Office Address
- Search
- Clear
- Back to Login
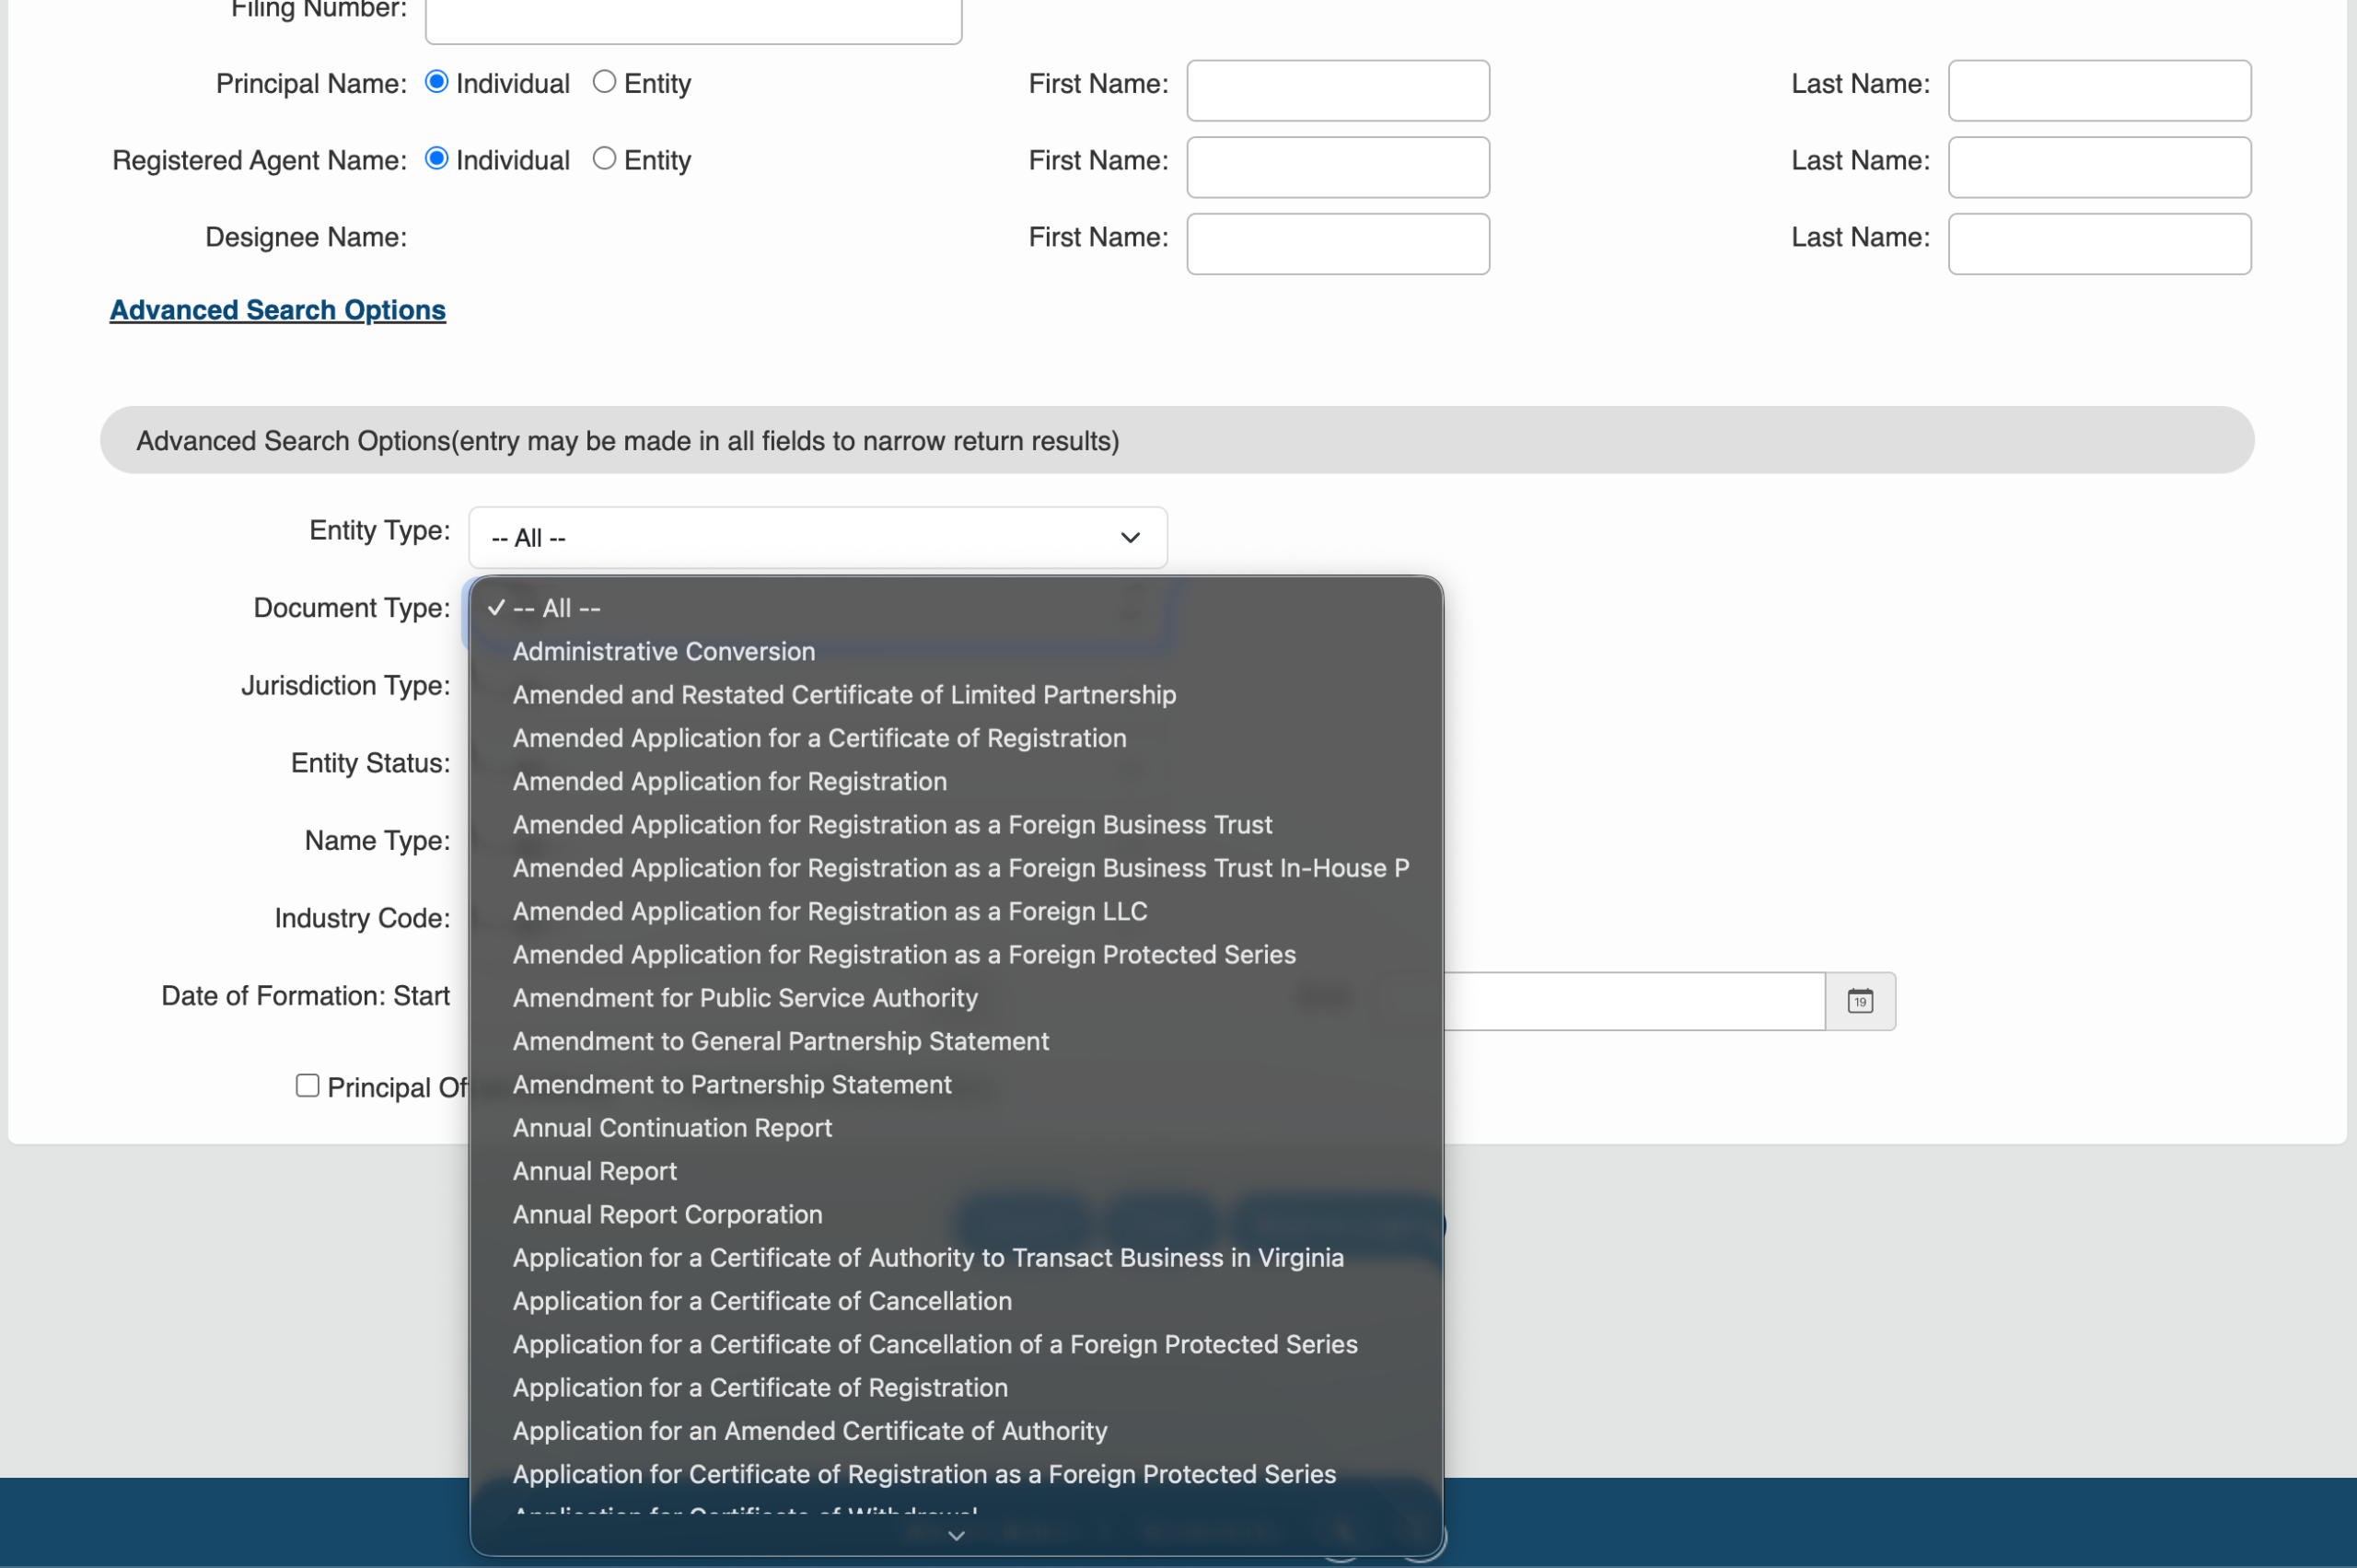
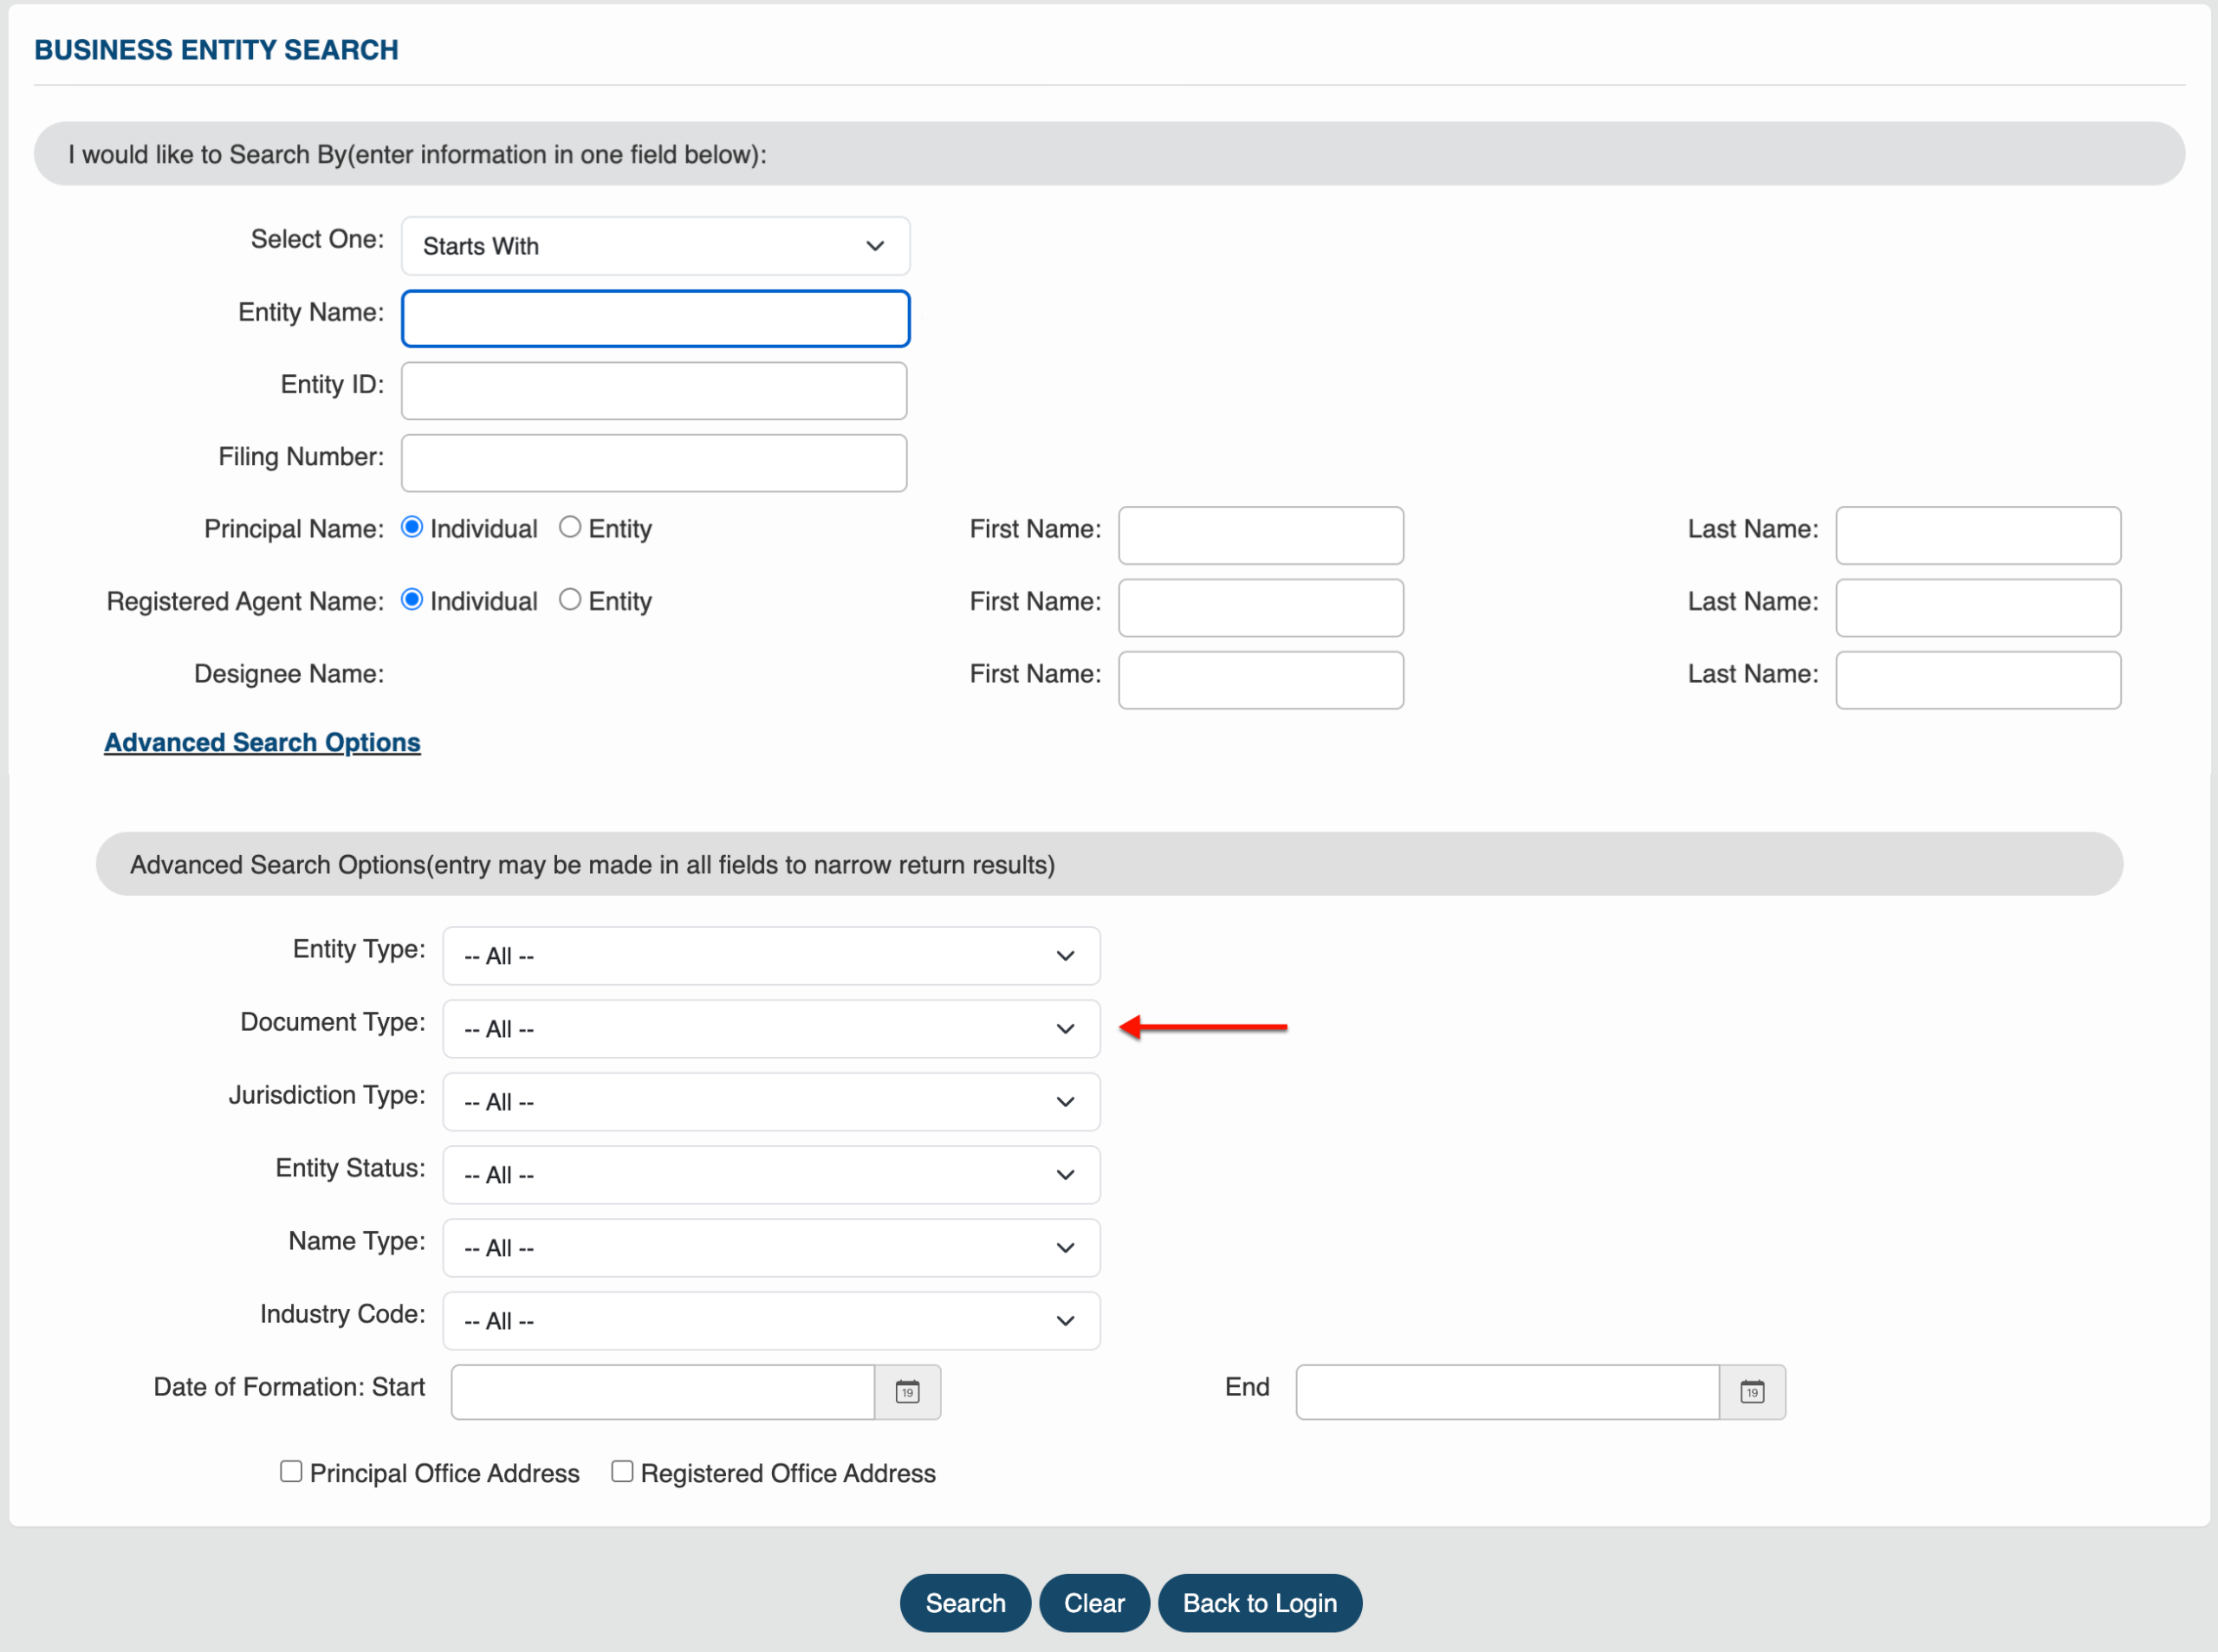
Step 15. Focus Results With a Document Type
Require the query to only include entities that have filed specific documents. To use this feature, select the mandatory document type from the drop-down menu (see image).
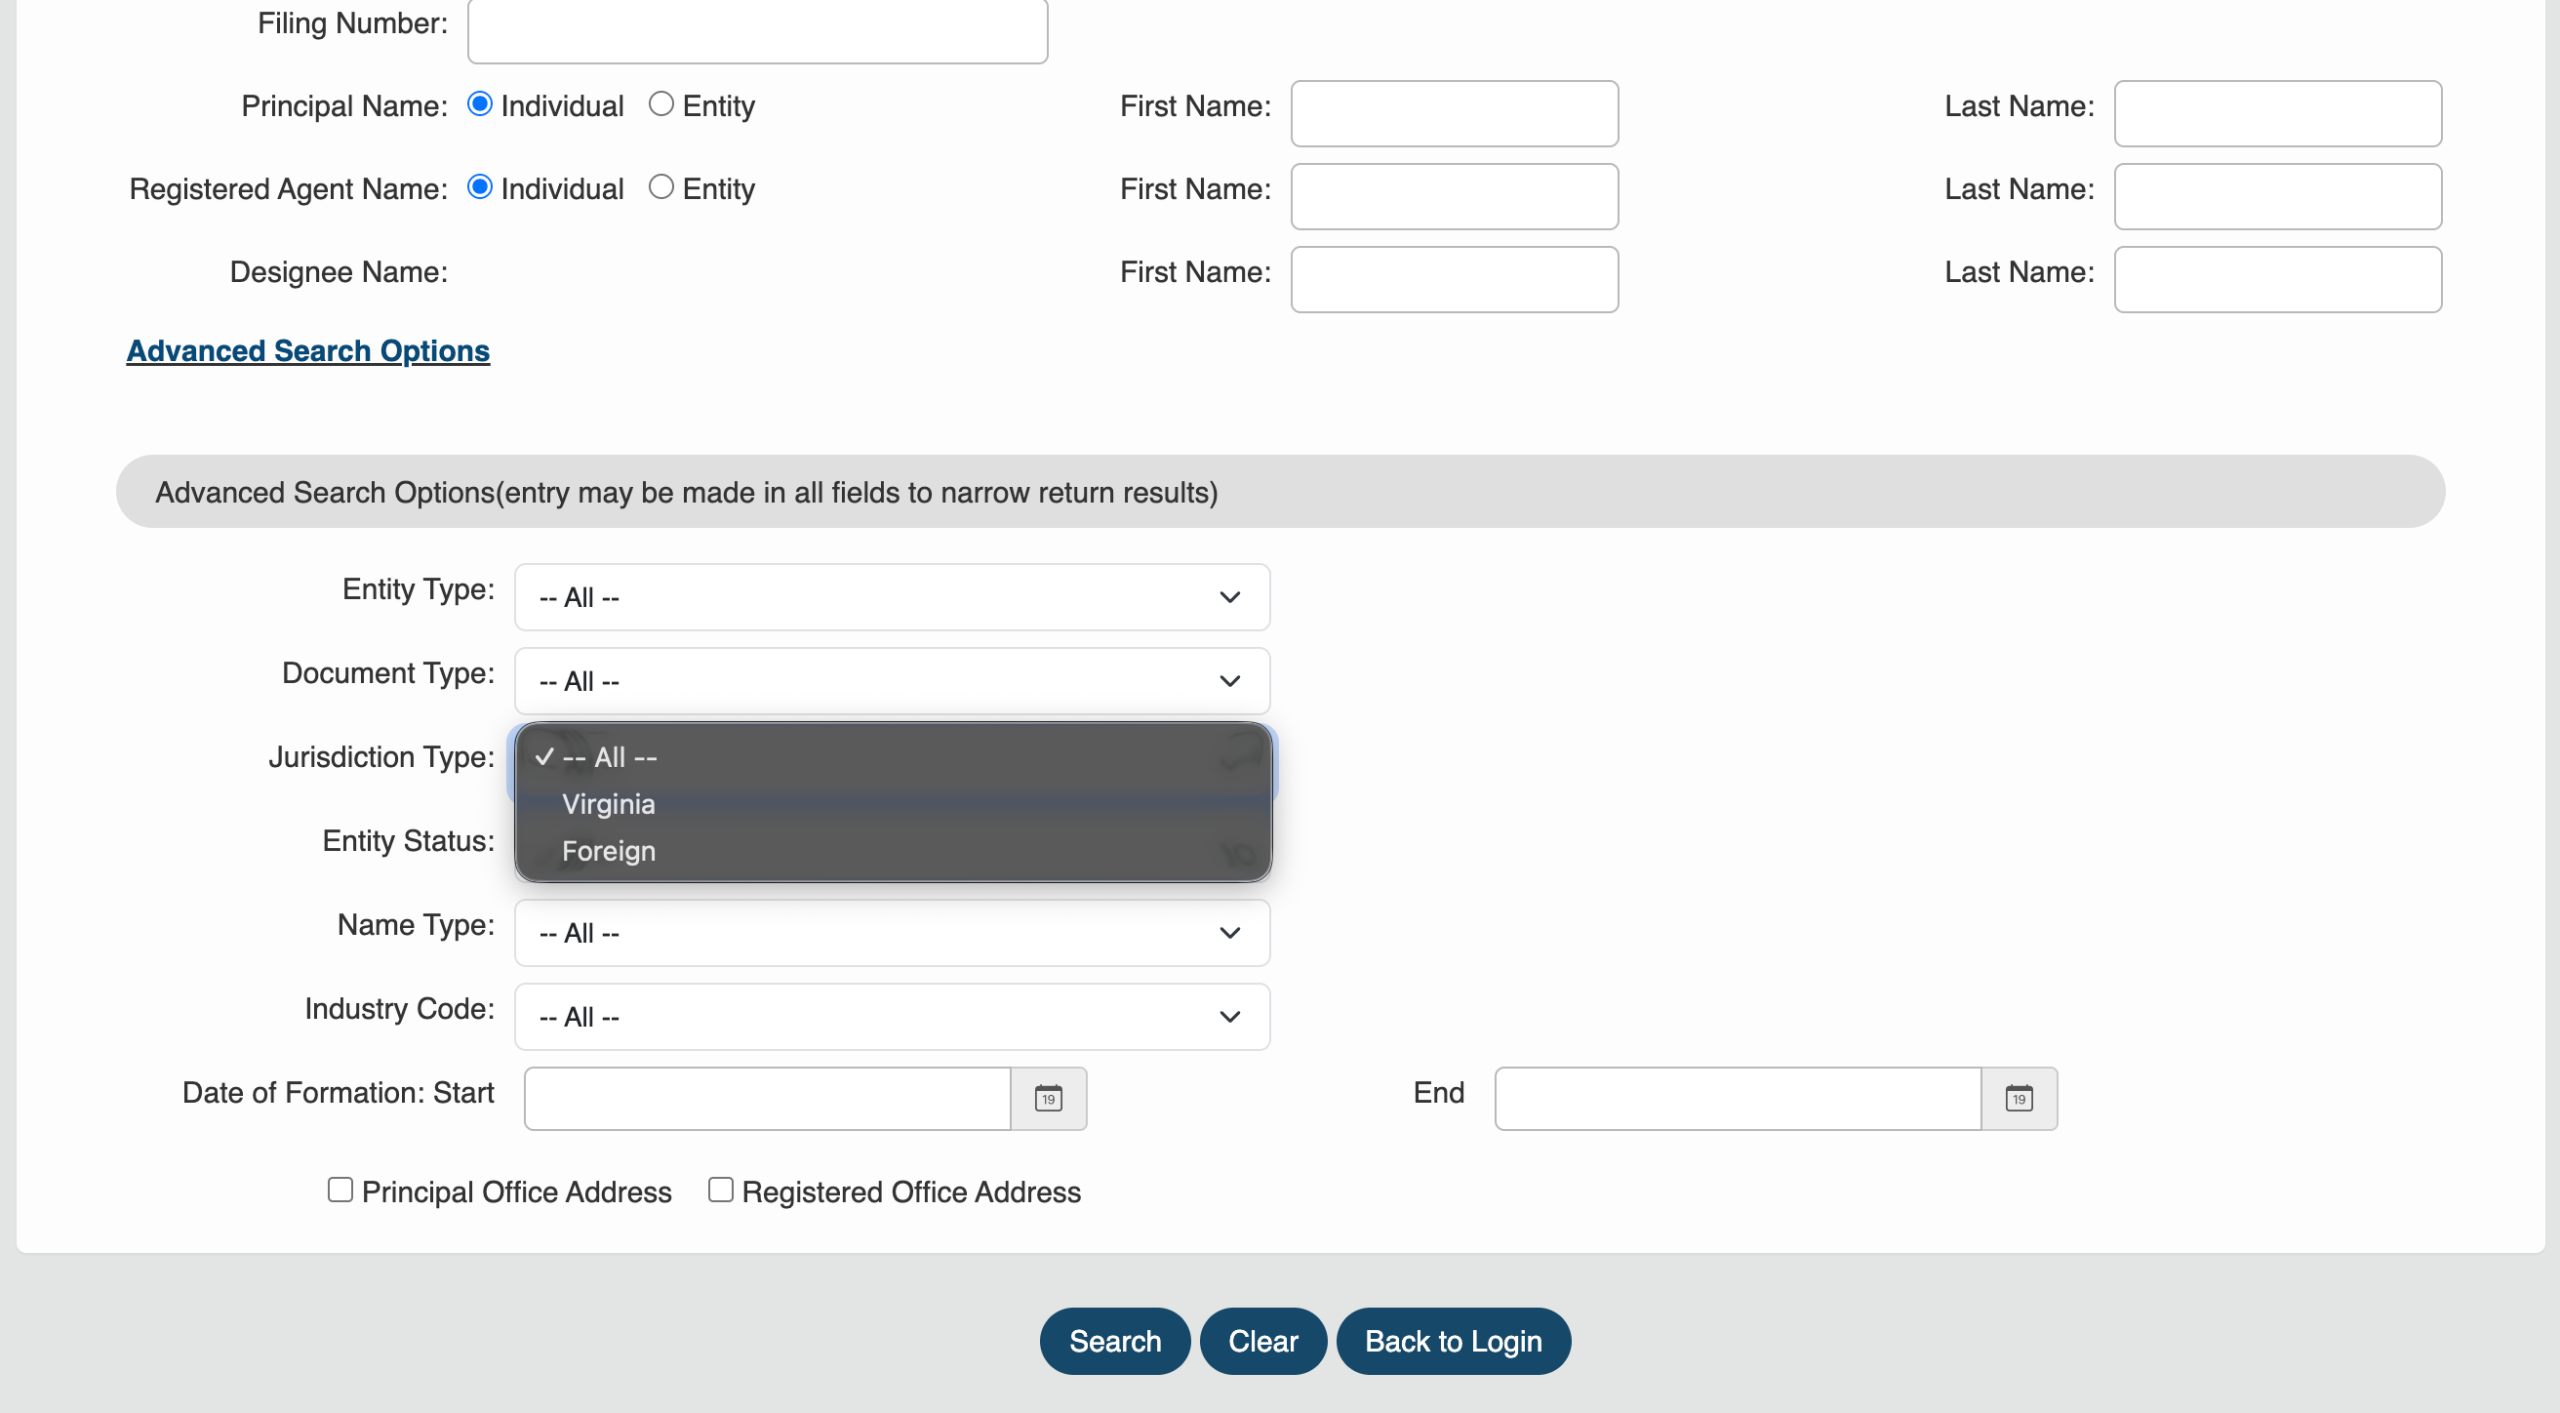
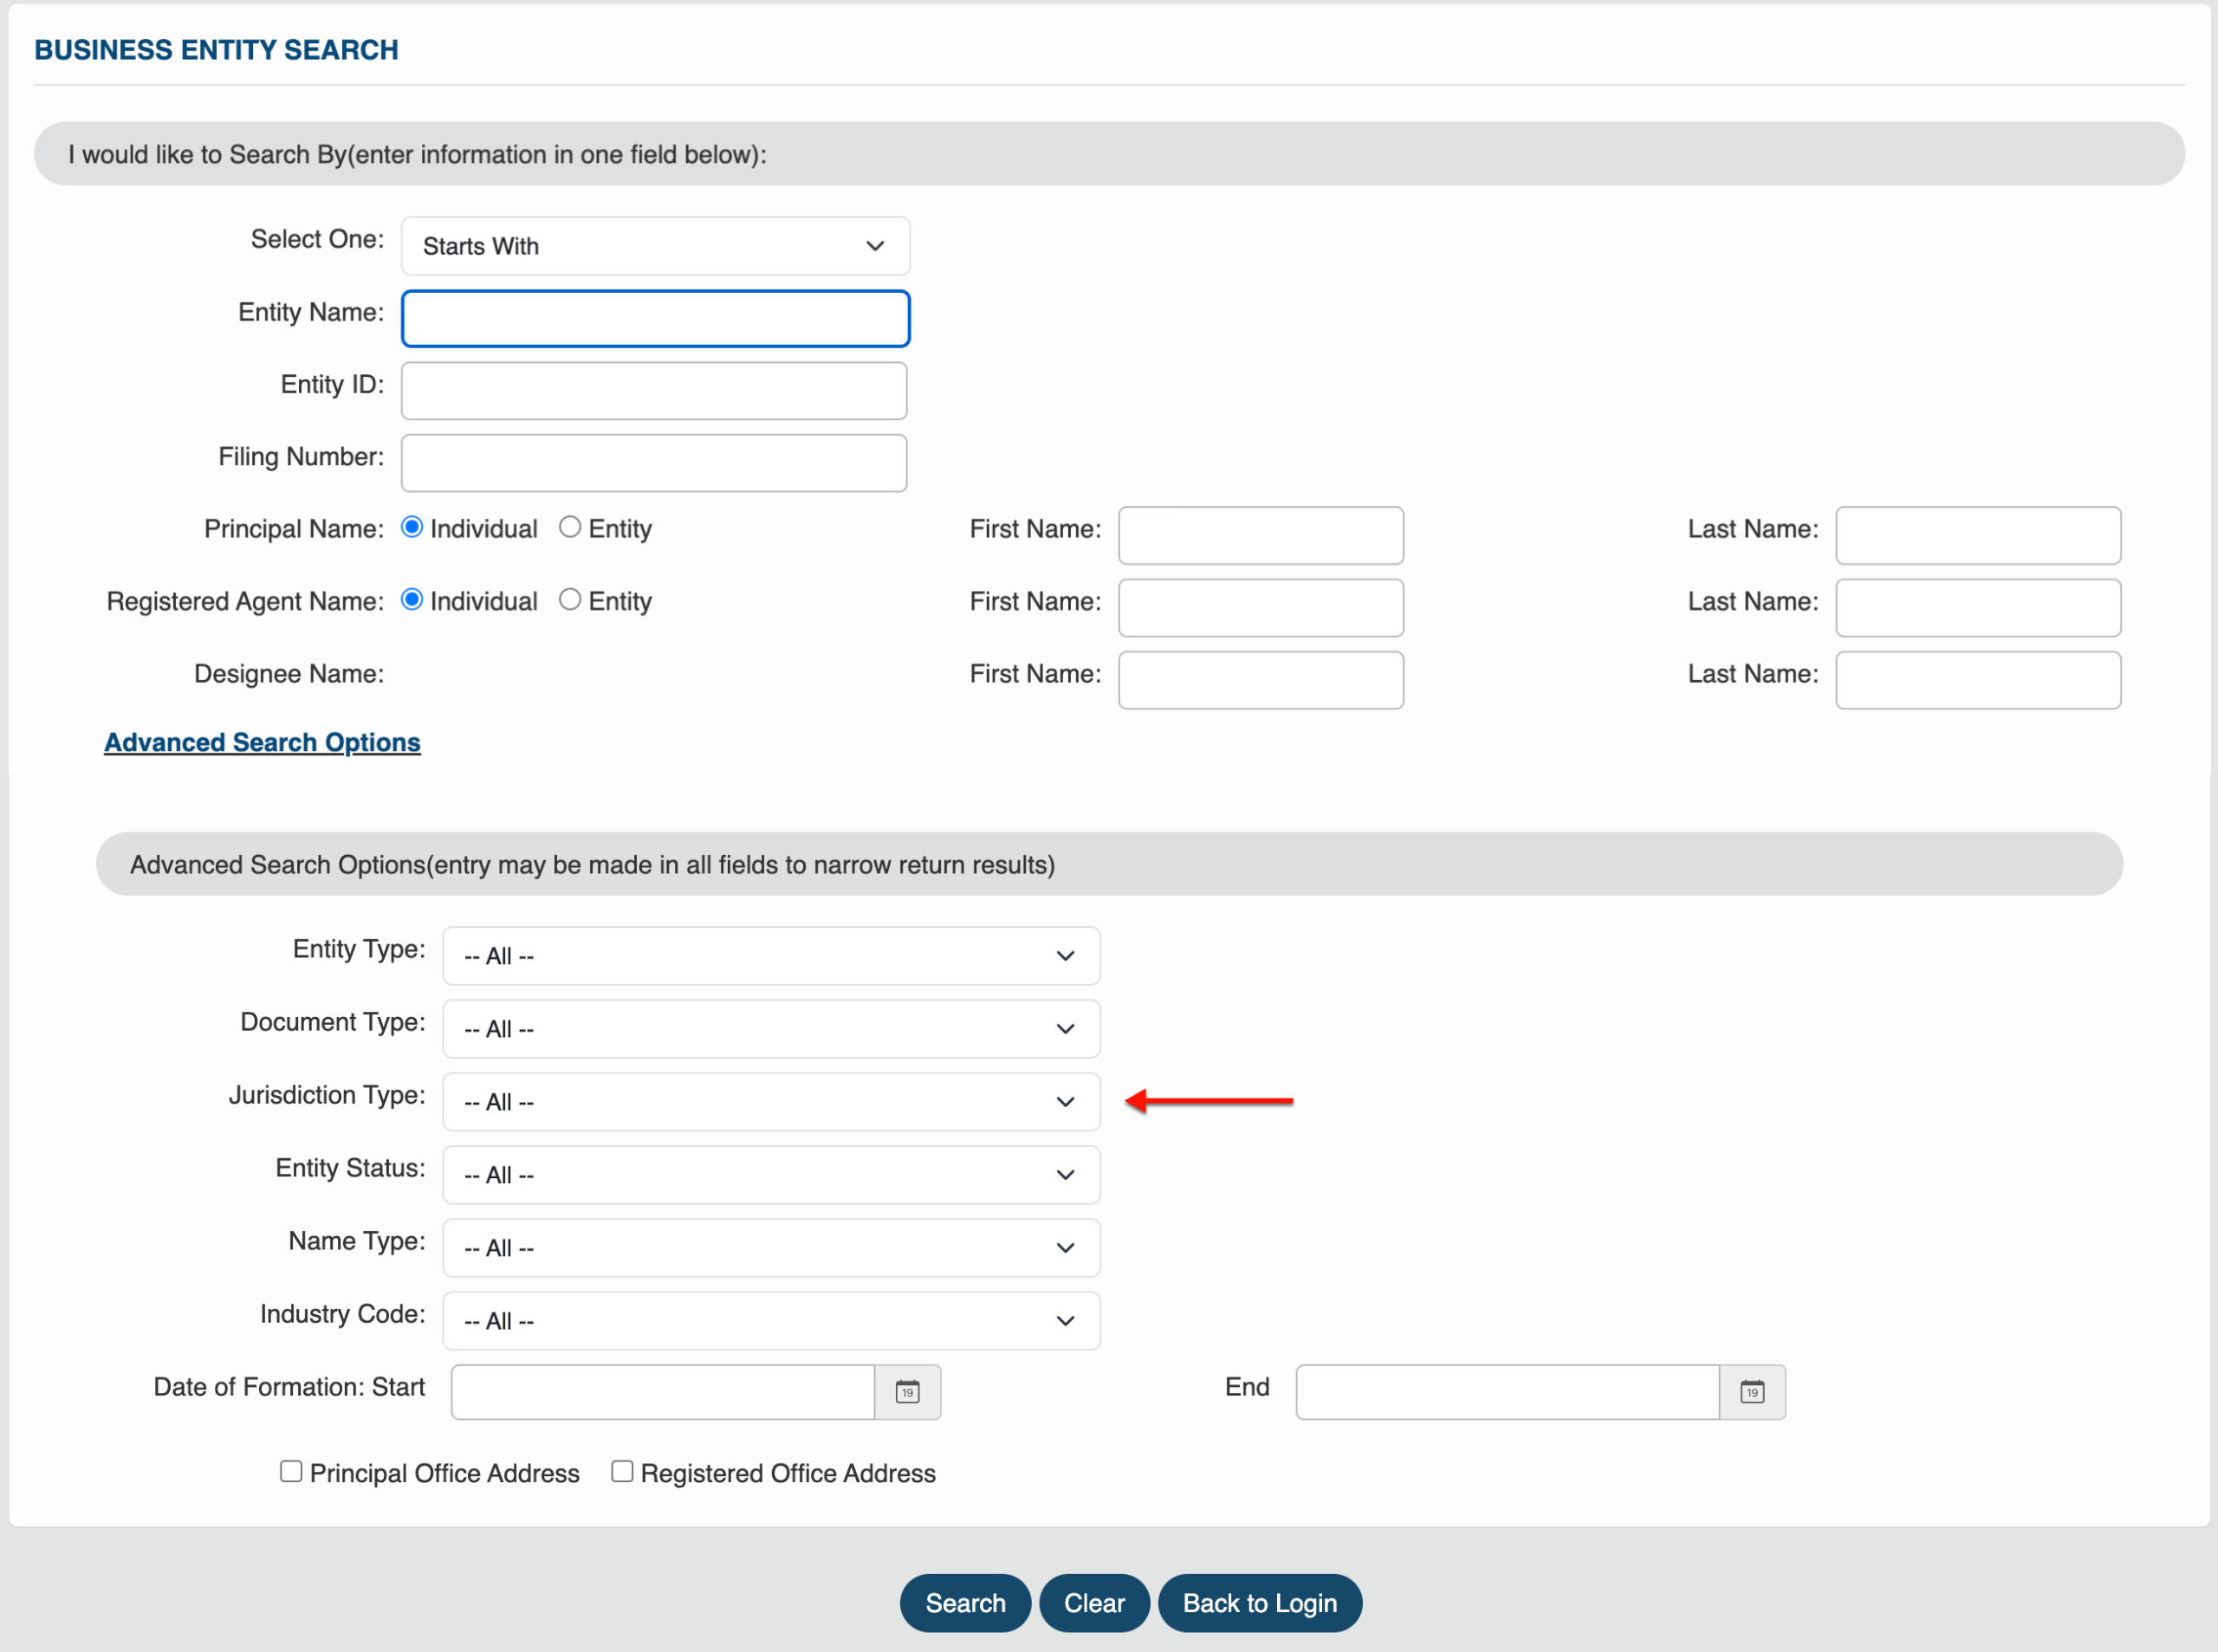
Step 16. Require a Specific Entity Jurisdiction
Indicate if the query should only display domestic or foreign entities with the “Jurisdiction Type” menu (see image). Select “All” if this is inconsequential or if this information is unknown.
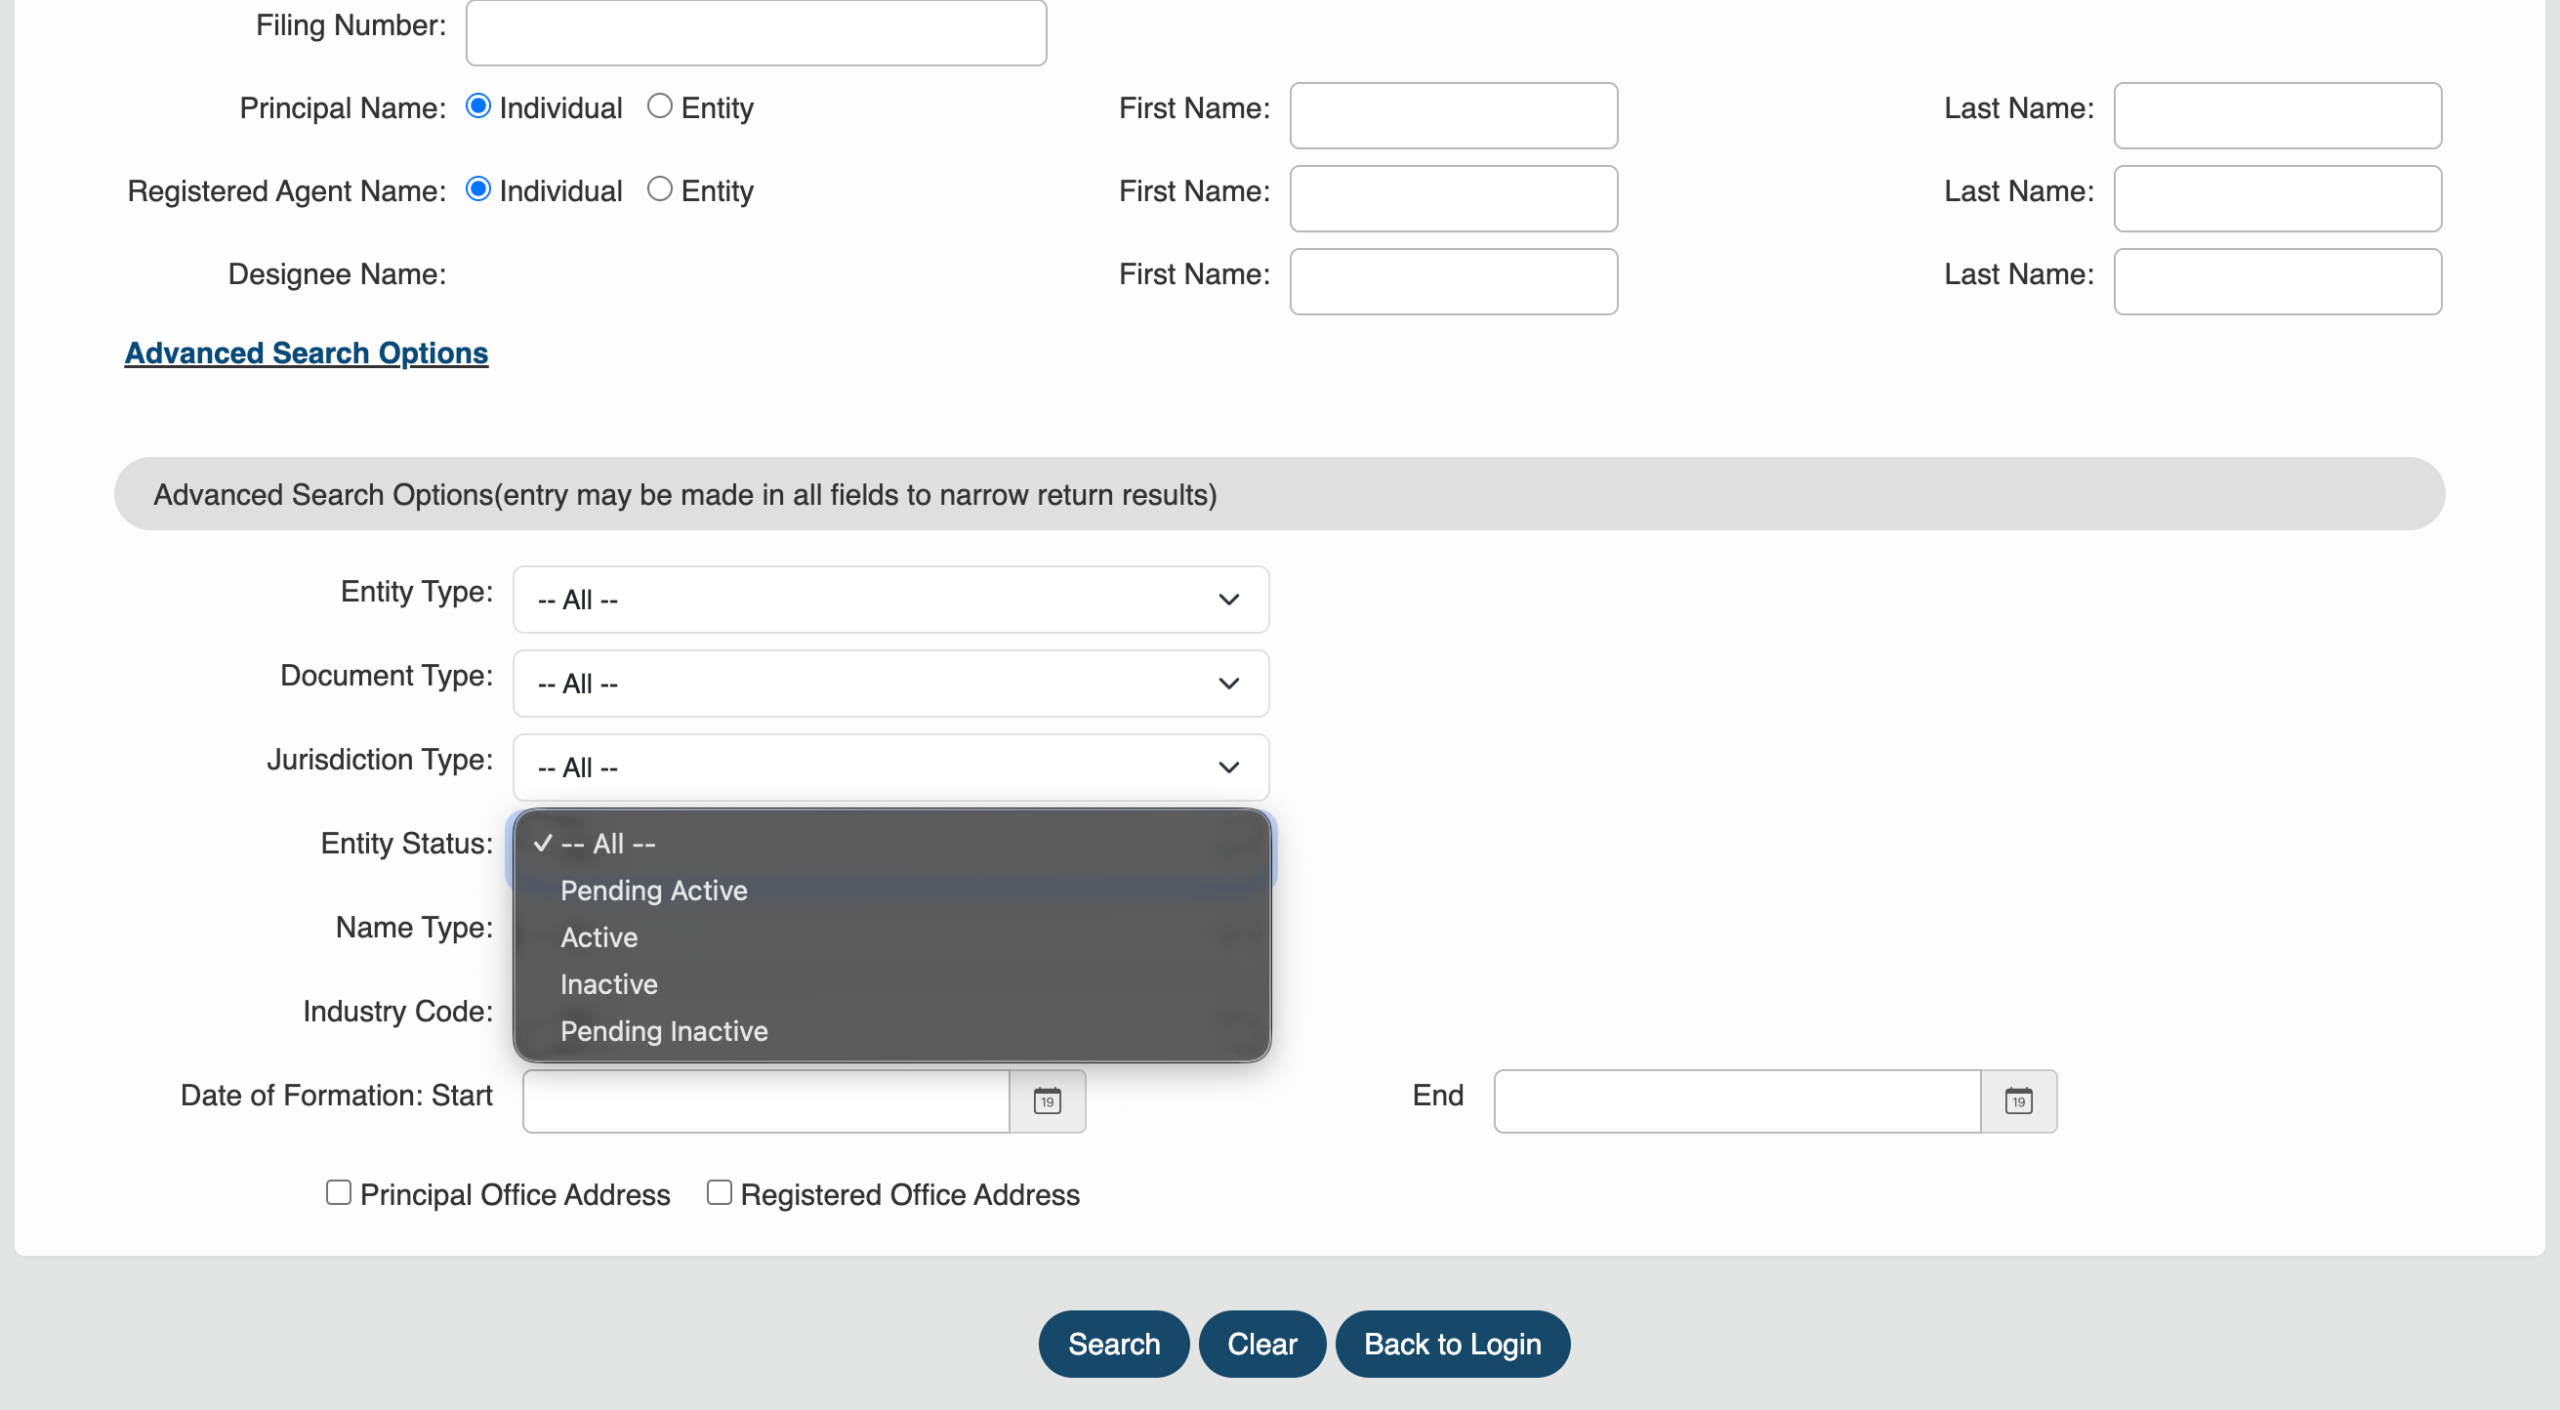
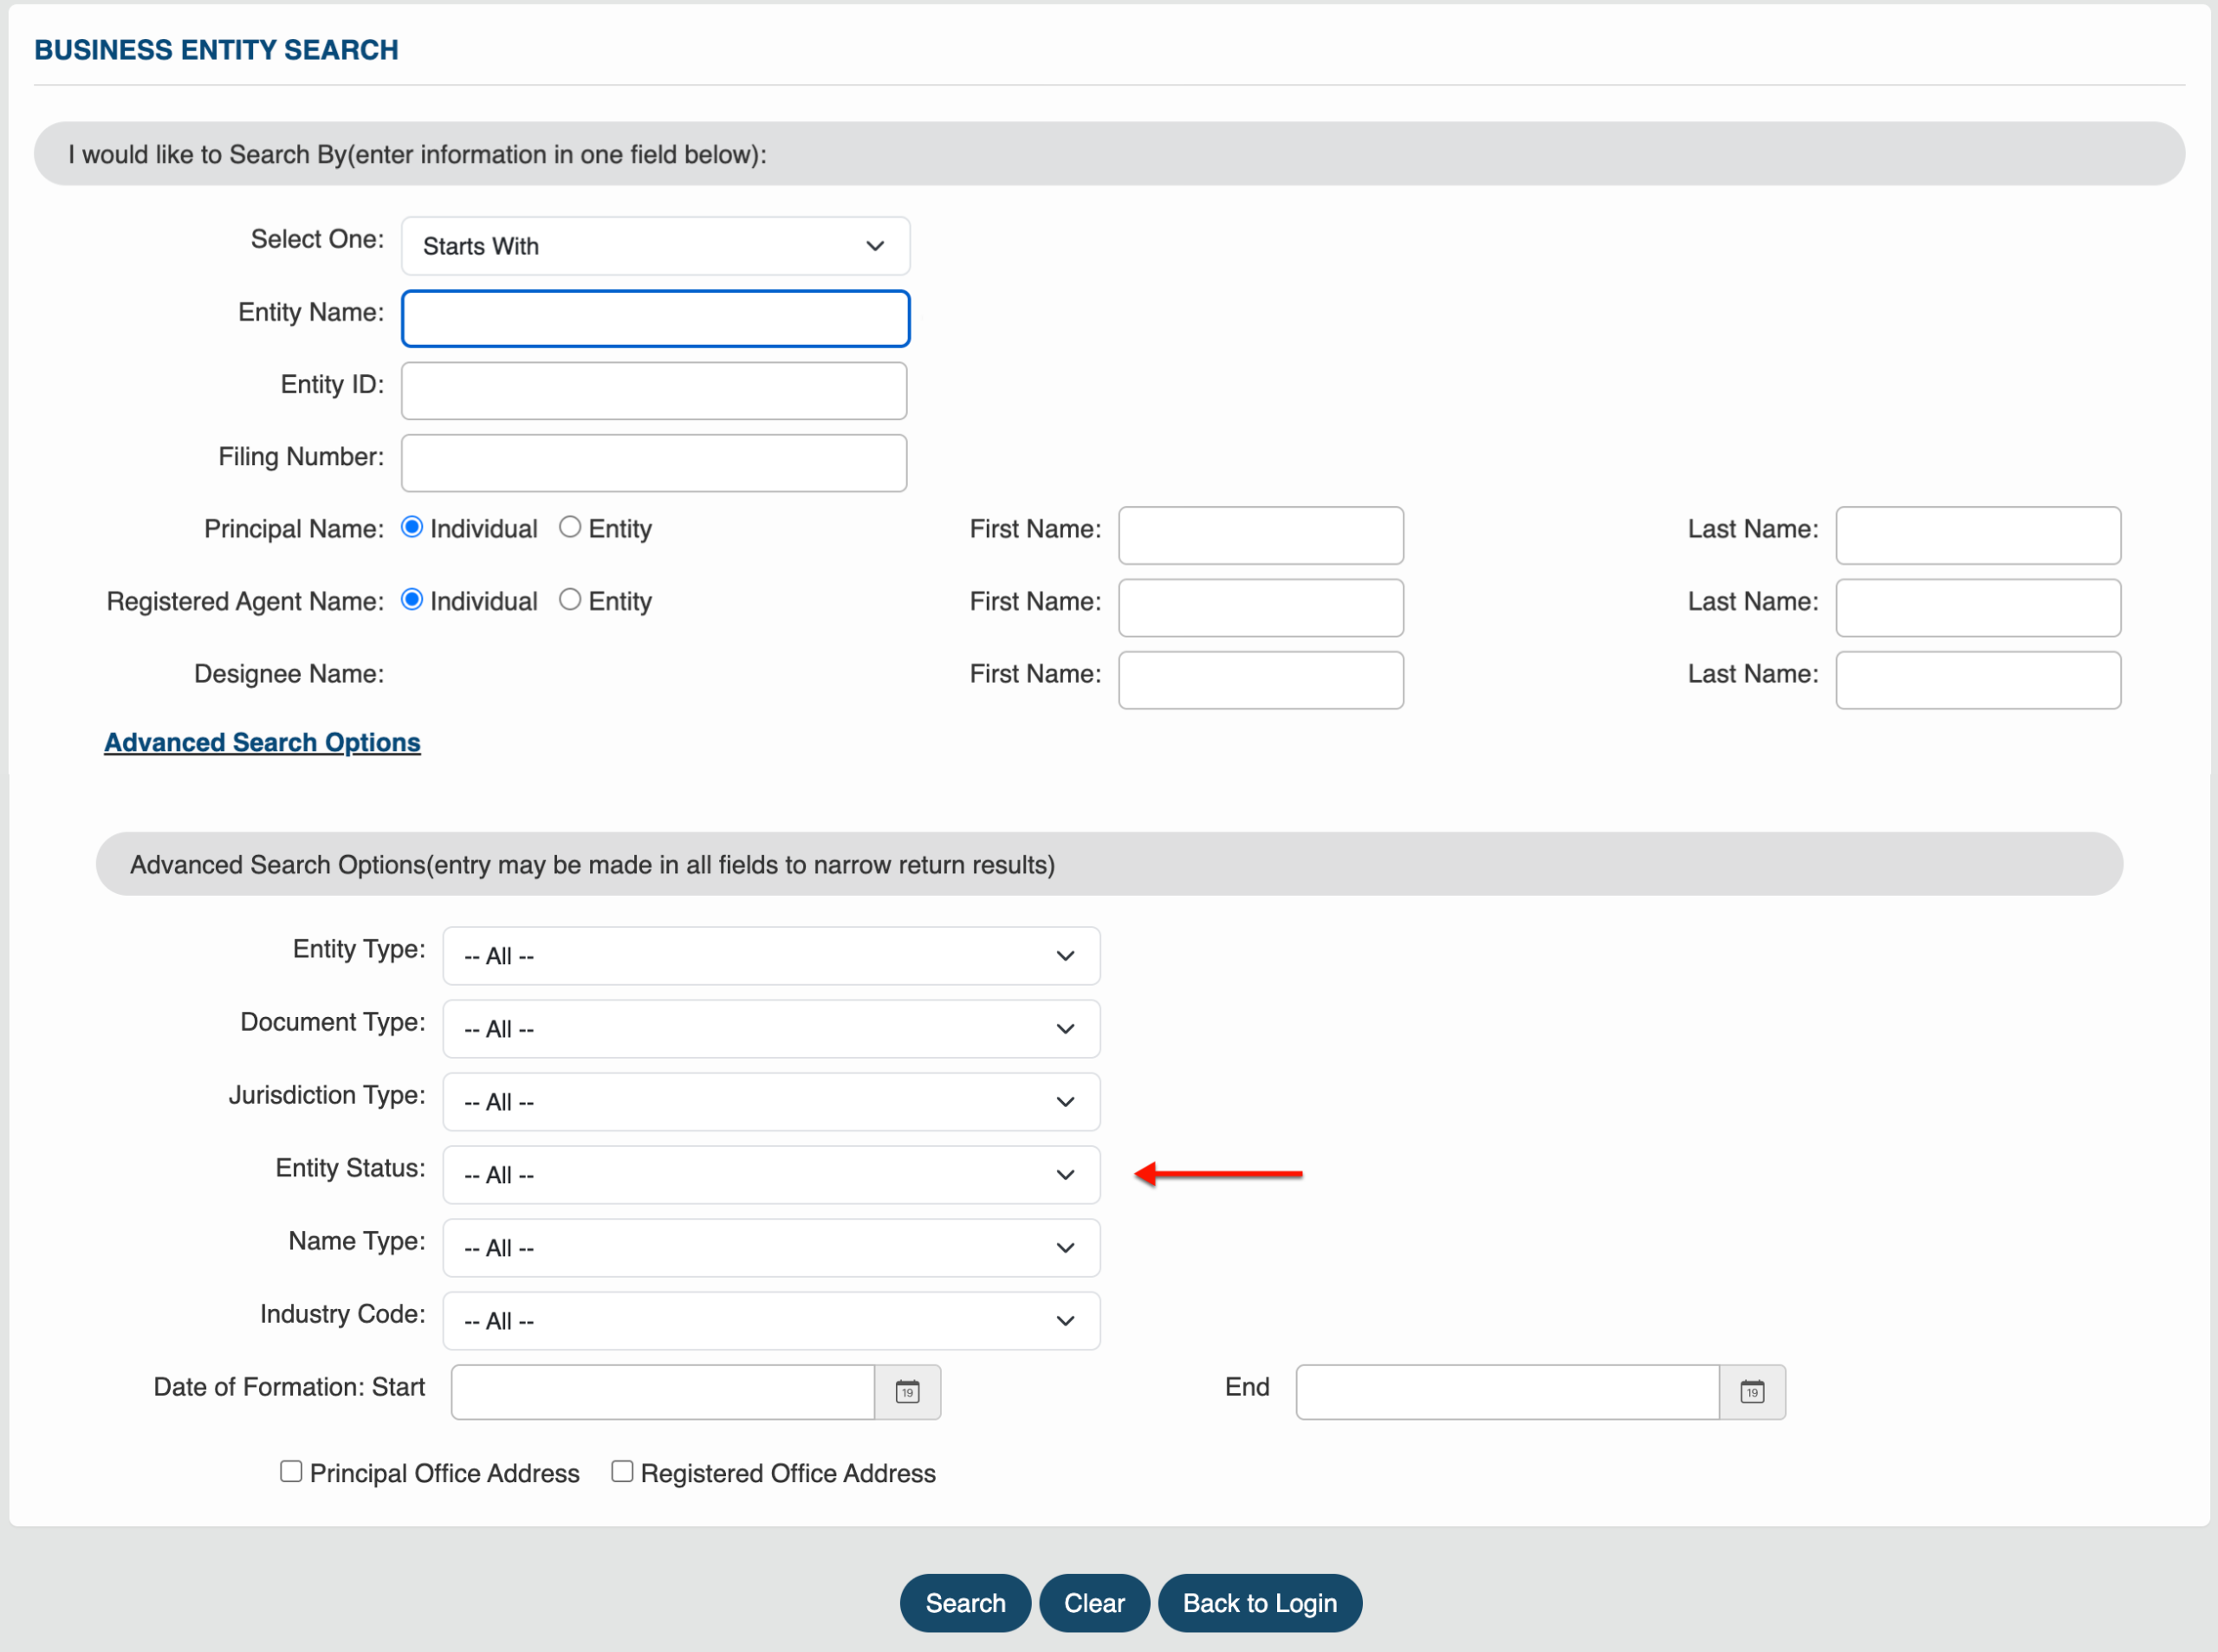
Step 17. Seek Entities with a Specific Status
Locate the “Entity Status” drop-down (see image). Require that the search display entities matching the criteria and have the status you select.
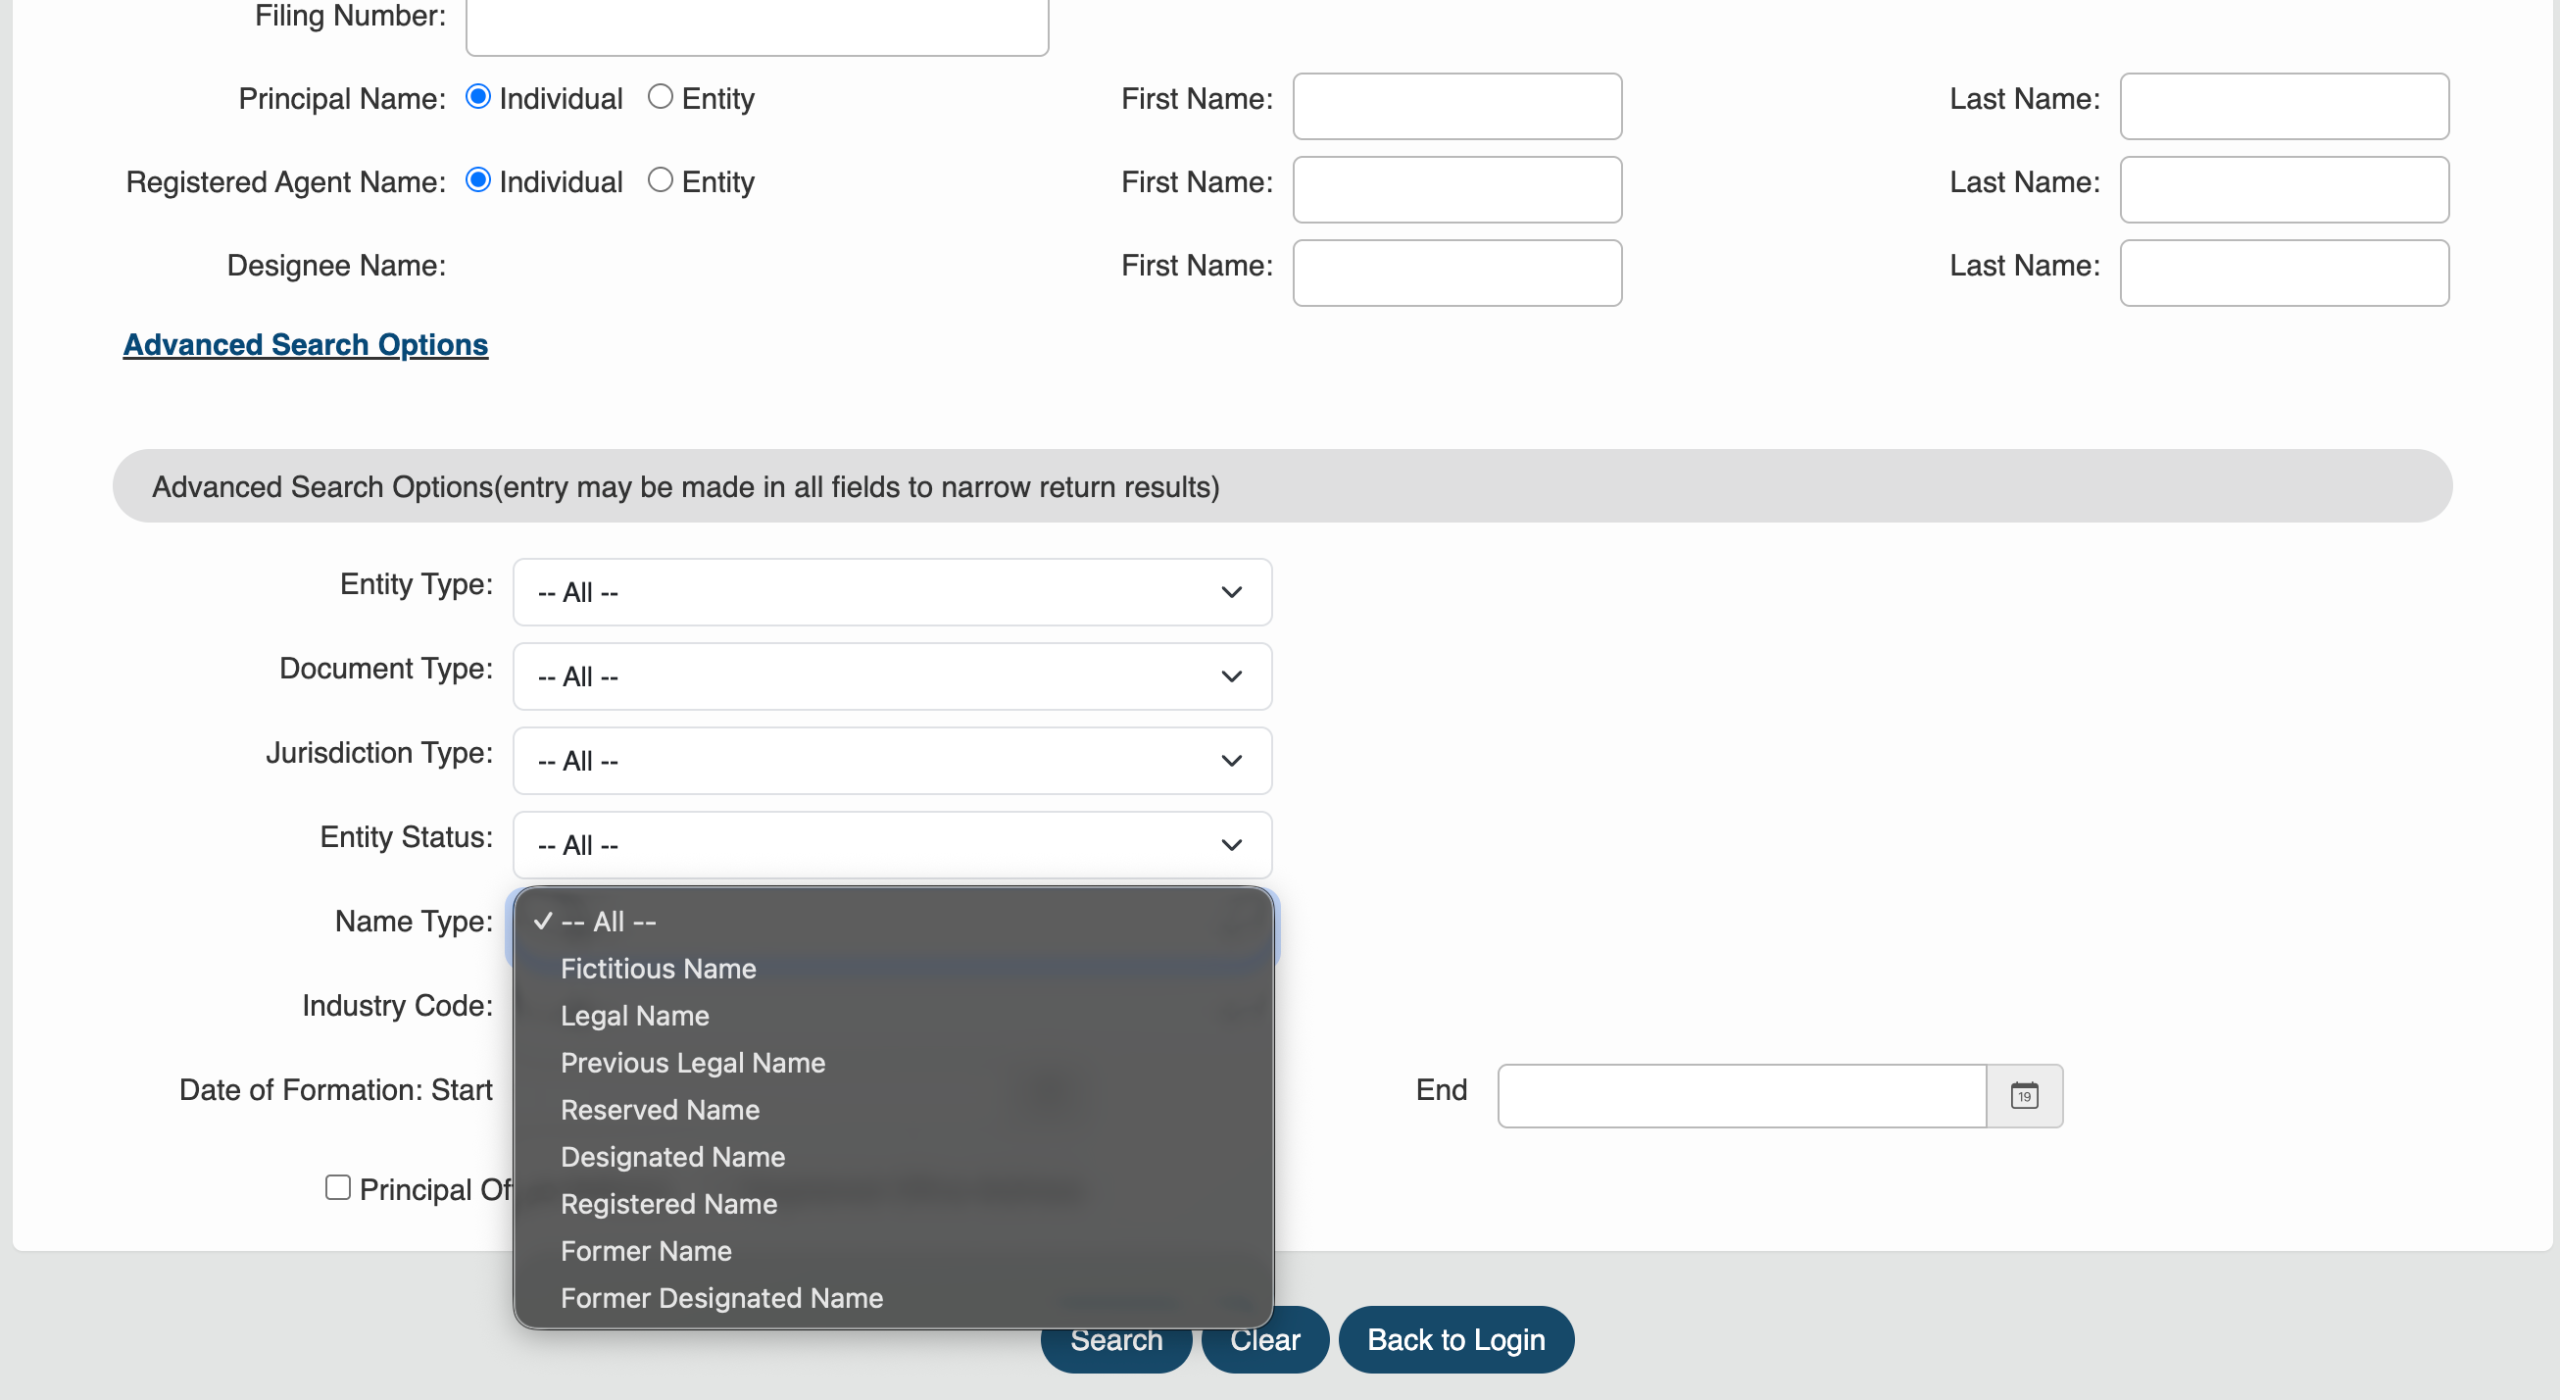
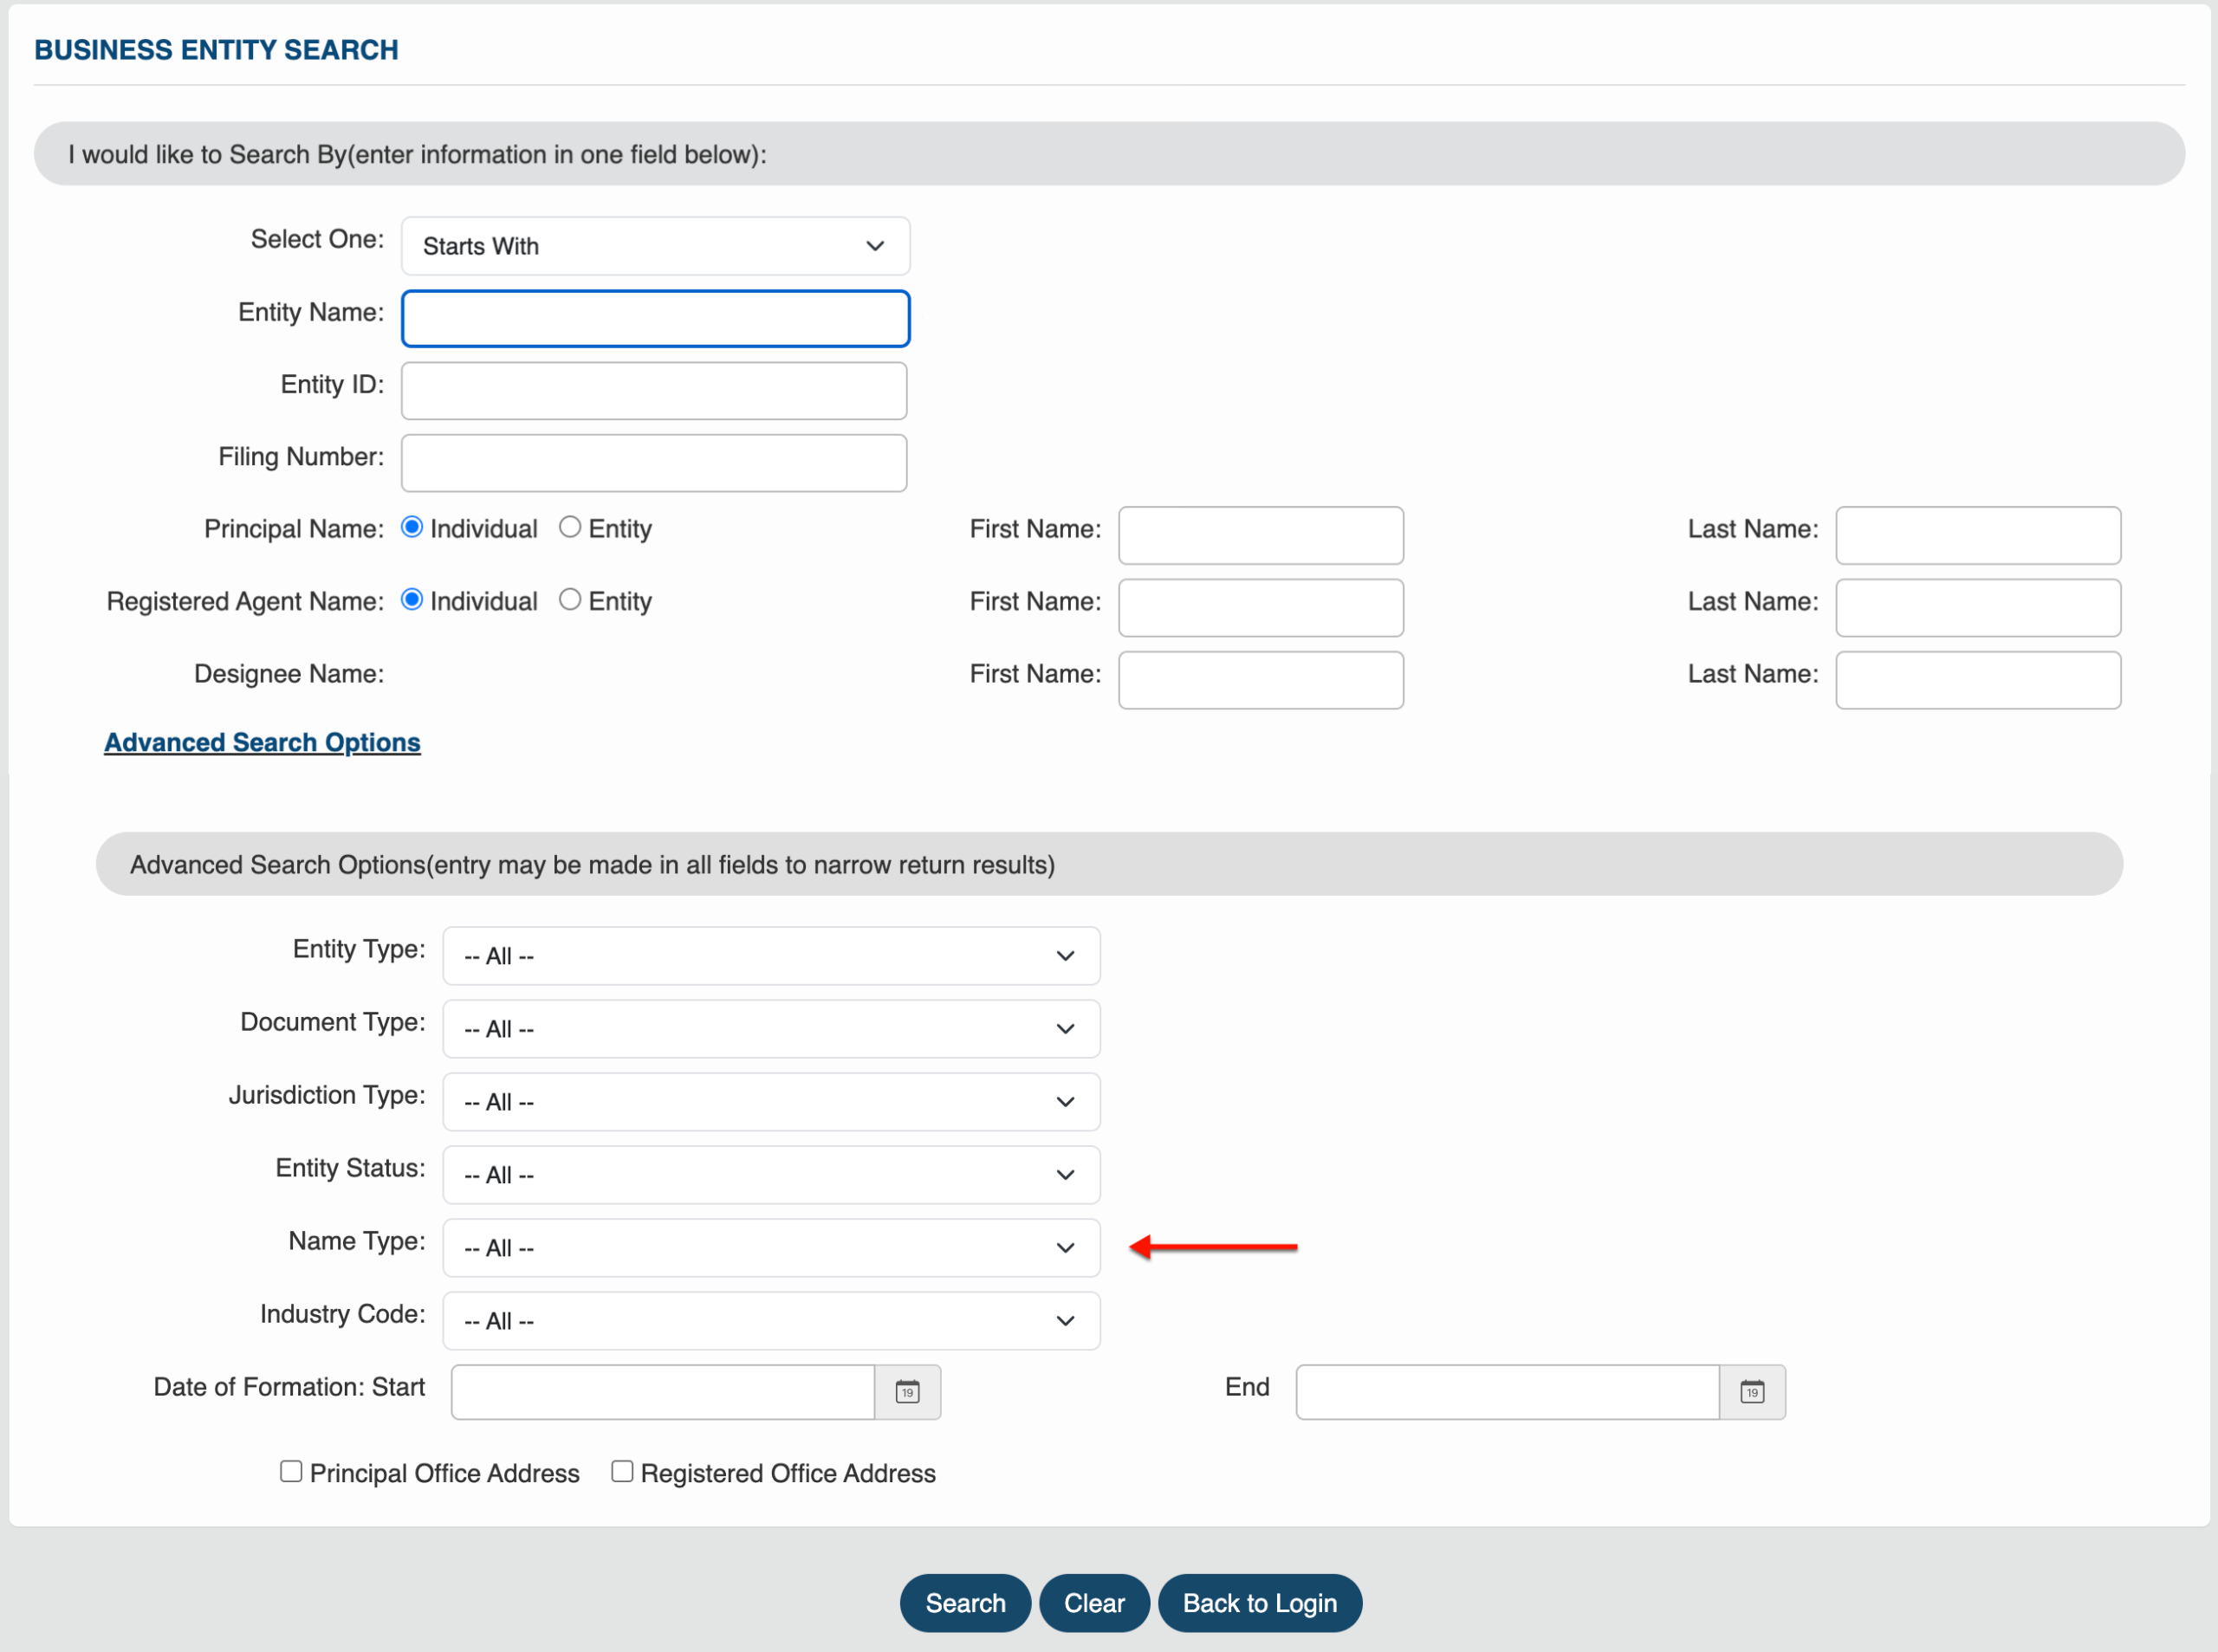
Step 18. Focus the Query on a Name Type
Cut entities with unwanted name types from query results using the “Name Type” menu (see image). Select only one type for the results.
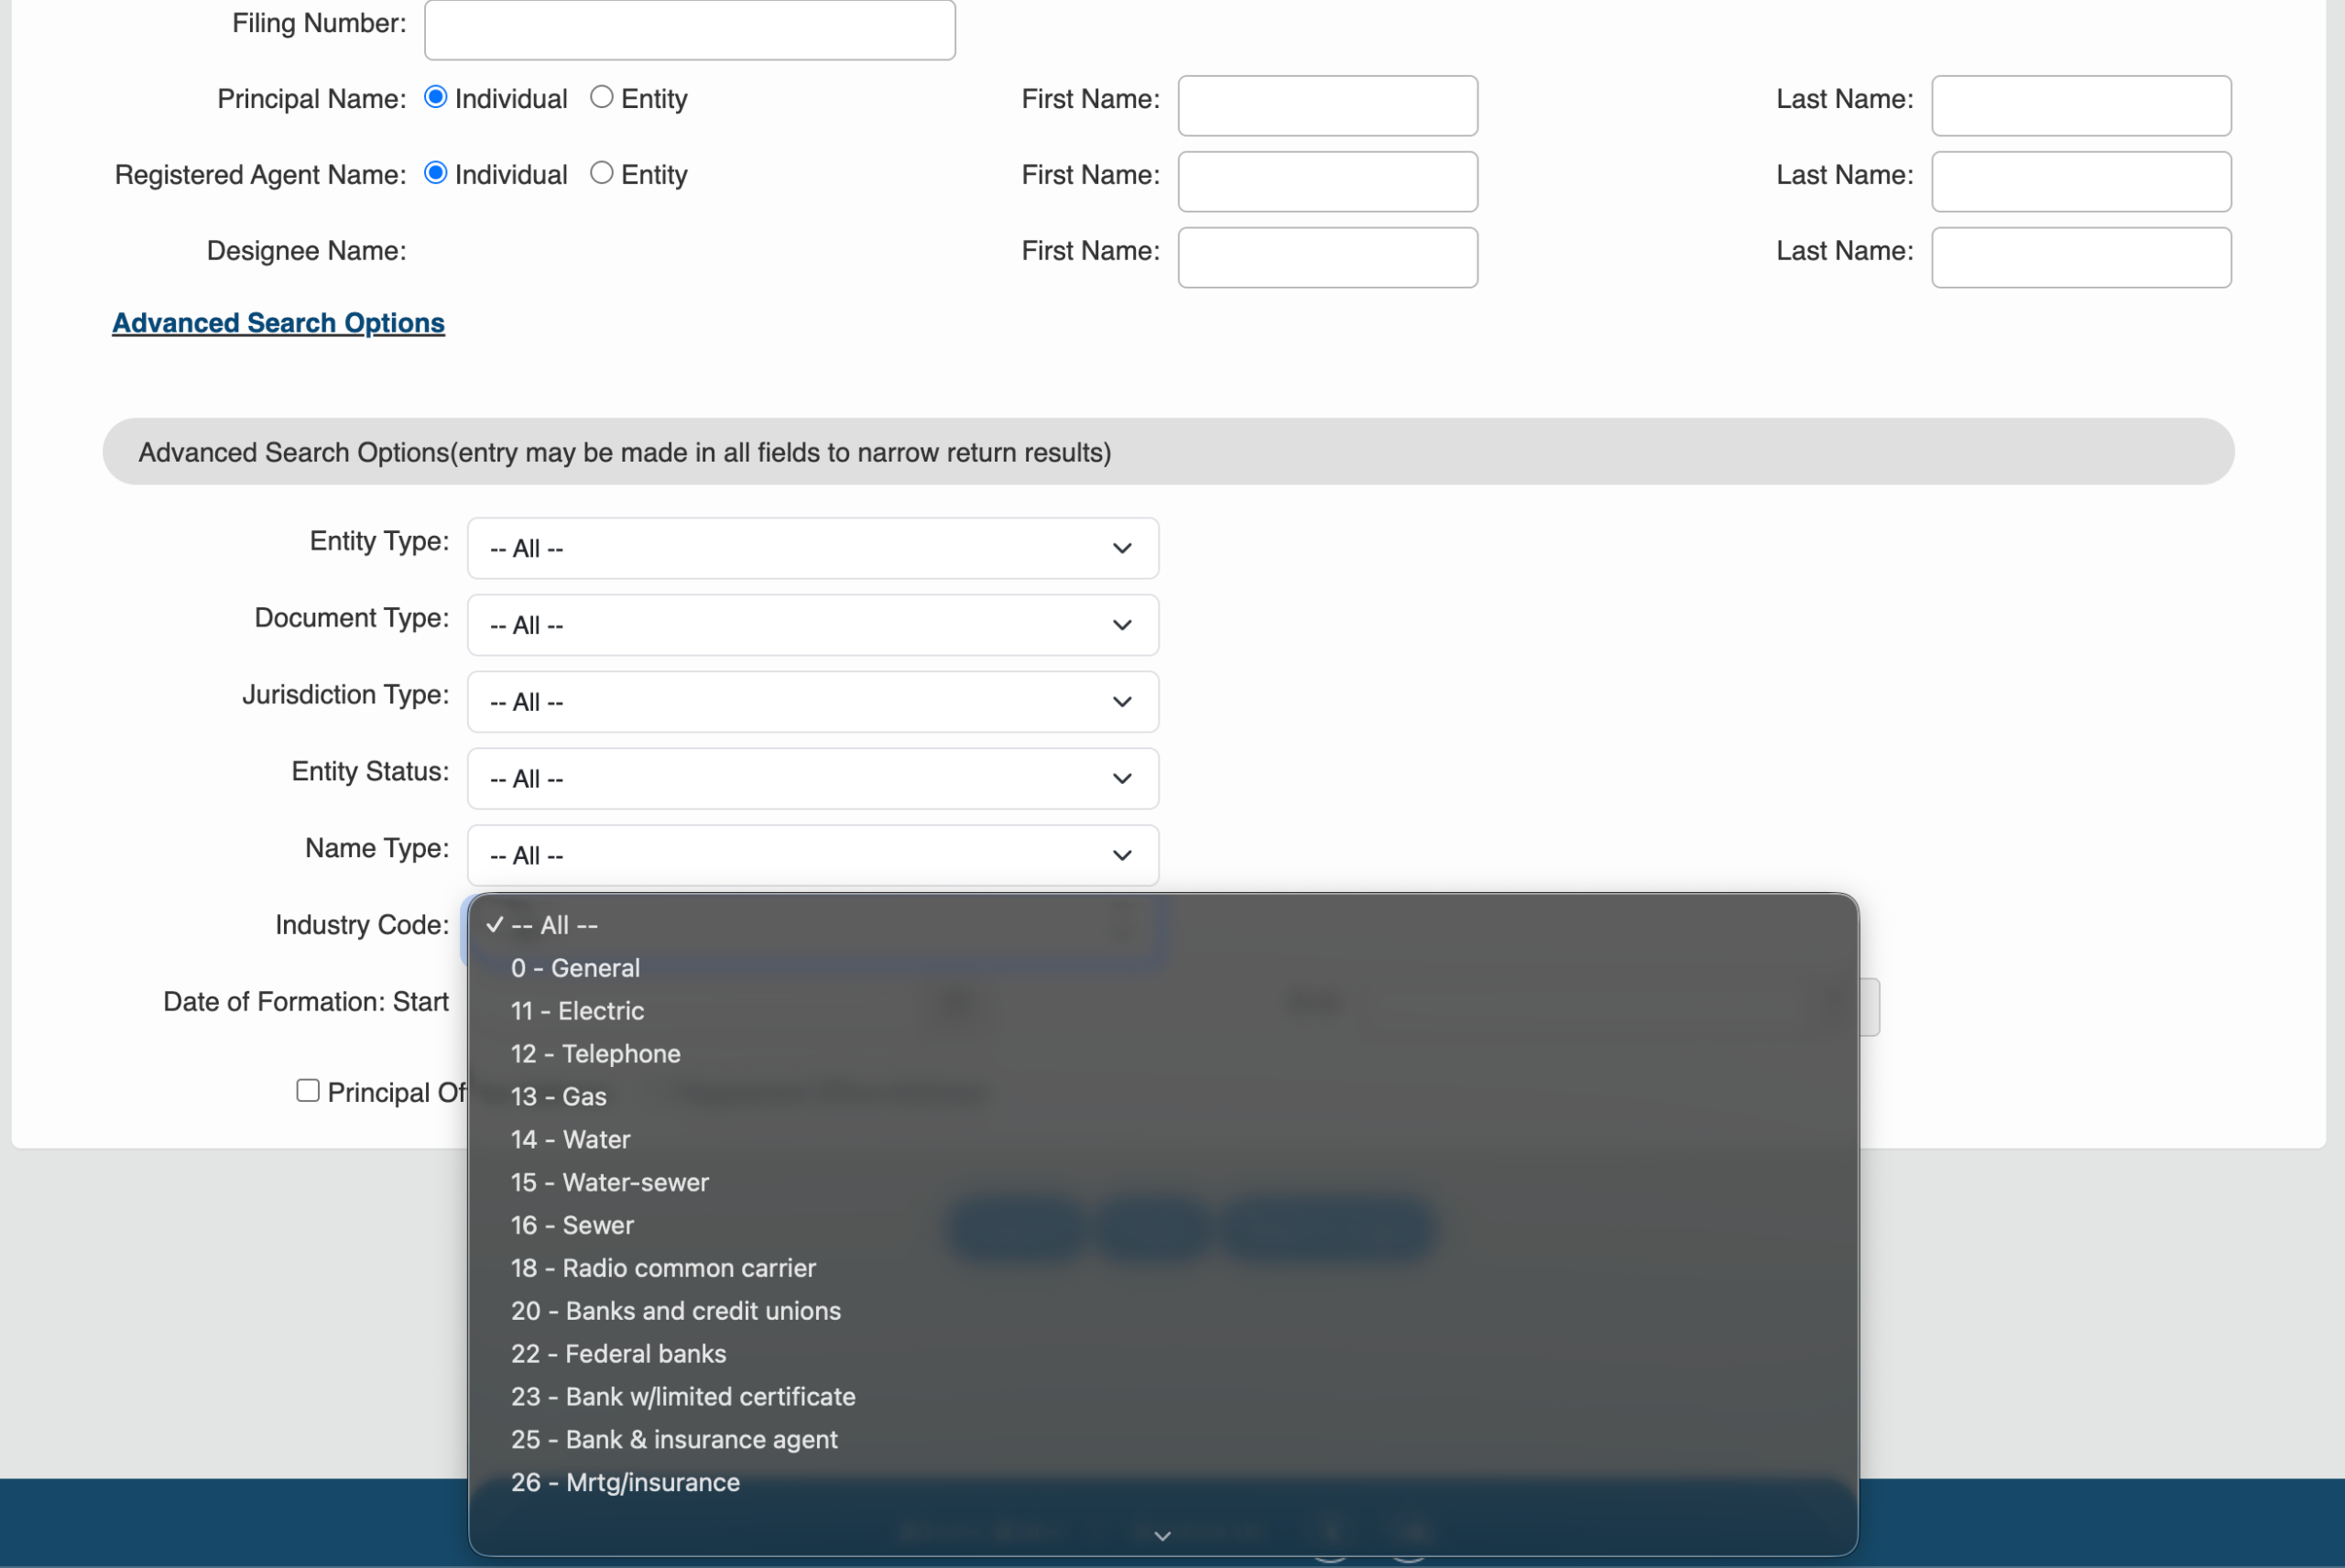
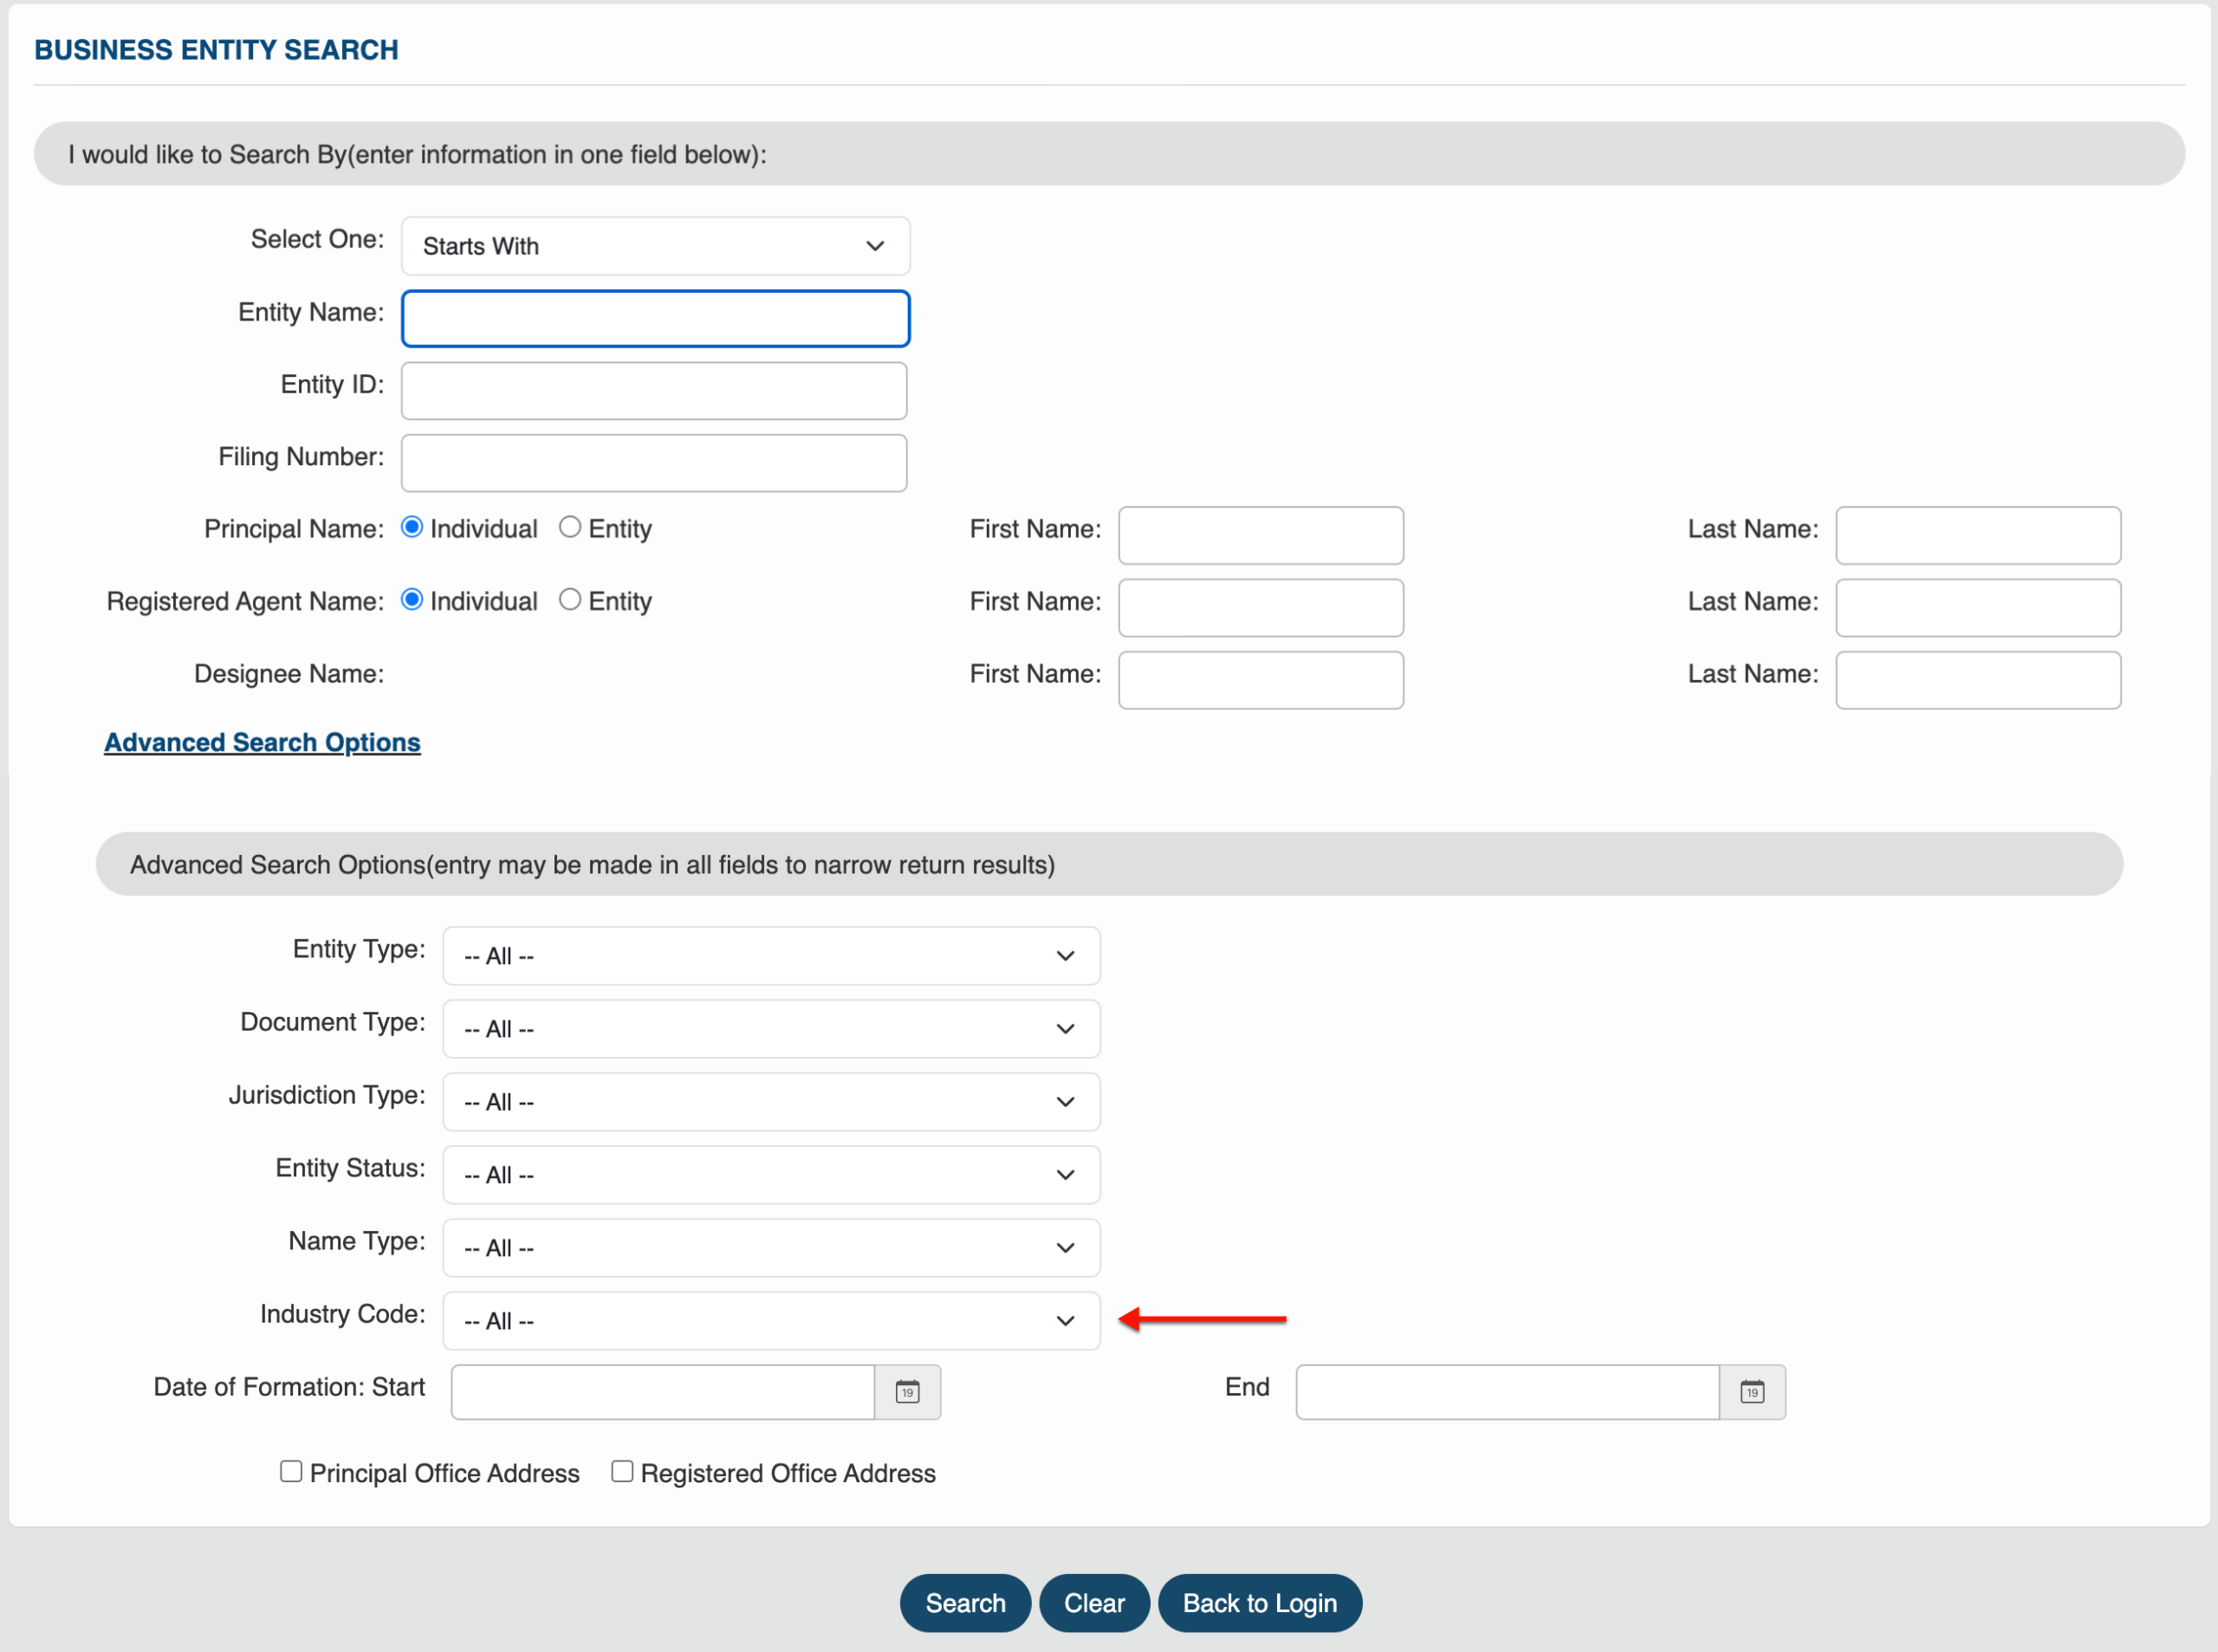
Step 19. Select One Industry Code for the Results
Choose an “Industry Code” from the menu (see image) as a filter. This prevents entities in any industry, other than your choice, from appearing in the results.
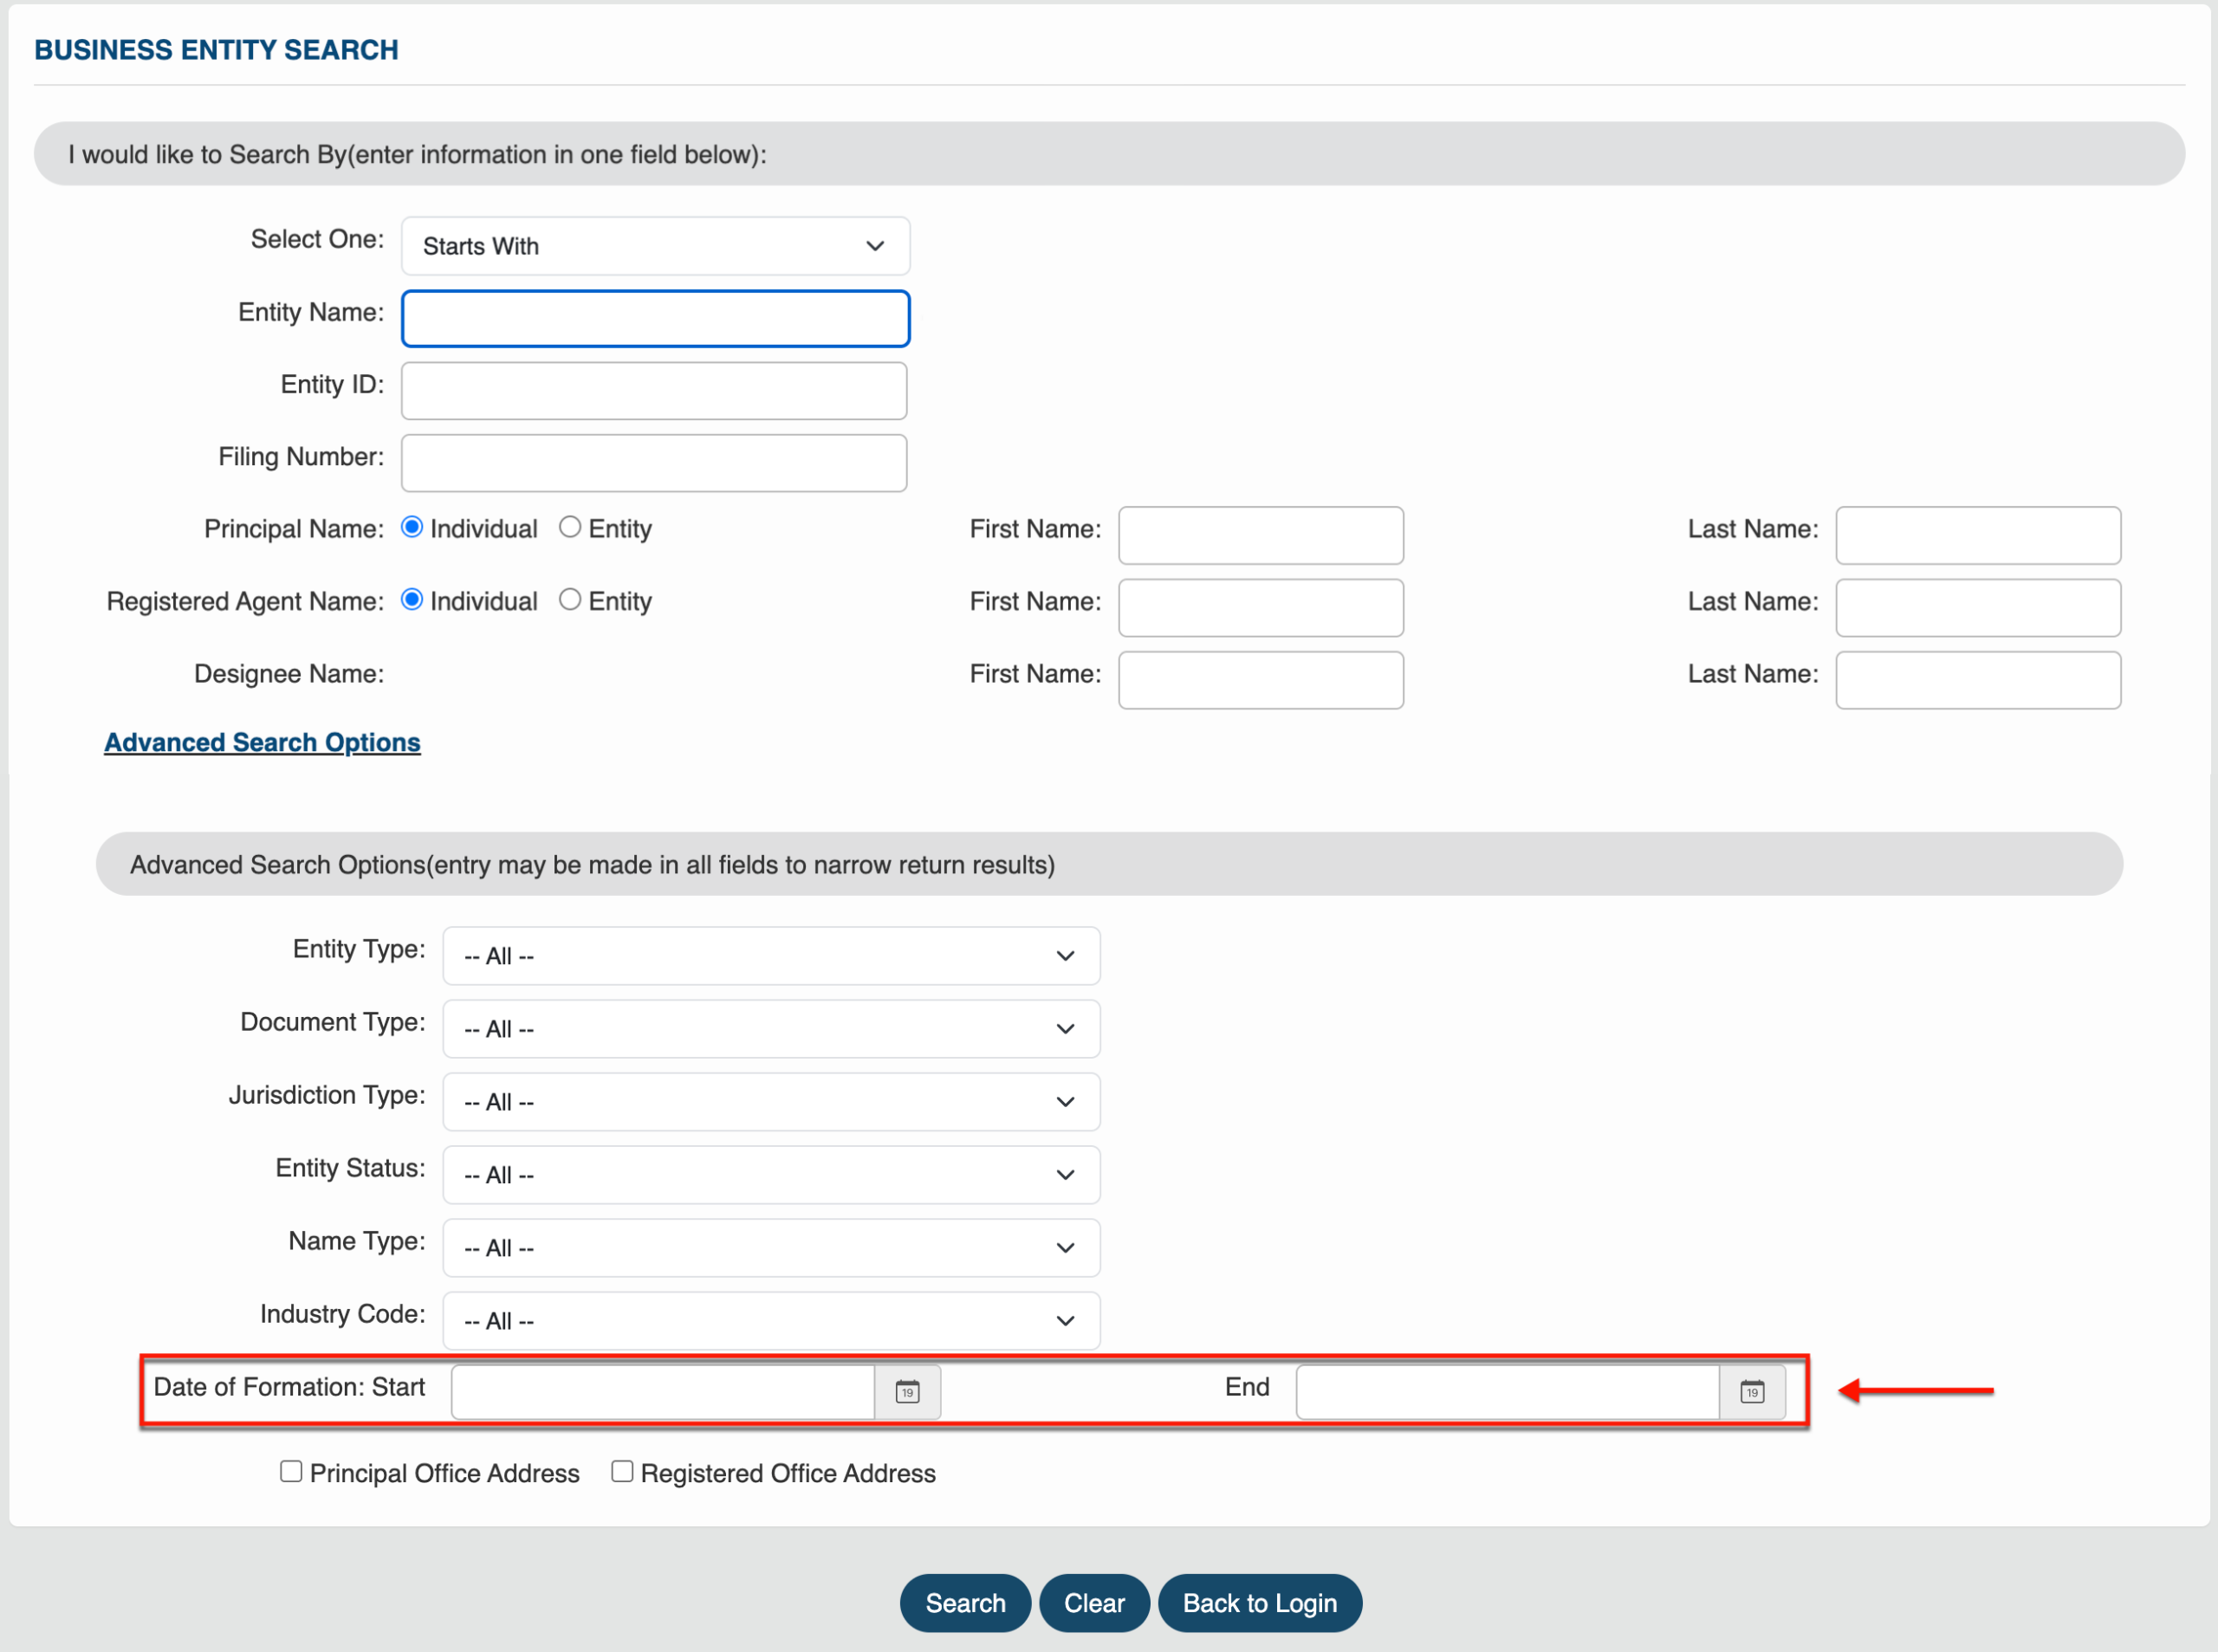
Step 20. Assign a Date of Formation to the Search
Require the query to find entities with a specific formation date. Use the calendar tool to choose a “Start” and “End” date as a range.
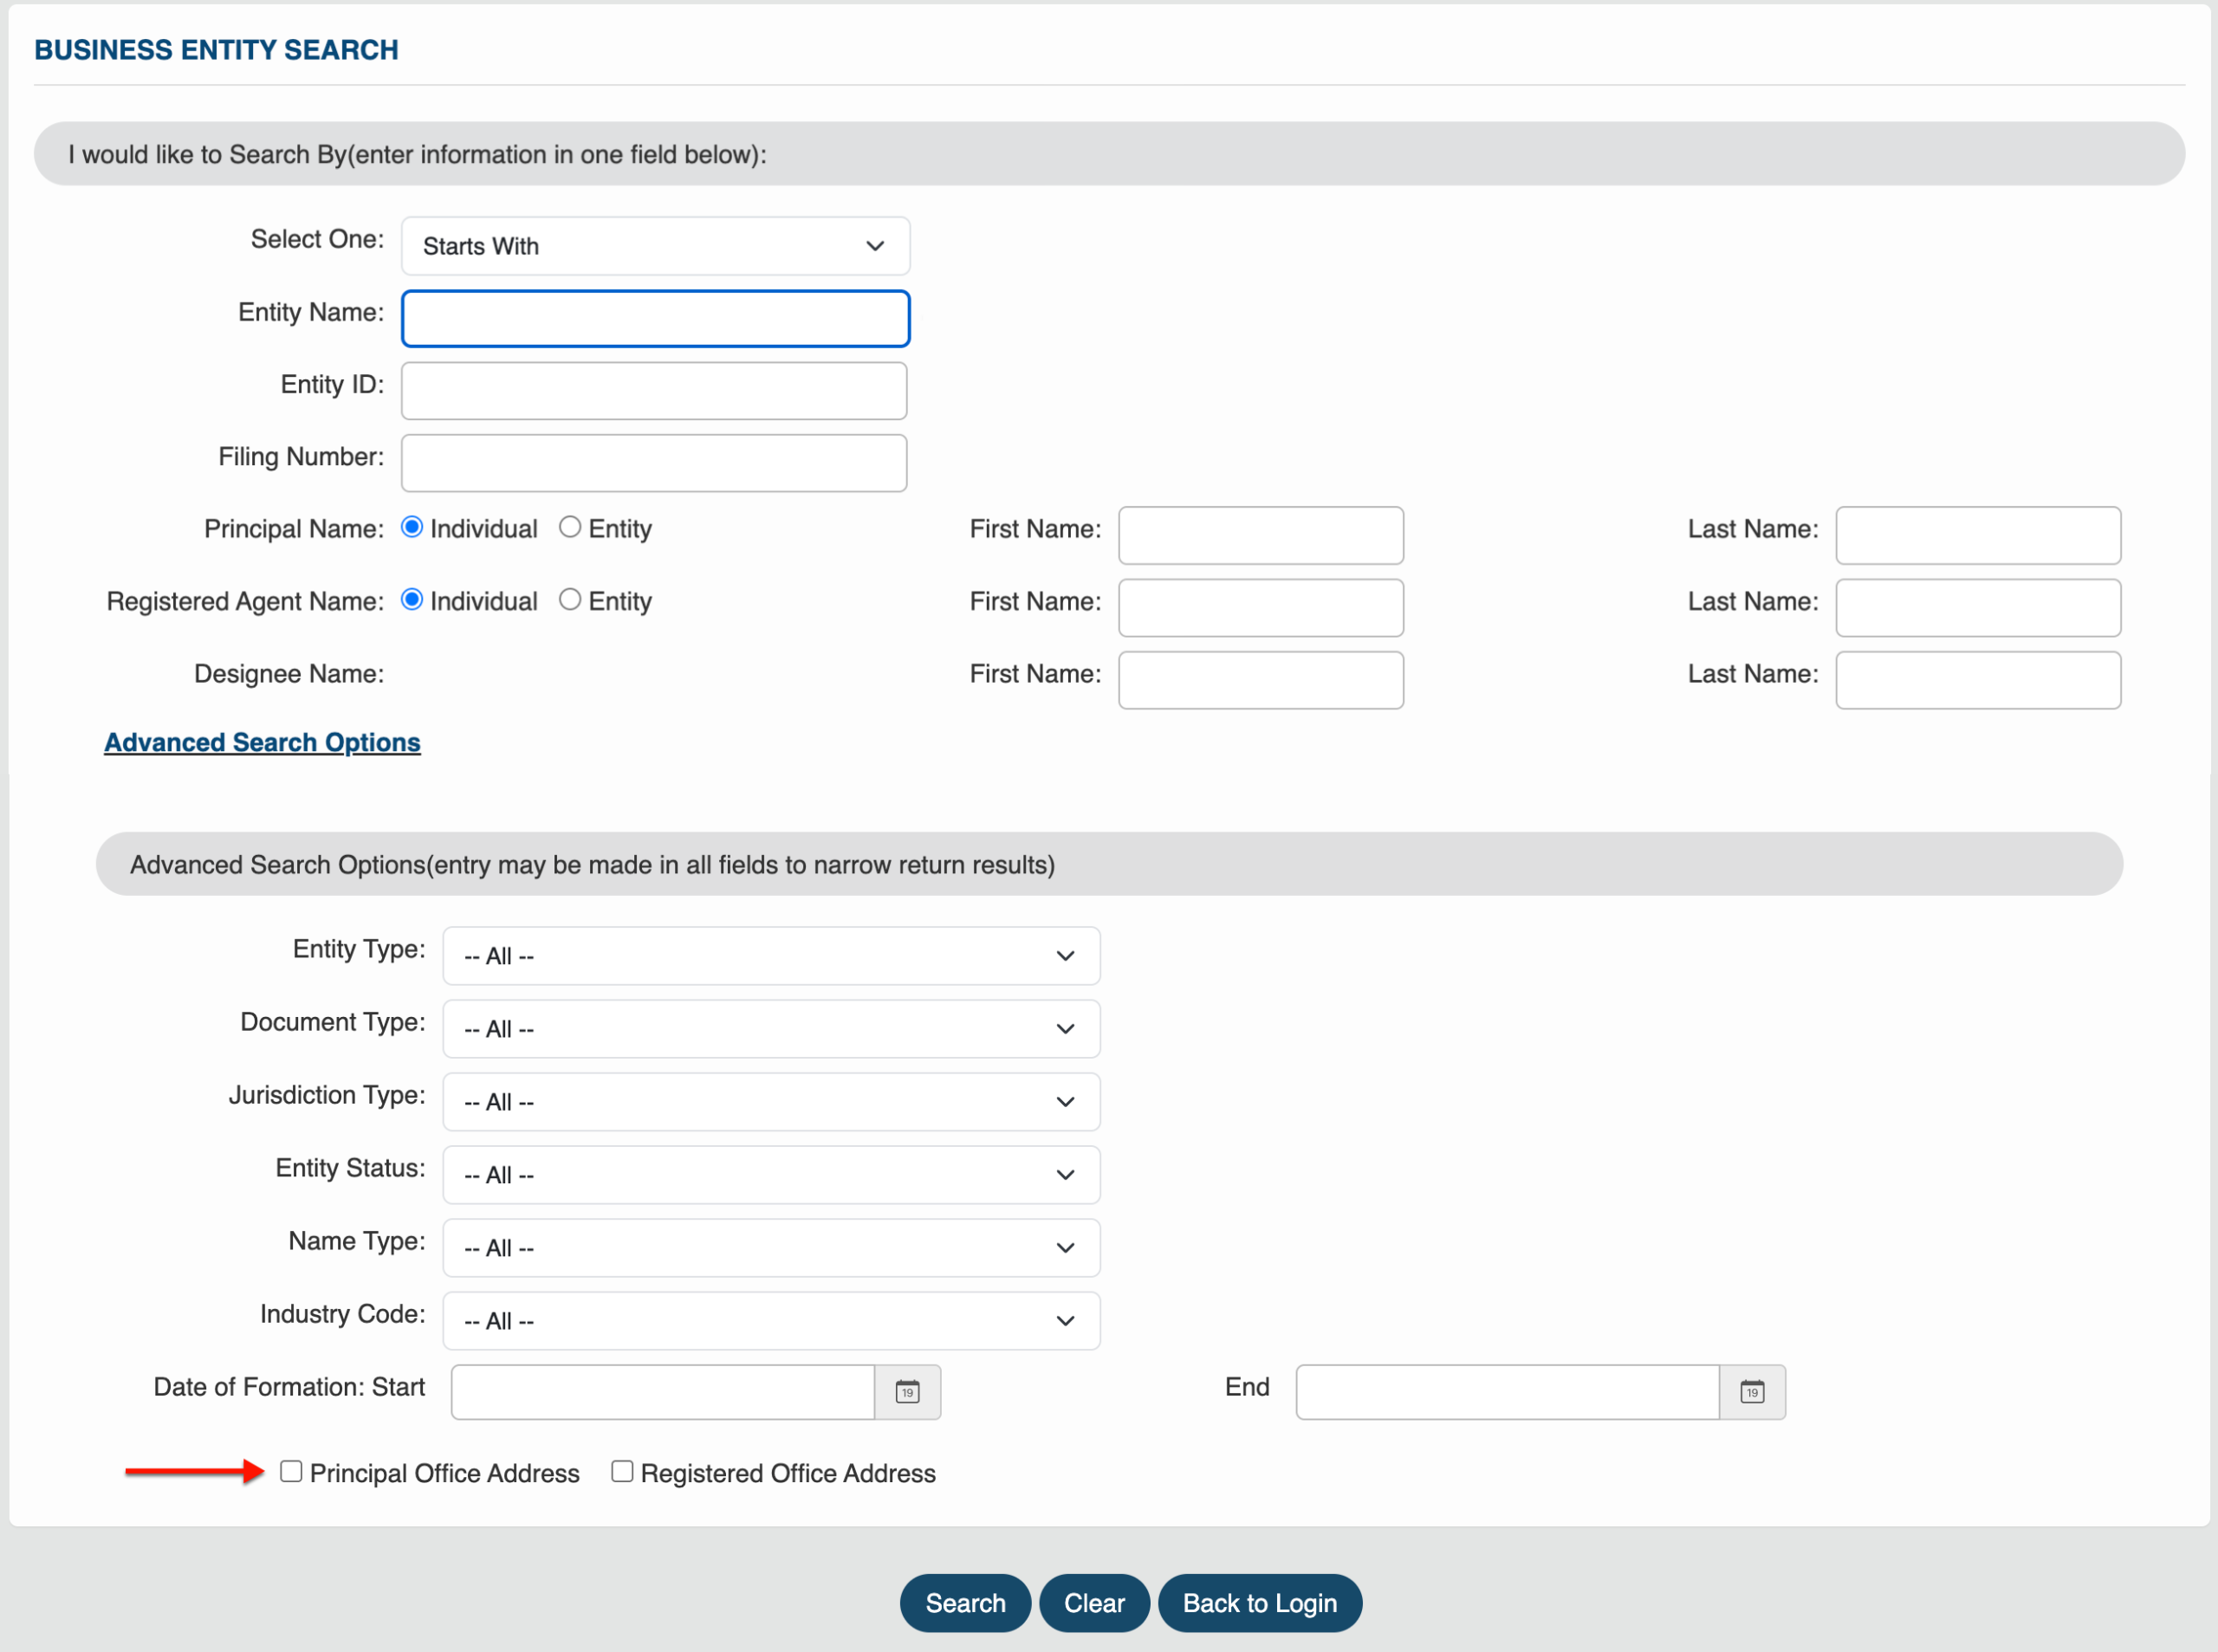
Step 21. Looking for the Principal Office
If the goal is to find a “Principal Office Address,” then mark the checkbox. This will significantly limit the number of results.
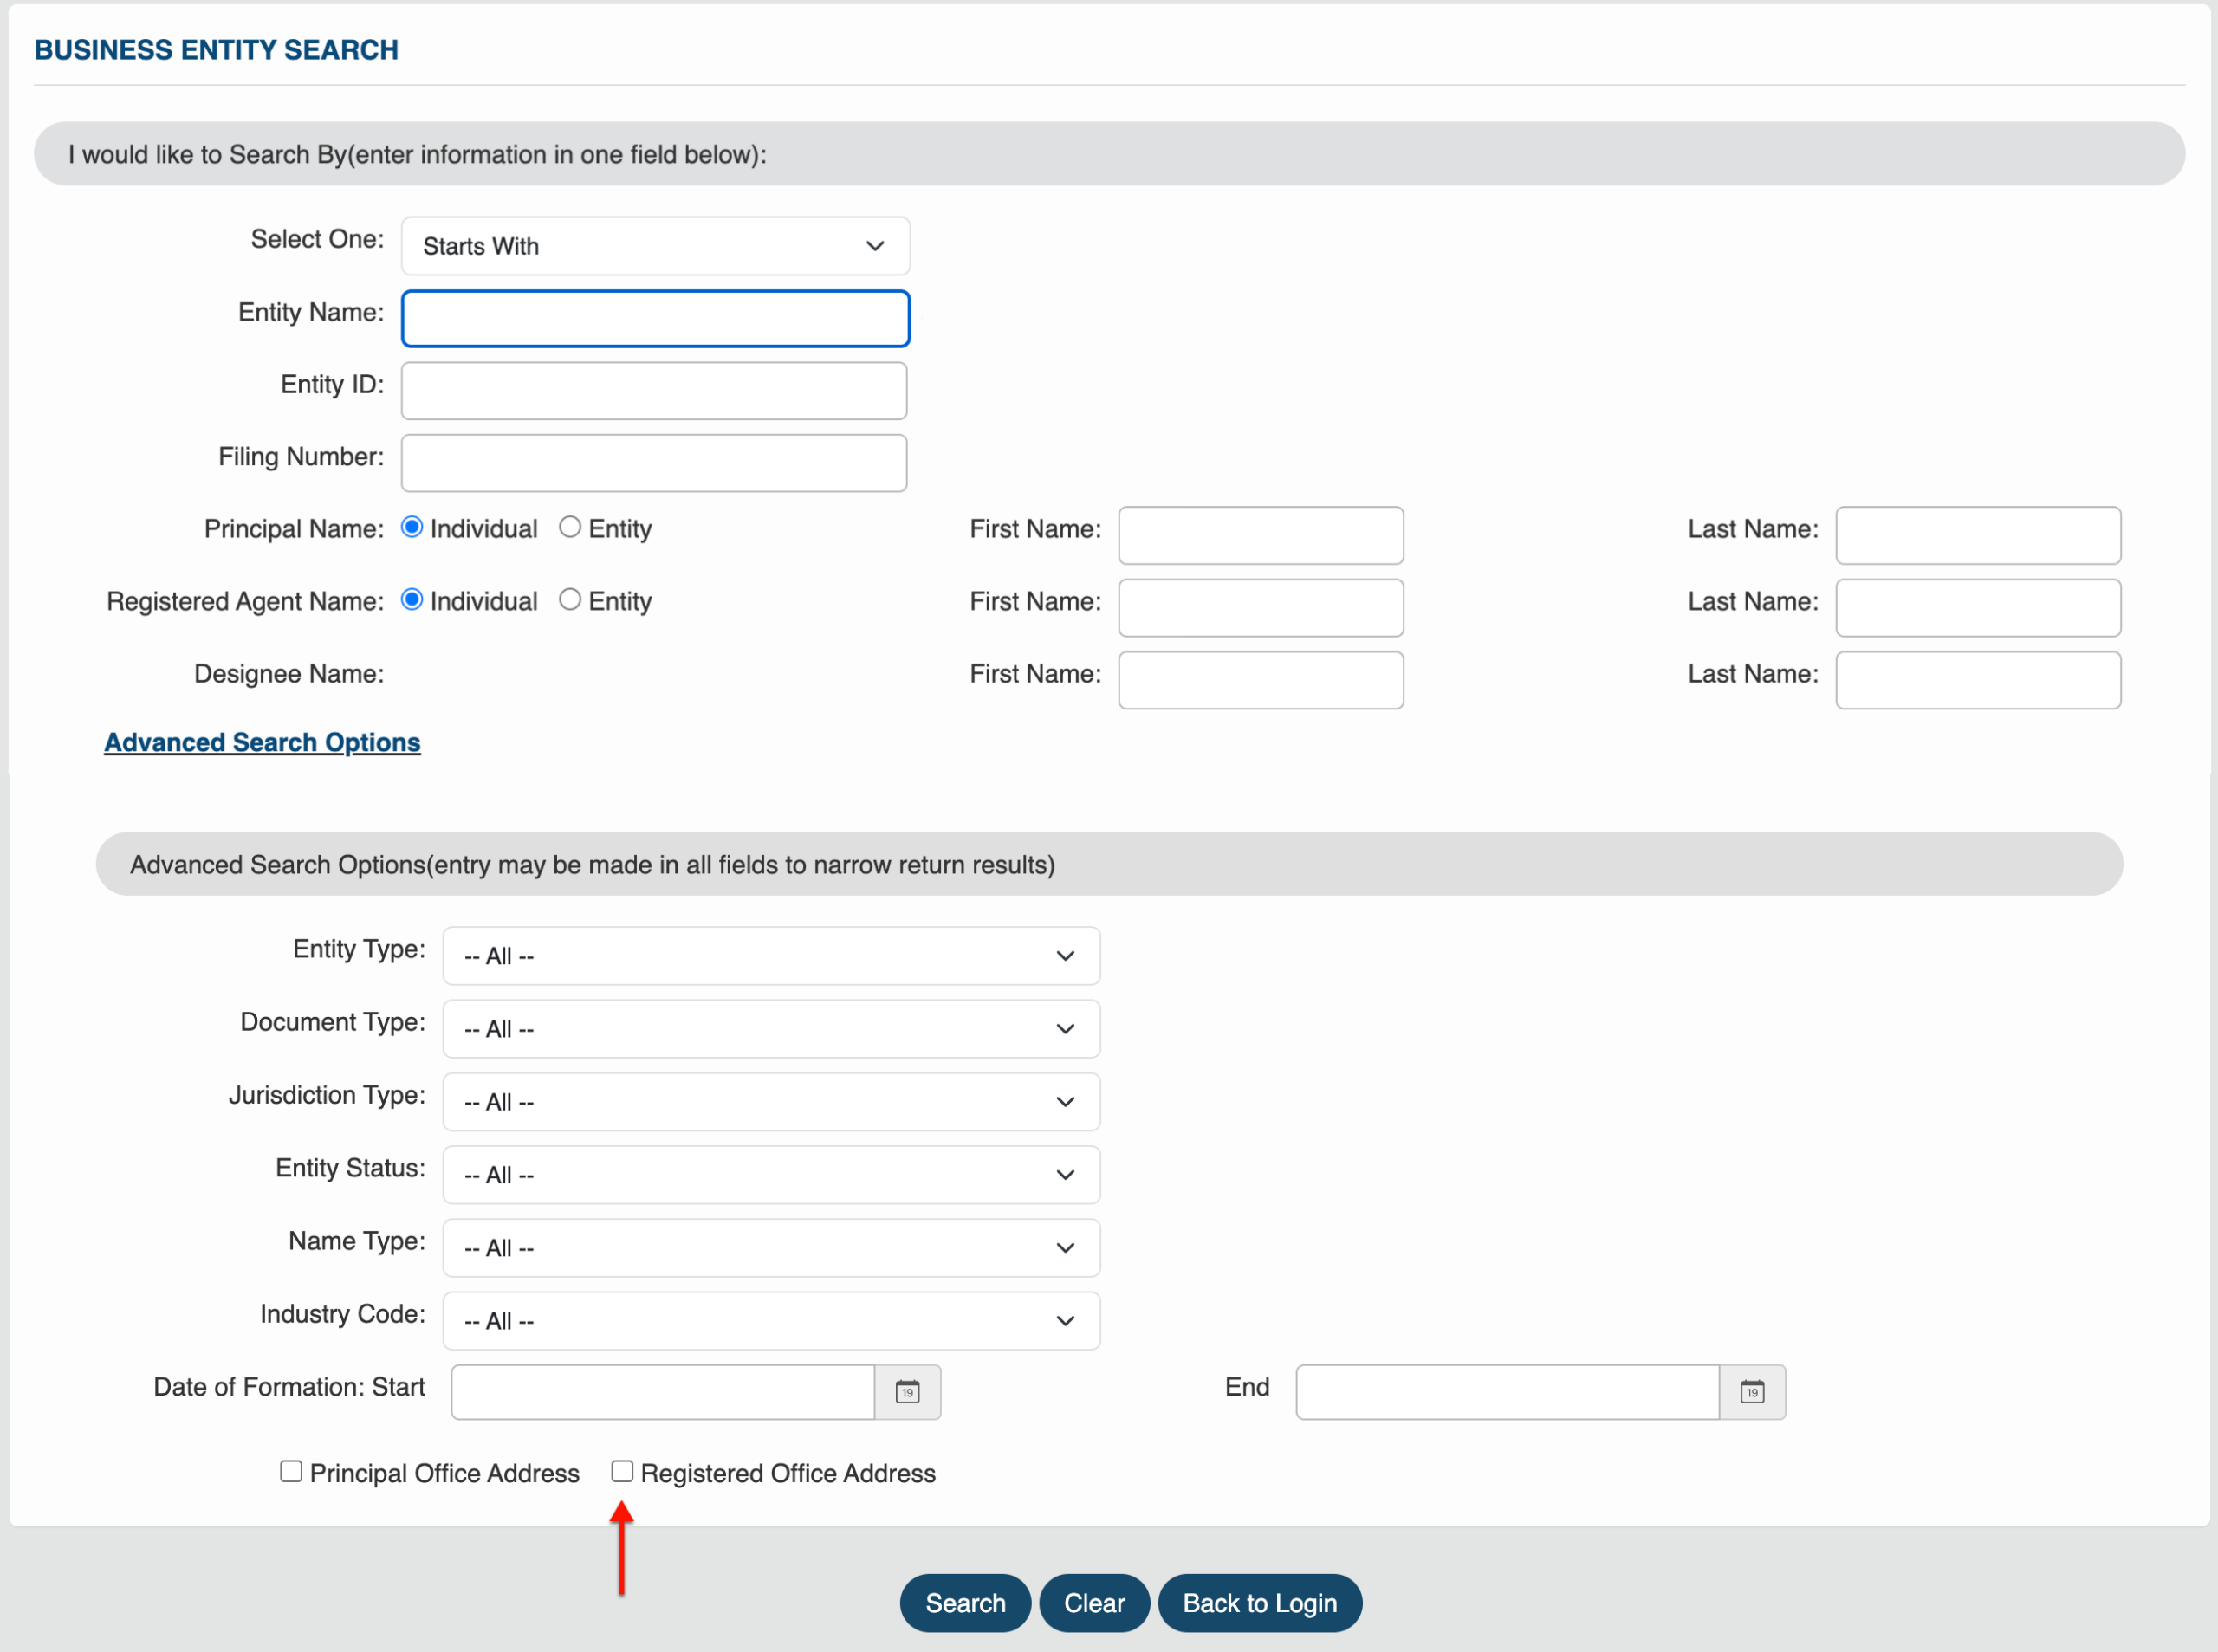
Step 22. Seeking Registered Office Address
Require records only with registered office addresses to limit the results. This is especially useful when seeking an entity’s registered office.
Step 23. Search for the Entity Record
After confirming your entry and the filters, direct your attention to the bottom area. Select the first button (“Search”) to initiate the query.
Step 24. Receive and Review Matching Records
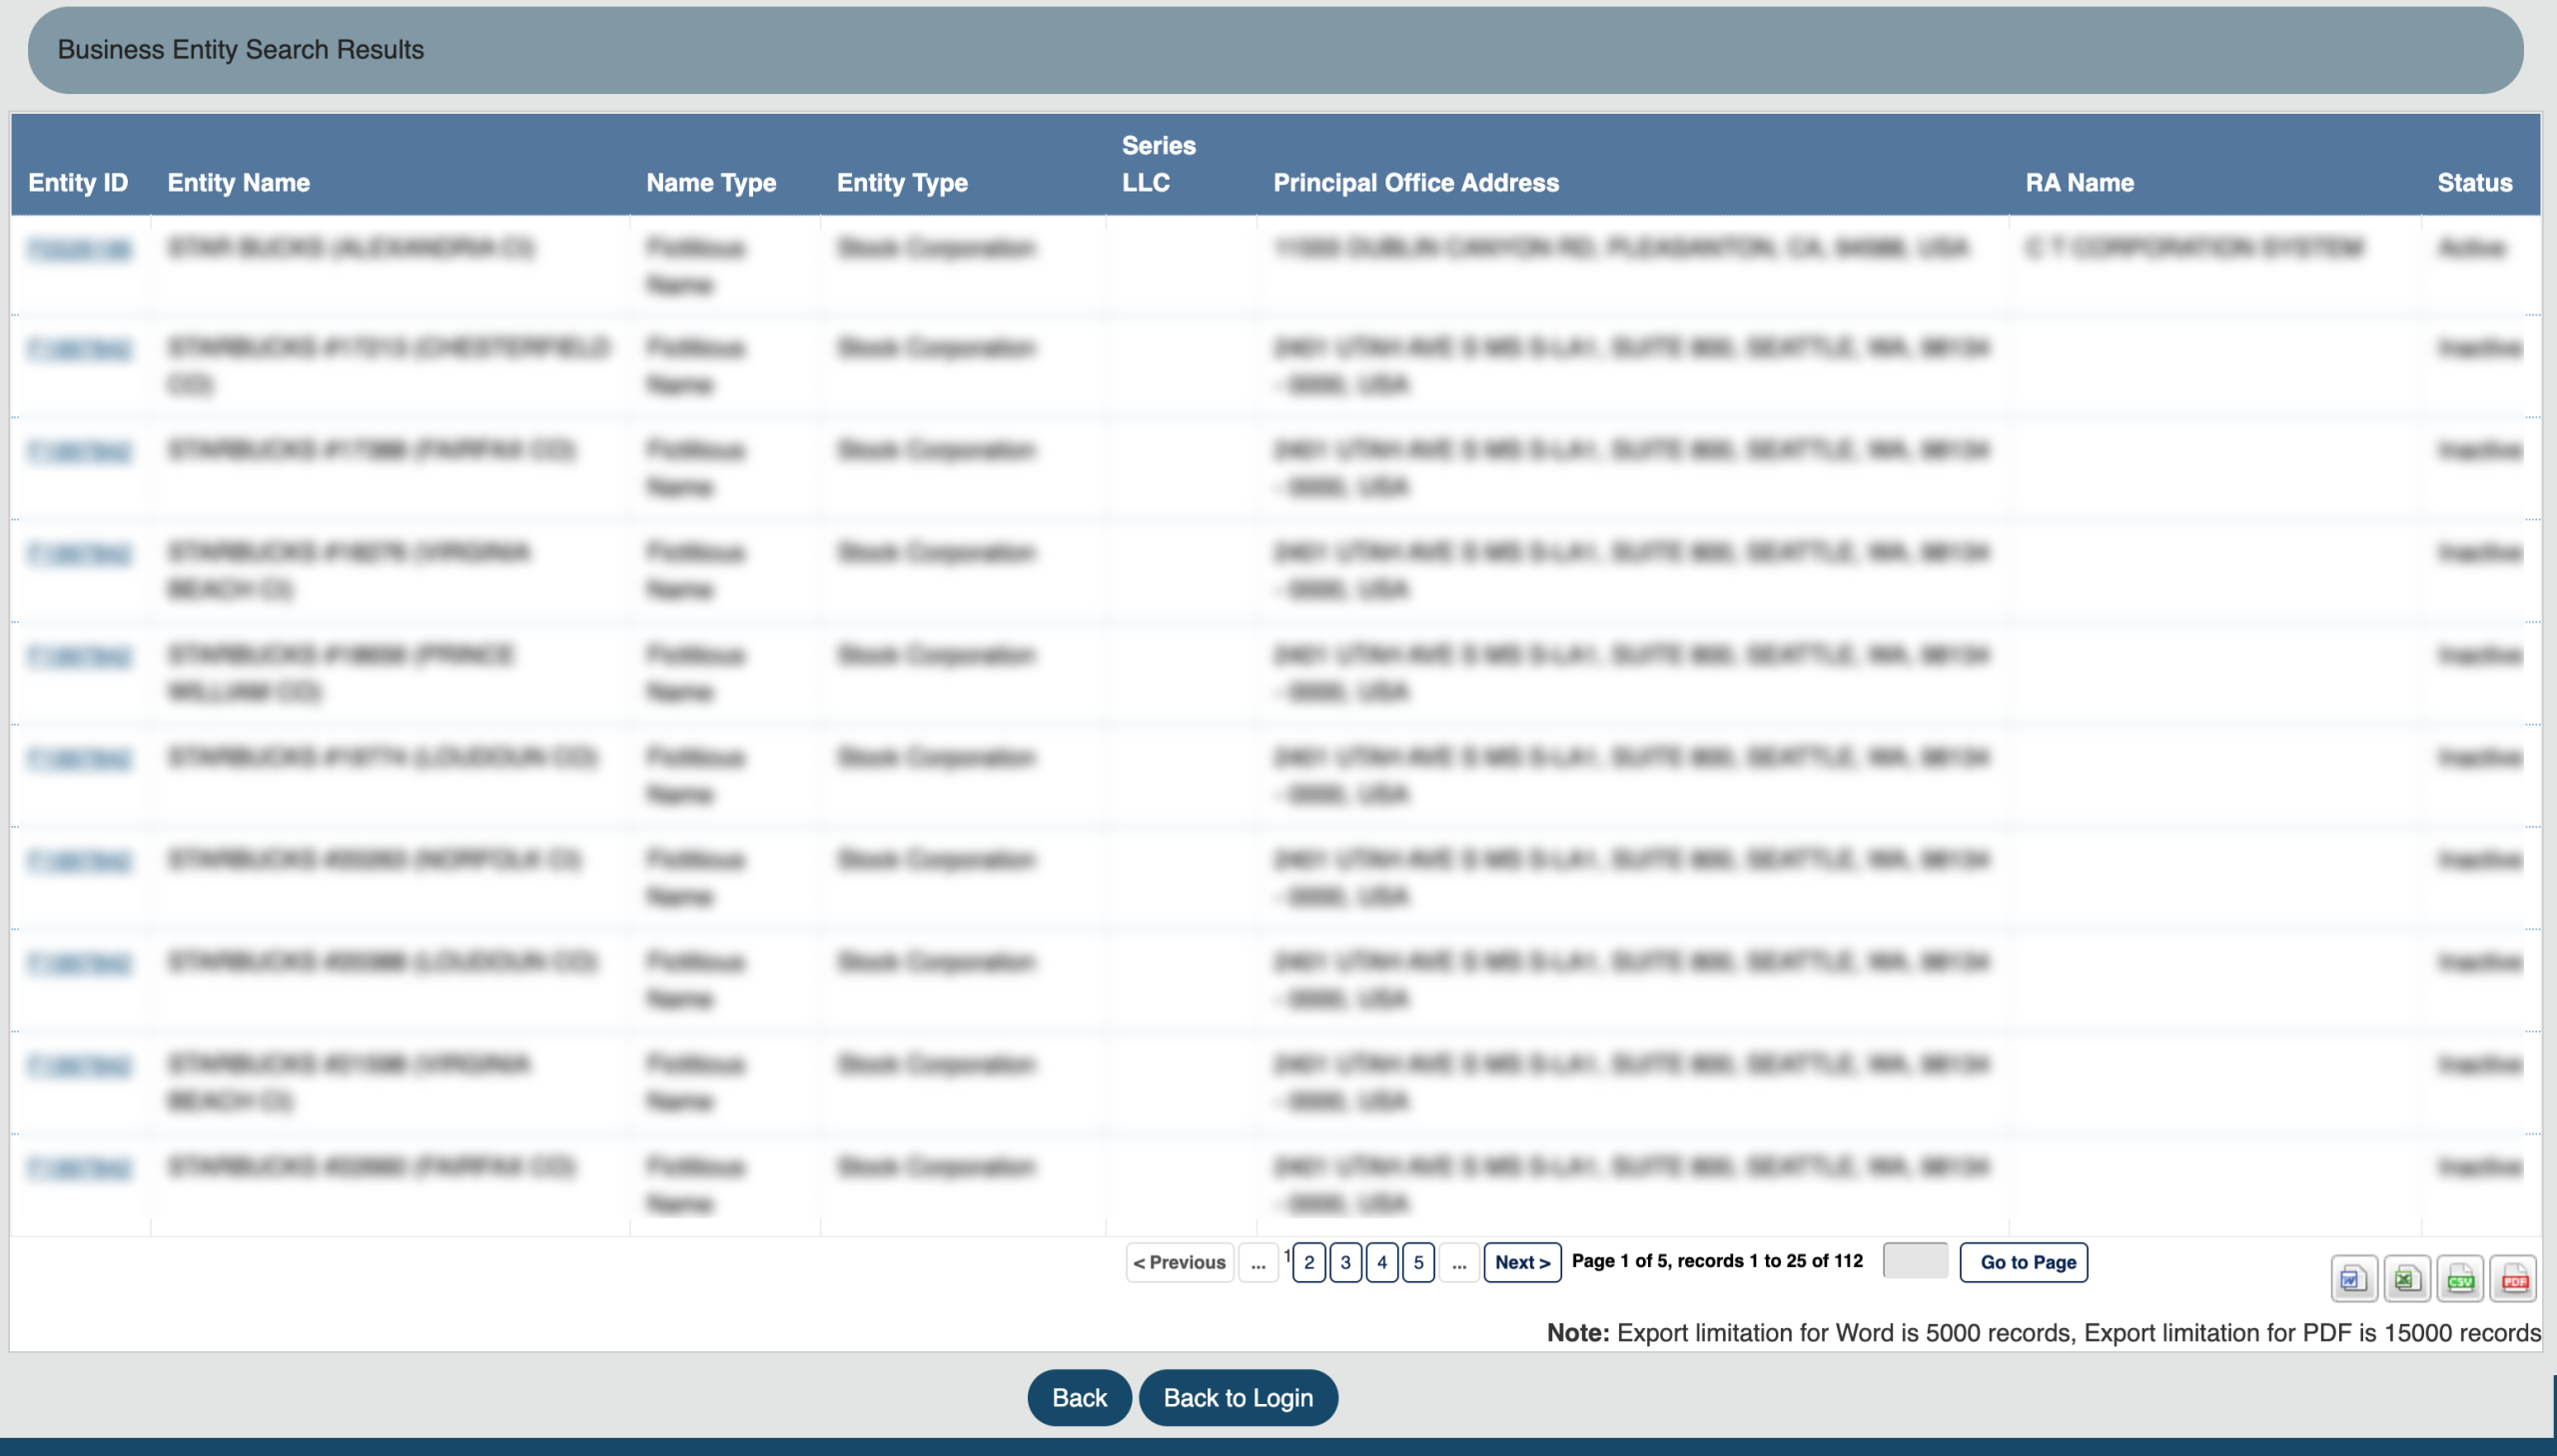
Preview the entity information using the results table. Locate the second column for entity names while reviewing the others for information.
- Entity ID
- Entity Name
- Name Type
- Entity Type
- Series LLC
- Principal Office Address
- RA Name
- Status
Step 25. Choose an Entity
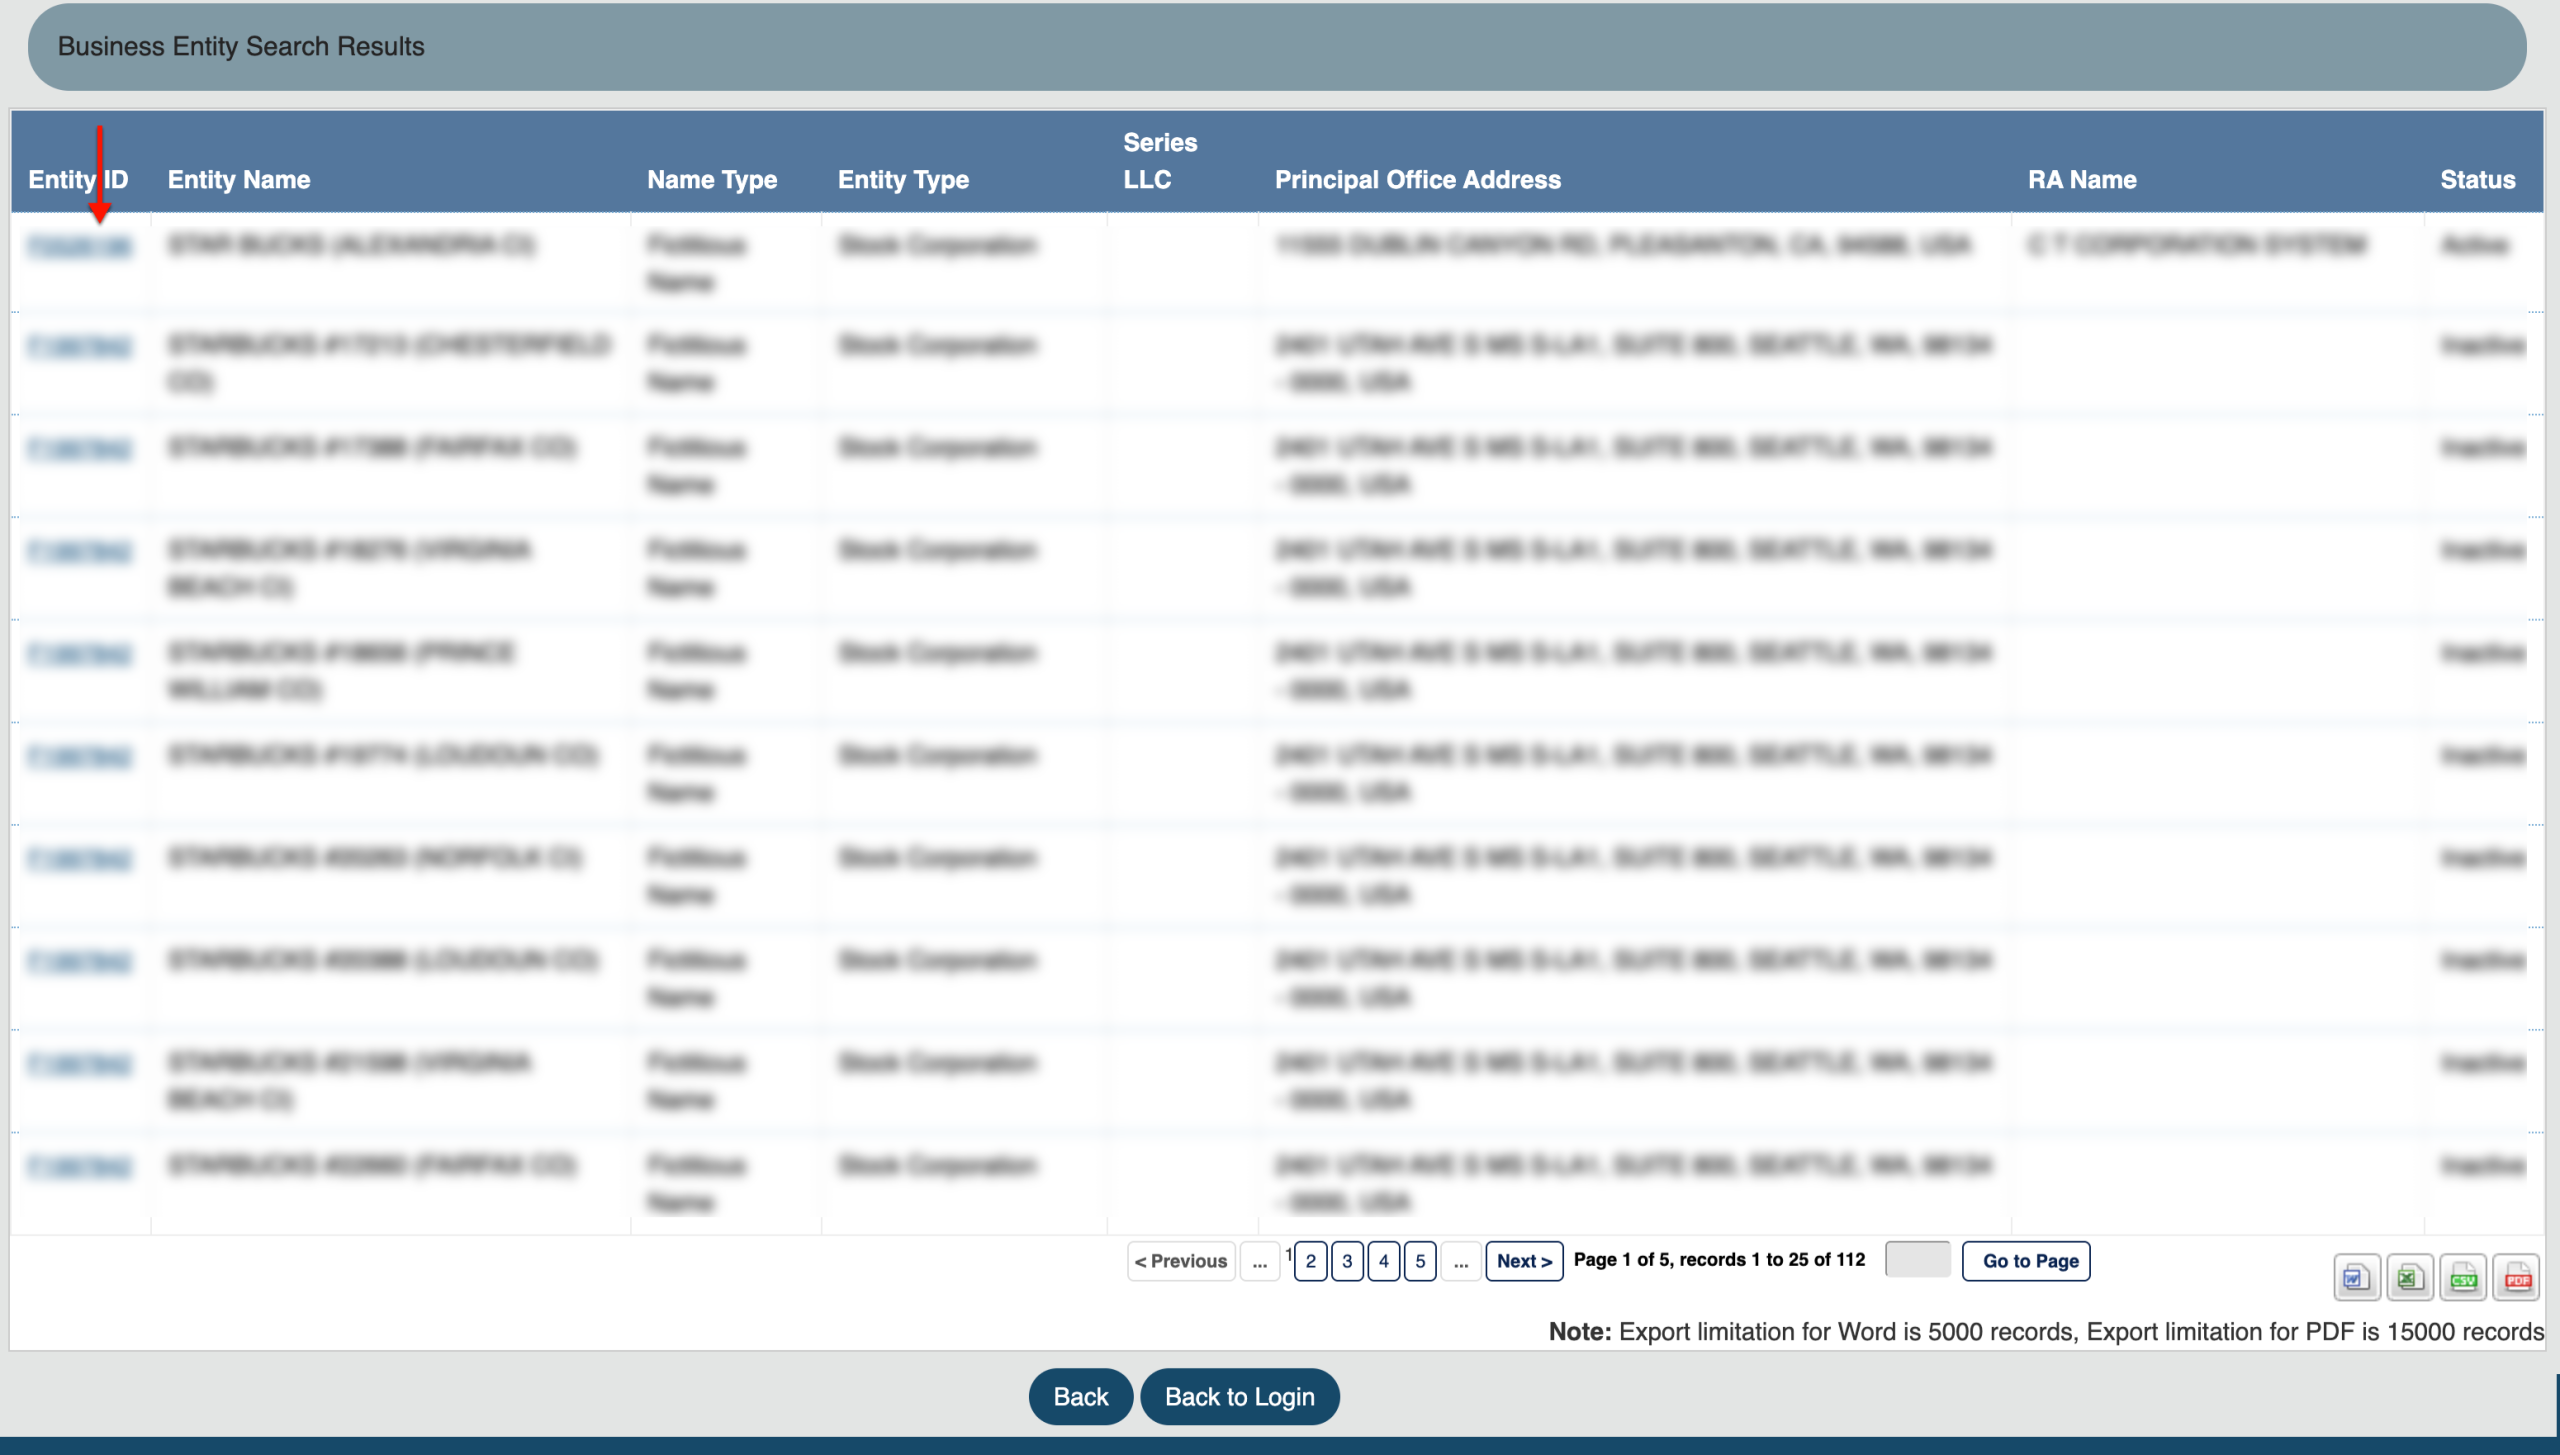
After finding an entity, locate its “Entity ID” in the first column. Select its ID number to direct the browser to that entity’s details section.
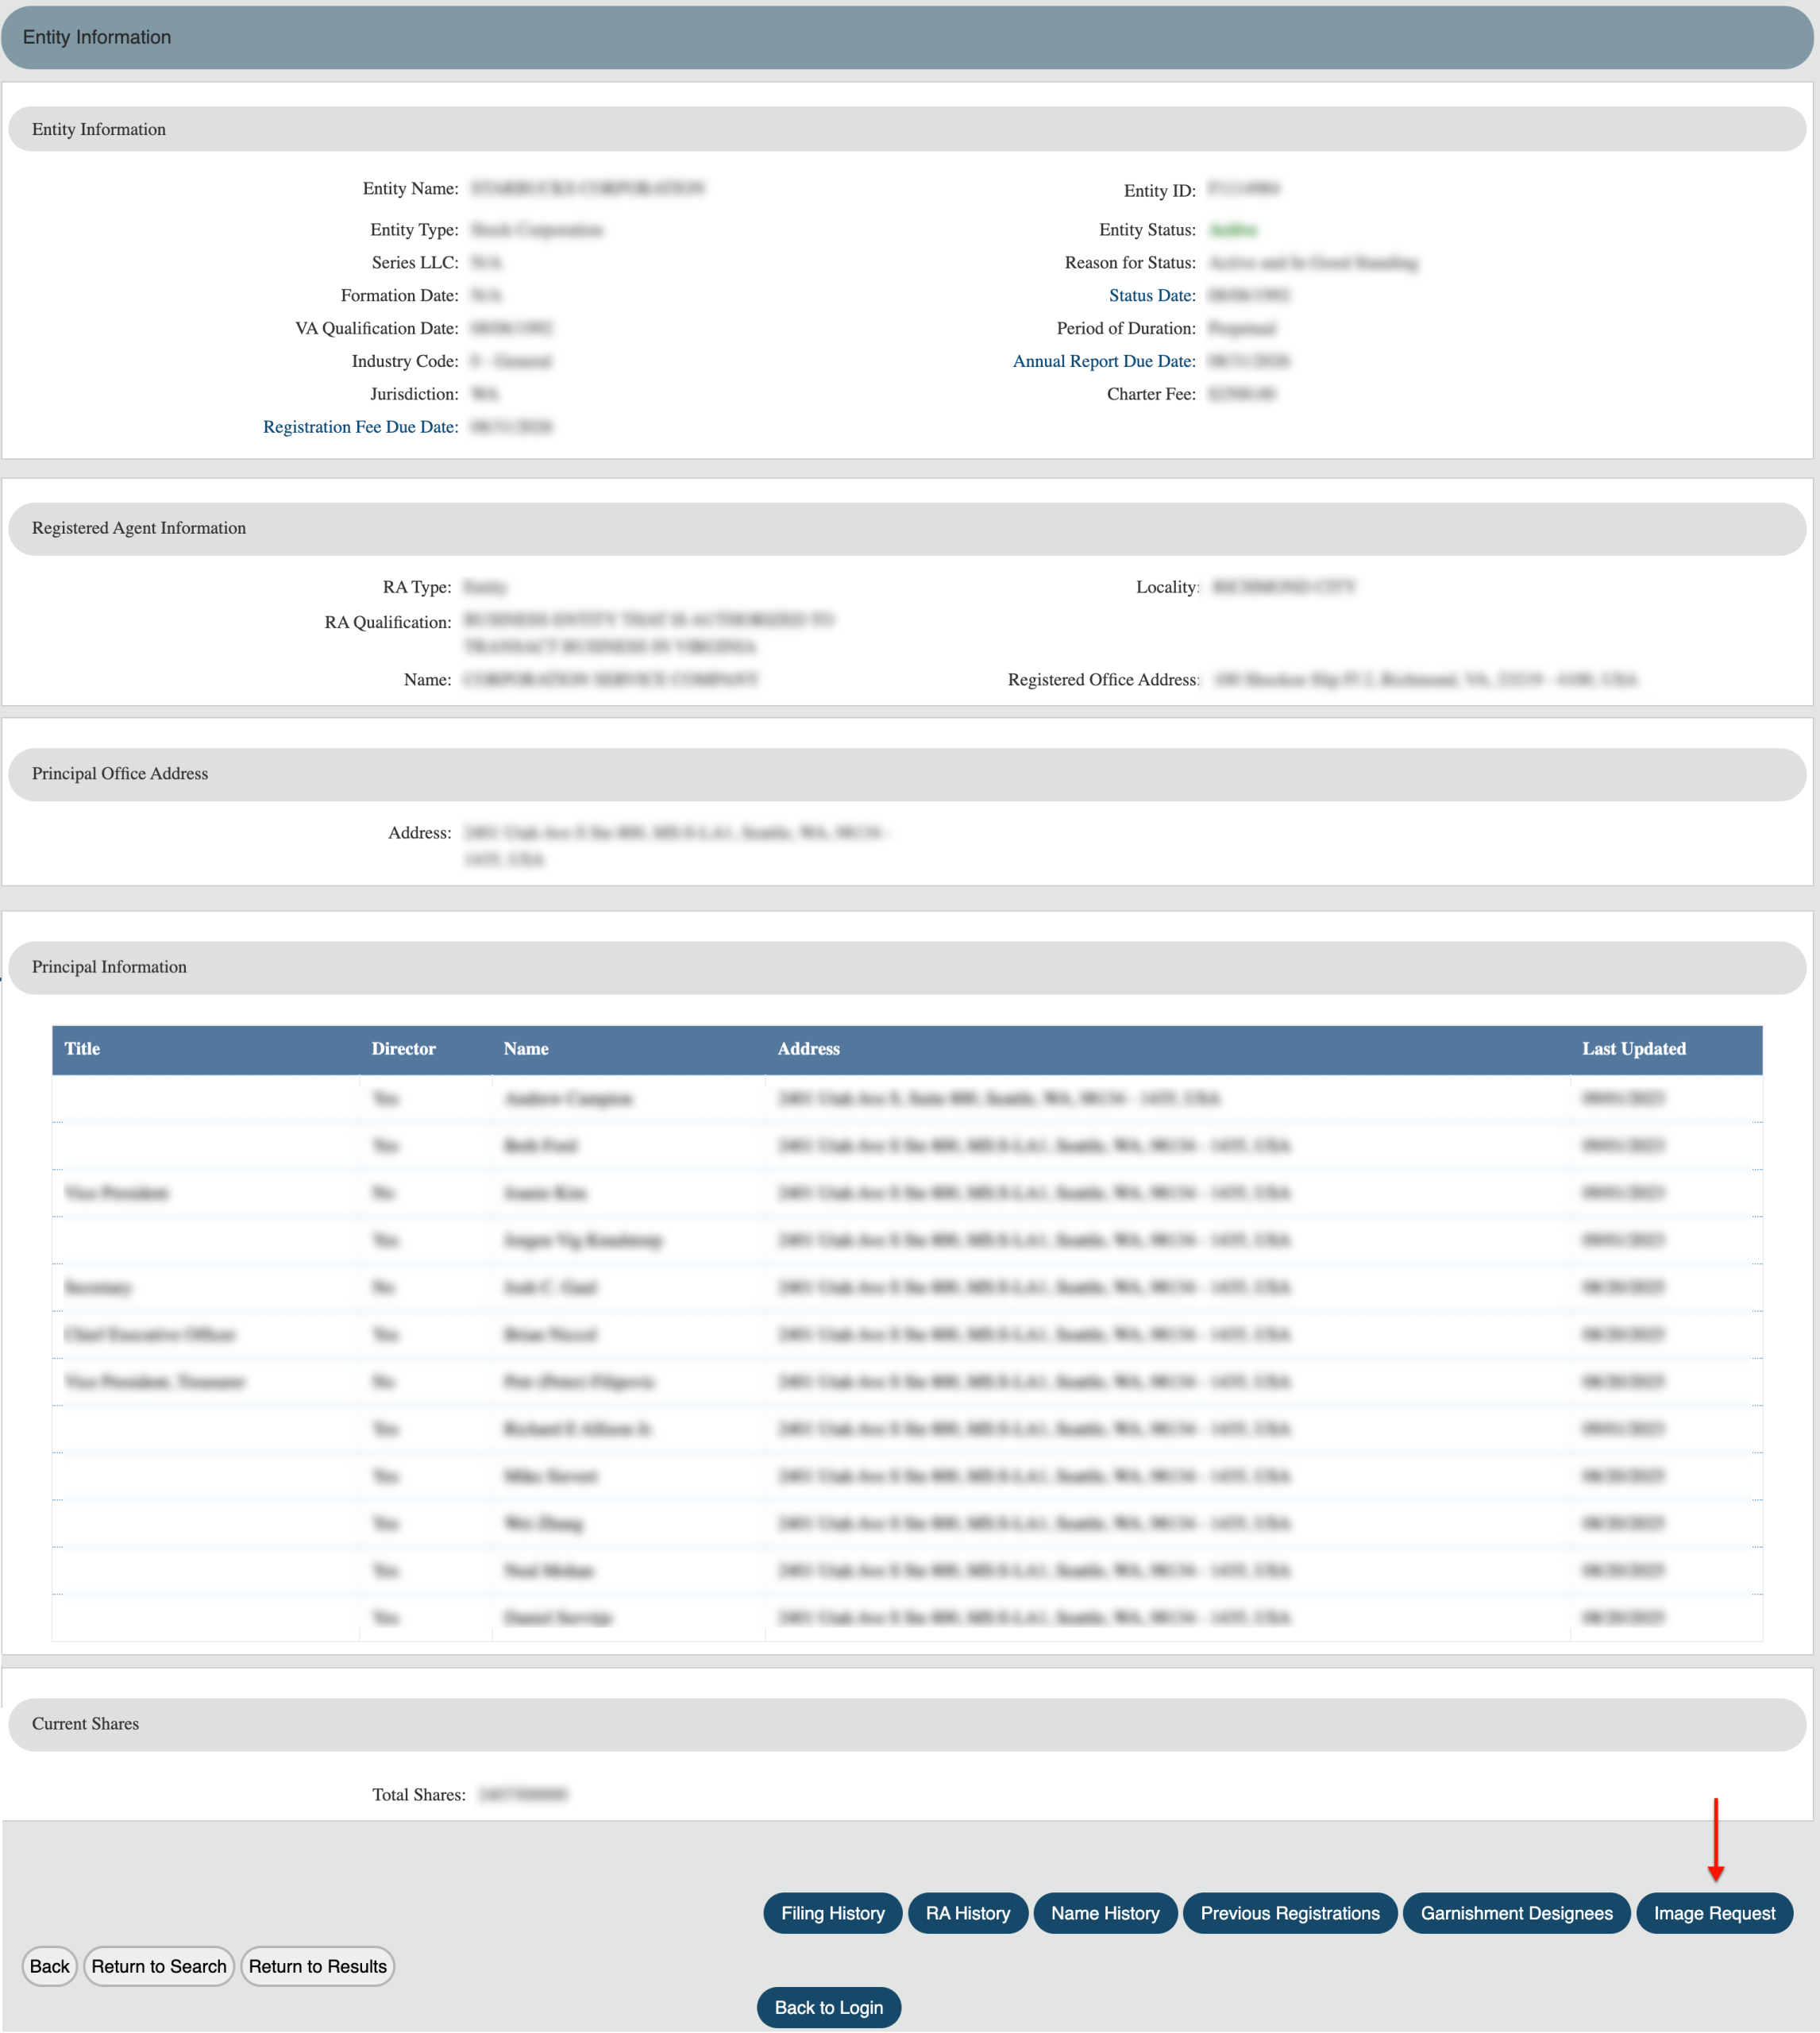
Step 26. Review the Virginia Entity Information Page
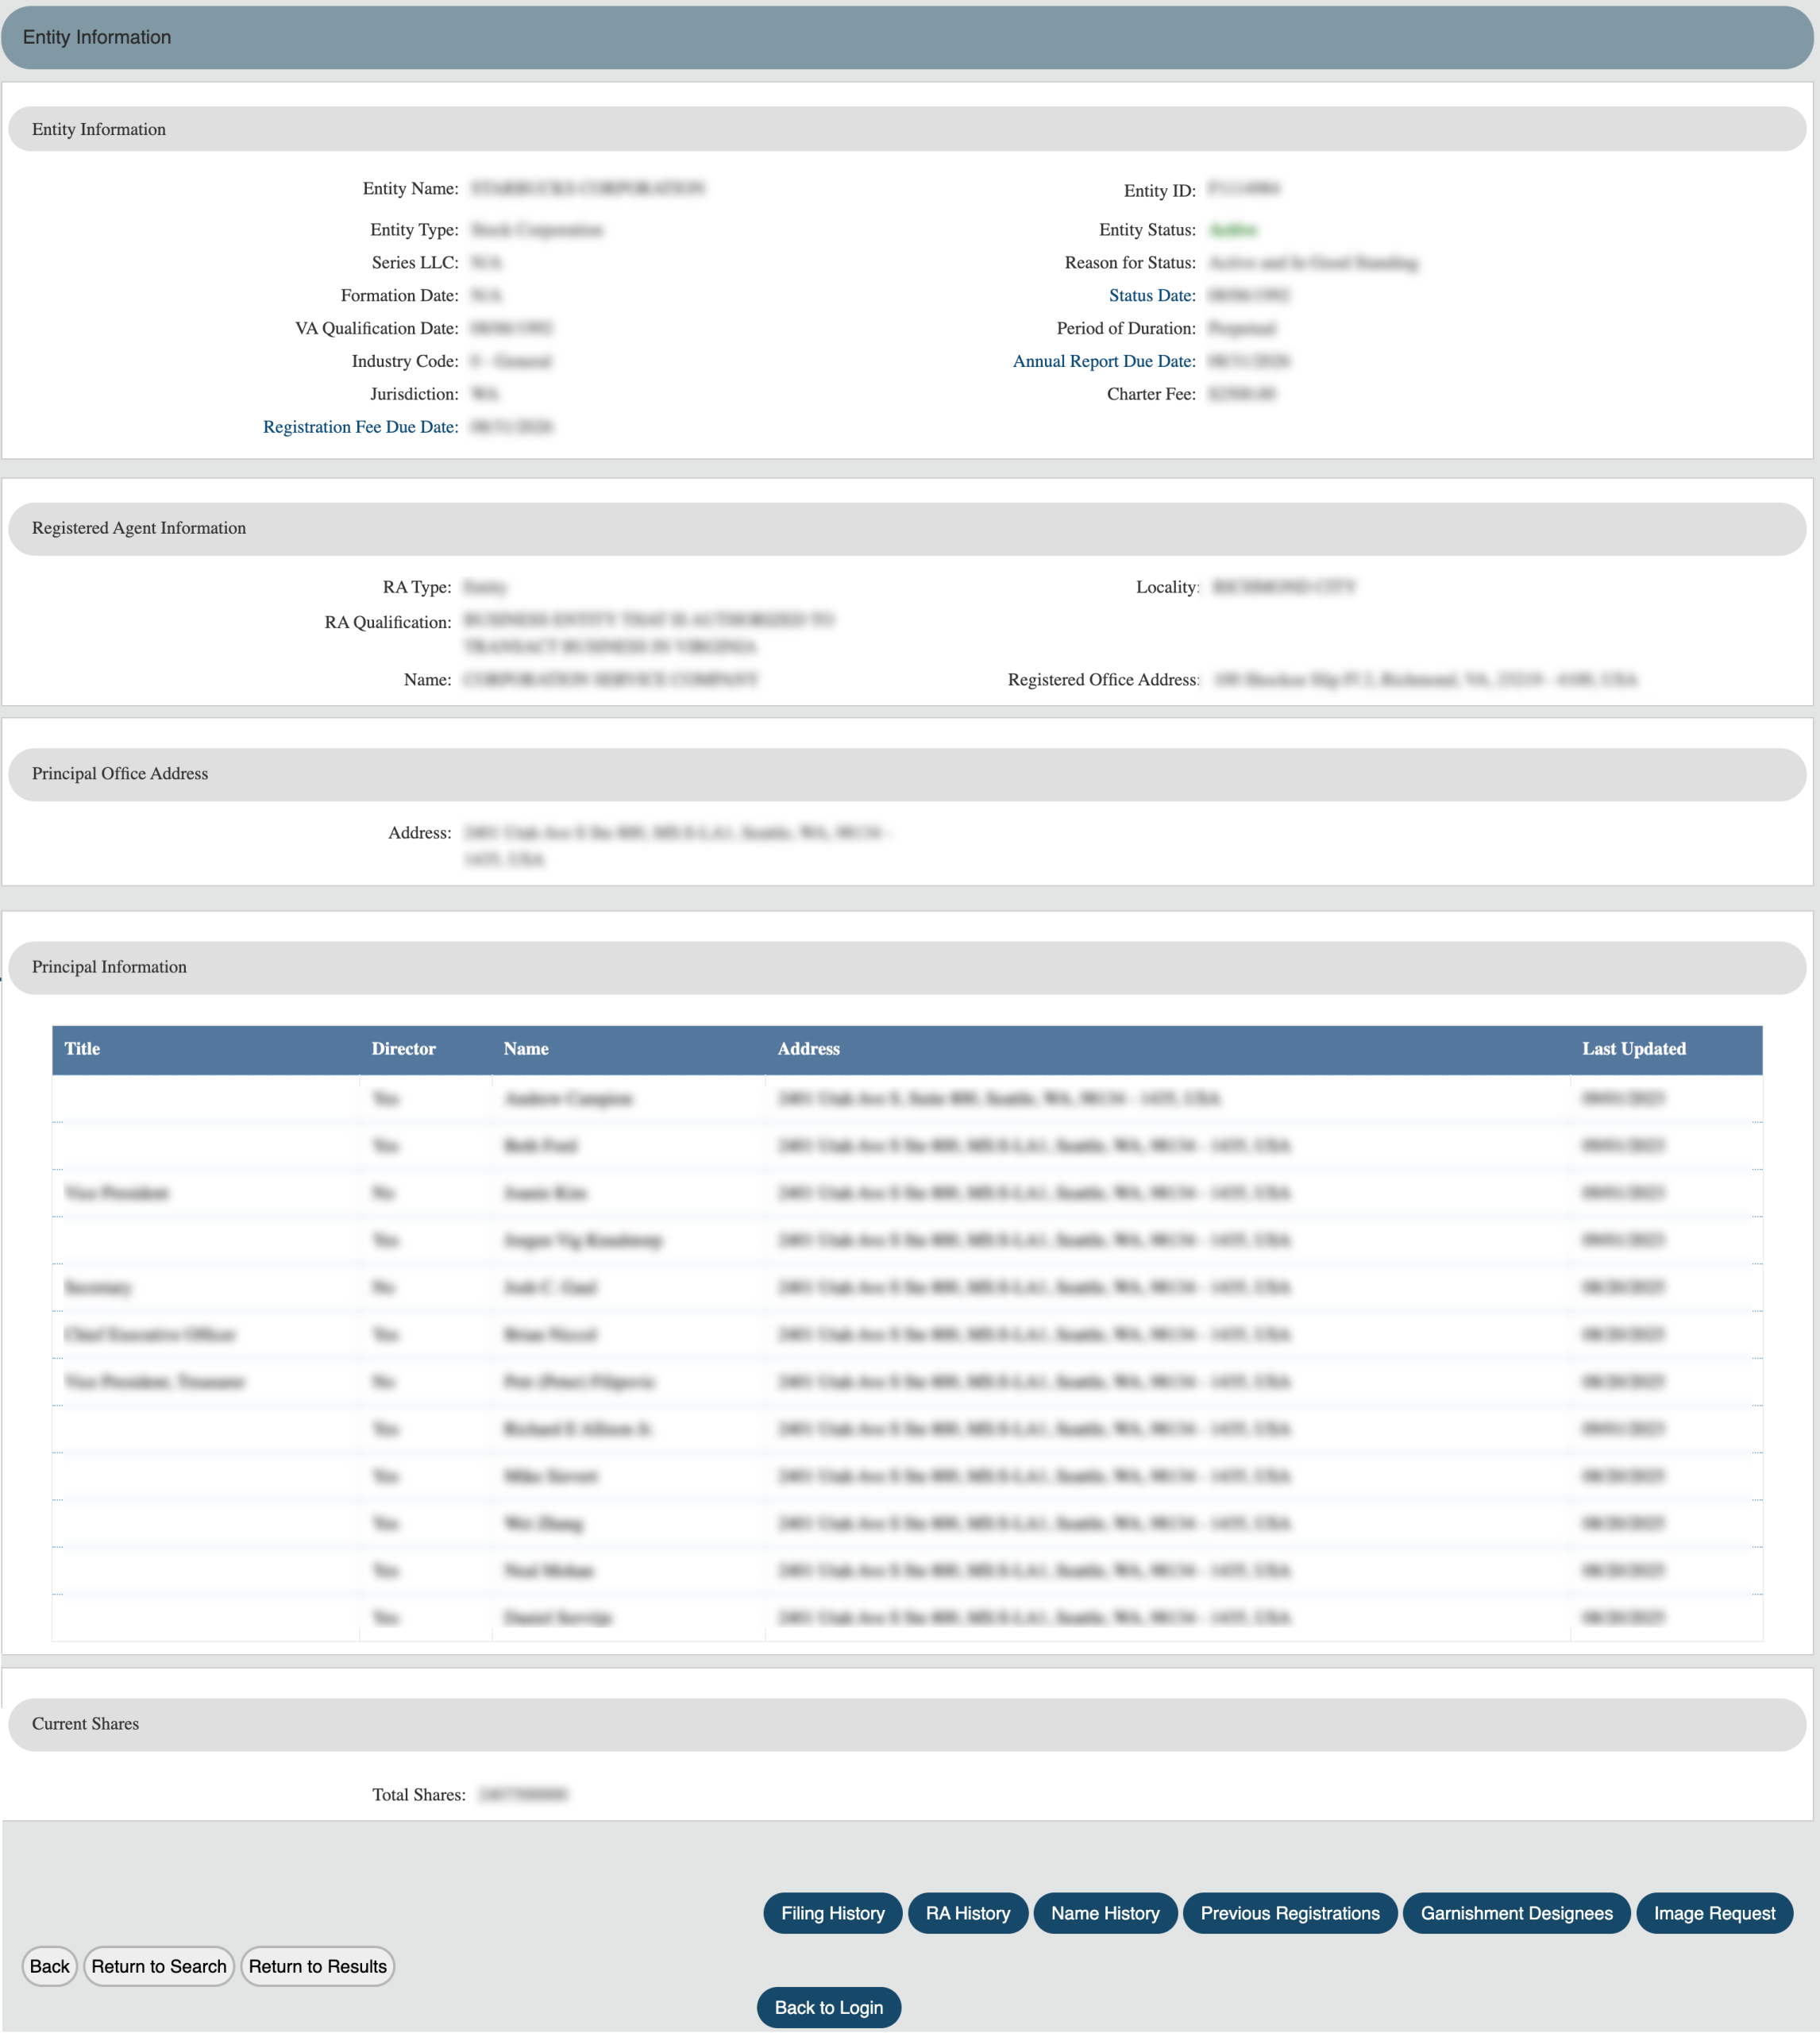
Review and obtain the entity’s details from this page. Notice the additional information available through menu buttons along the bottom.
- Entity Information
- Entity Name
- Entity Type
- Series LLC
- Formation Date
- VA Qualification Date
- Industry Code
- Jurisdiction
- Registration Fee Due Date
- Entity ID
- Entity Status
- Reason for Status
- Reason for Status
- Status Date
- Period of Duration
- Annual Report Due Date
- Charter Fee
- Registered Agent Information
- RA Type
- RA Qualification
- Name
- Locality
- Registered Office Address
- Principal Office Address
- Address
- Principal Information
- Title
- Director
- Name
- Address
- Last Updated
- Current Shares
- Total Shares
- Back
- Return to Search
- Return to Results
- Filing History
- RA History
- Name History
- Previous Registrations
- Garnishment Designee
- Image Request
- Back to Login
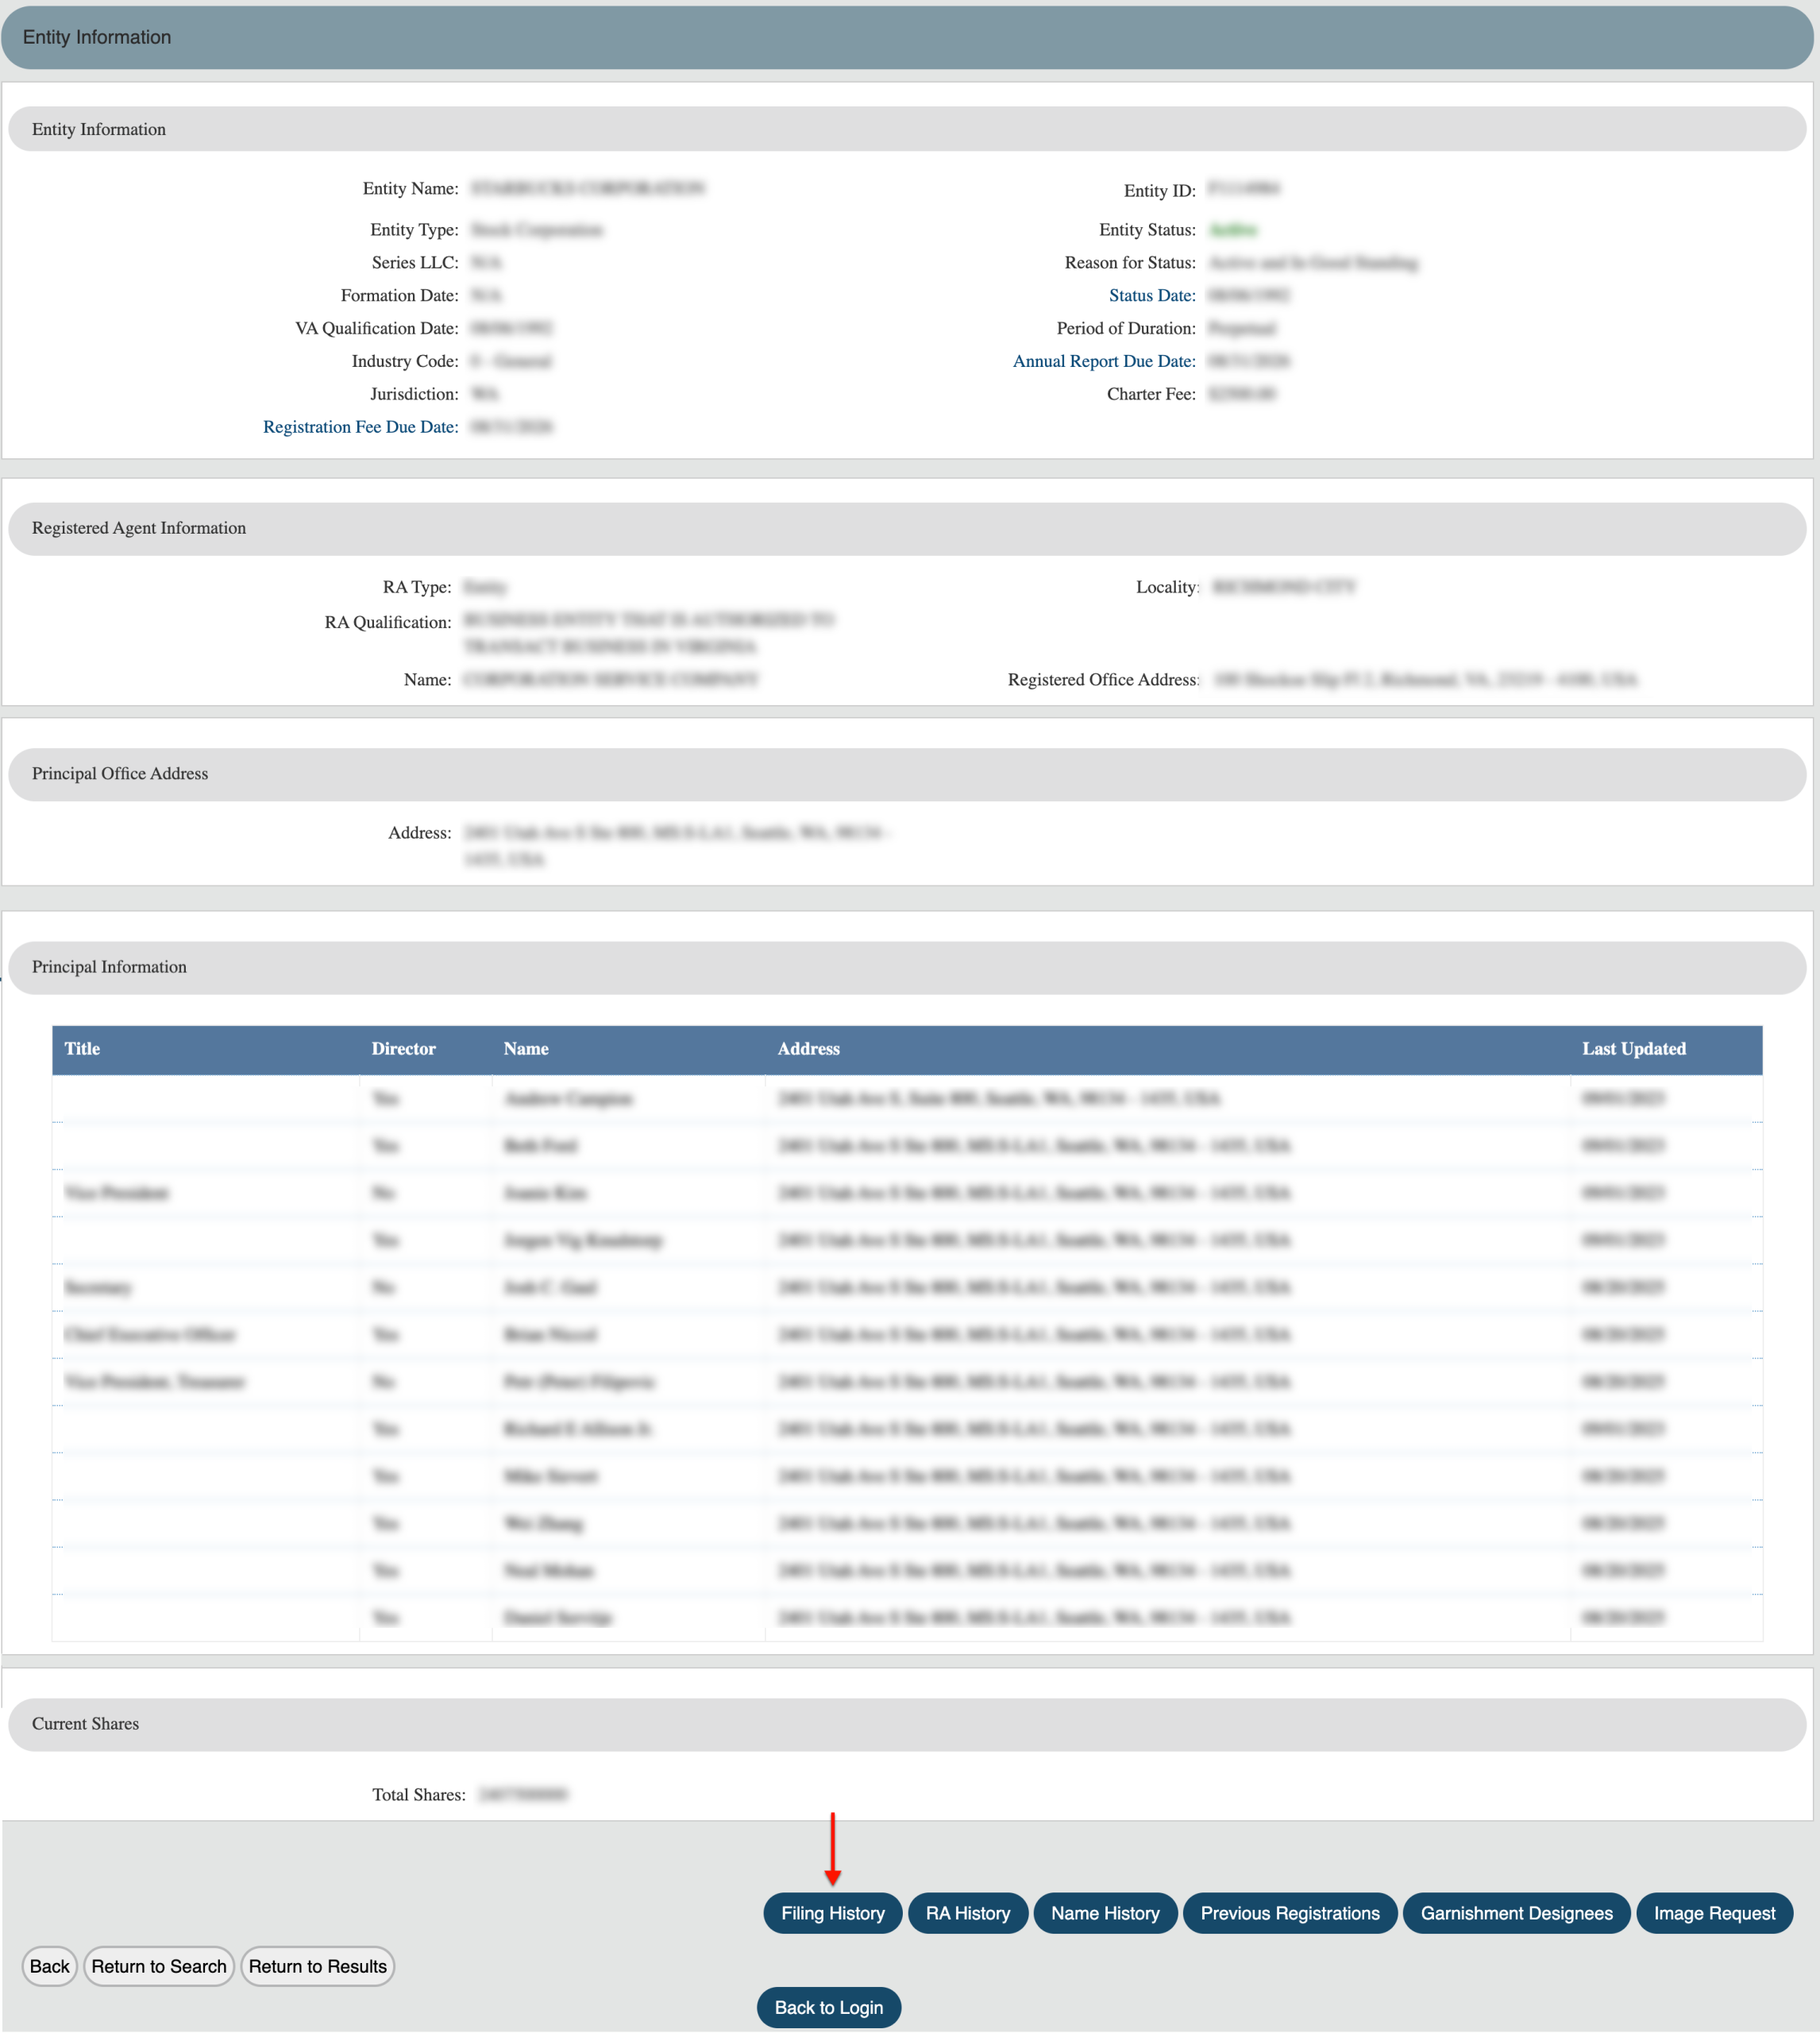
Step 27. Research Filing History
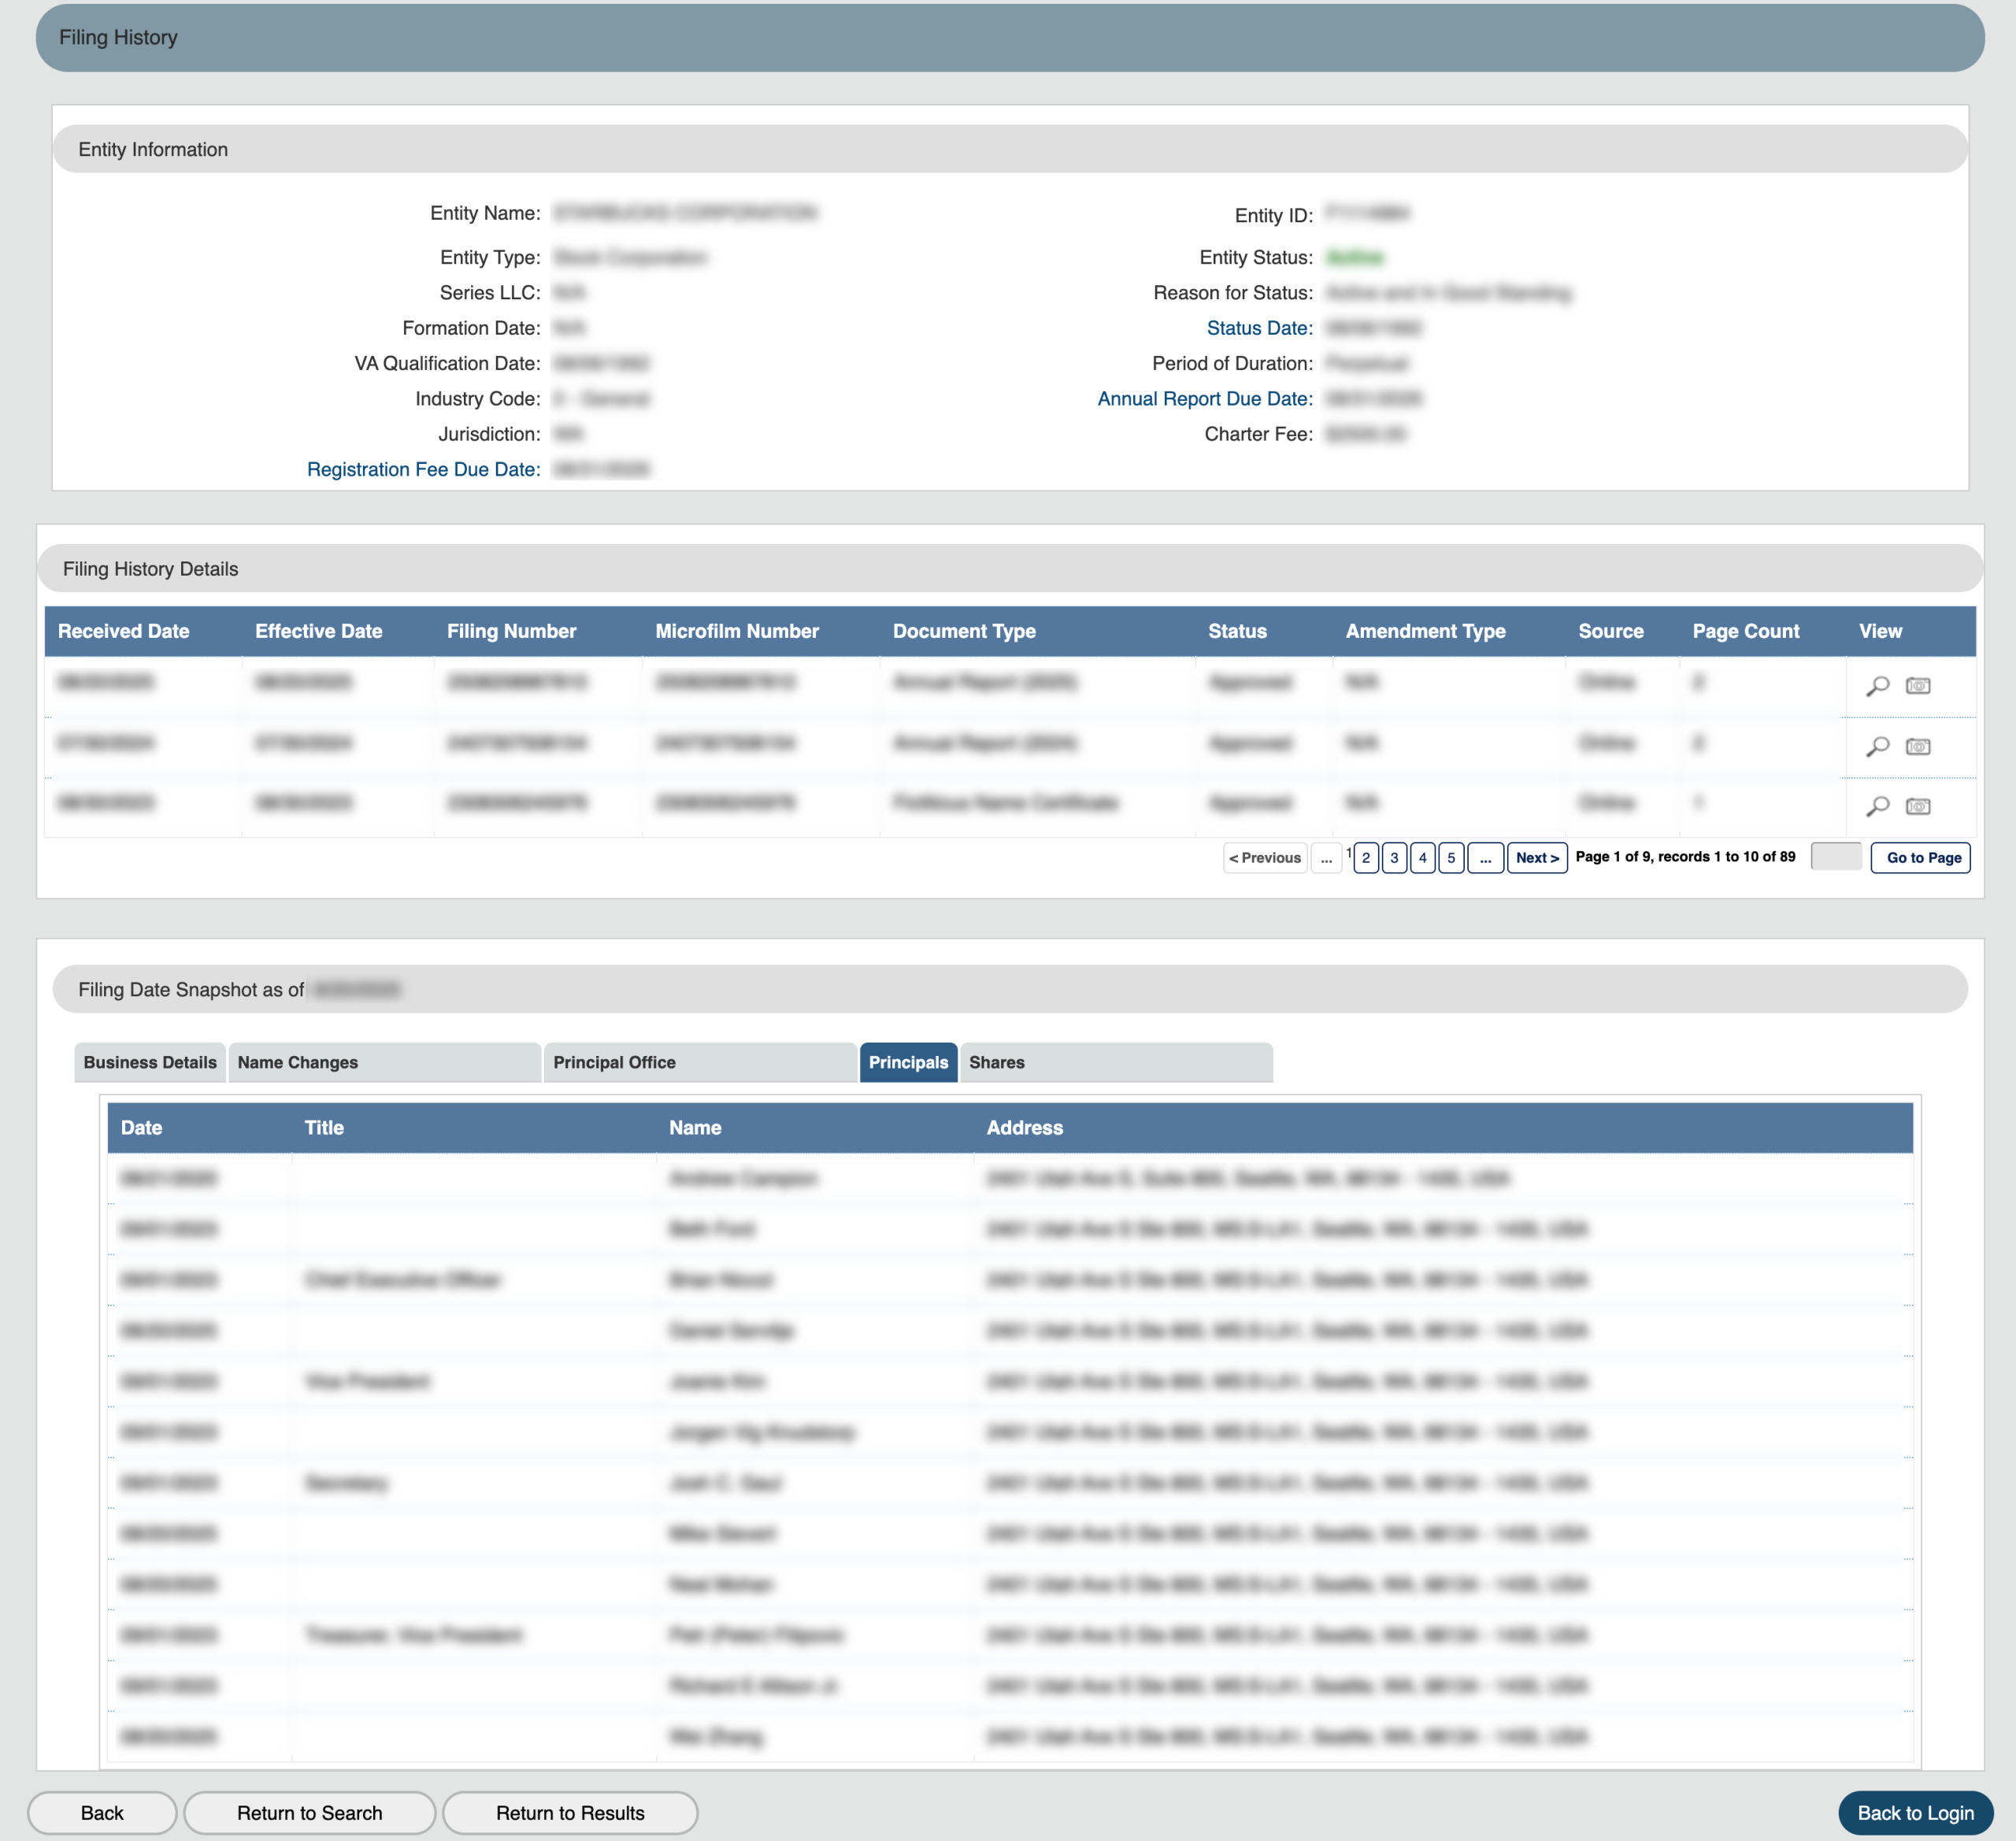
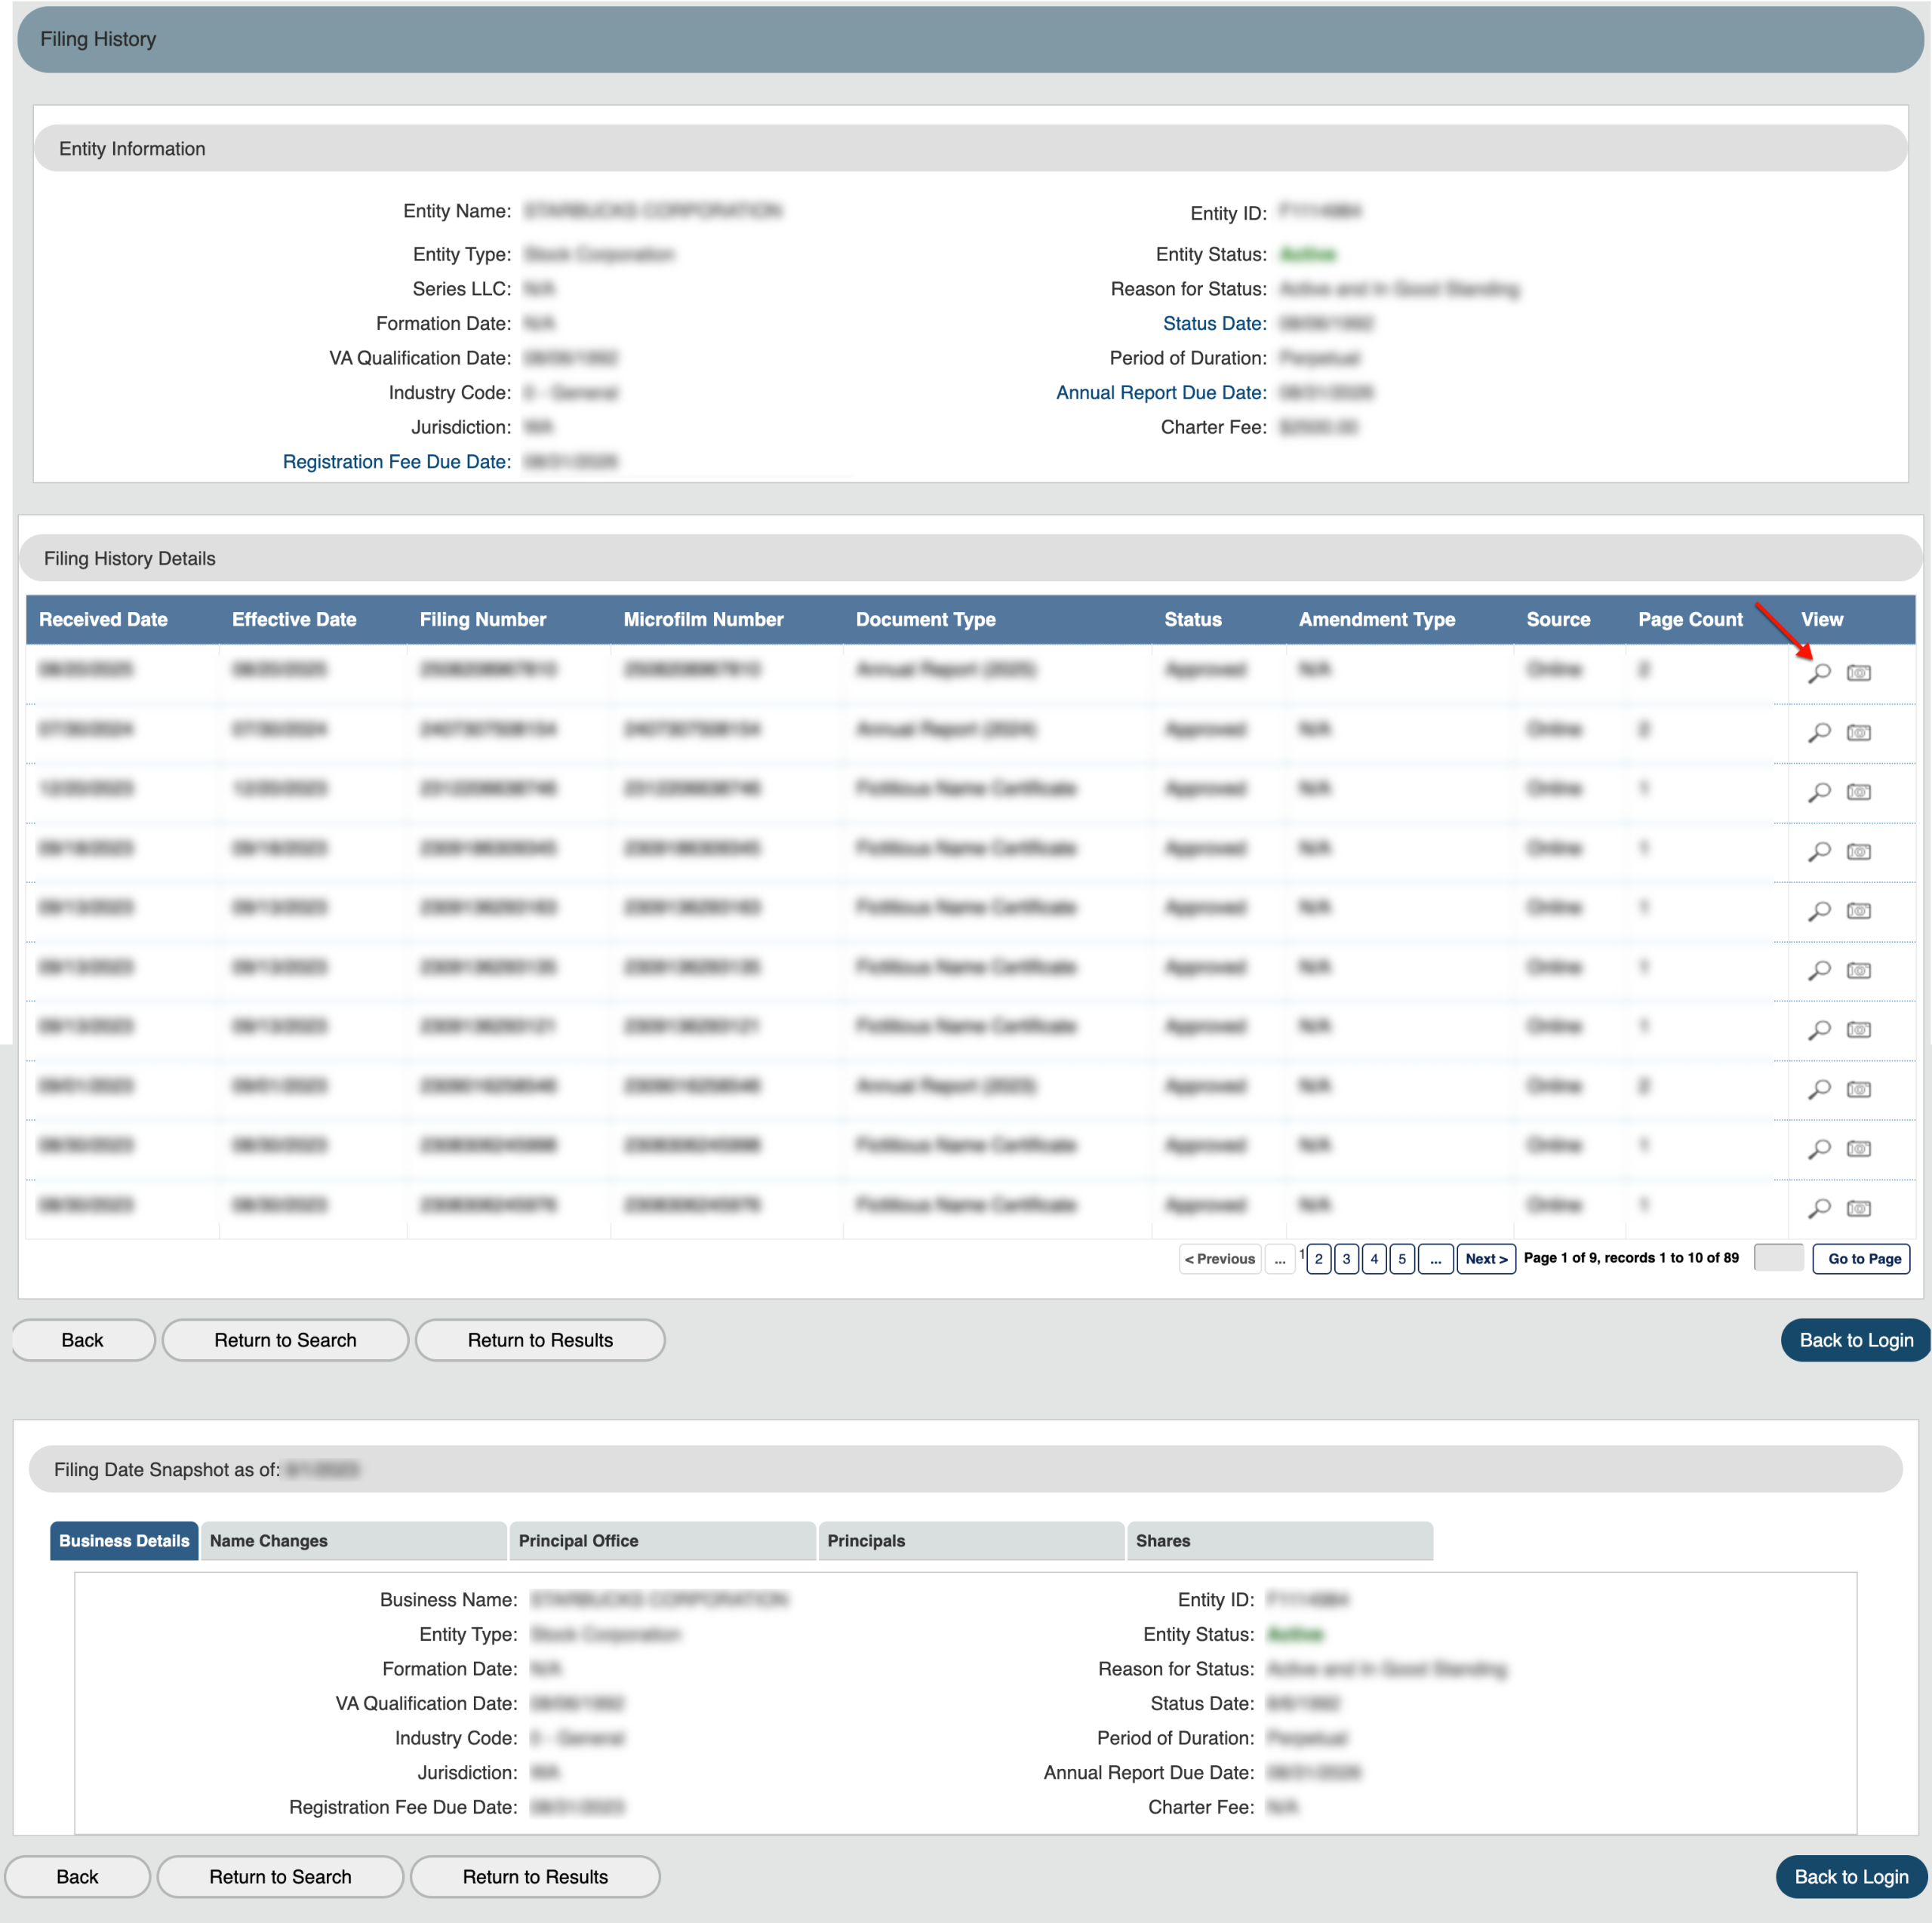
Locate the area closing the information page, specifically the menu buttons. Click on “Filing History” to view the entity’s interactions with the state.
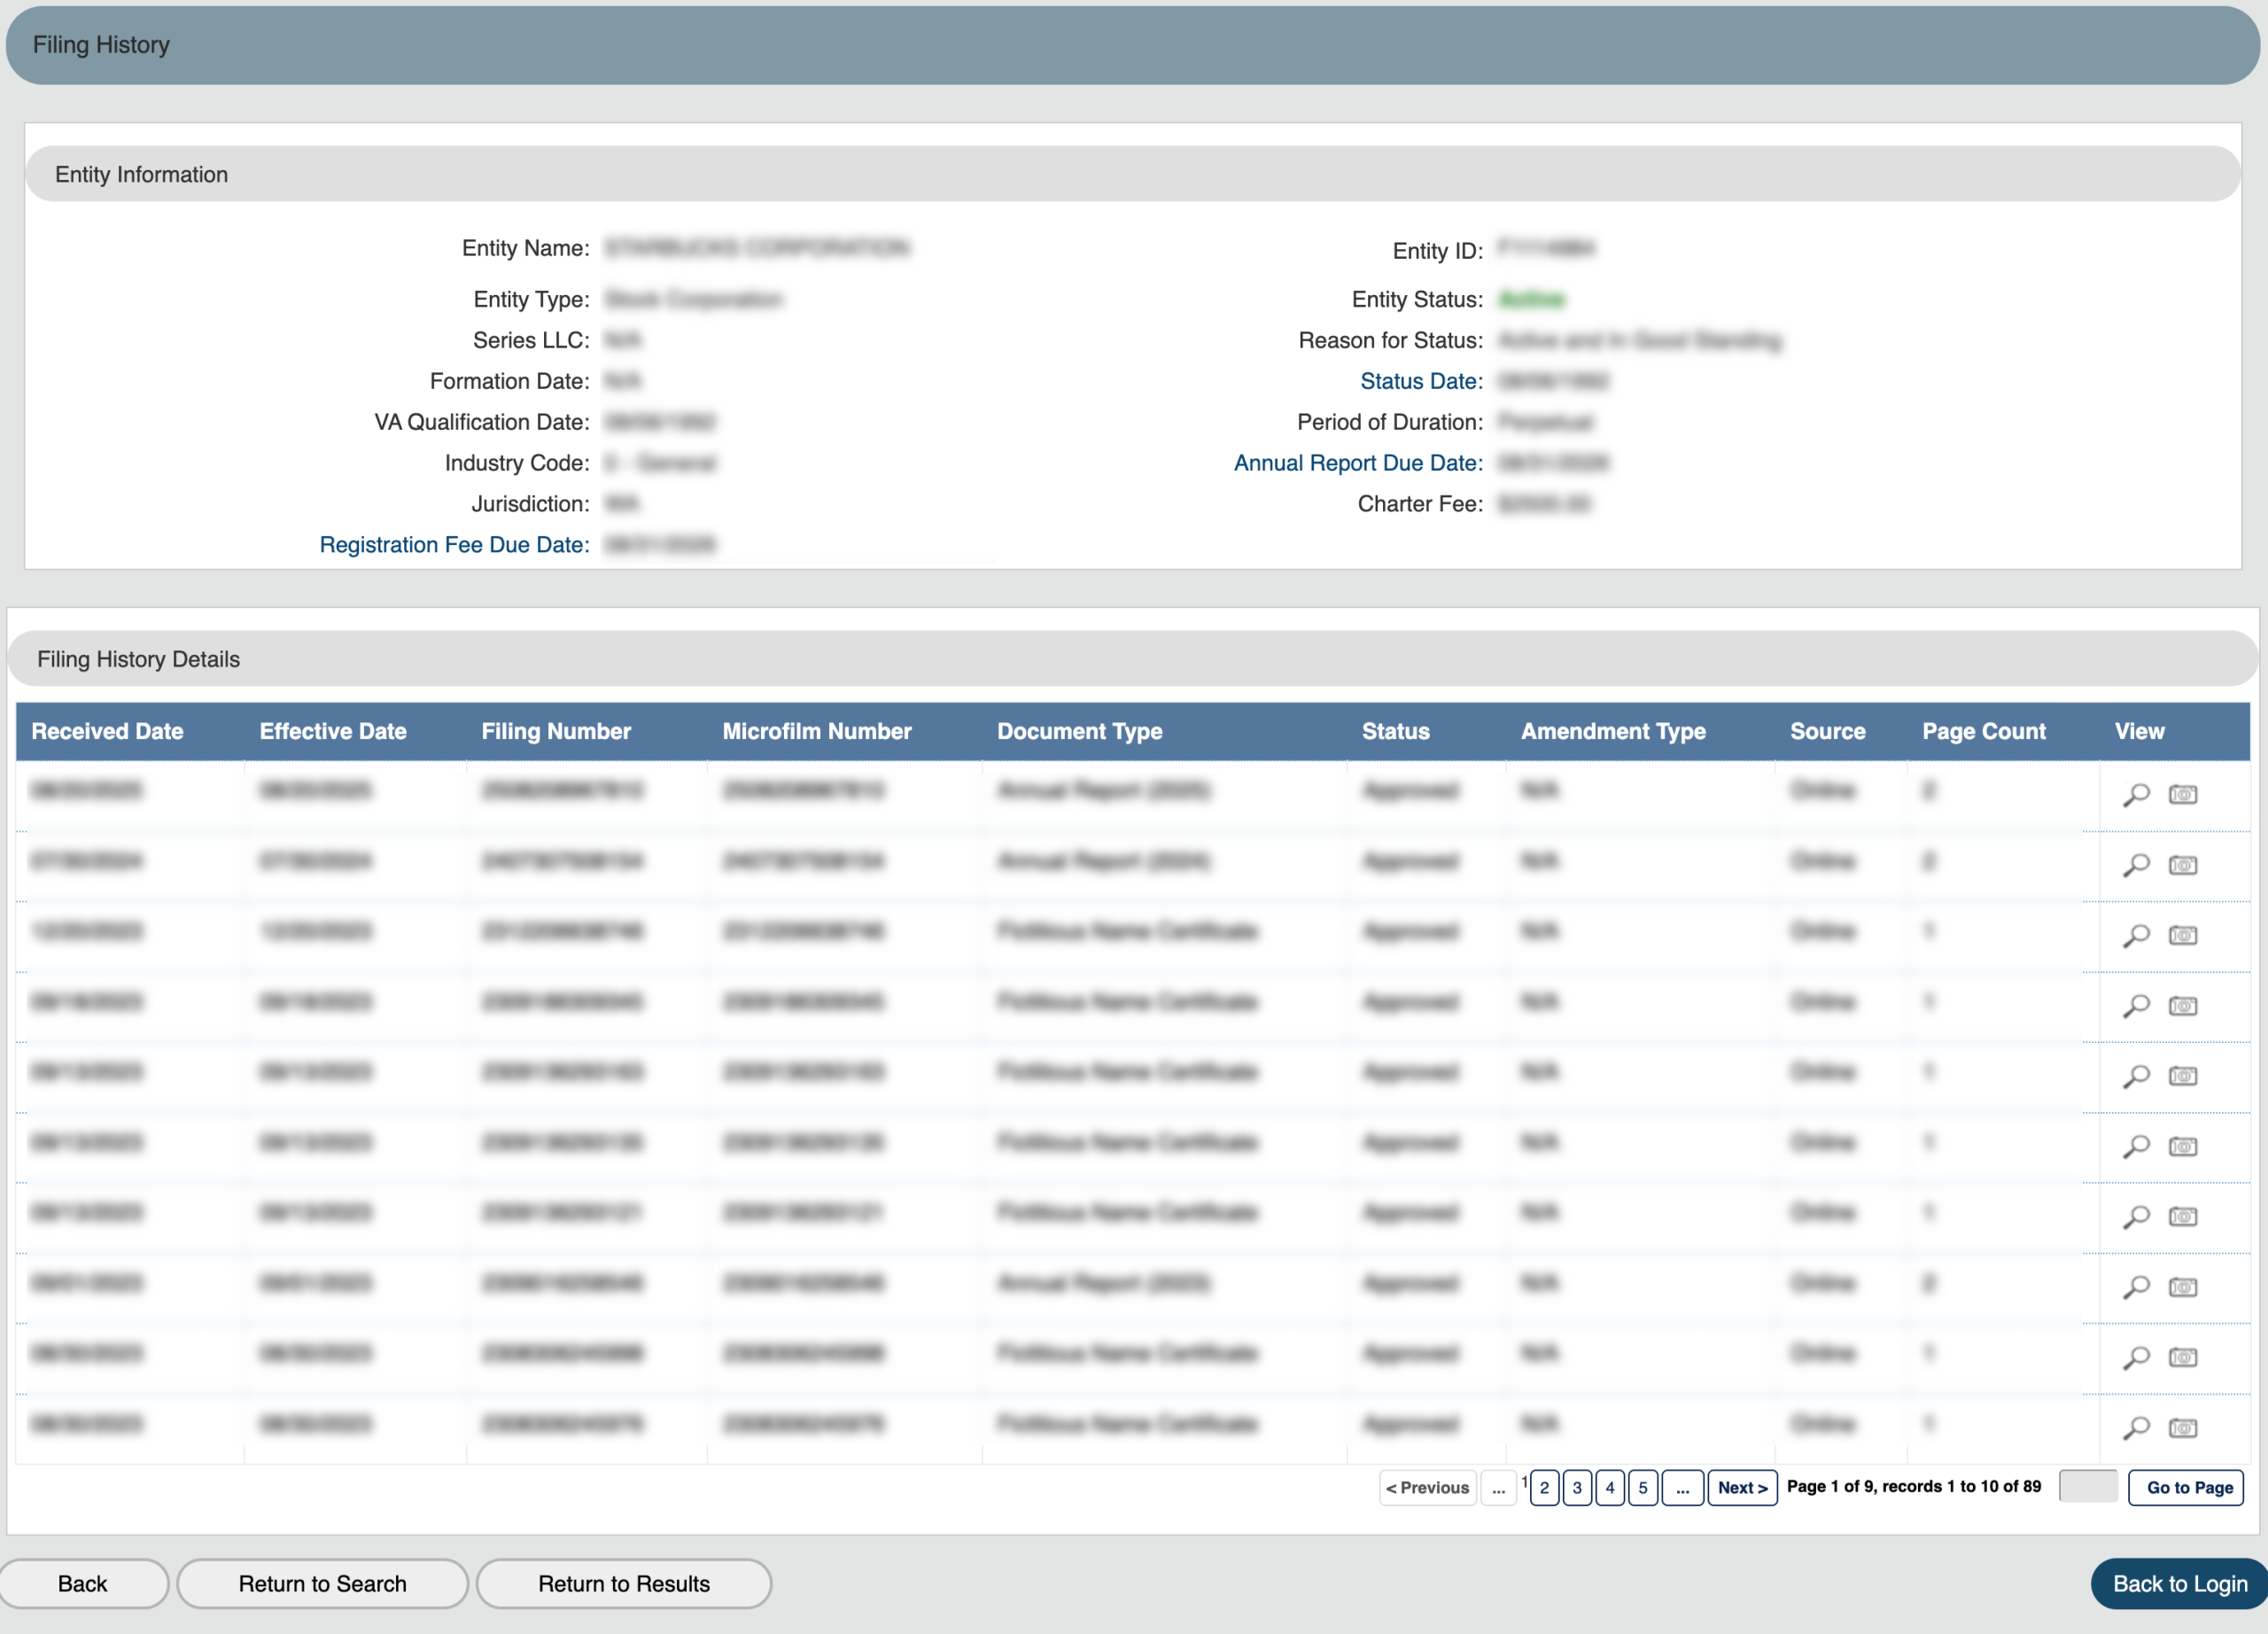
Step 28. Examining Filing History Details
Take a moment to confirm the entity in the “Entity Information” section. Then read through the “Filing History Details” table.
- Entity Information
- Entity Name
- Entity Type
- Series LLC
- Formation Date
- VA Qualification Date
- Industry Code
- Jurisdiction
- Registration Fee Due Date
- Entity ID
- Entity Status
- Reason for Status
- Reason for Status
- Status Date
- Period of Duration
- Annual Report Due Date
- Charter Fee
- Filing History Details
- Received Date
- Effective Date
- Filing Number
- Microfilm Number
- Document Type
- Status
- Amendment Type
- Source
- Page Count
- View
- Back
- Return to Search
- Return to Results
- Back to Login
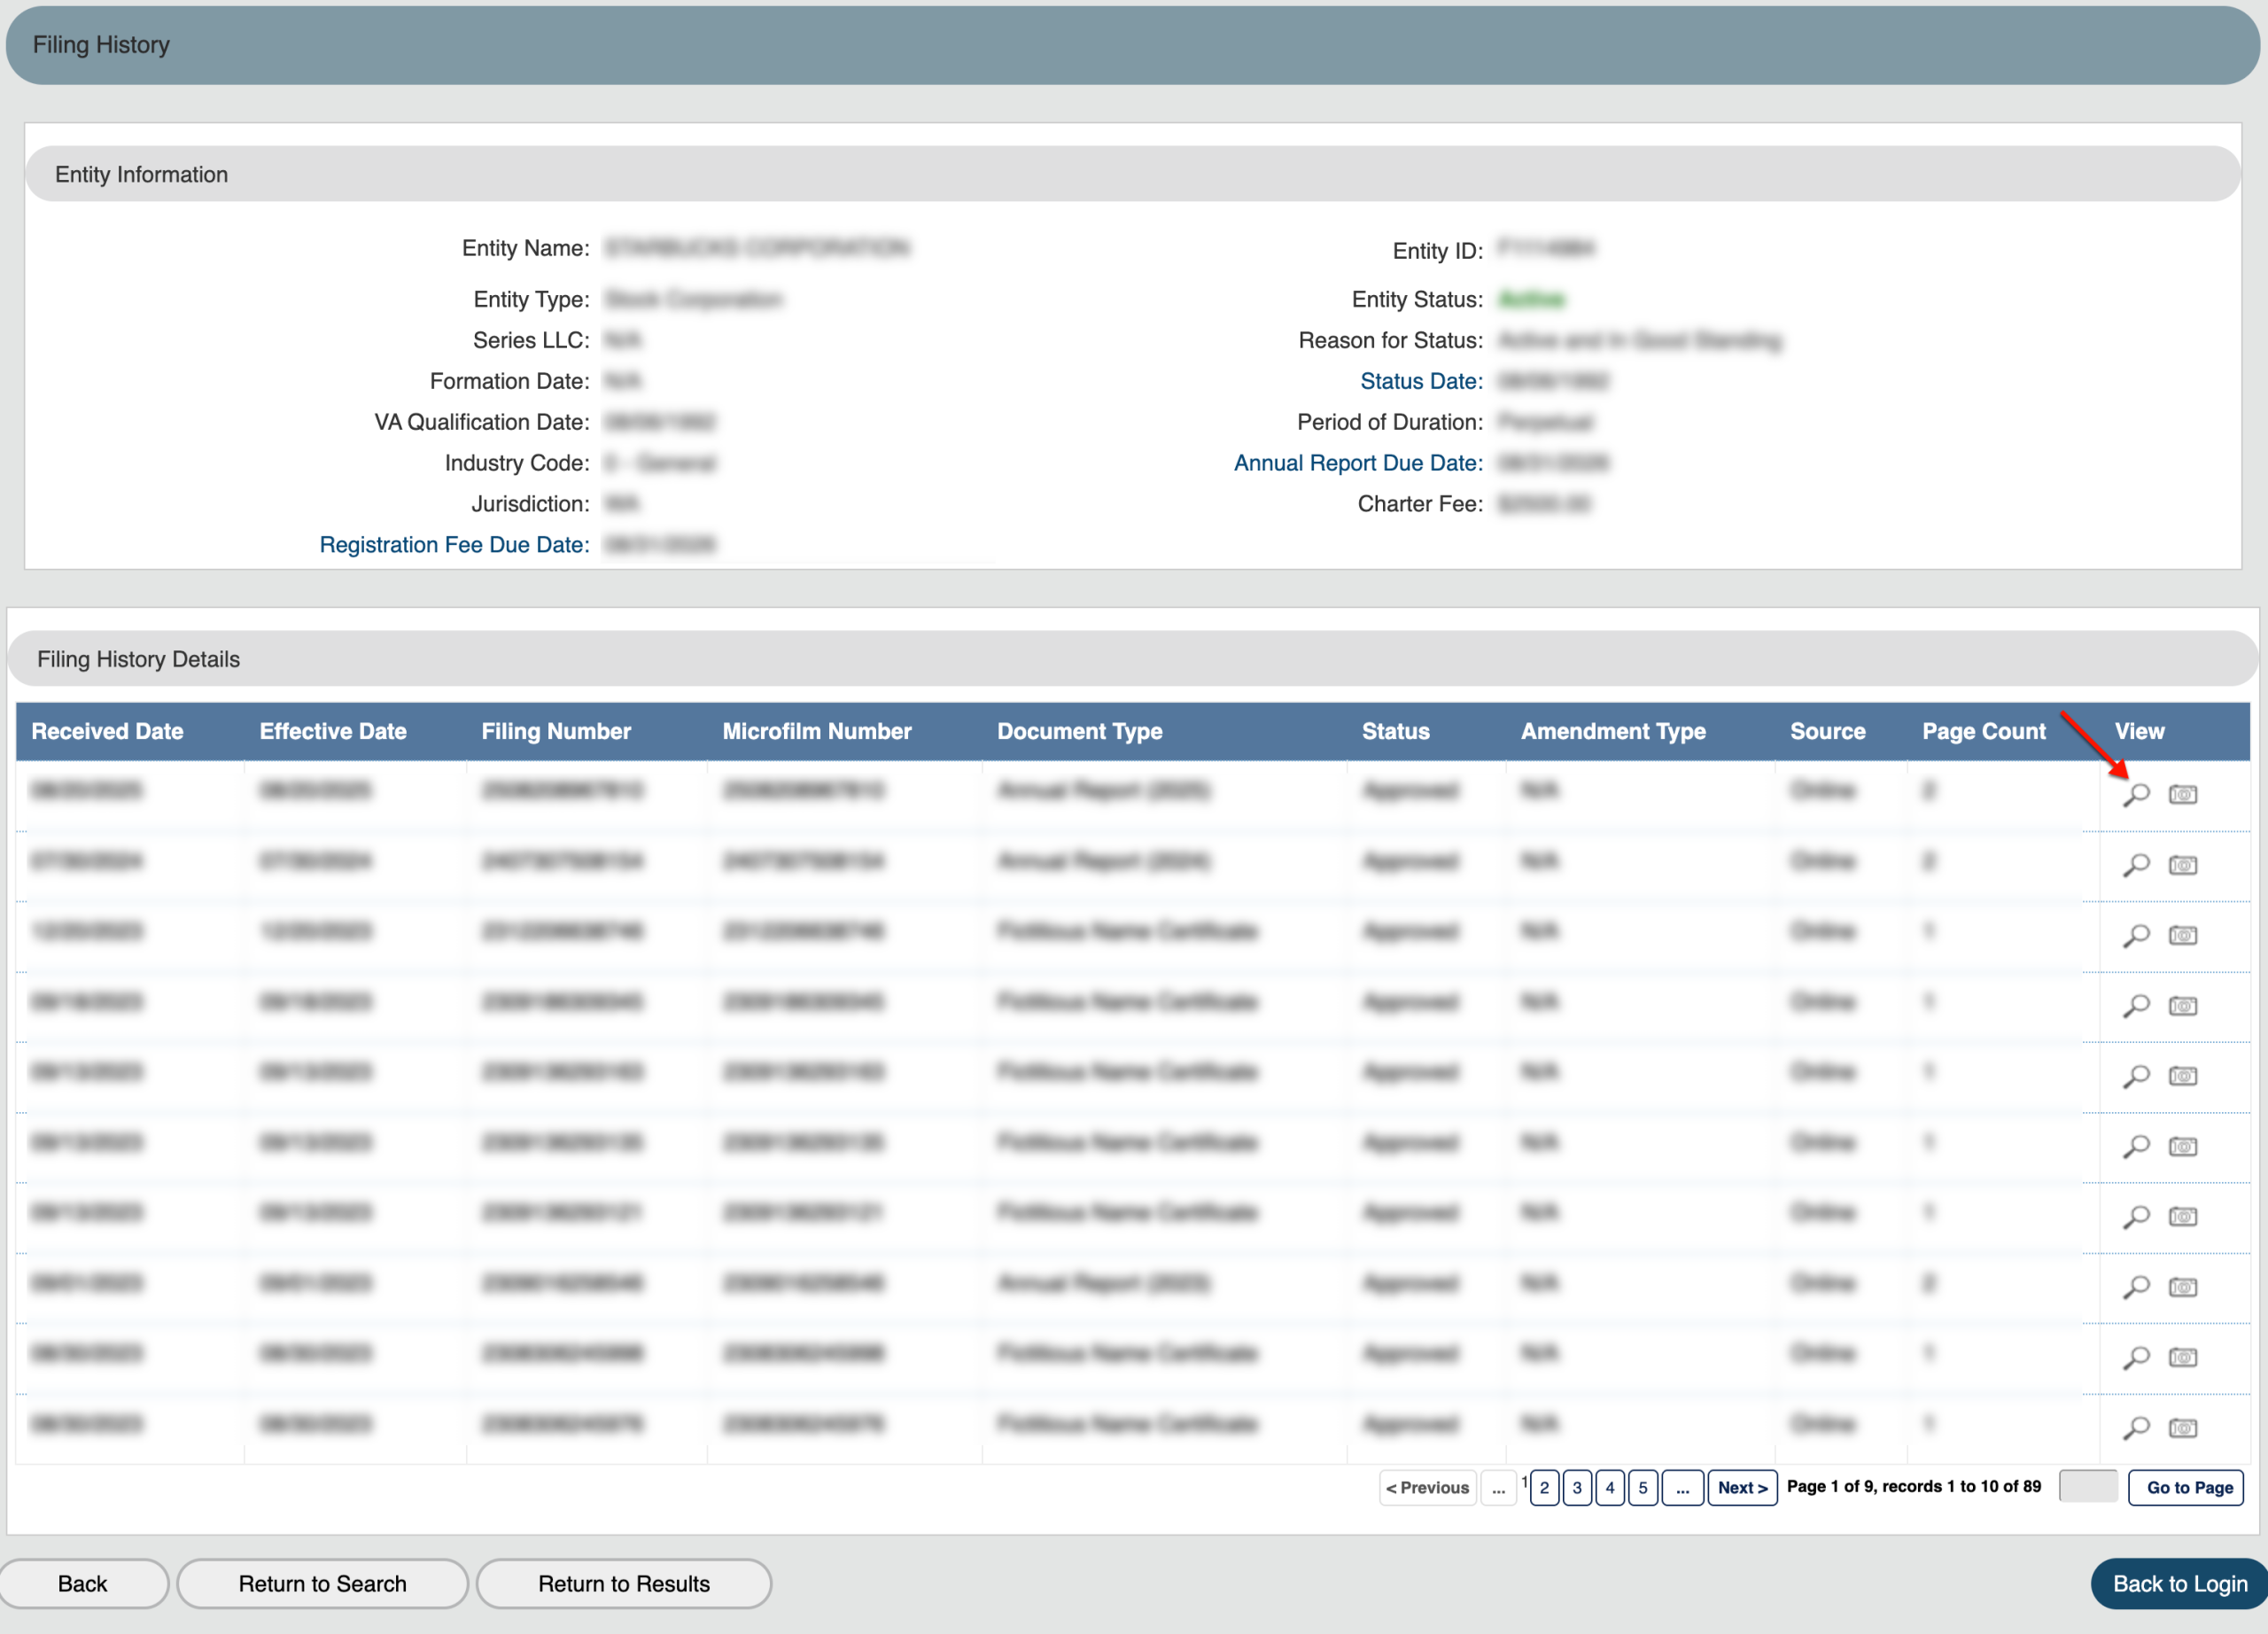
Step 29. Obtaining a Filing Onscreen
Pay special attention to the final column, which provides record information. Select a record’s magnifying glass to view filings onscreen.
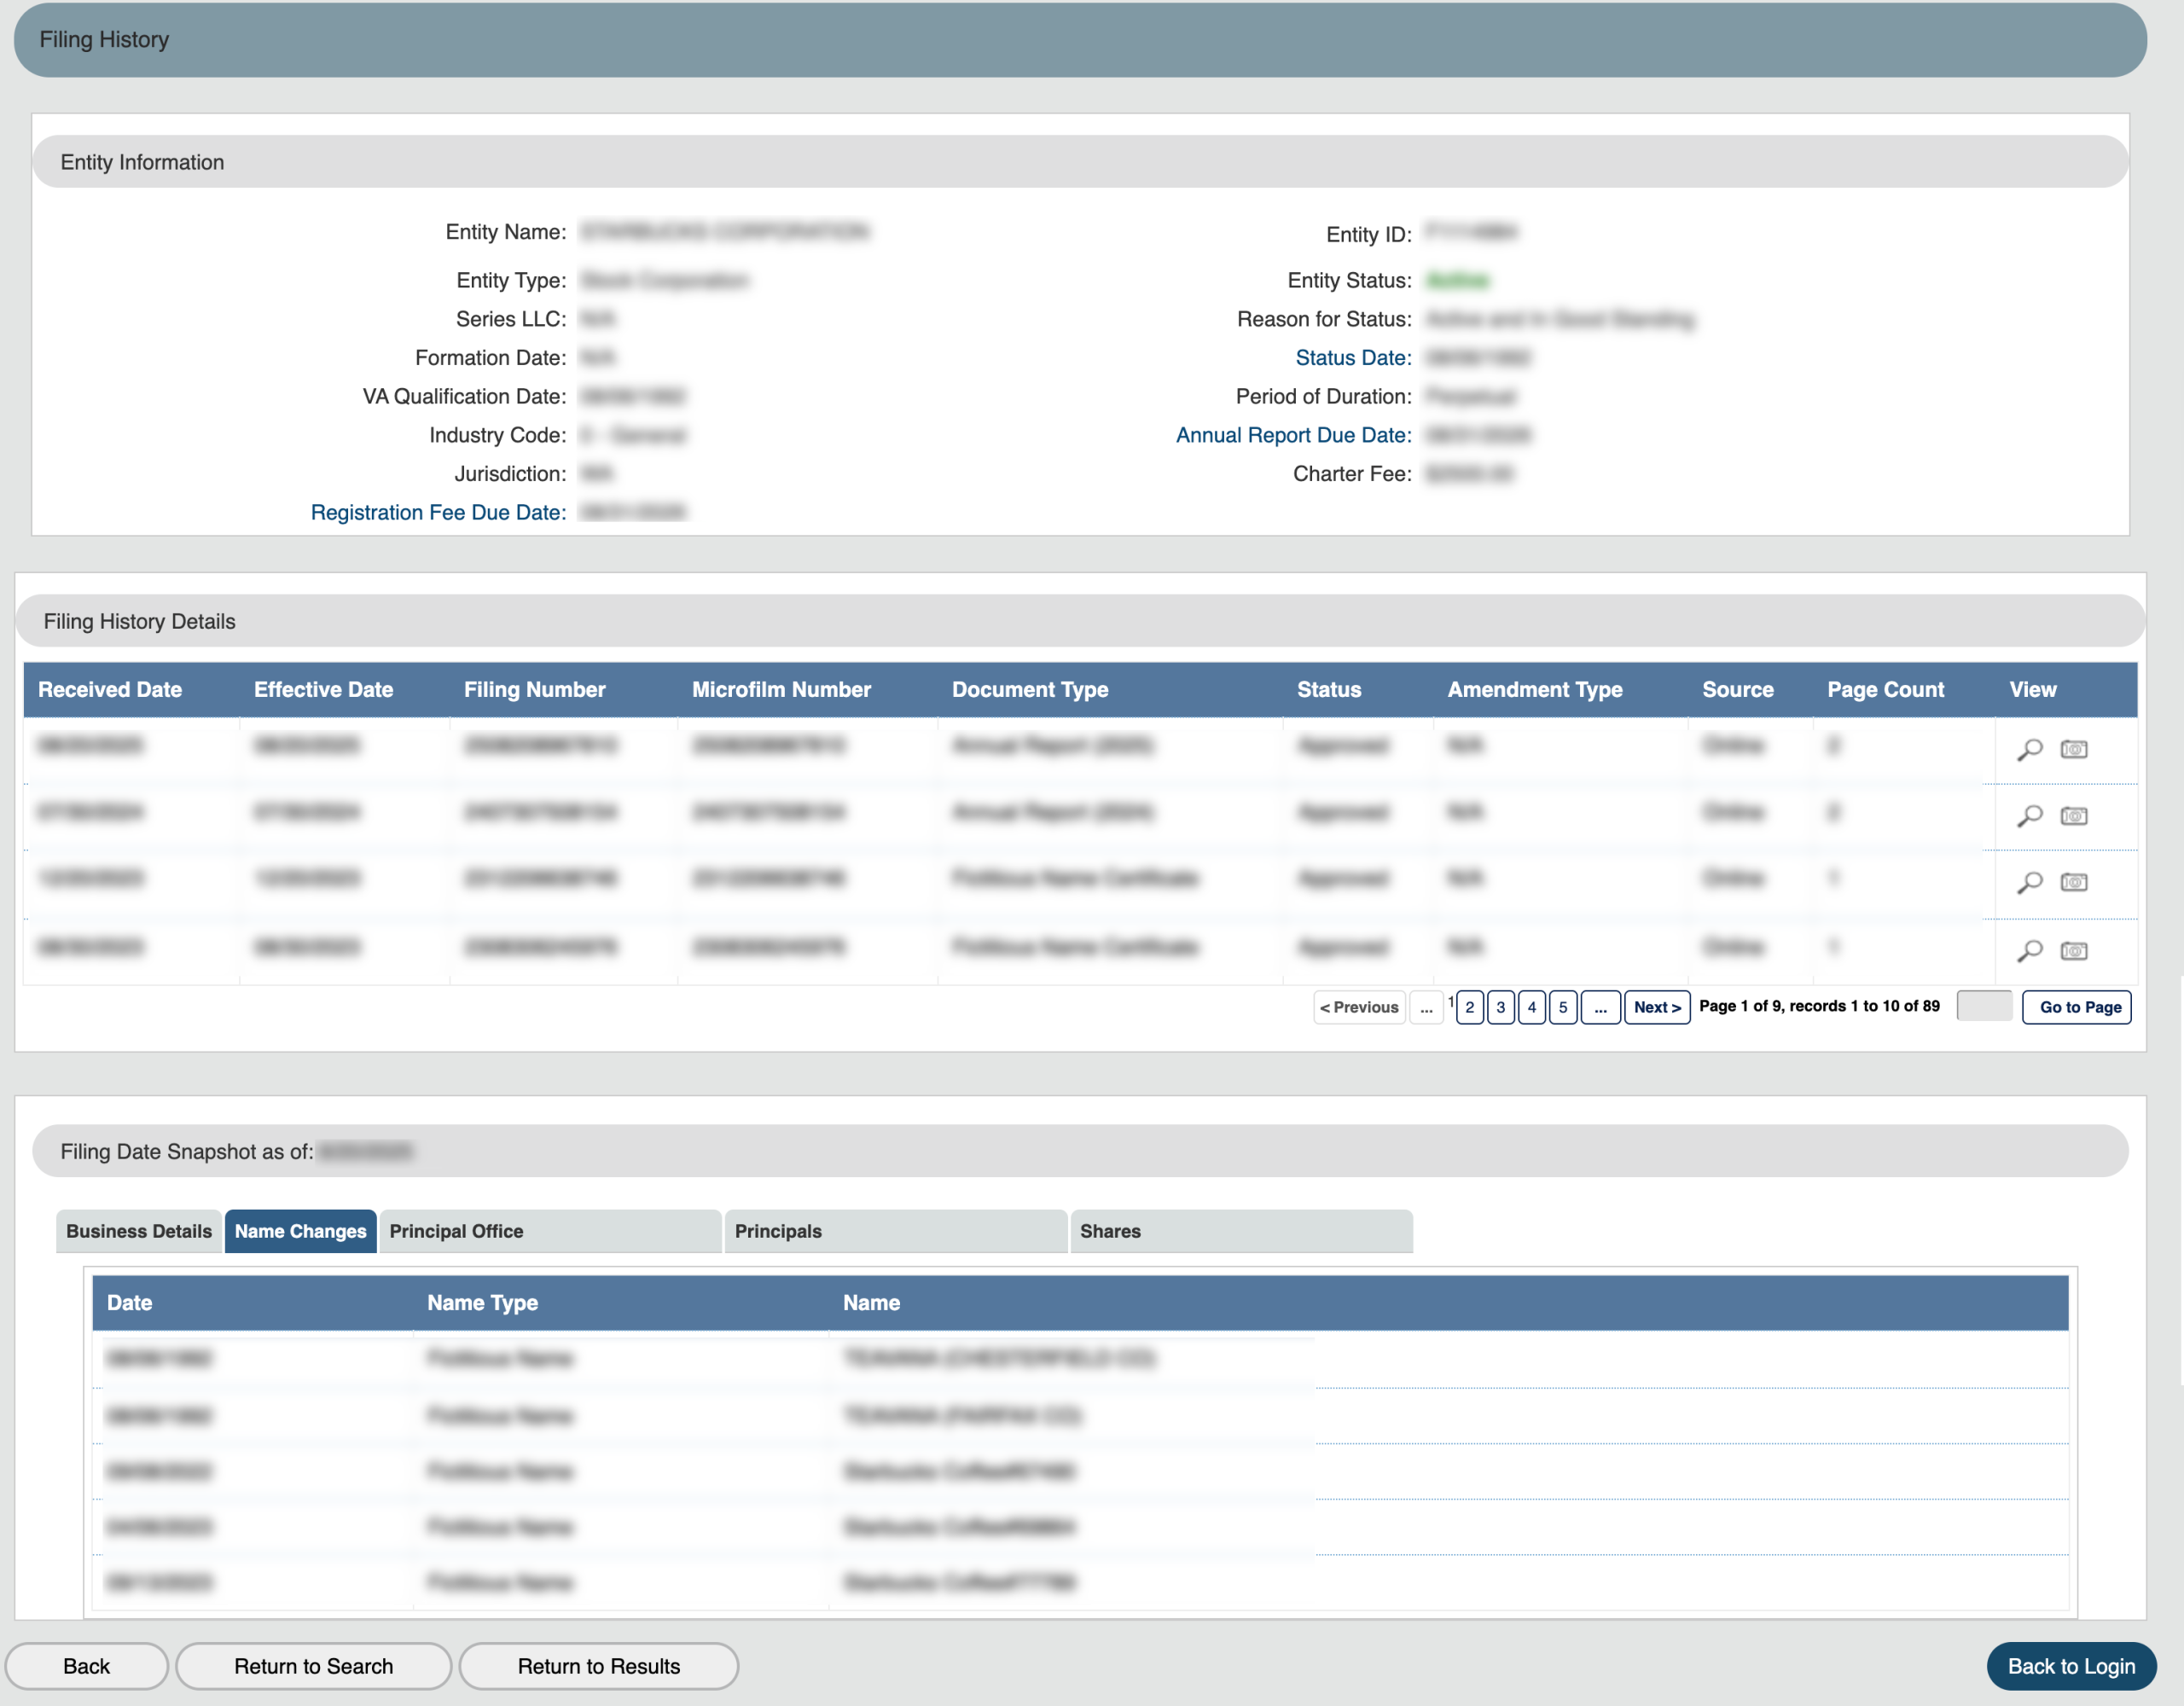
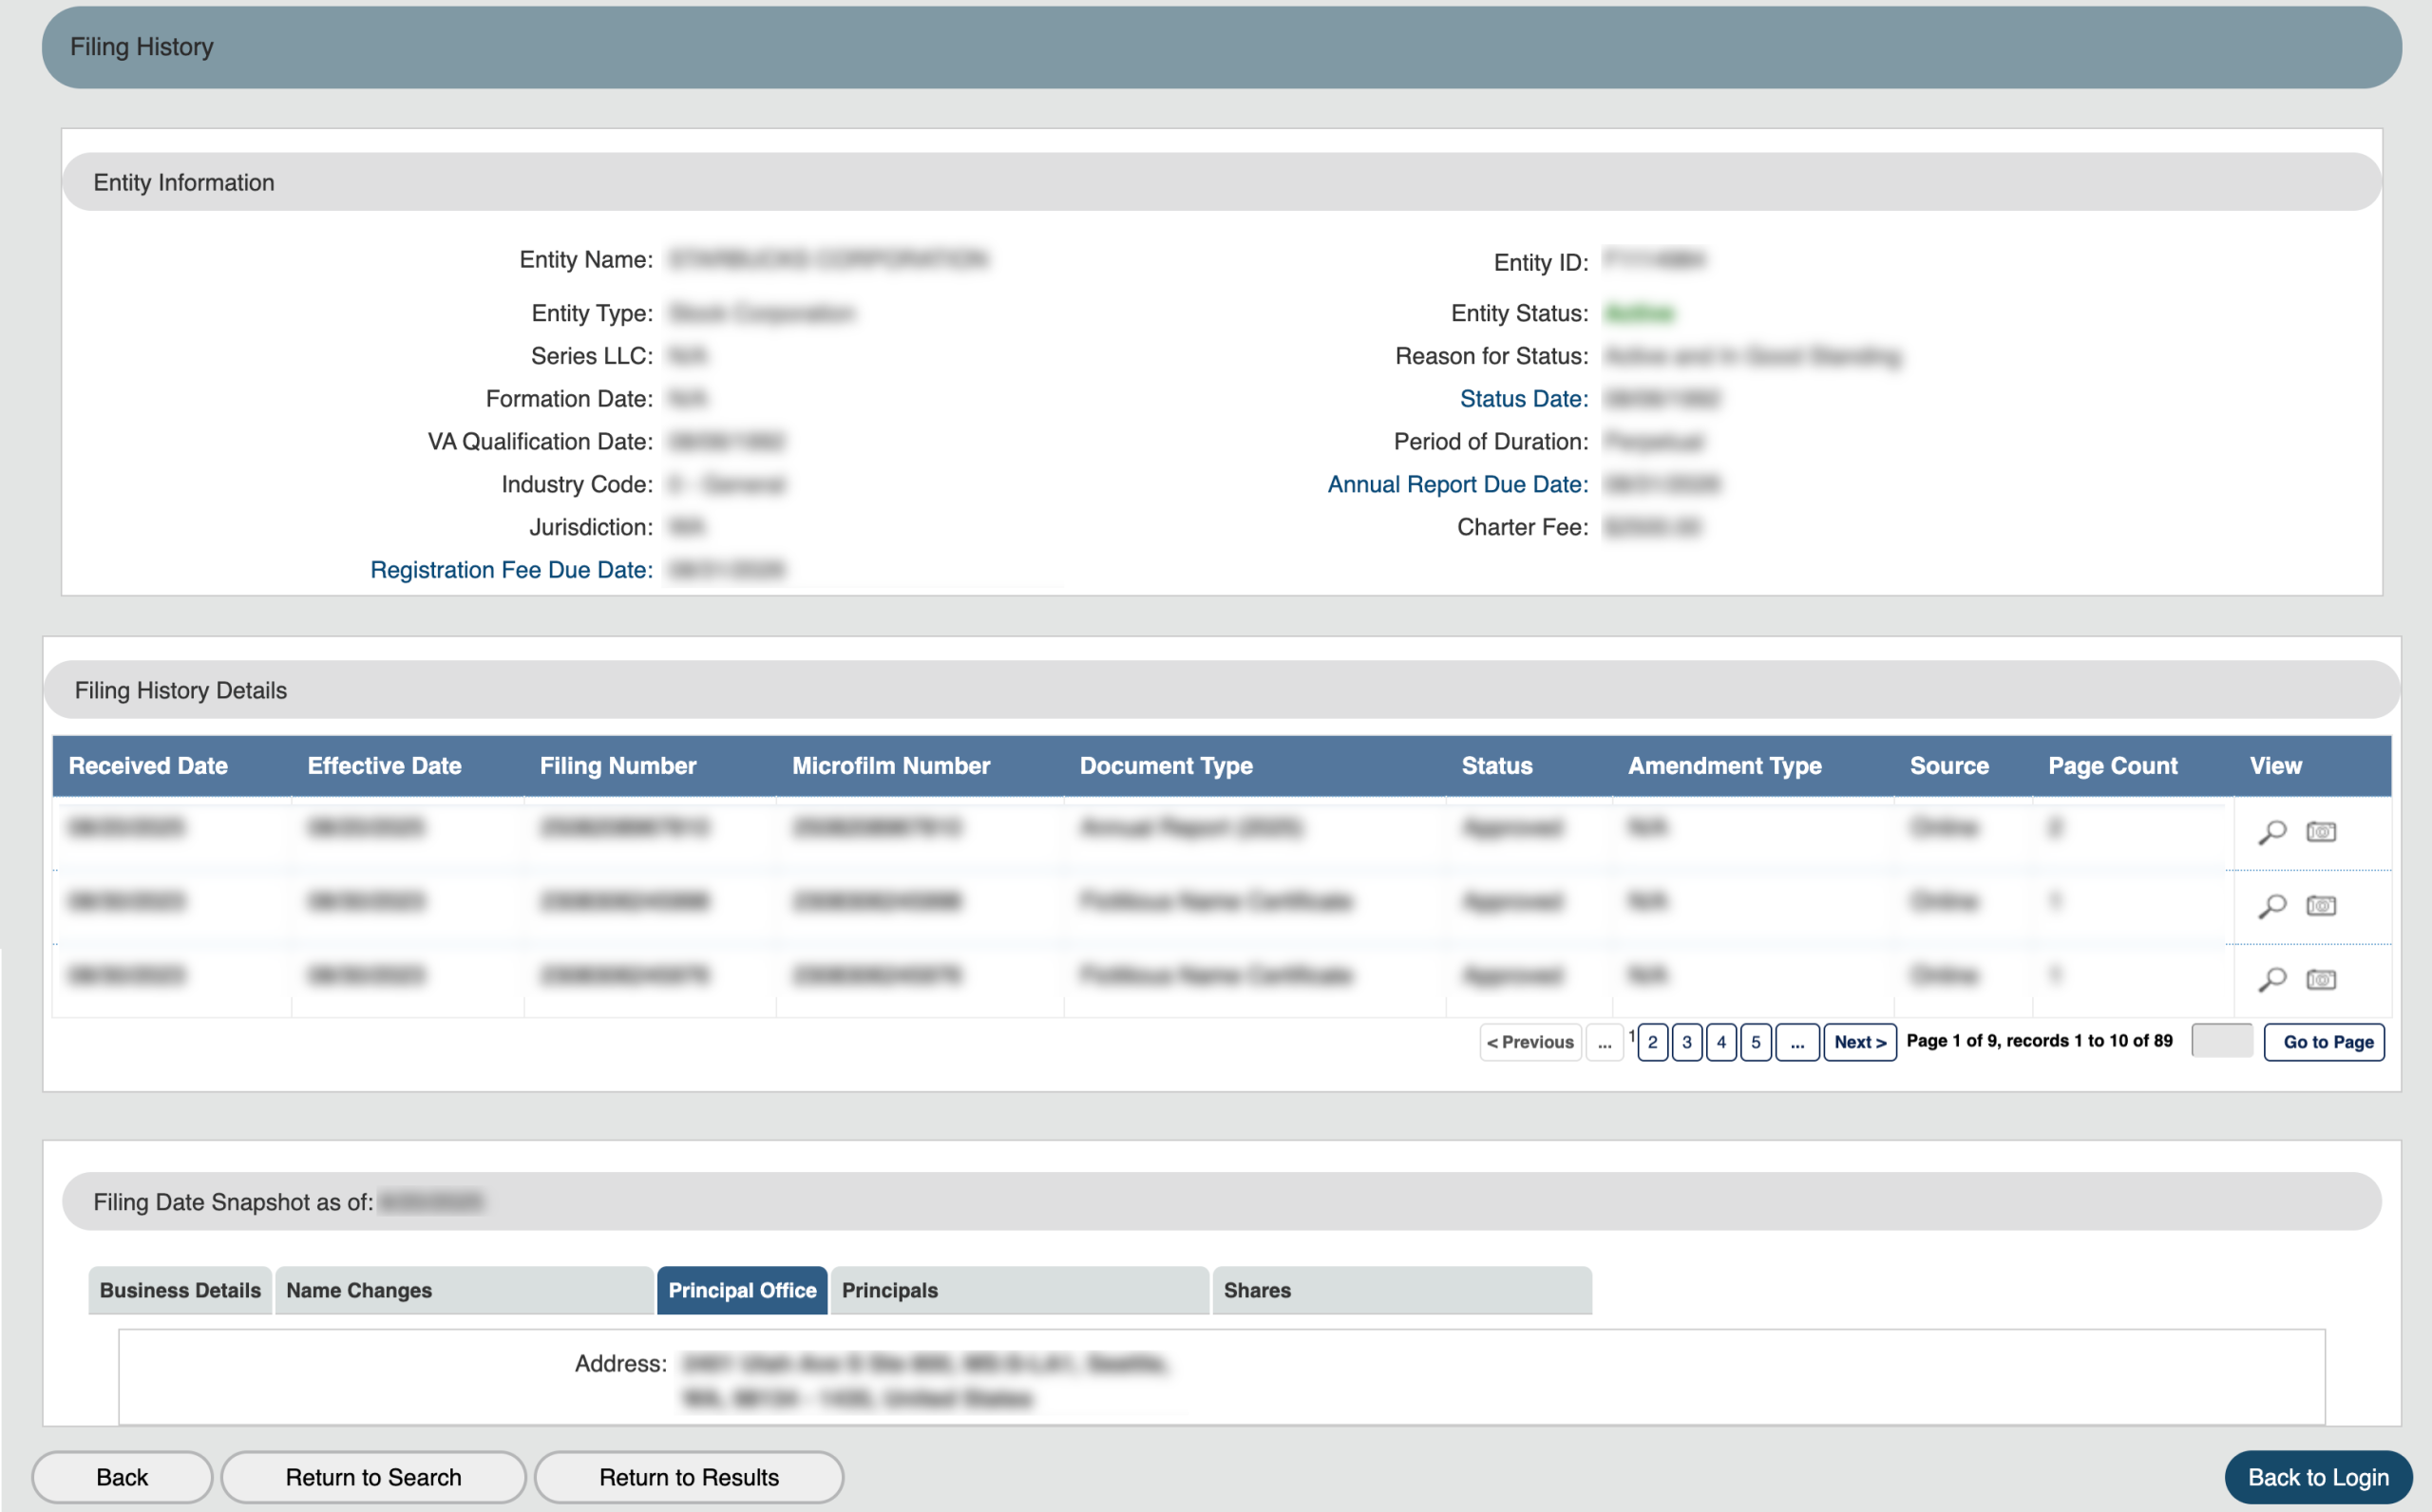
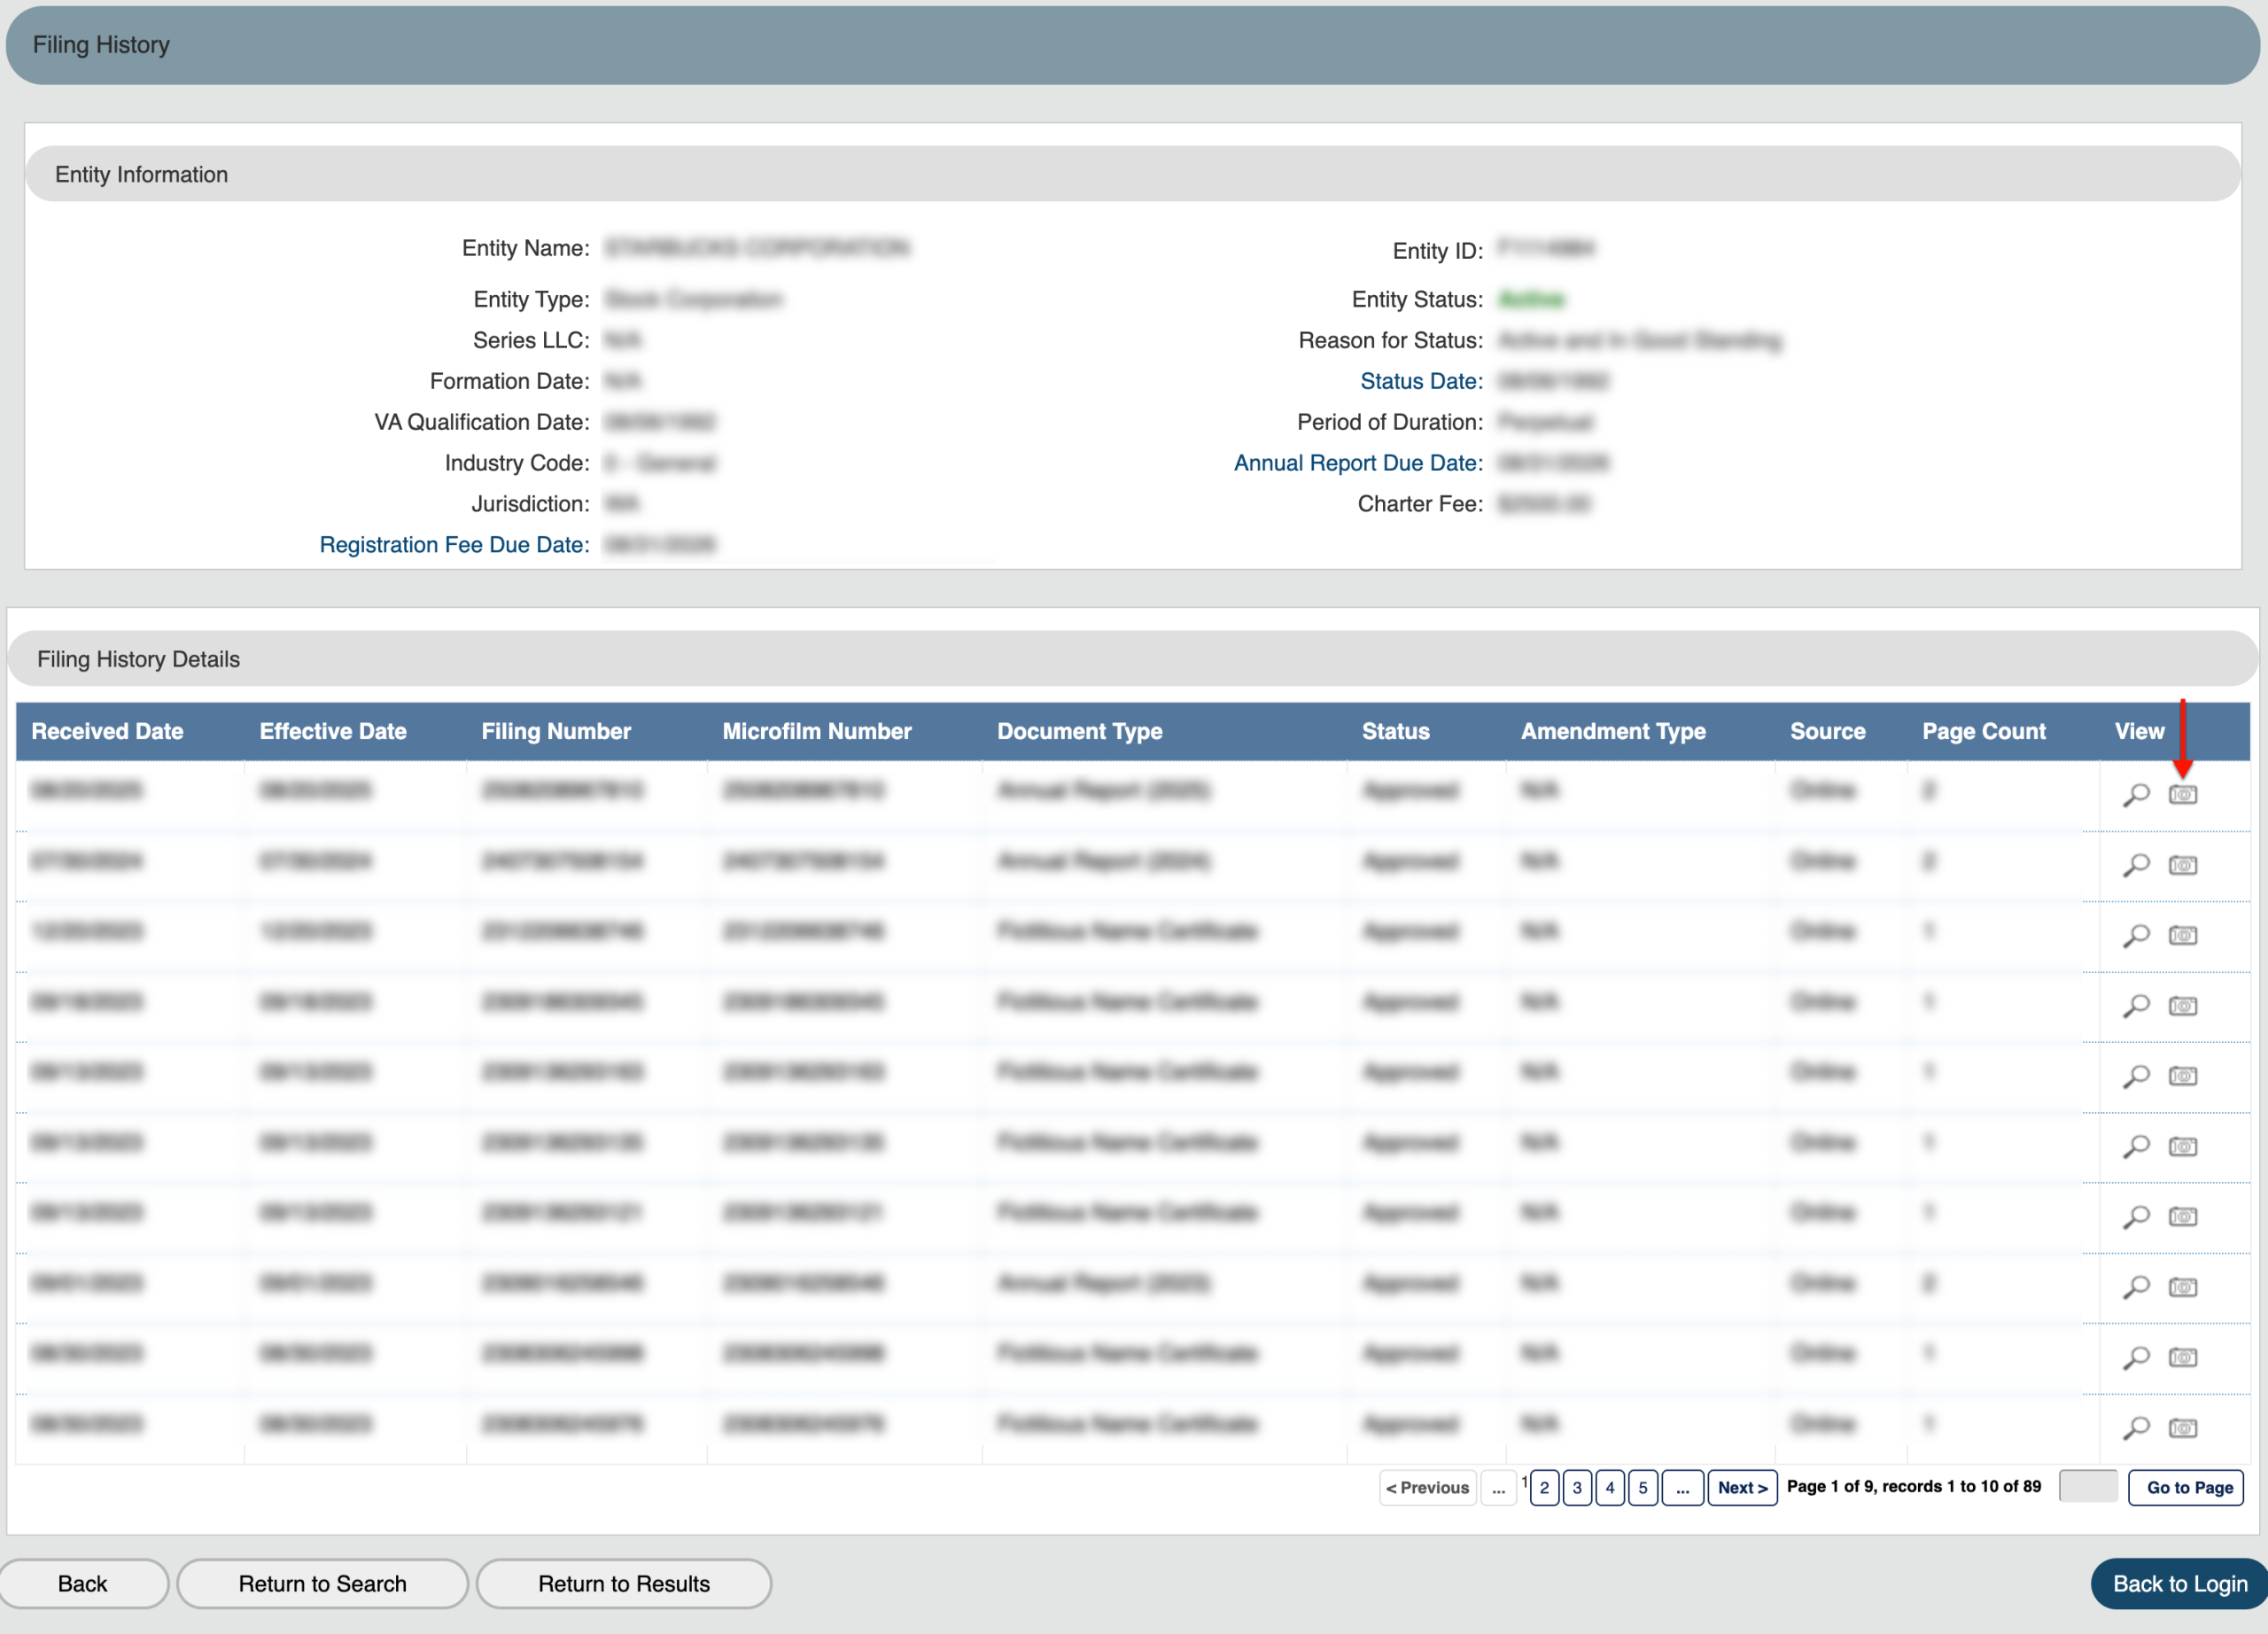
Step 30. See an Entity’s Historical Snapshot
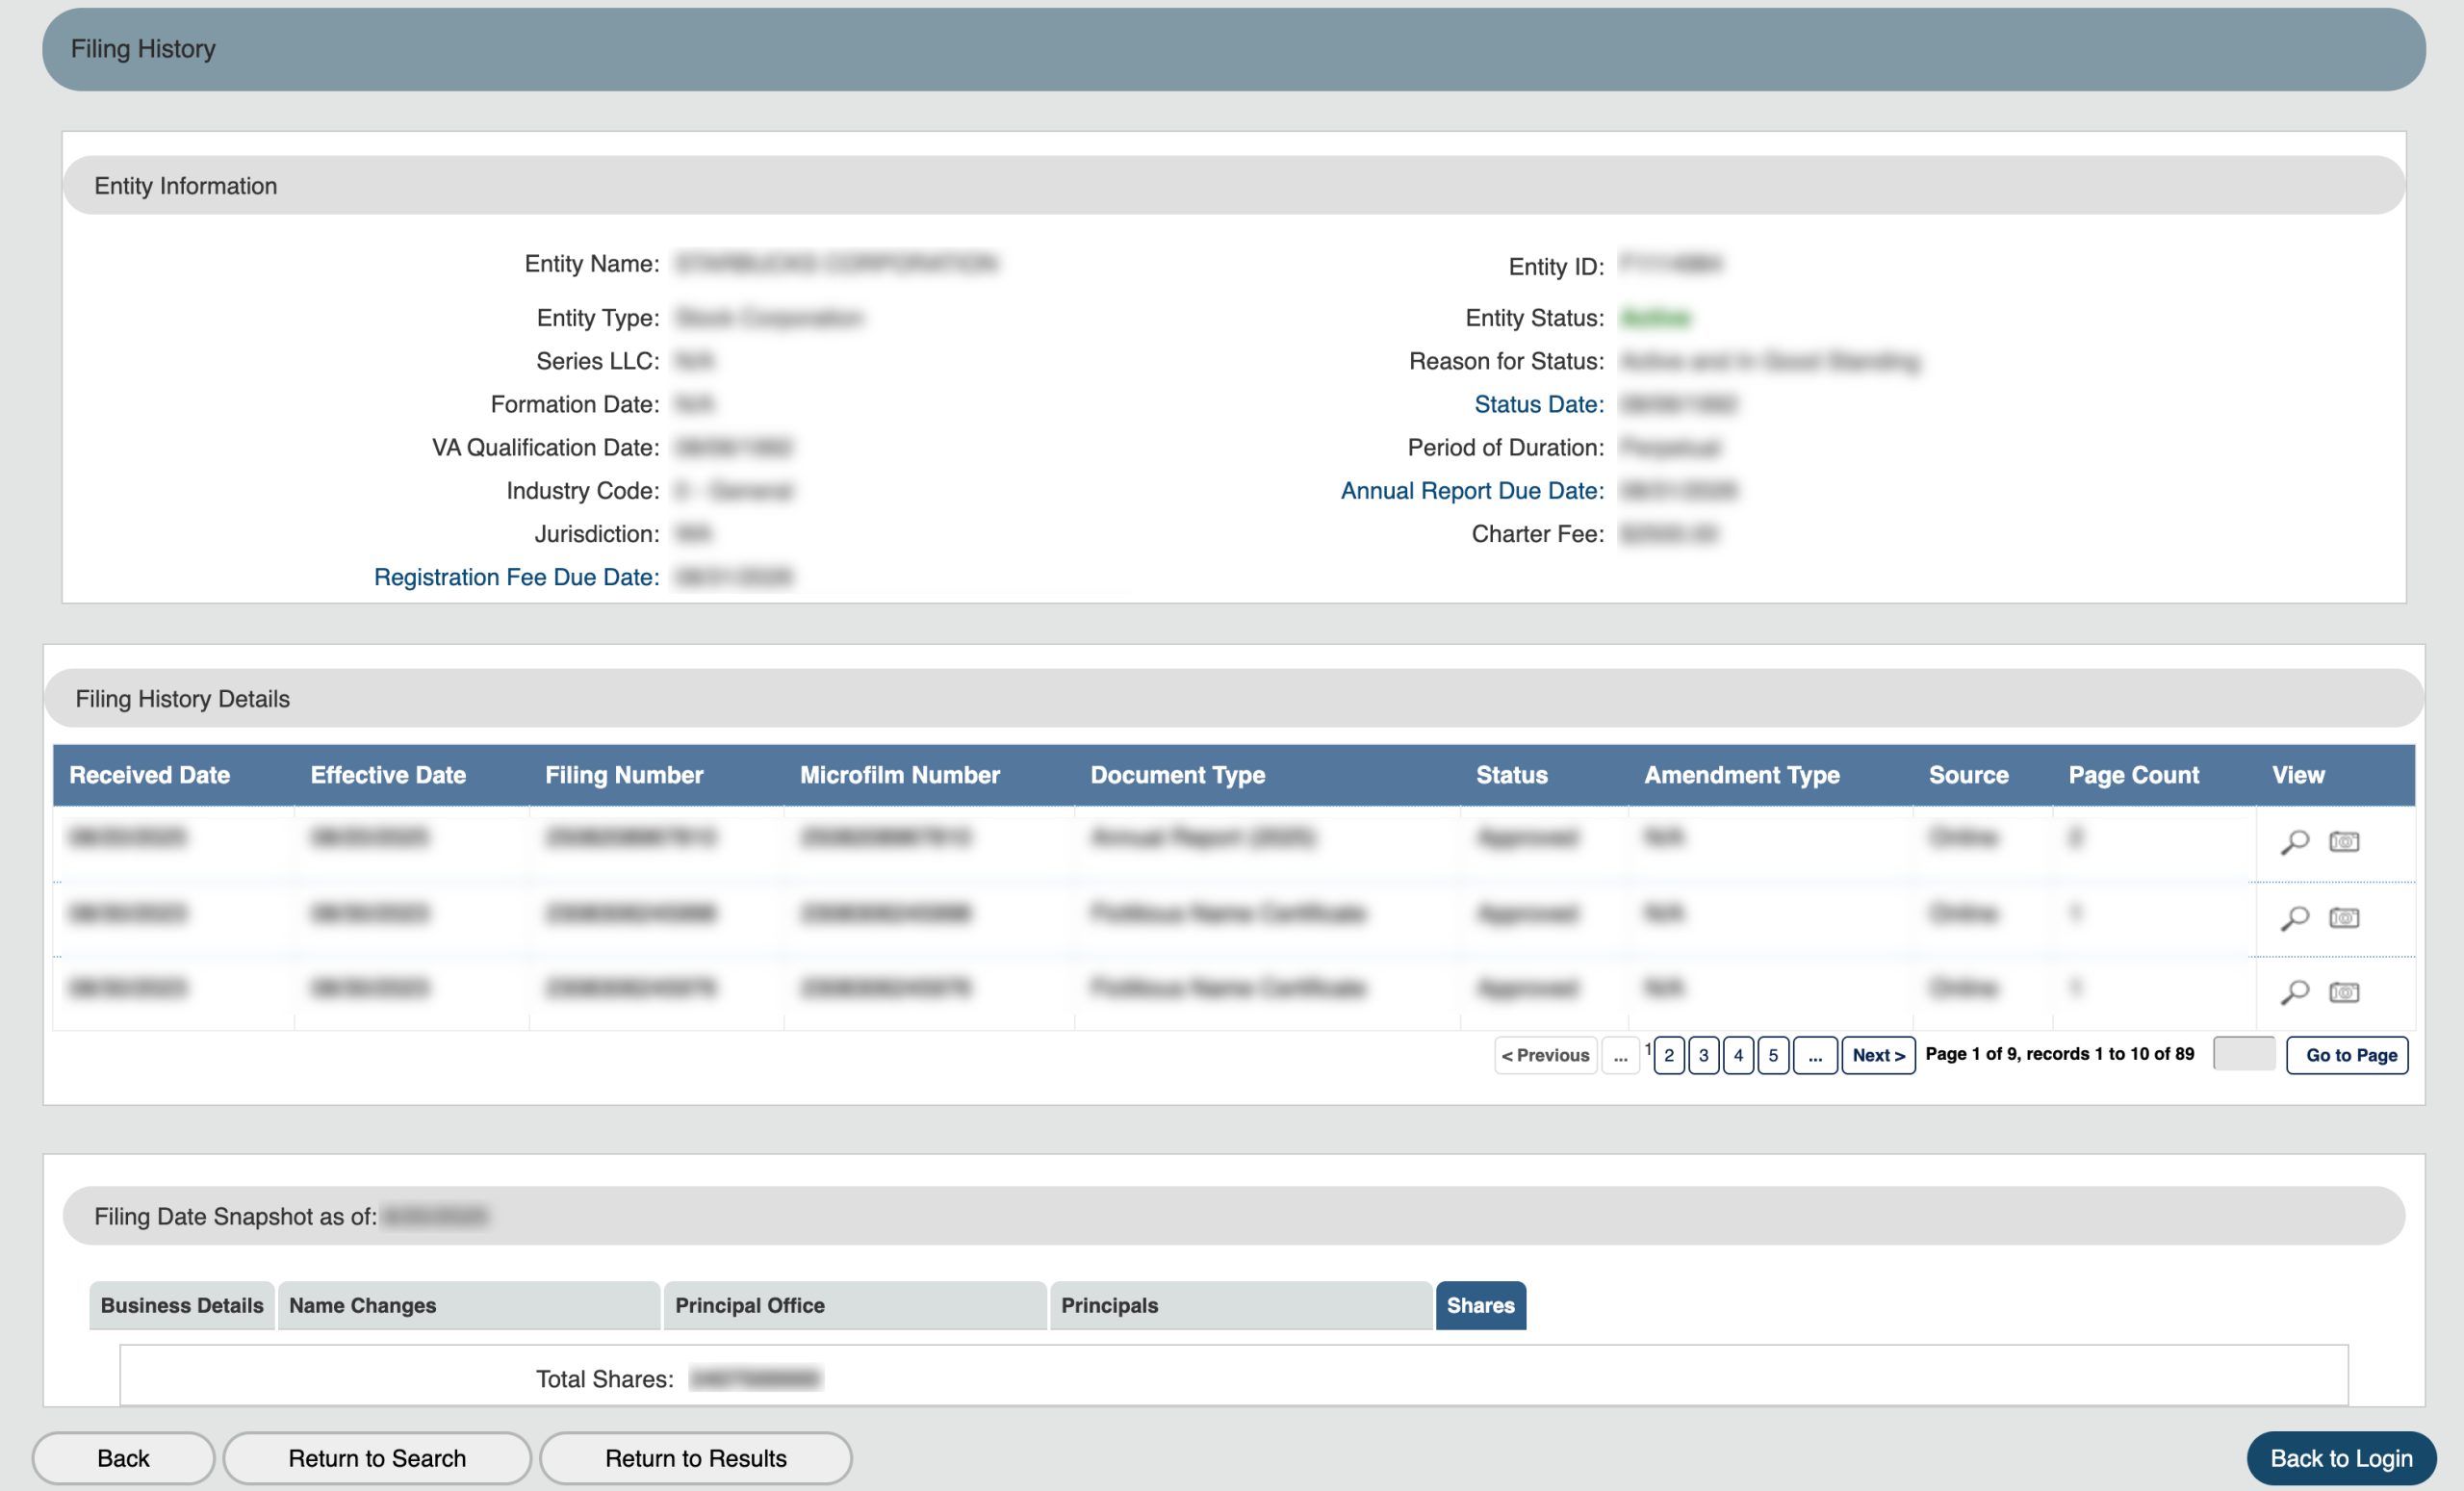
You can view entity information as it appeared on file at the time of a record’s filing. Do so by selecting the camera icon from the final column.
Step 31. Viewing Snapshot Information
Step 32. Obtaining Registered Agent History
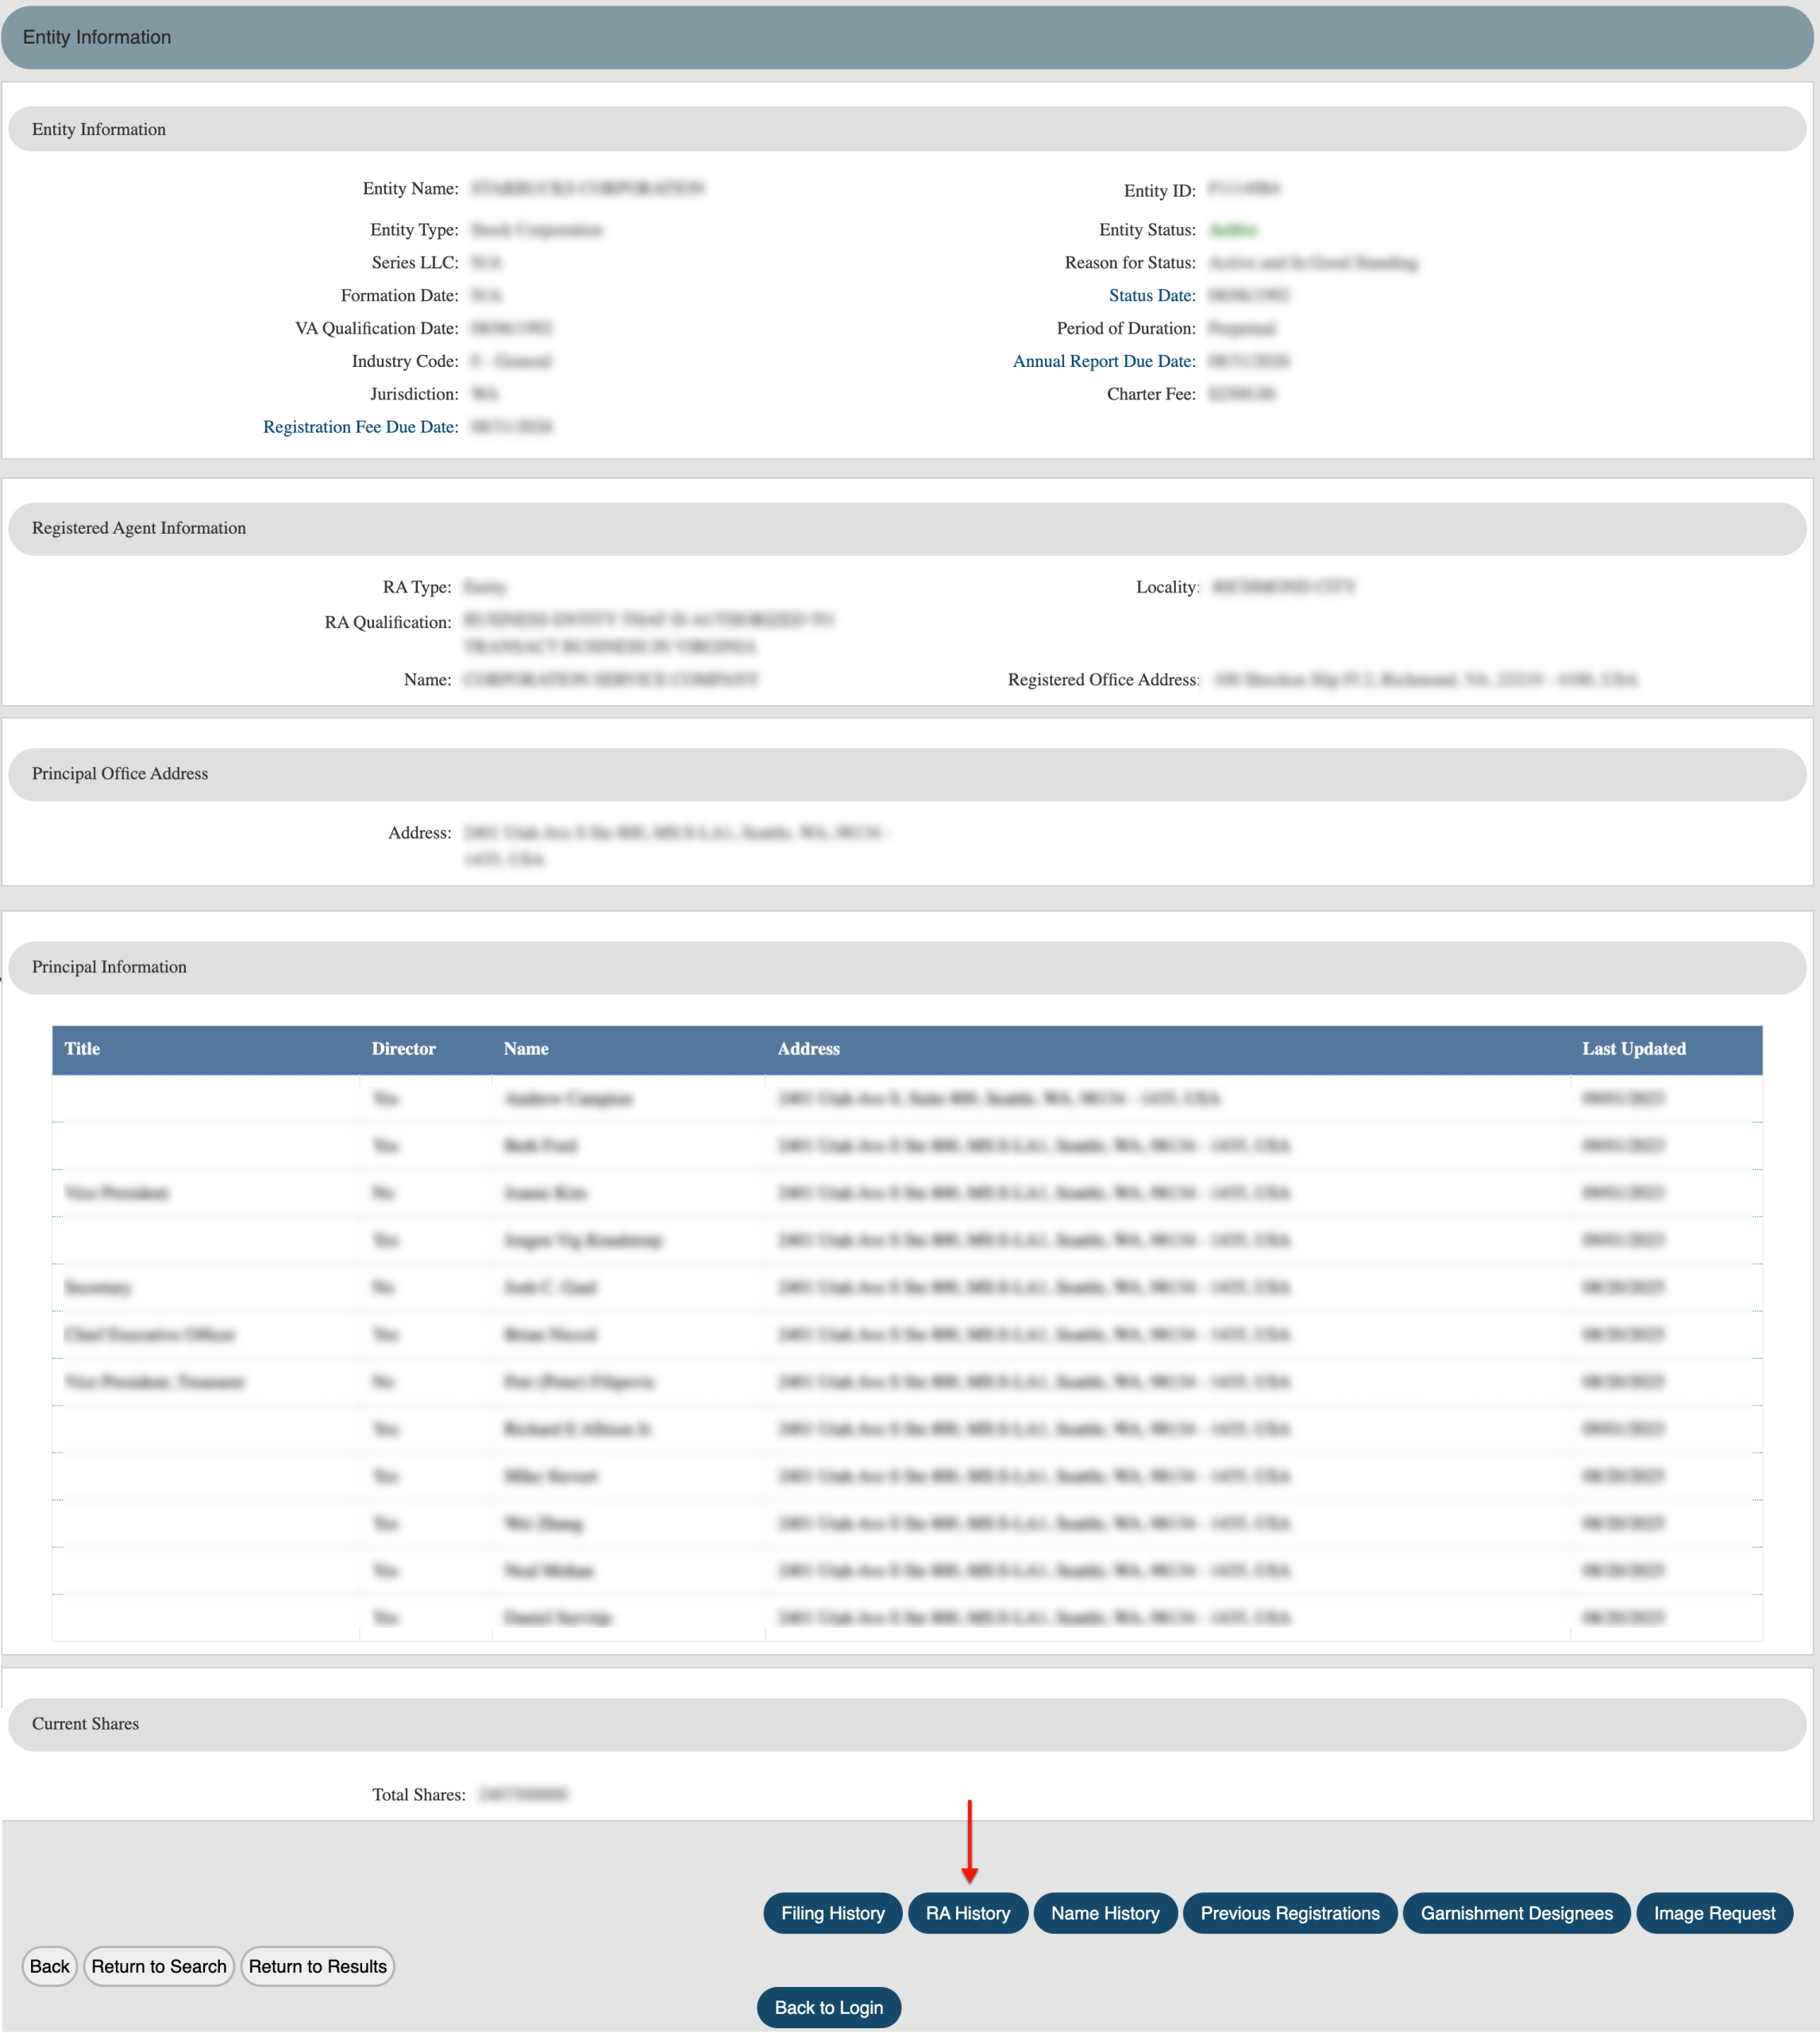
Upon returning to the record details page, you may view the entity’s history with registered agents. To do so, select the “RA History” button.
Step 33. Review the Entity’s Registered Agent History
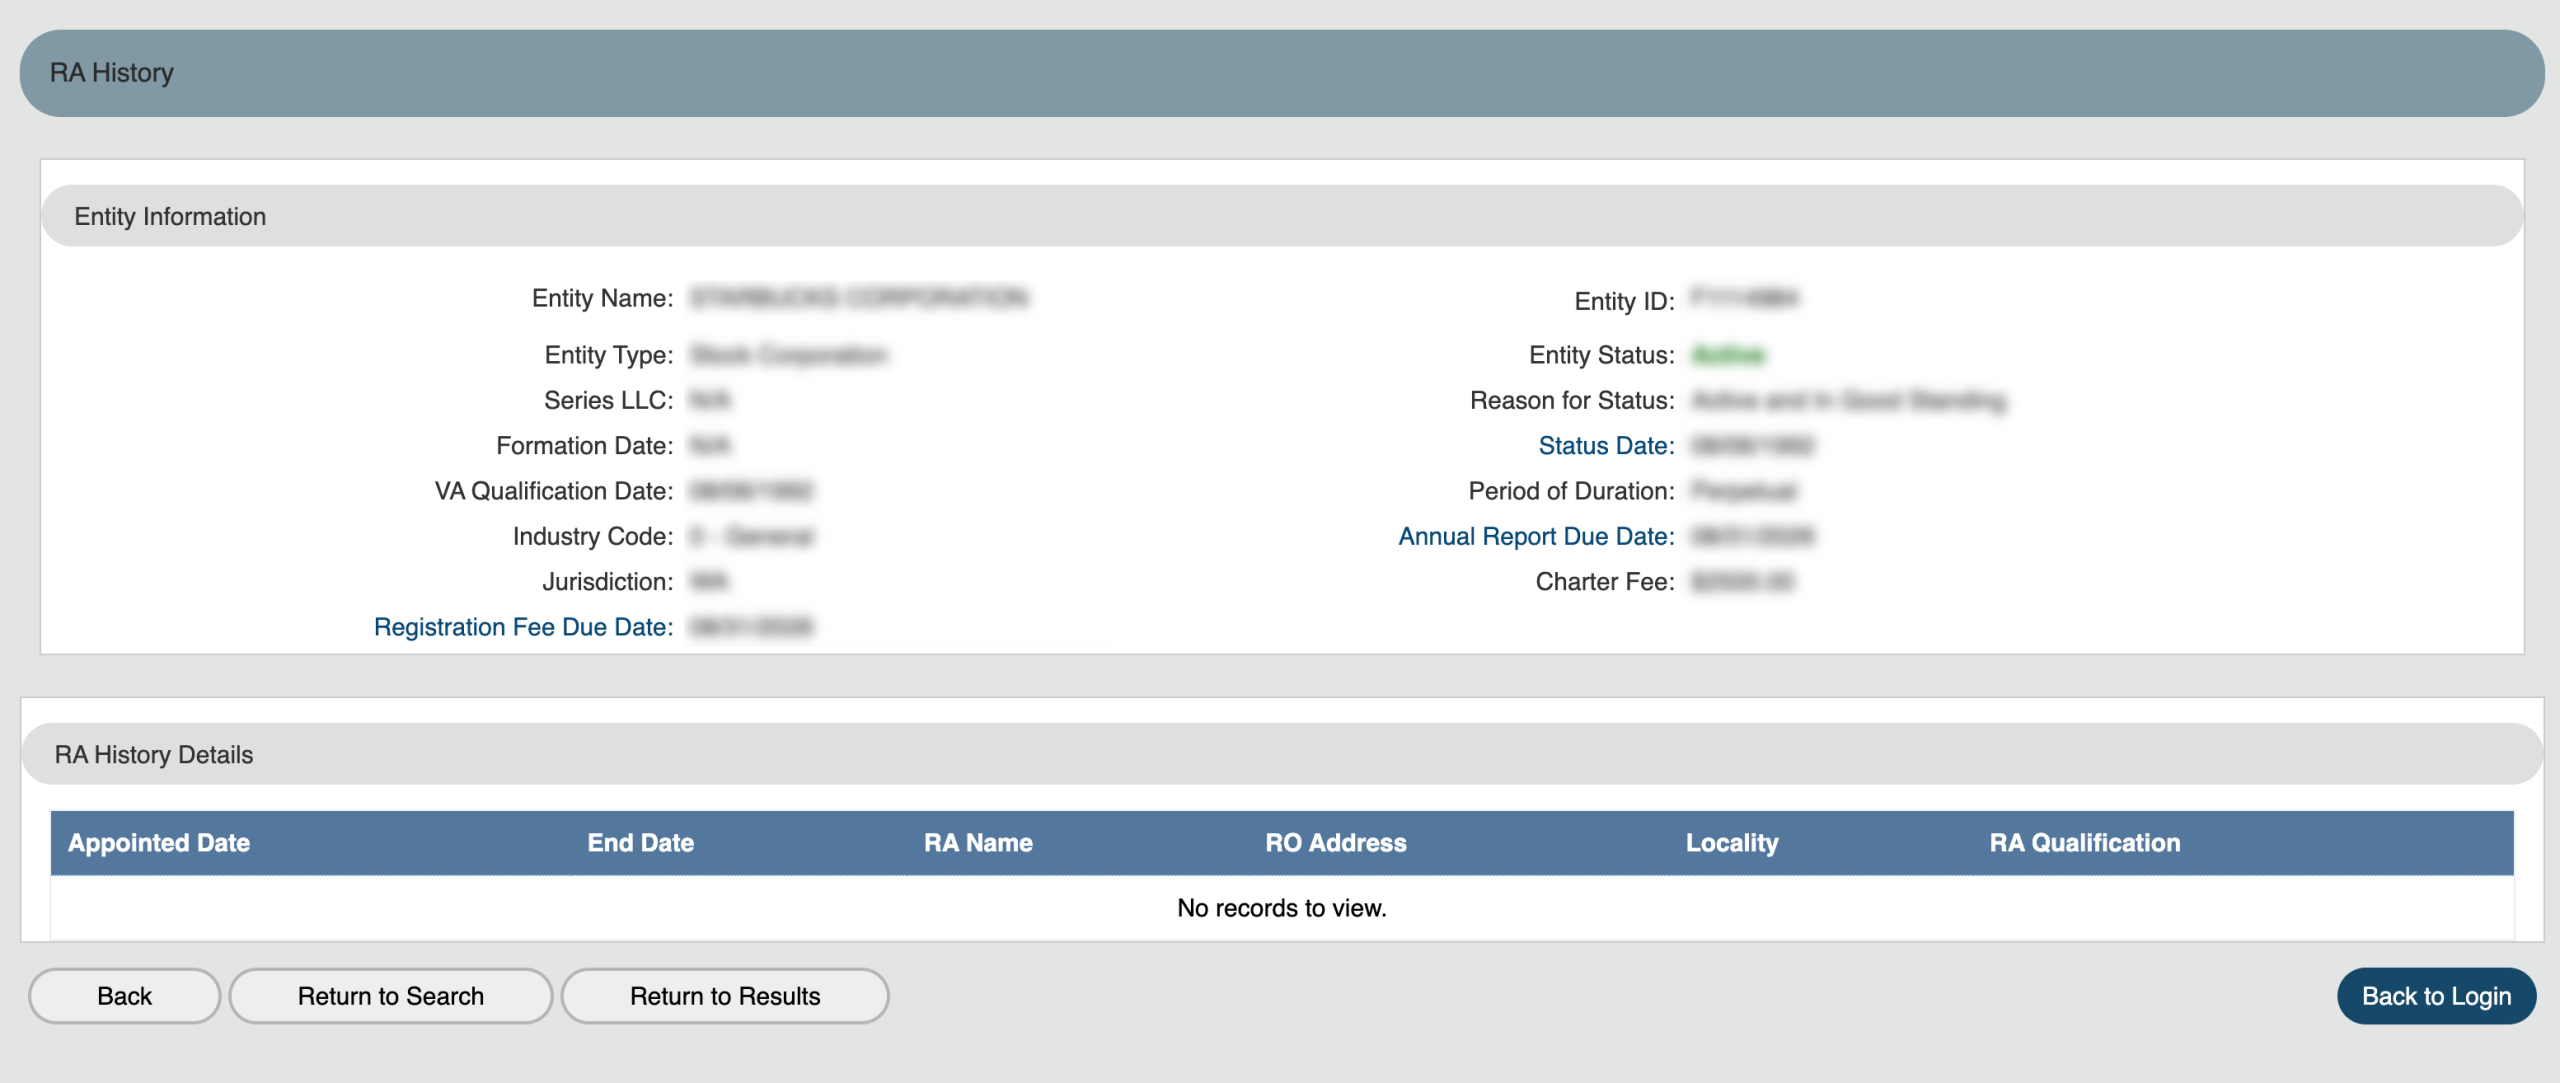
Examine the “RA History Details” table to learn who the entity’s registered agent was and when. After this review, return with the “Back” button.
- Entity Information
- Entity name
- Entity Type
- Series LLC
- Formation Date
- VA Qualification Date
- Industry Code
- Jurisdiction
- Registration Fee Due Date
- Entity ID
- Entity Status
- Reason for Status
- Status Date
- Period of Duration
- Annual Report Due Date
- Charter Fee
- RA History
- Appointed Date
- End Date
- RA Name
- RO Address
- Locality
- RA Qualification
- Back
- Return to Search
- Return to Results
- Back to Login
Step 34. Investigating Previous Names
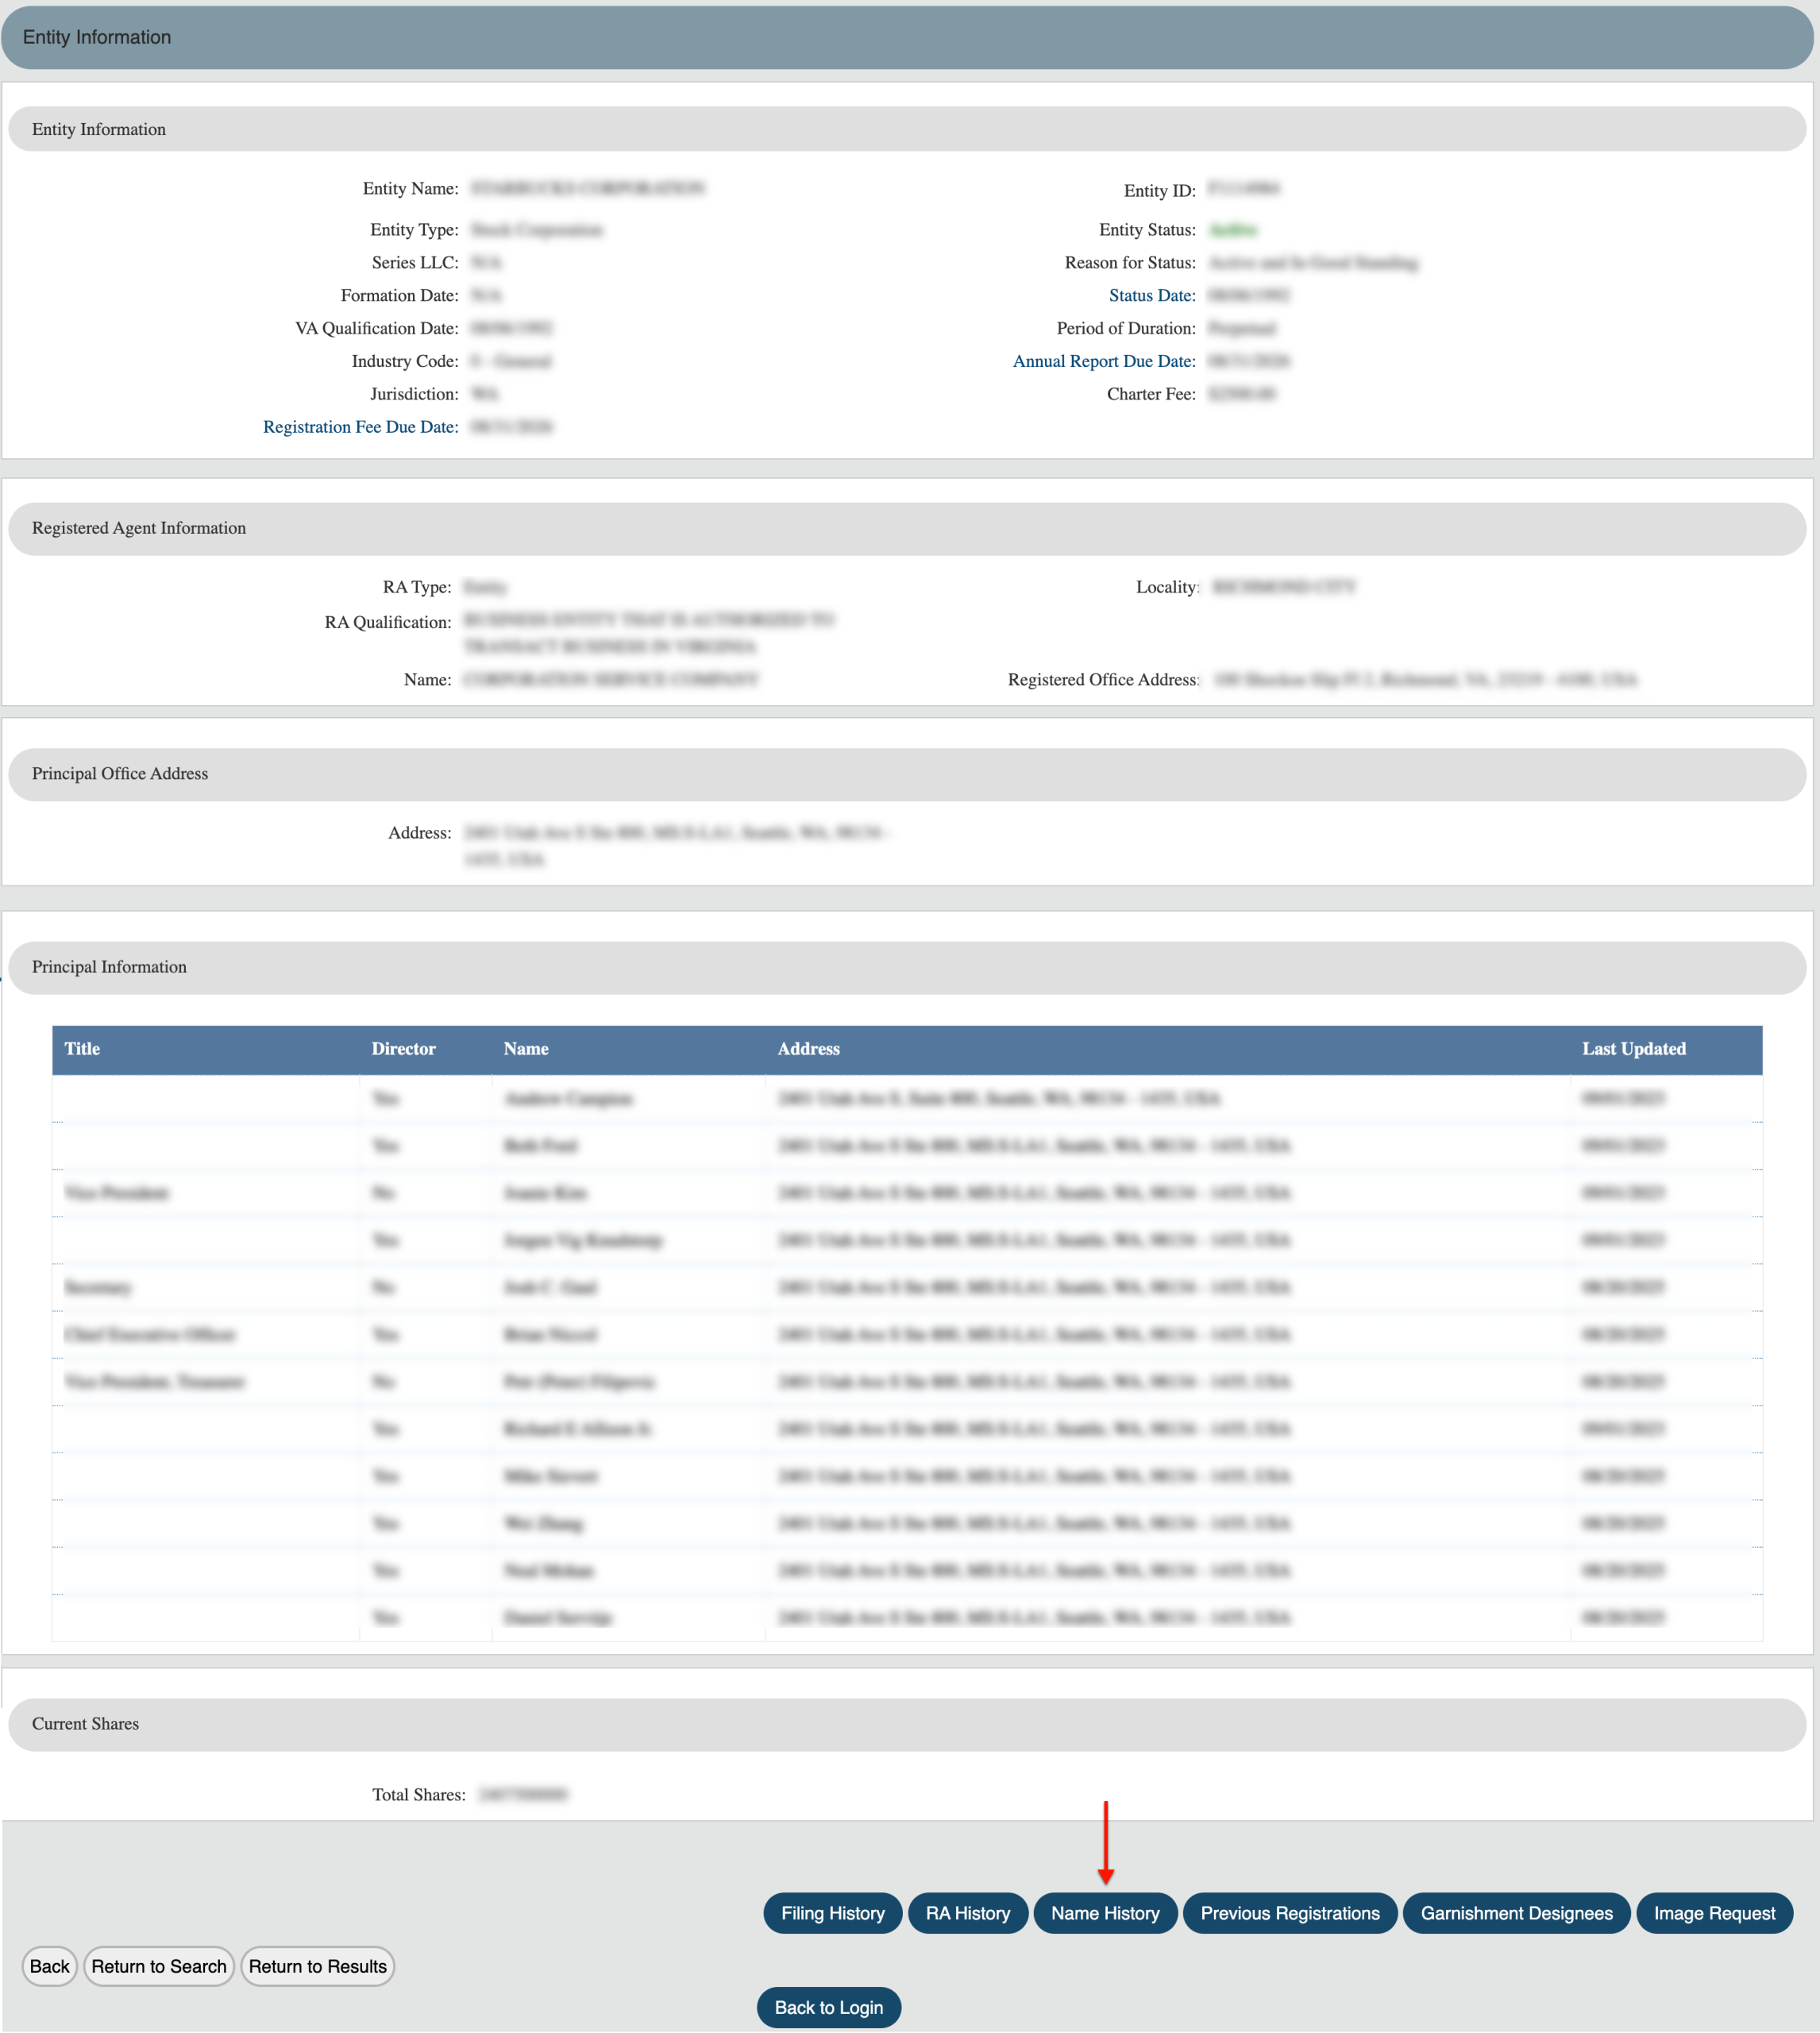
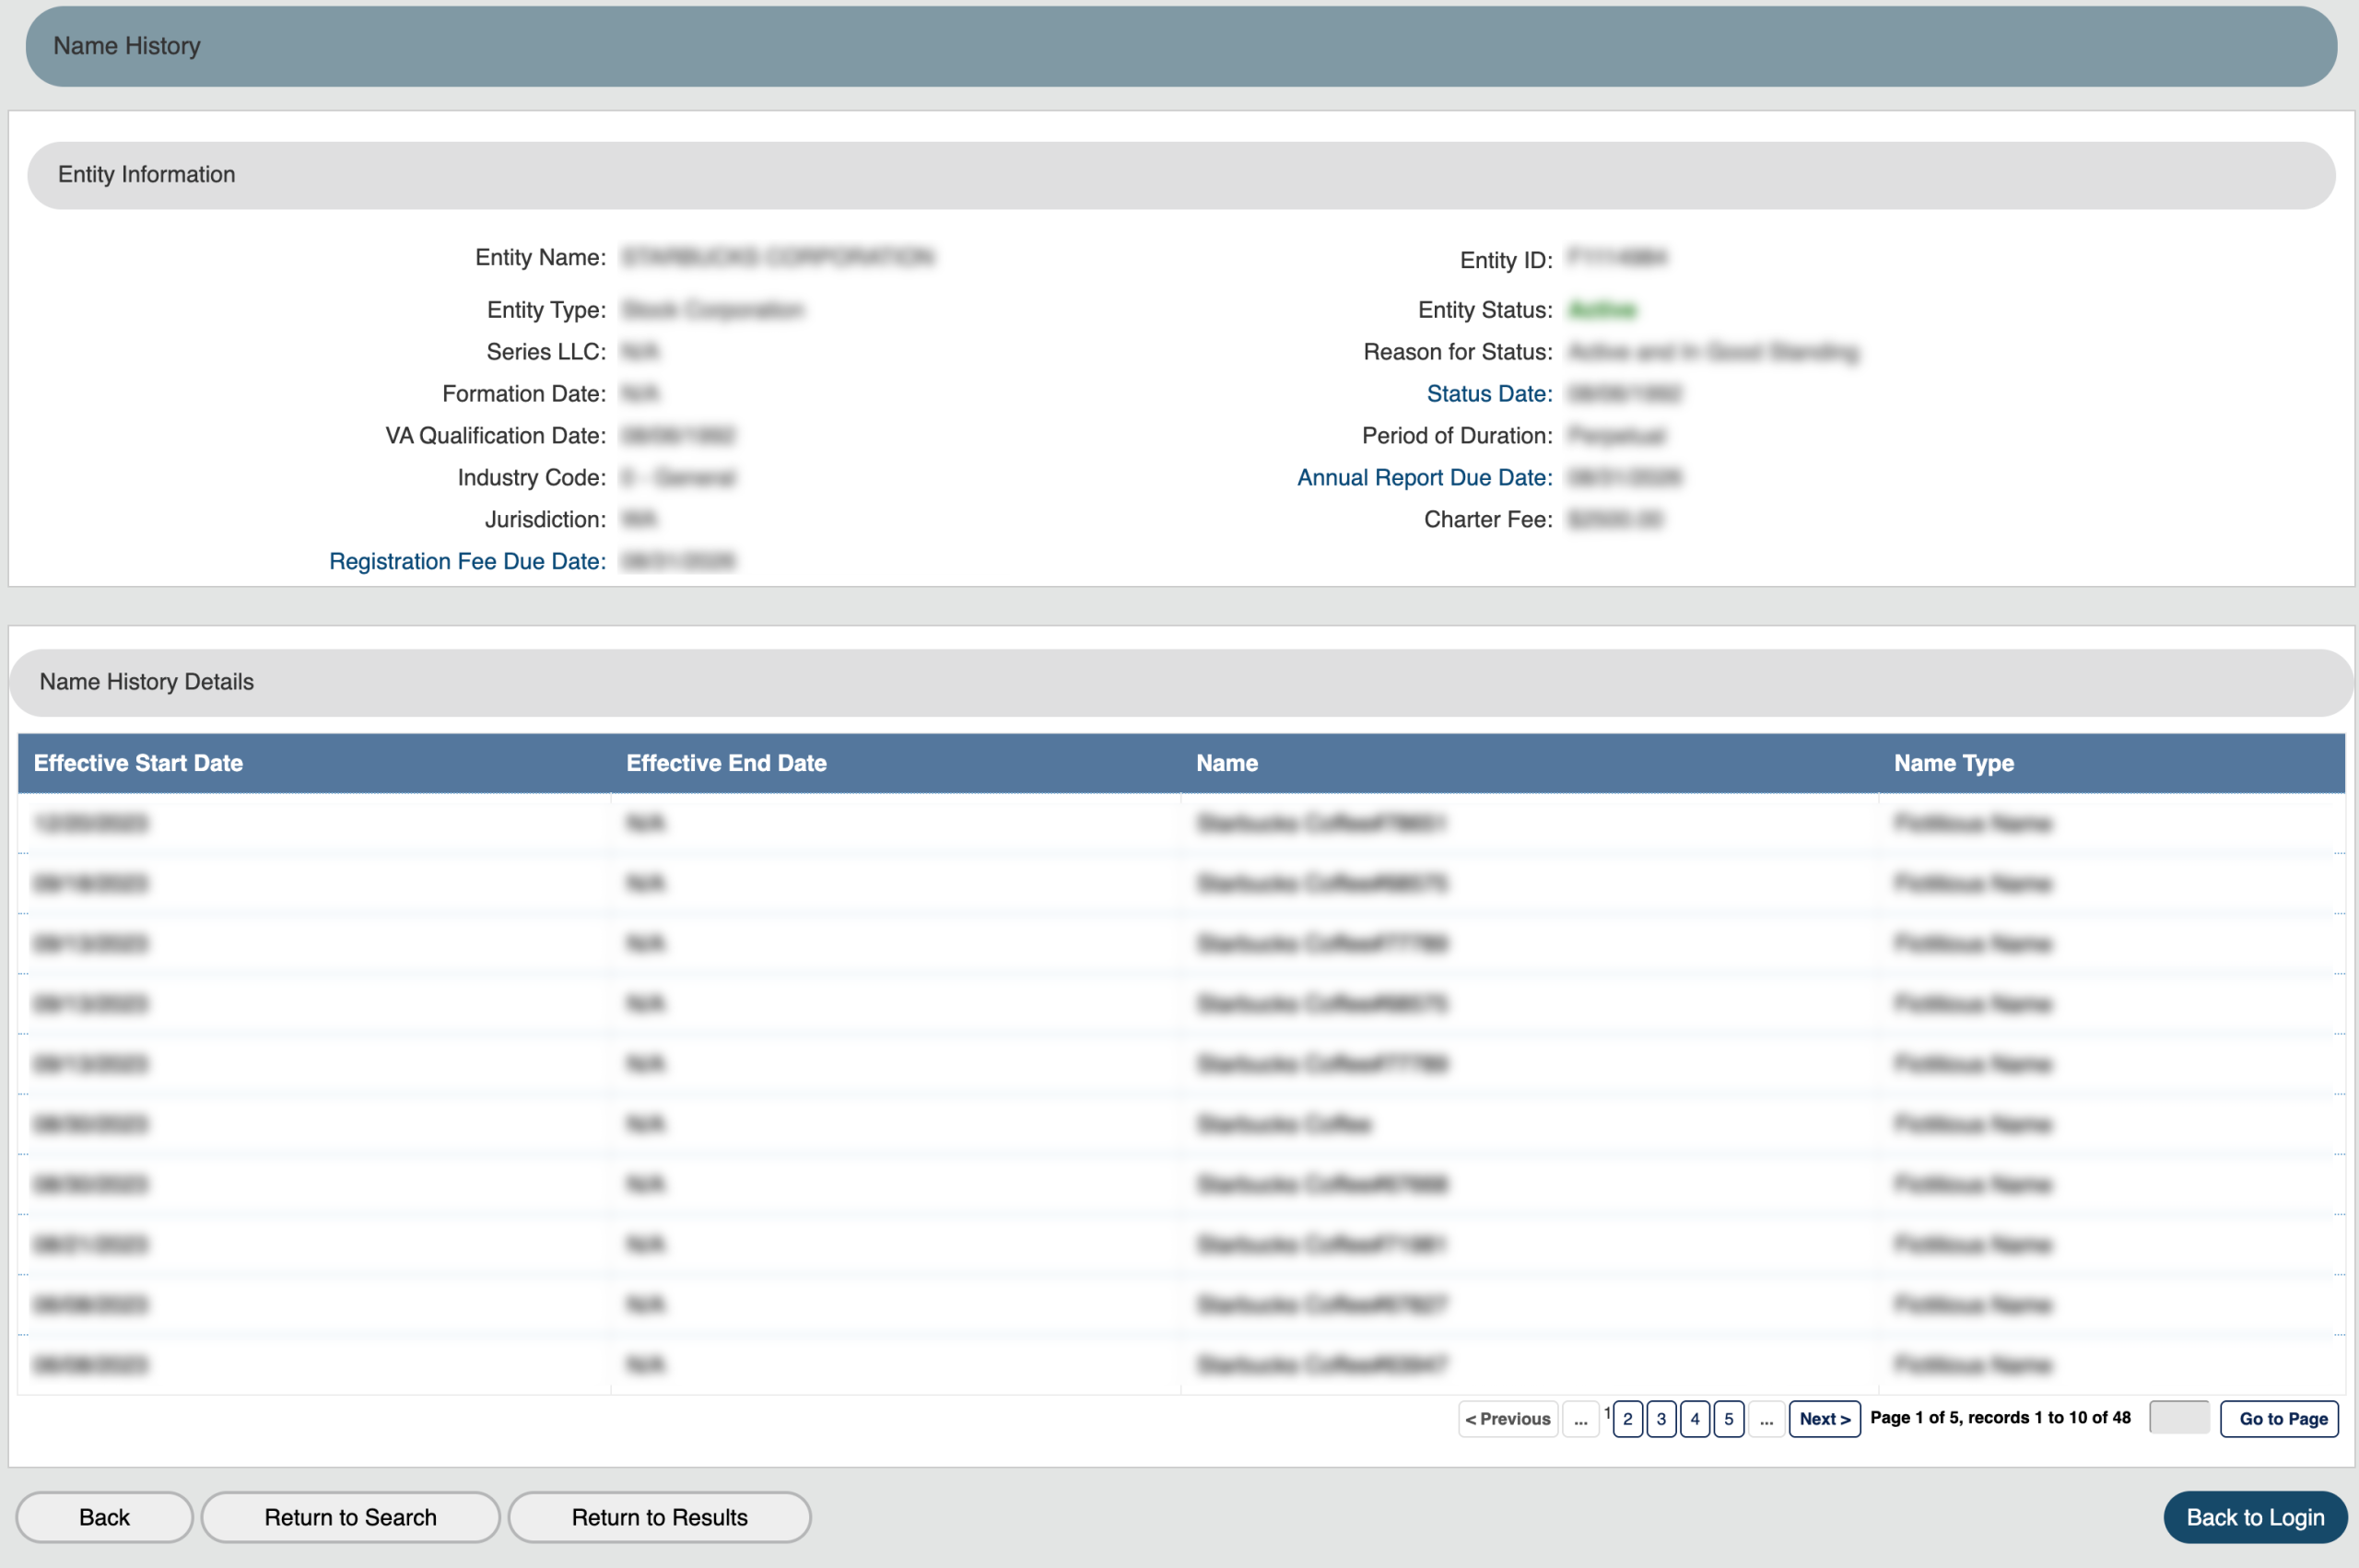
Upon landing on the information page, select “Name History.” This allows a viewing of previous names on file as well as the dates of their effect.
Step 35. Looking Over Previous Names
Locate the “Name History Details” table. This section defines previous names by date and type. Select “Back” to continue.
- Entity Information
- Entity name
- Entity Type
- Series LLC
- Formation Date
- VA Qualification Date
- Industry Code
- Jurisdiction
- Registration Fee Due Date
- Entity ID
- Entity Status
- Reason for Status
- Status Date
- Period of Duration
- Annual Report Due Date
- Charter Fee
- Name History Details
- Effective Start Date
- Effective End Date
- Name
- Name Type
- Back
- Return to Search
- Return to Results
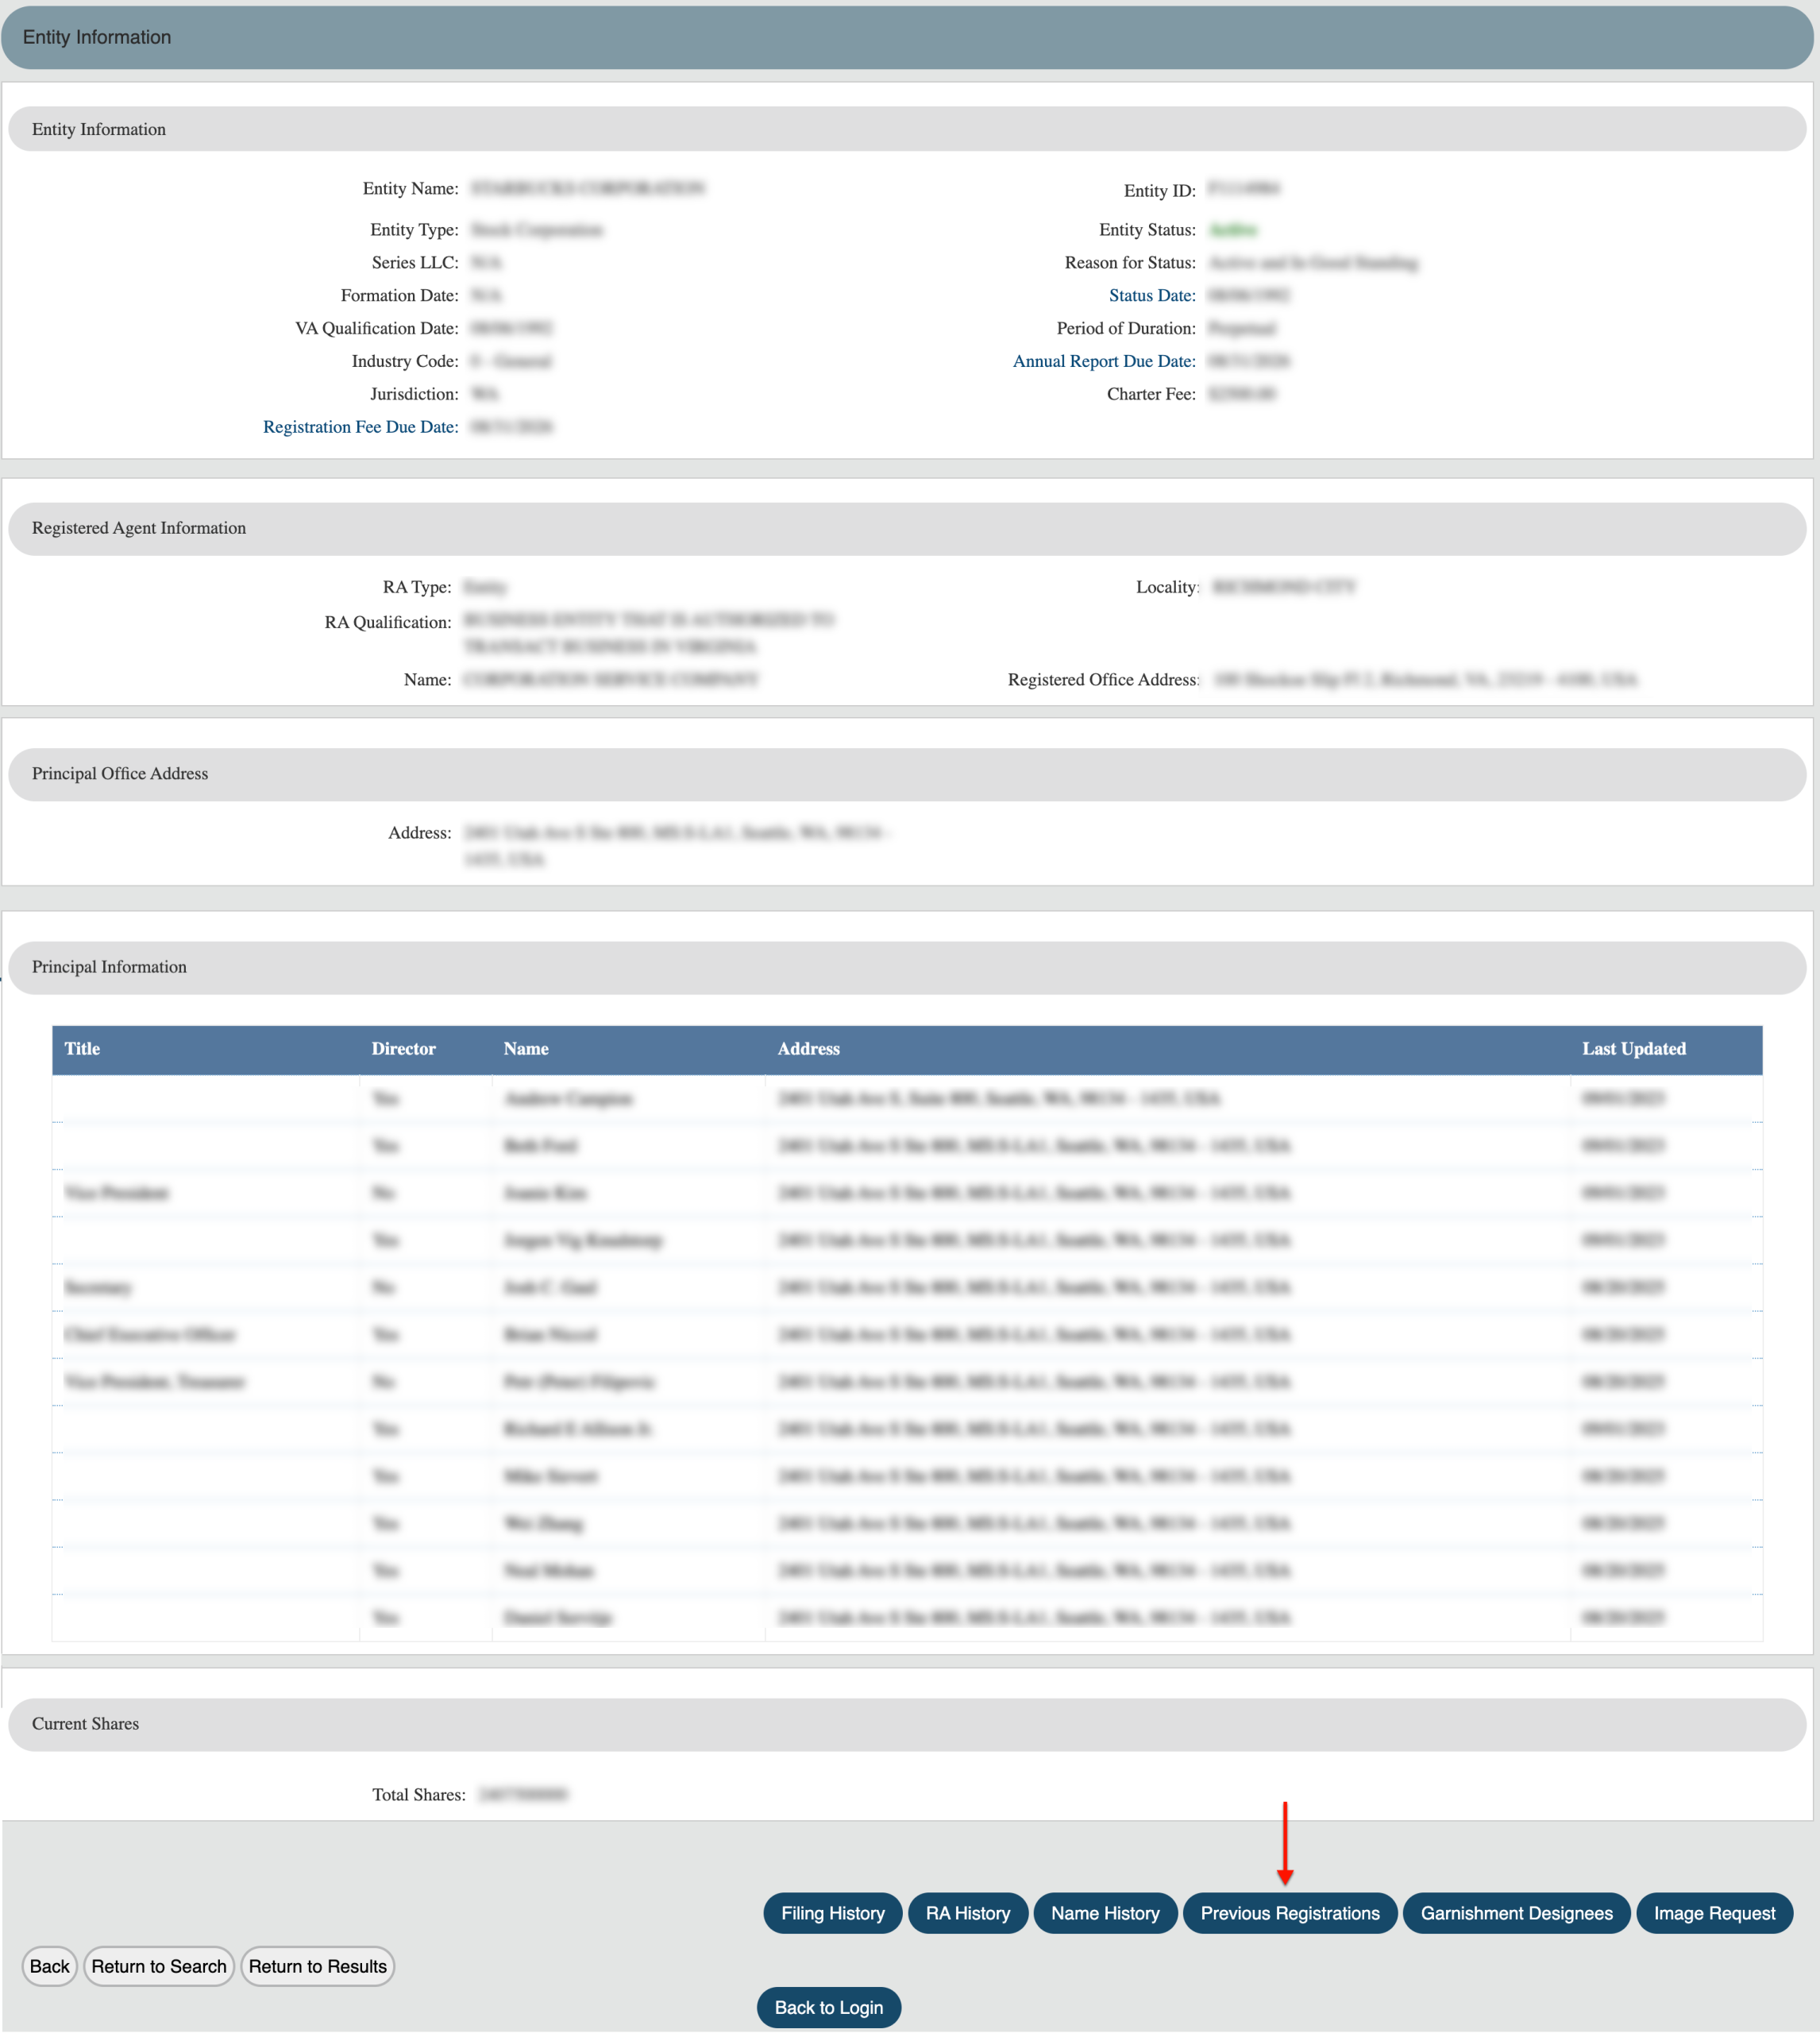
Step 36. View Past Entity Structures
Once on the information page, return your attention to the bottom menu. Choose “Past Registrations” to view changes in the entity’s structure.
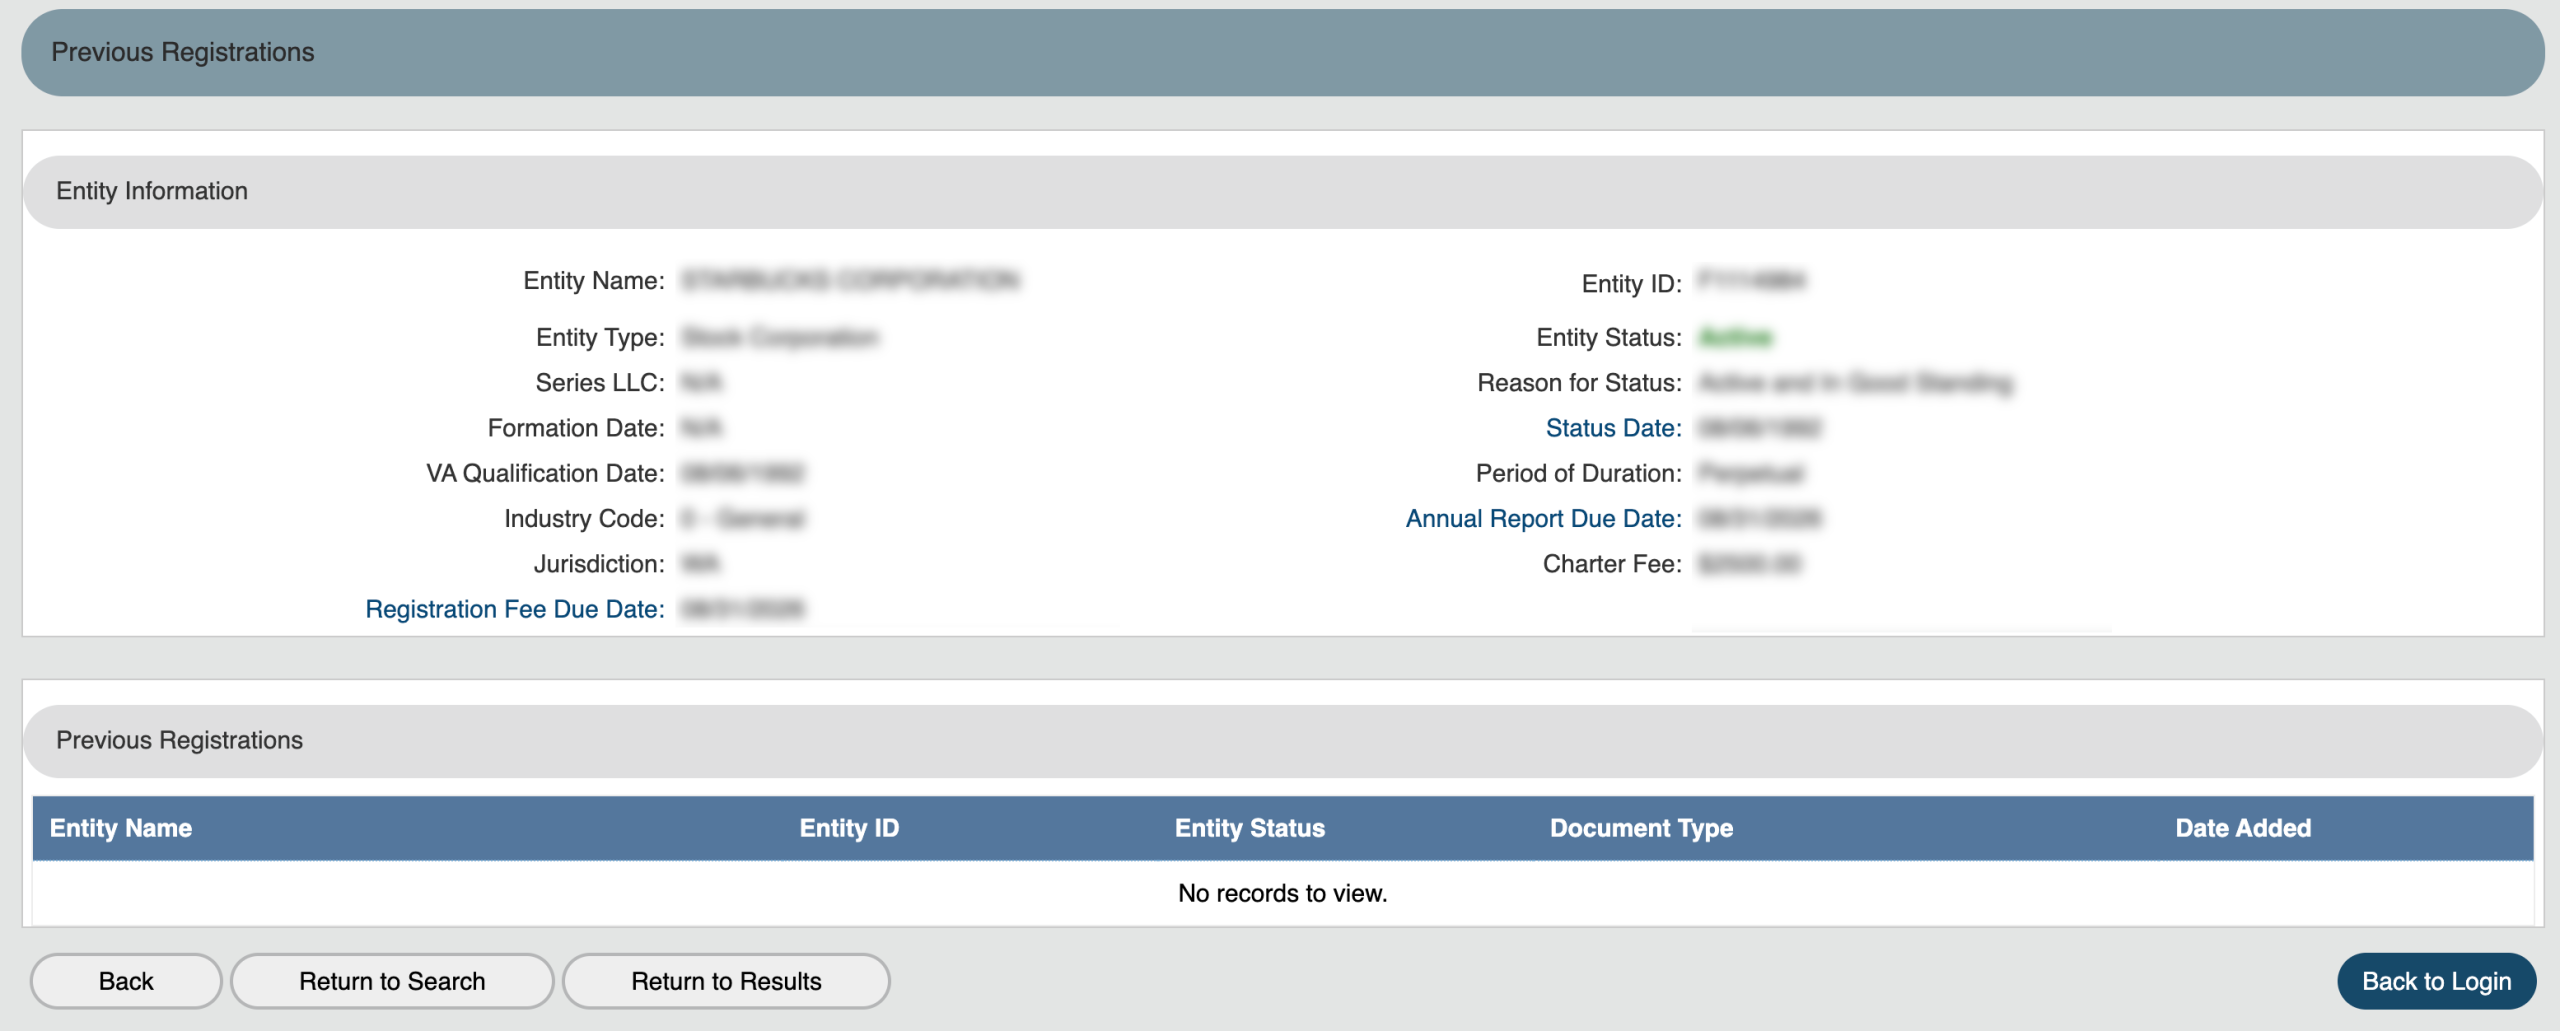
Step 37. Examine Past Registration Information
Any changes to the entity, such as a merger, are viewable in the “Previous Registrations” table. Choose the “Back” button after obtaining this information.
- Entity Information
- Entity name
- Entity Type
- Series LLC
- Formation Date
- VA Qualification Date
- Industry Code
- Jurisdiction
- Registration Fee Due Date
- Entity ID
- Entity Status
- Reason for Status
- Status Date
- Period of Duration
- Annual Report Due Date
- Charter Fee
- Previous Registrations
- Entity Name
- Entity ID
- Entity Status
- Document Type
- Date Added
- Back
- Return to Search
- Return to Results
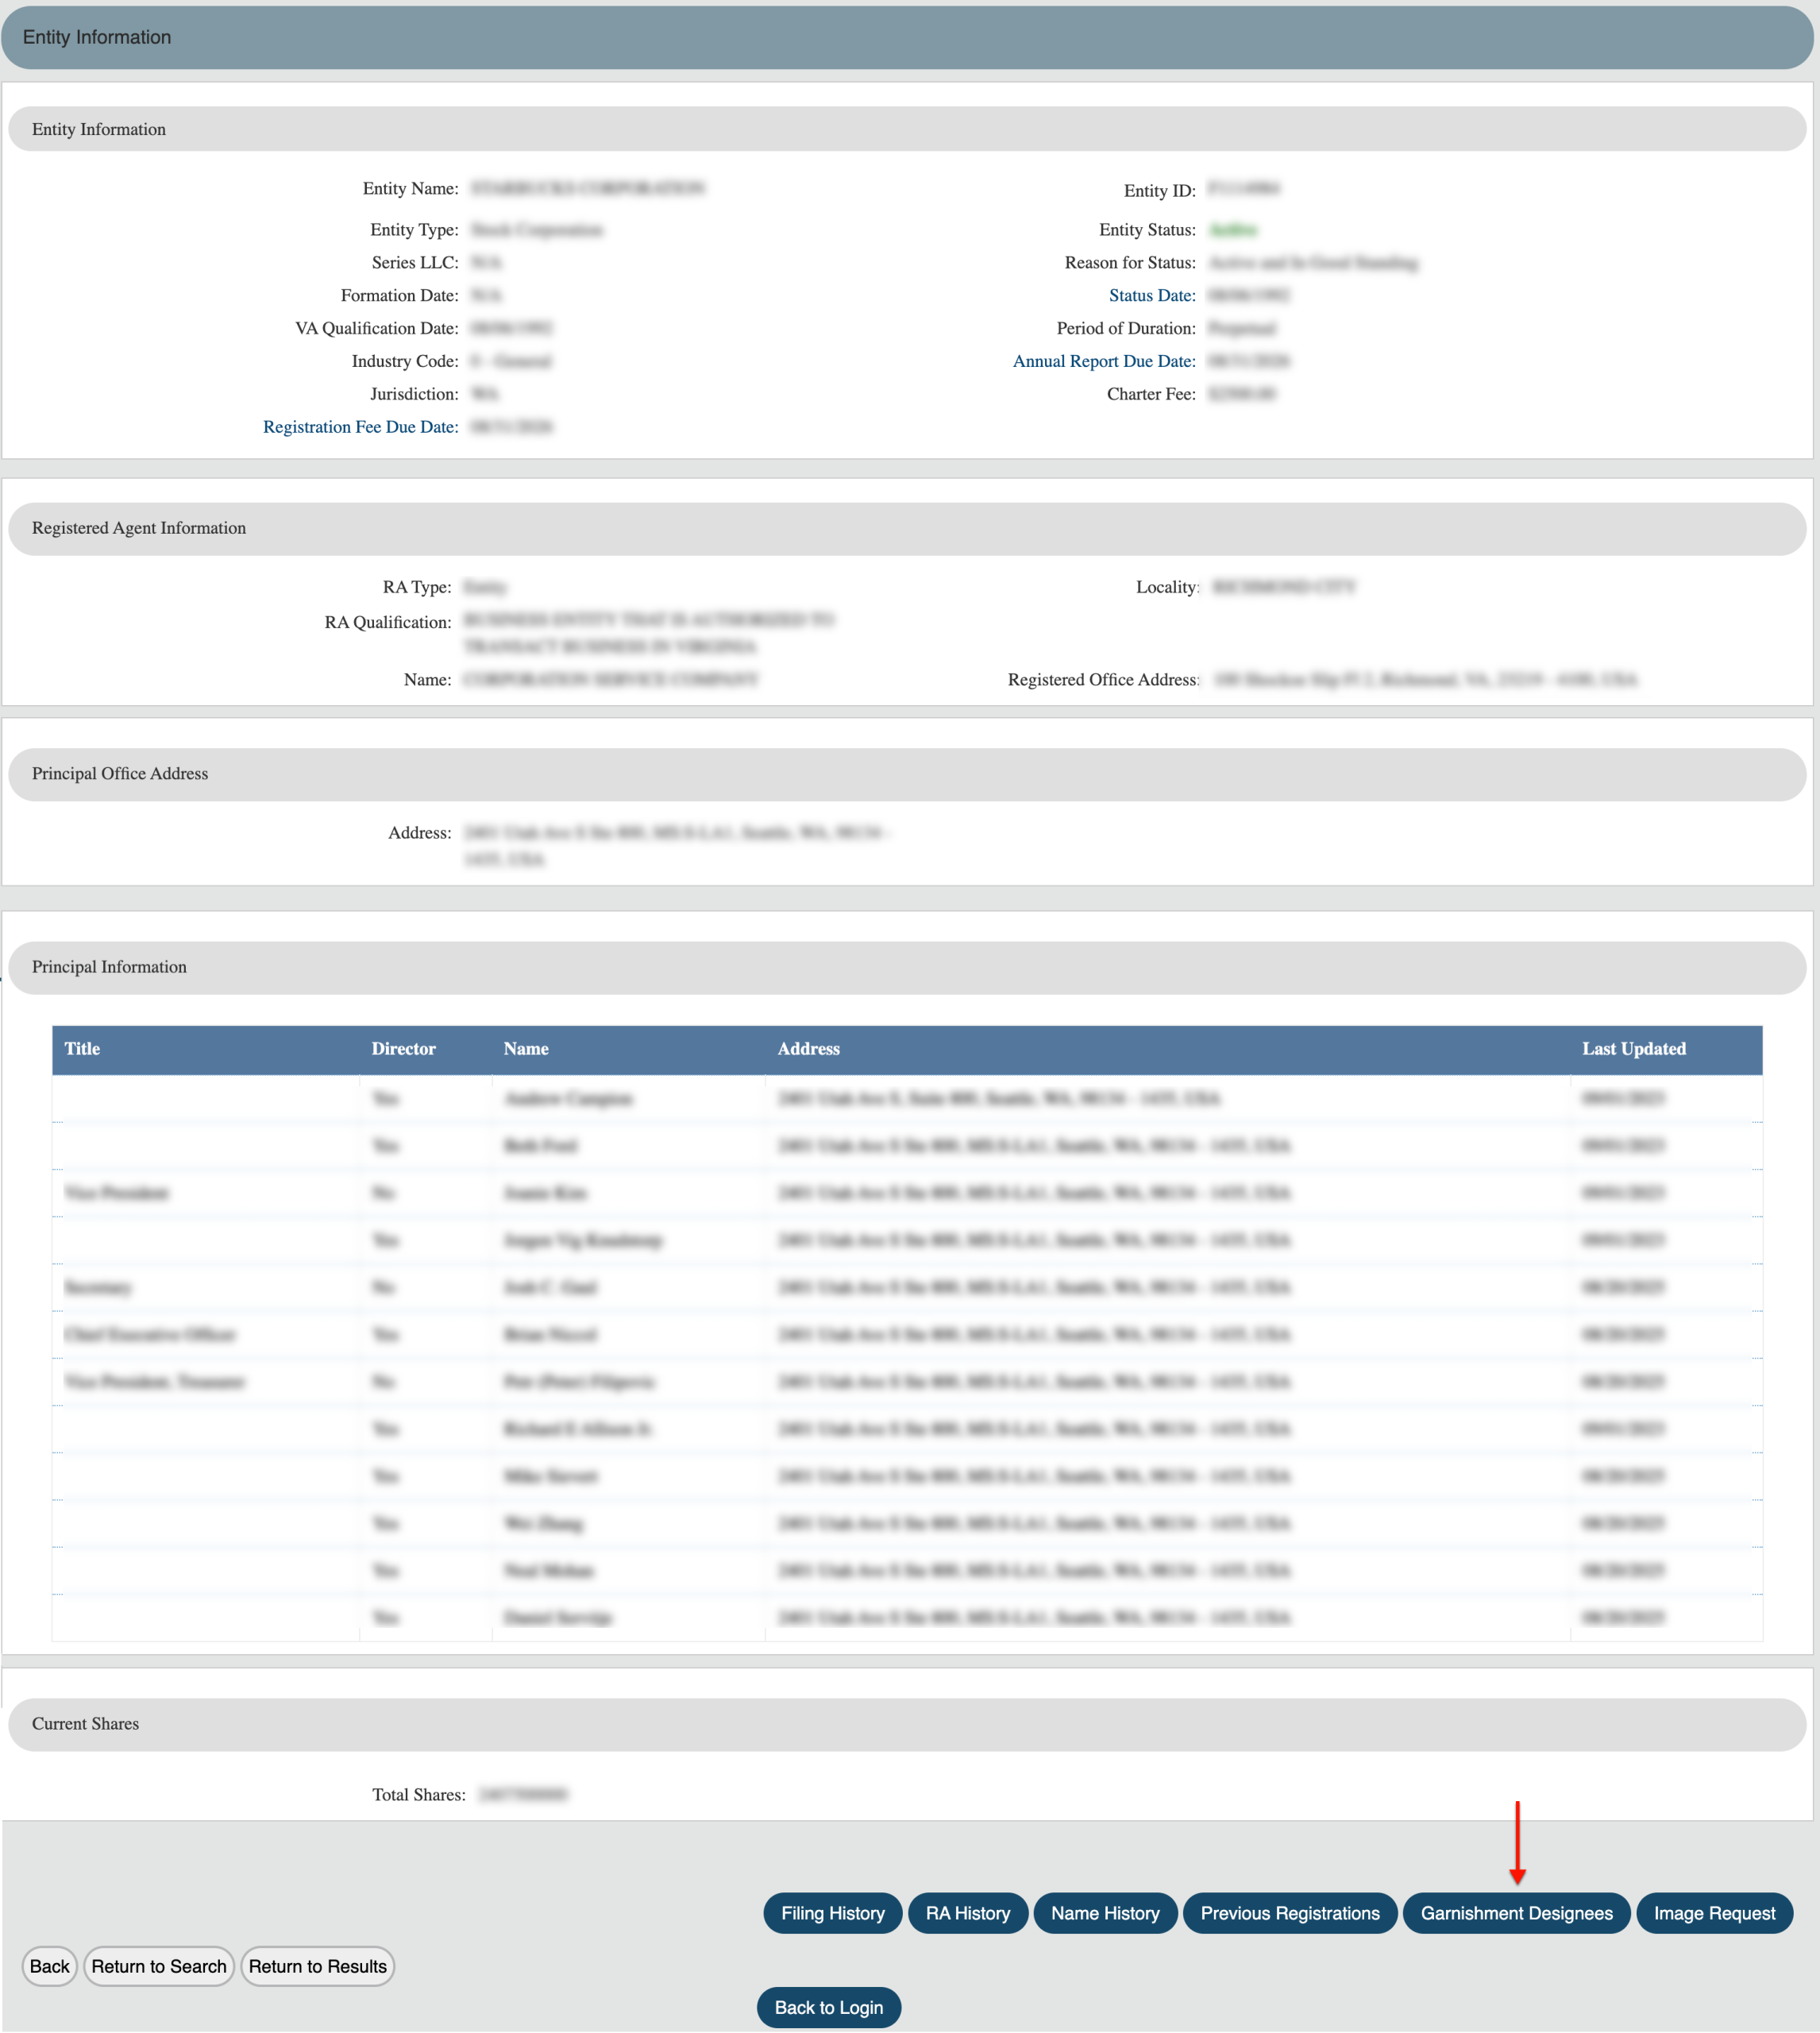
Step 38. Access the Garnishment Designee’s Information
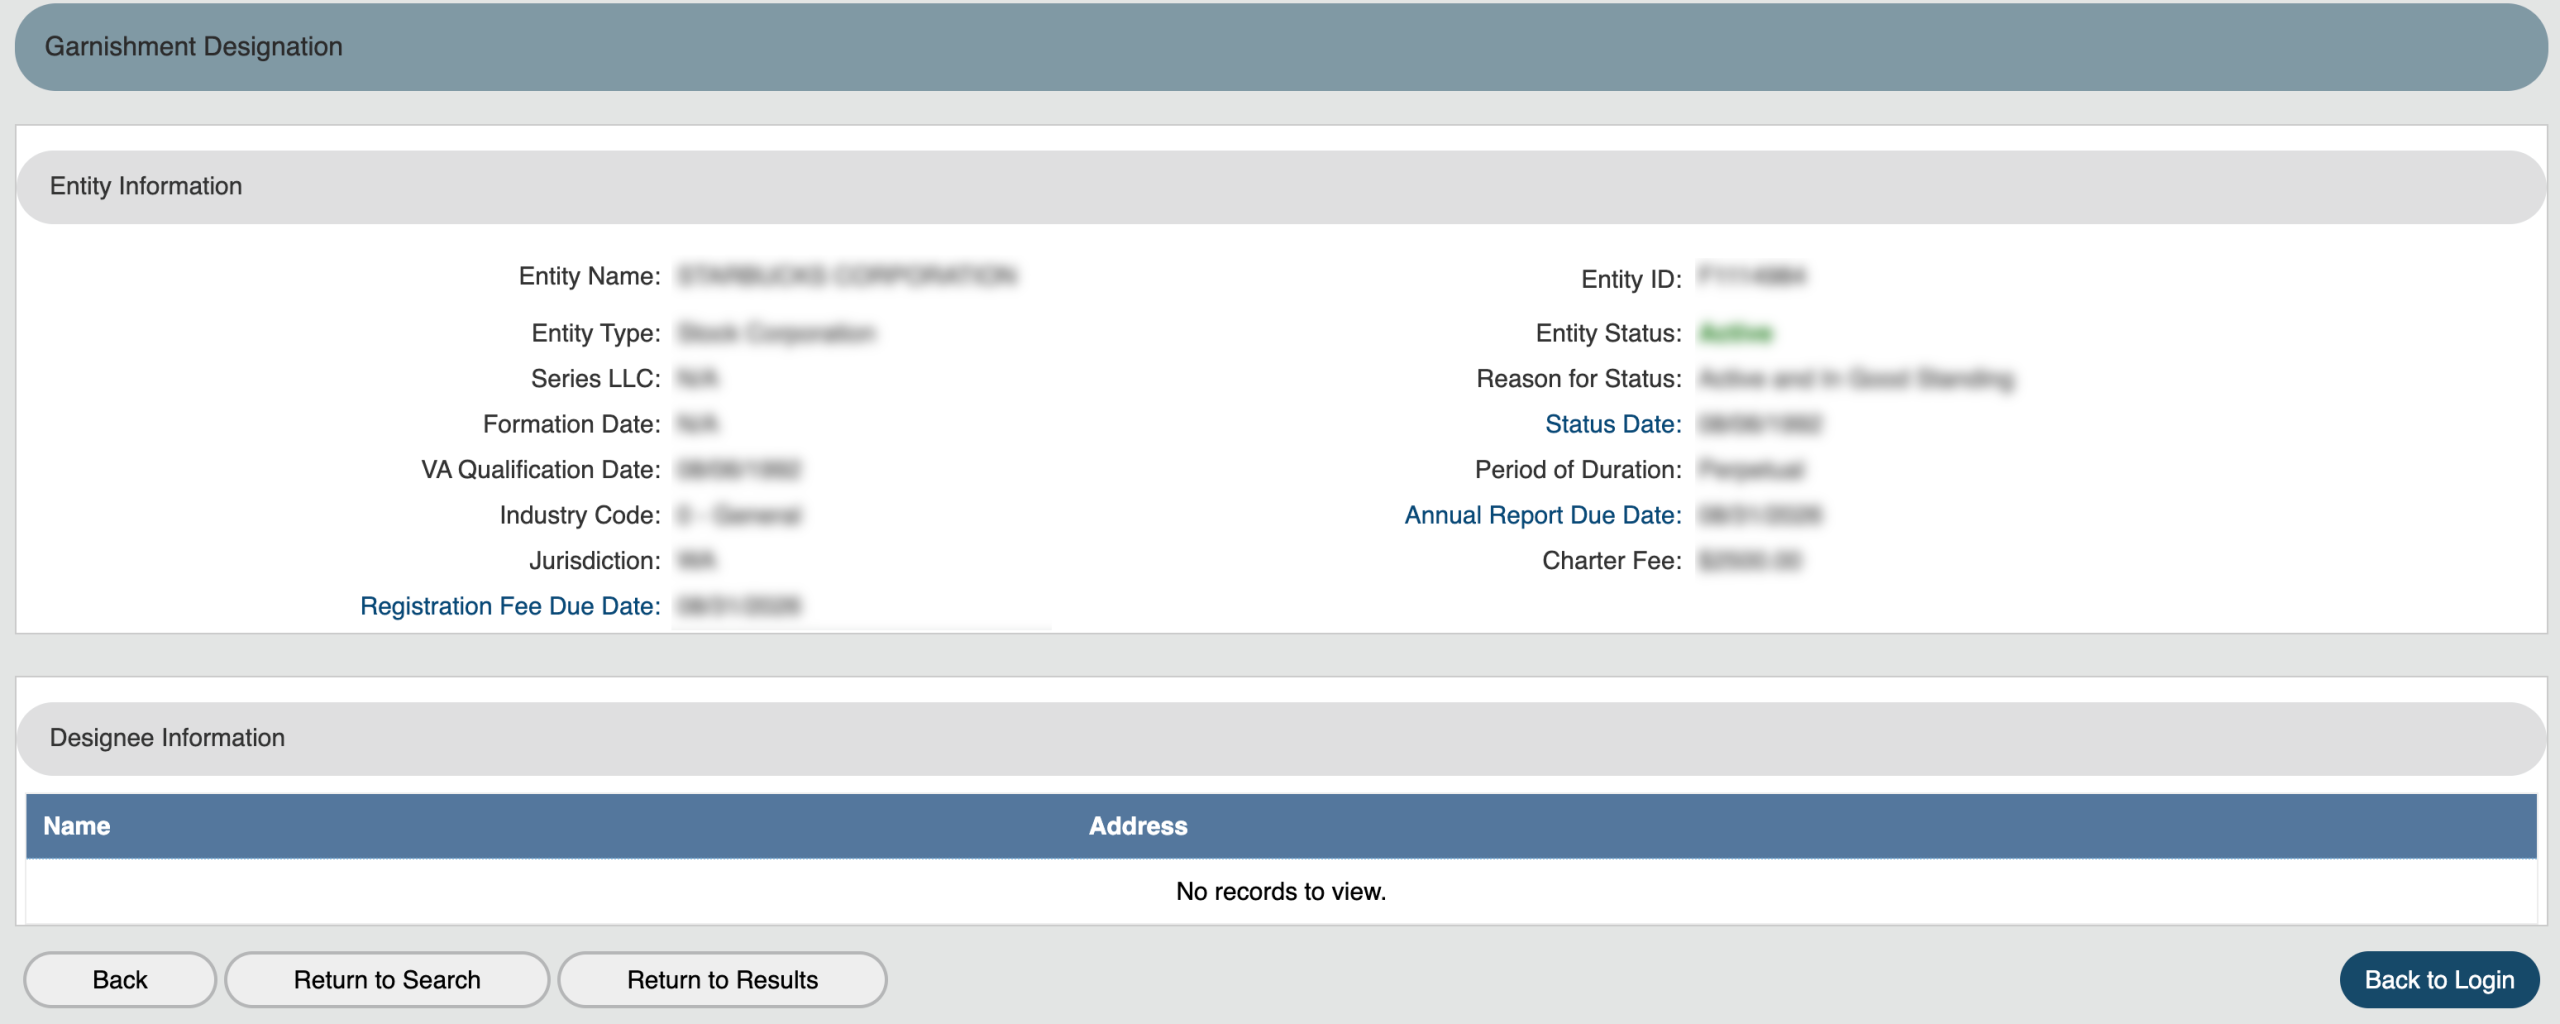
Notice the information page grants access to the entity’s garnishment designee. View this information by selecting “Garnishment Designation.”
Step 39. Obtain Designee Information
Find the designee’s full contact information in the table at the bottom of this page. Use the “Back” button to return to the entity’s information page.
- Entity Information
- Entity name
- Entity Type
- Series LLC
- Formation Date
- VA Qualification Date
- Industry Code
- Jurisdiction
- Registration Fee Due Date
- Entity ID
- Entity Status
- Reason for Status
- Status Date
- Period of Duration
- Annual Report Due Date
- Charter Fee
- Designee Information
- Name
- Address
- Back
- Return to Search
- Return to Results
- Back to Login
Step 40. Request Specific Image Files
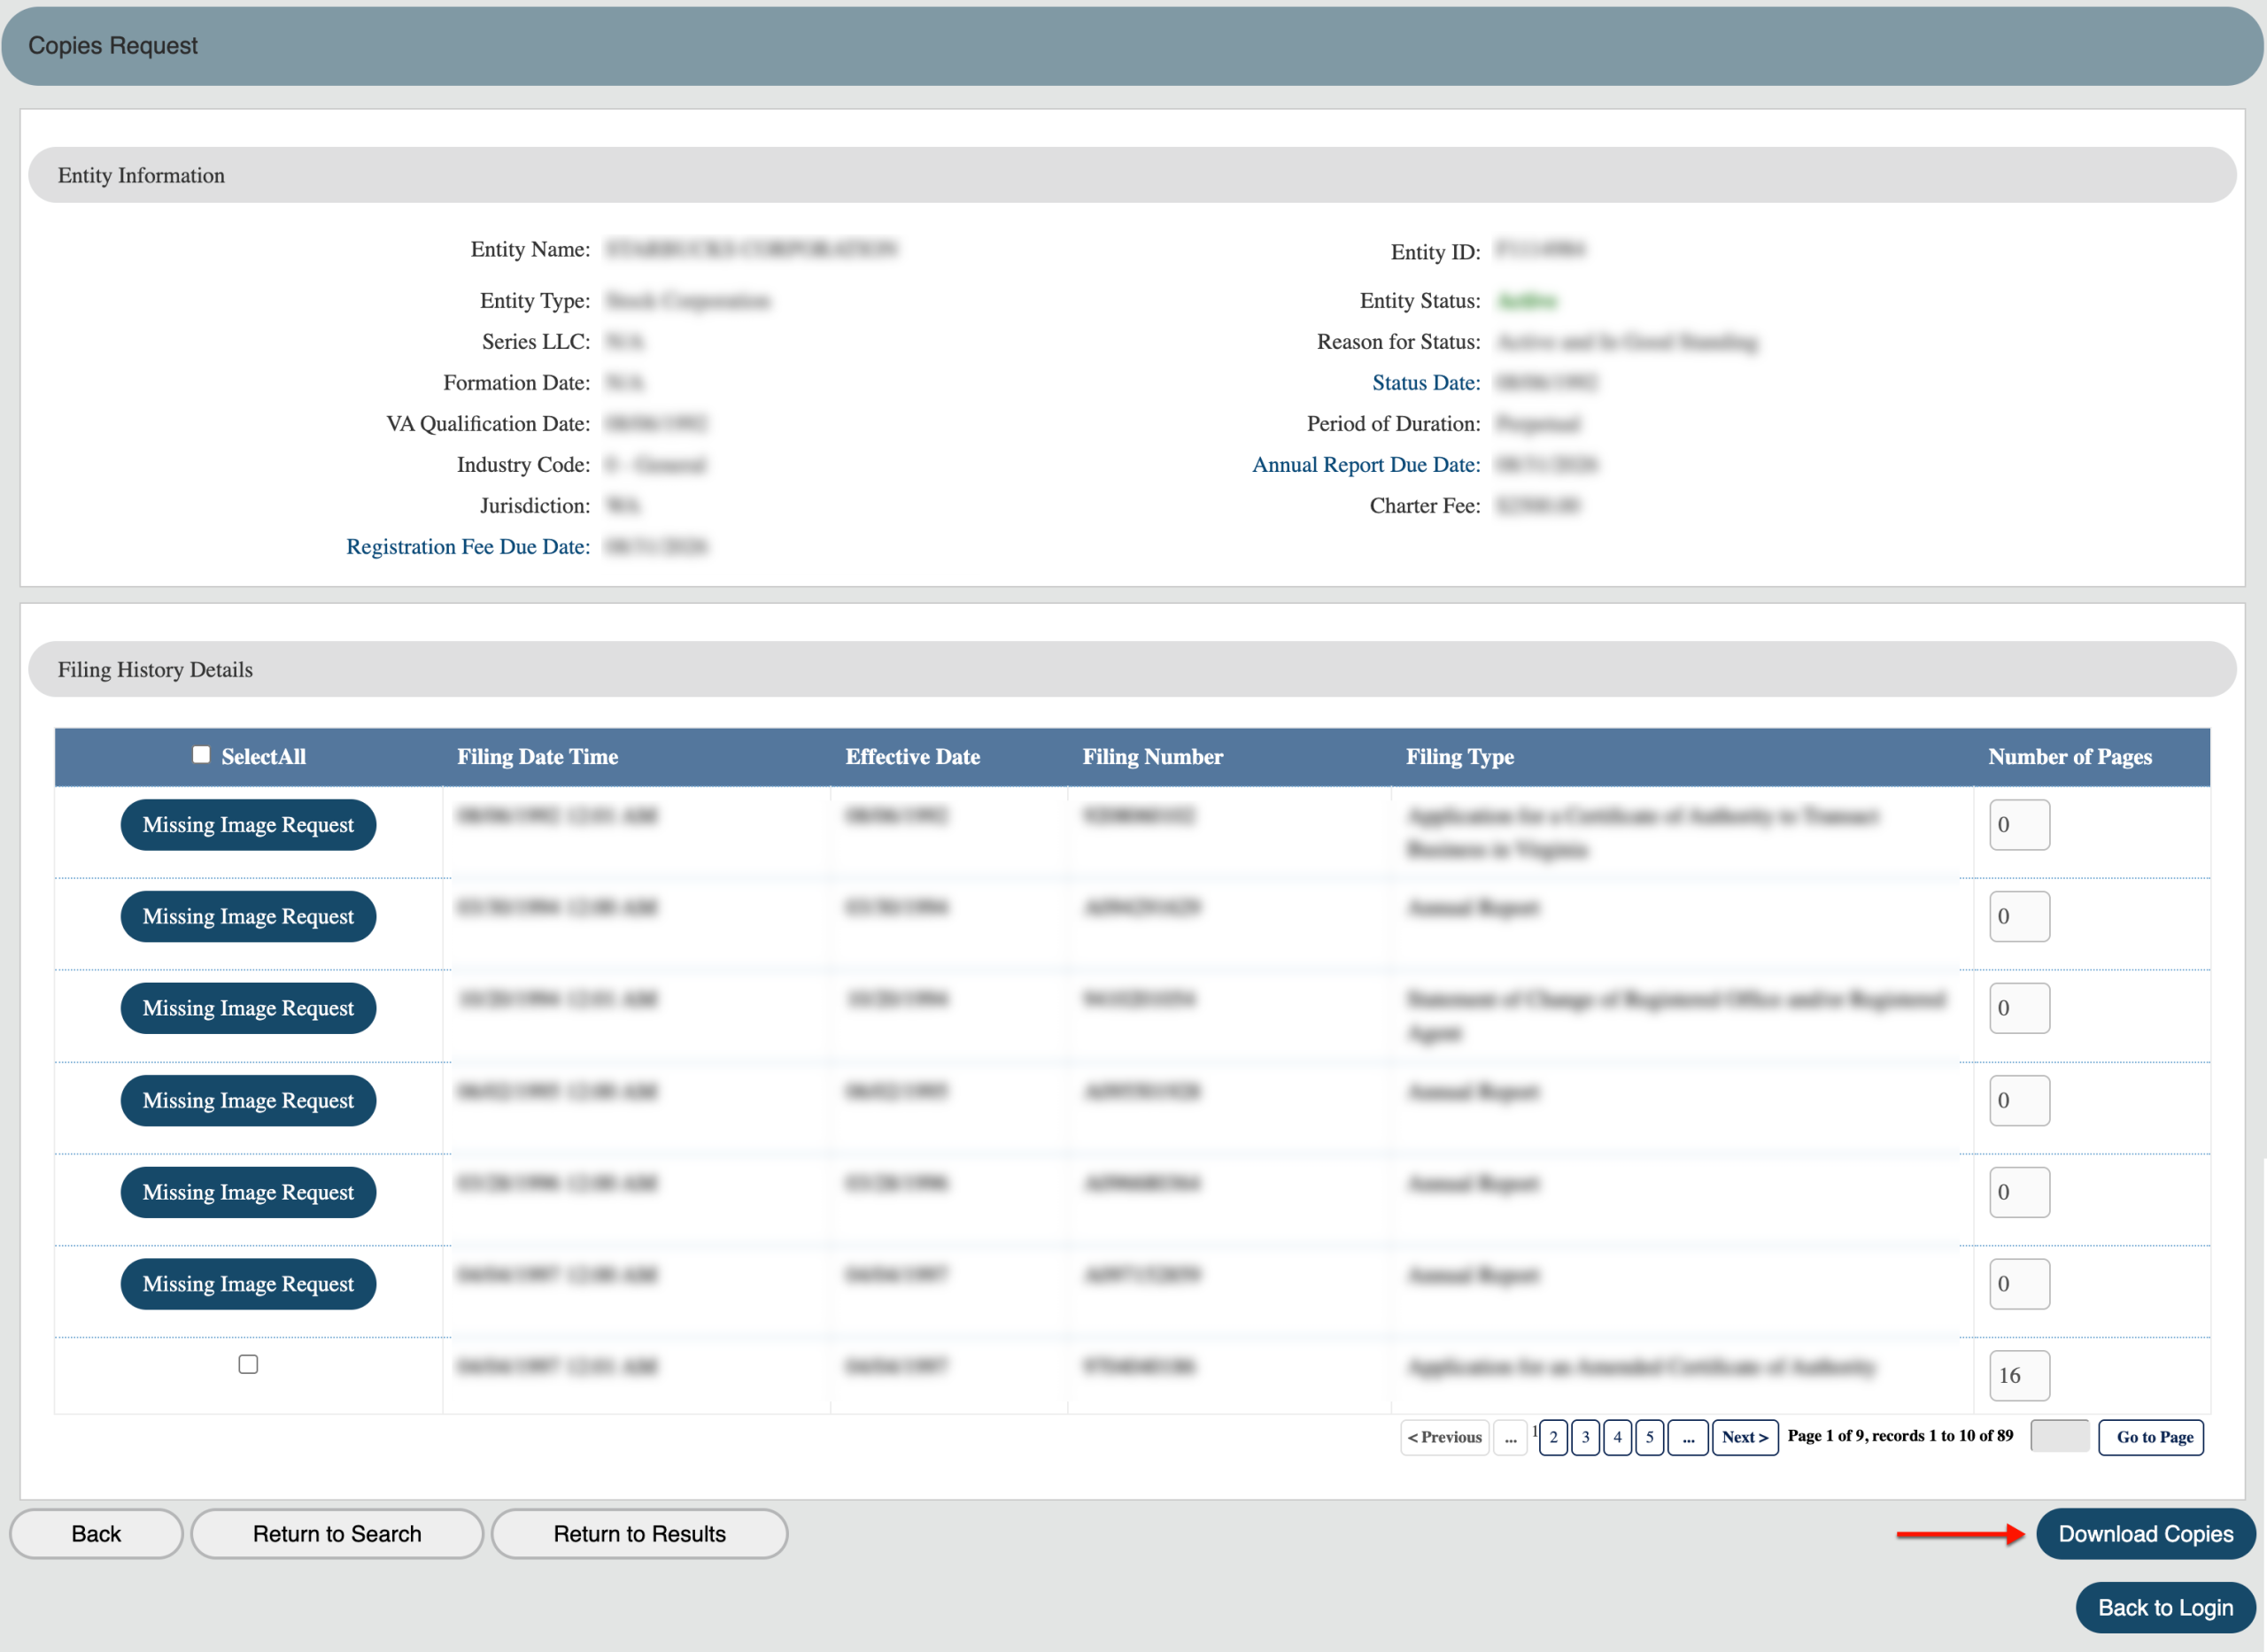
In some cases, document scans may not be immediately available from the filing history area. To request a document, click on “Image Request.”
Step 41. Obtaining Missing Images
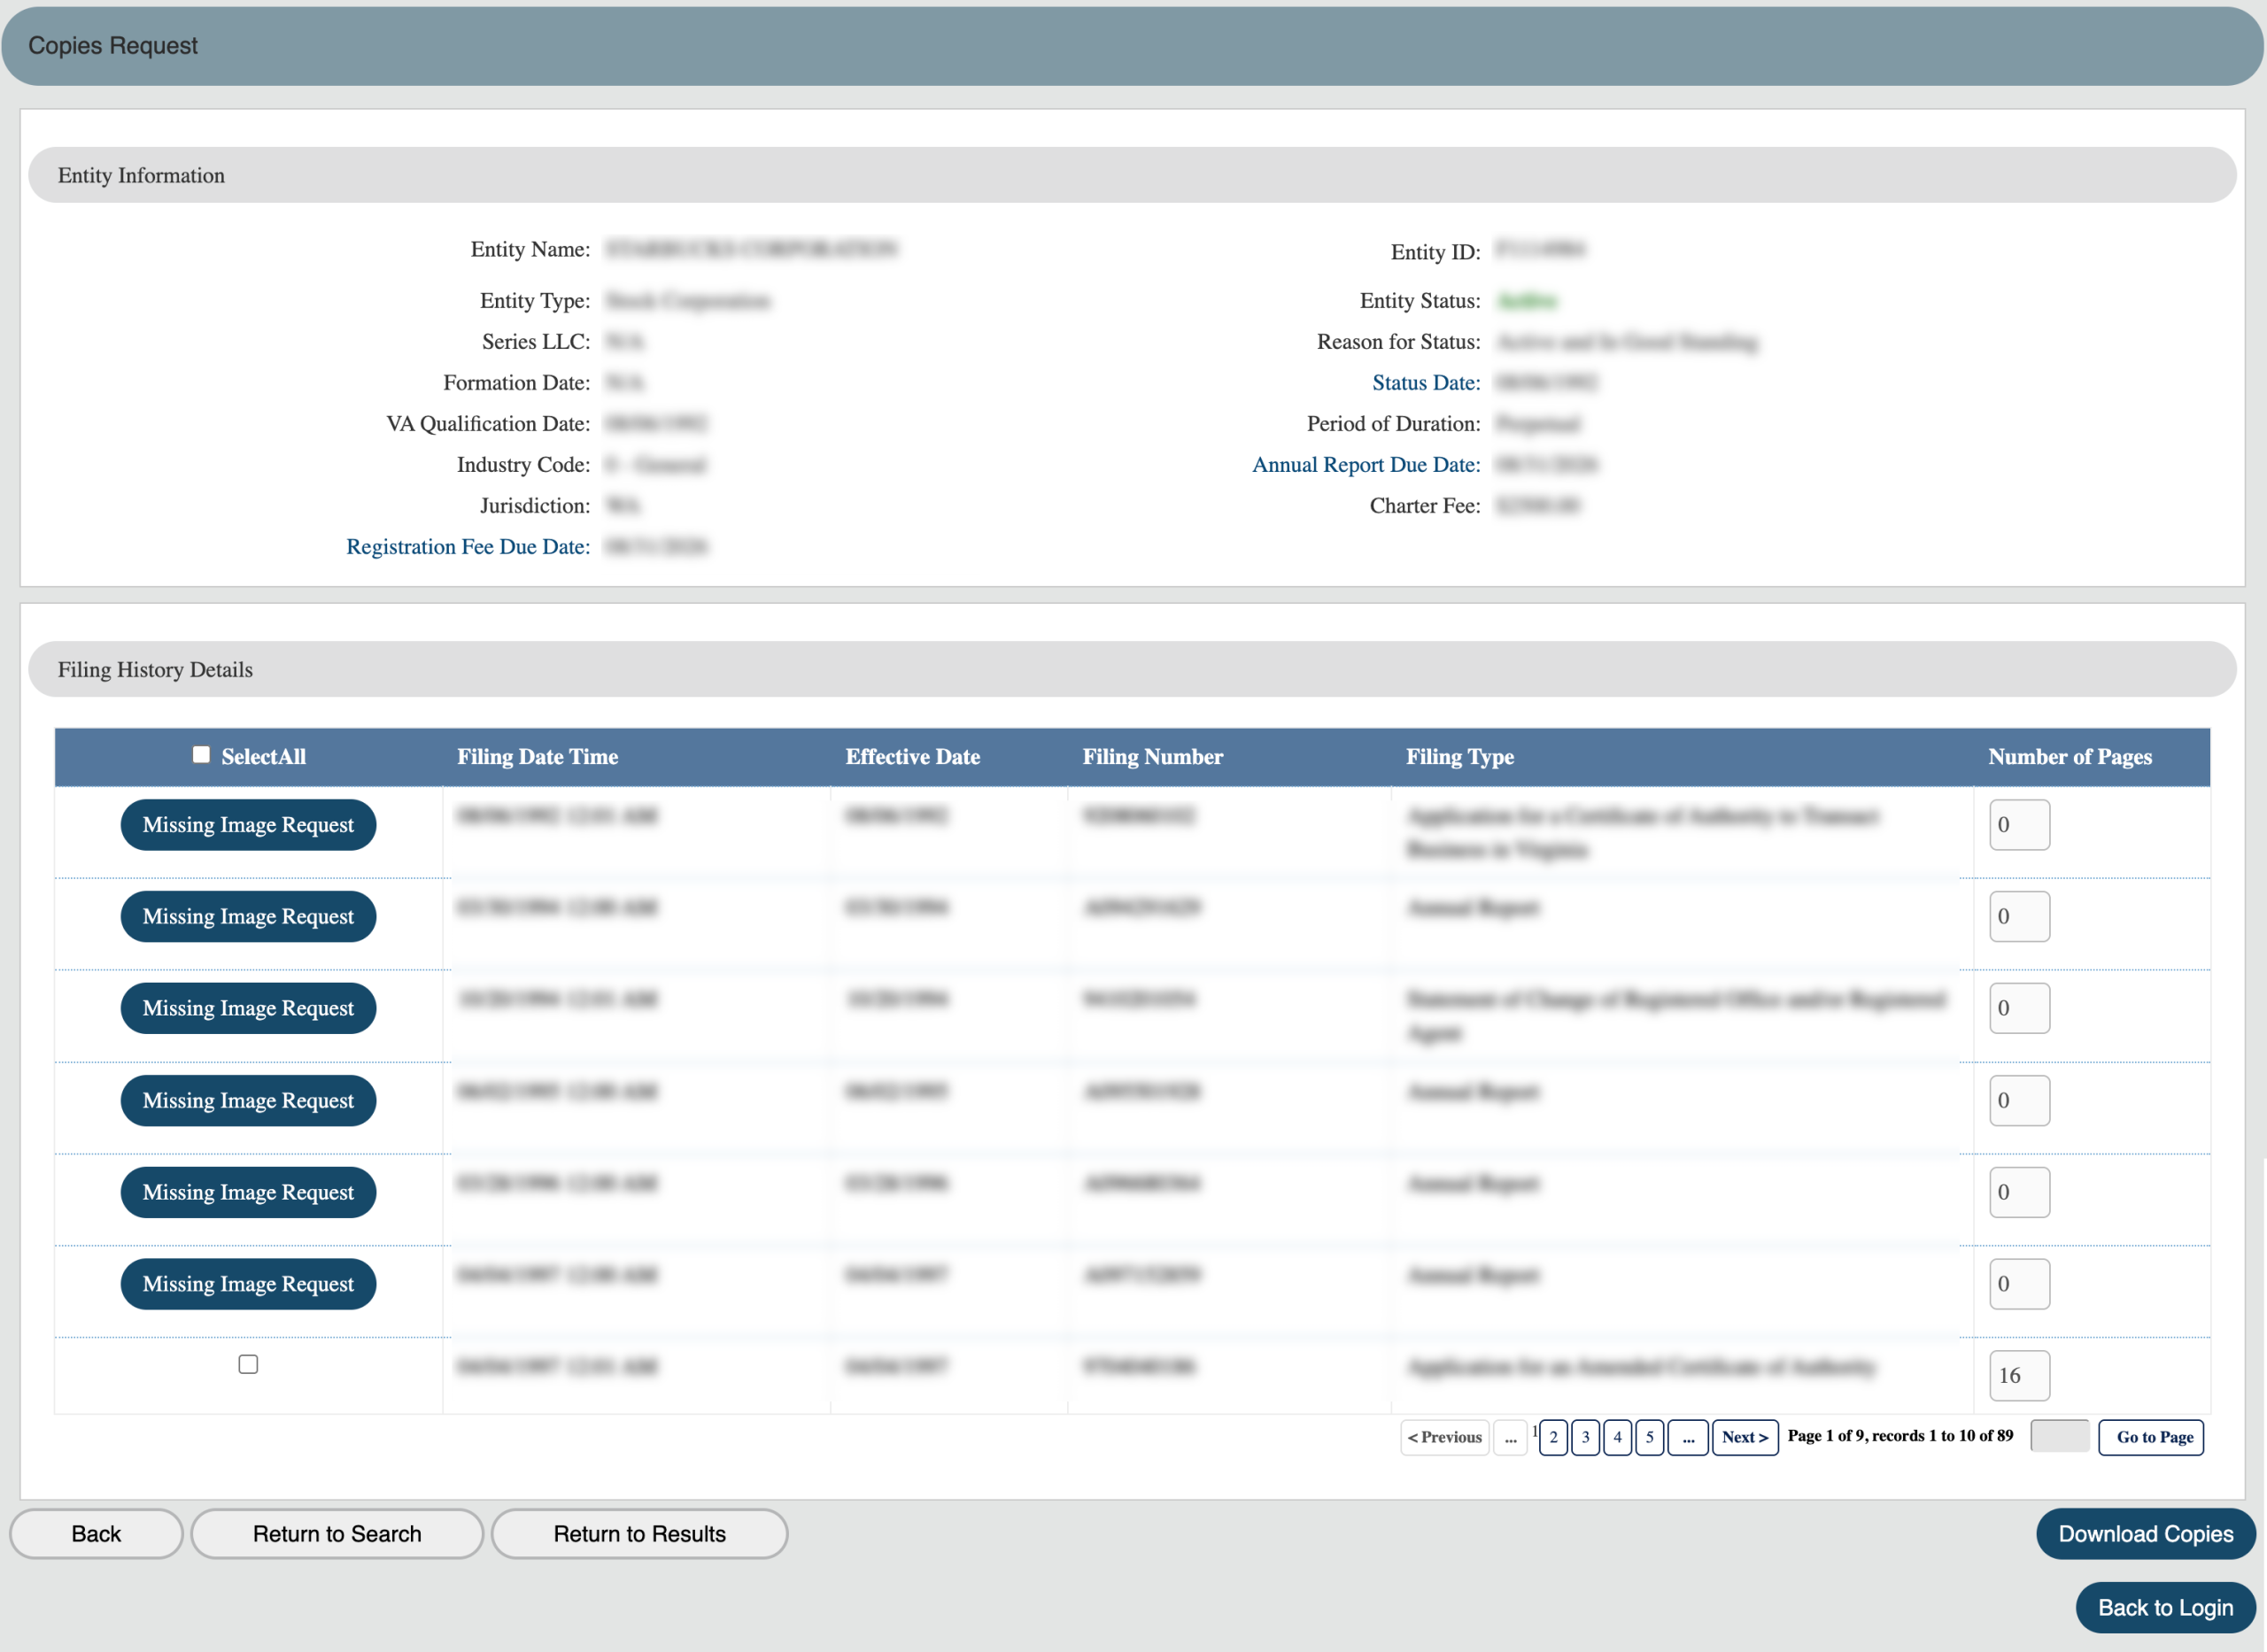
Look through the list of documents the state may provide that are not currently online. Use the table to identify the one(s) you wish to obtain.
- Entity Information
- Entity name
- Entity Type
- Series LLC
- Formation Date
- VA Qualification Date
- Industry Code
- Jurisdiction
- Registration Fee Due Date
- Entity ID
- Entity Status
- Reason for Status
- Status Date
- Period of Duration
- Annual Report Due Date
- Charter Fee
- Filing History Details
- Select All
- Filing Date Time
- Effective Date
- Filing Number
- Filing Type
- Number of Pages
- Download Copies
- Back
- Return to Search
- Return to Results
- Back to Login
Step 42. Formally Request A Document
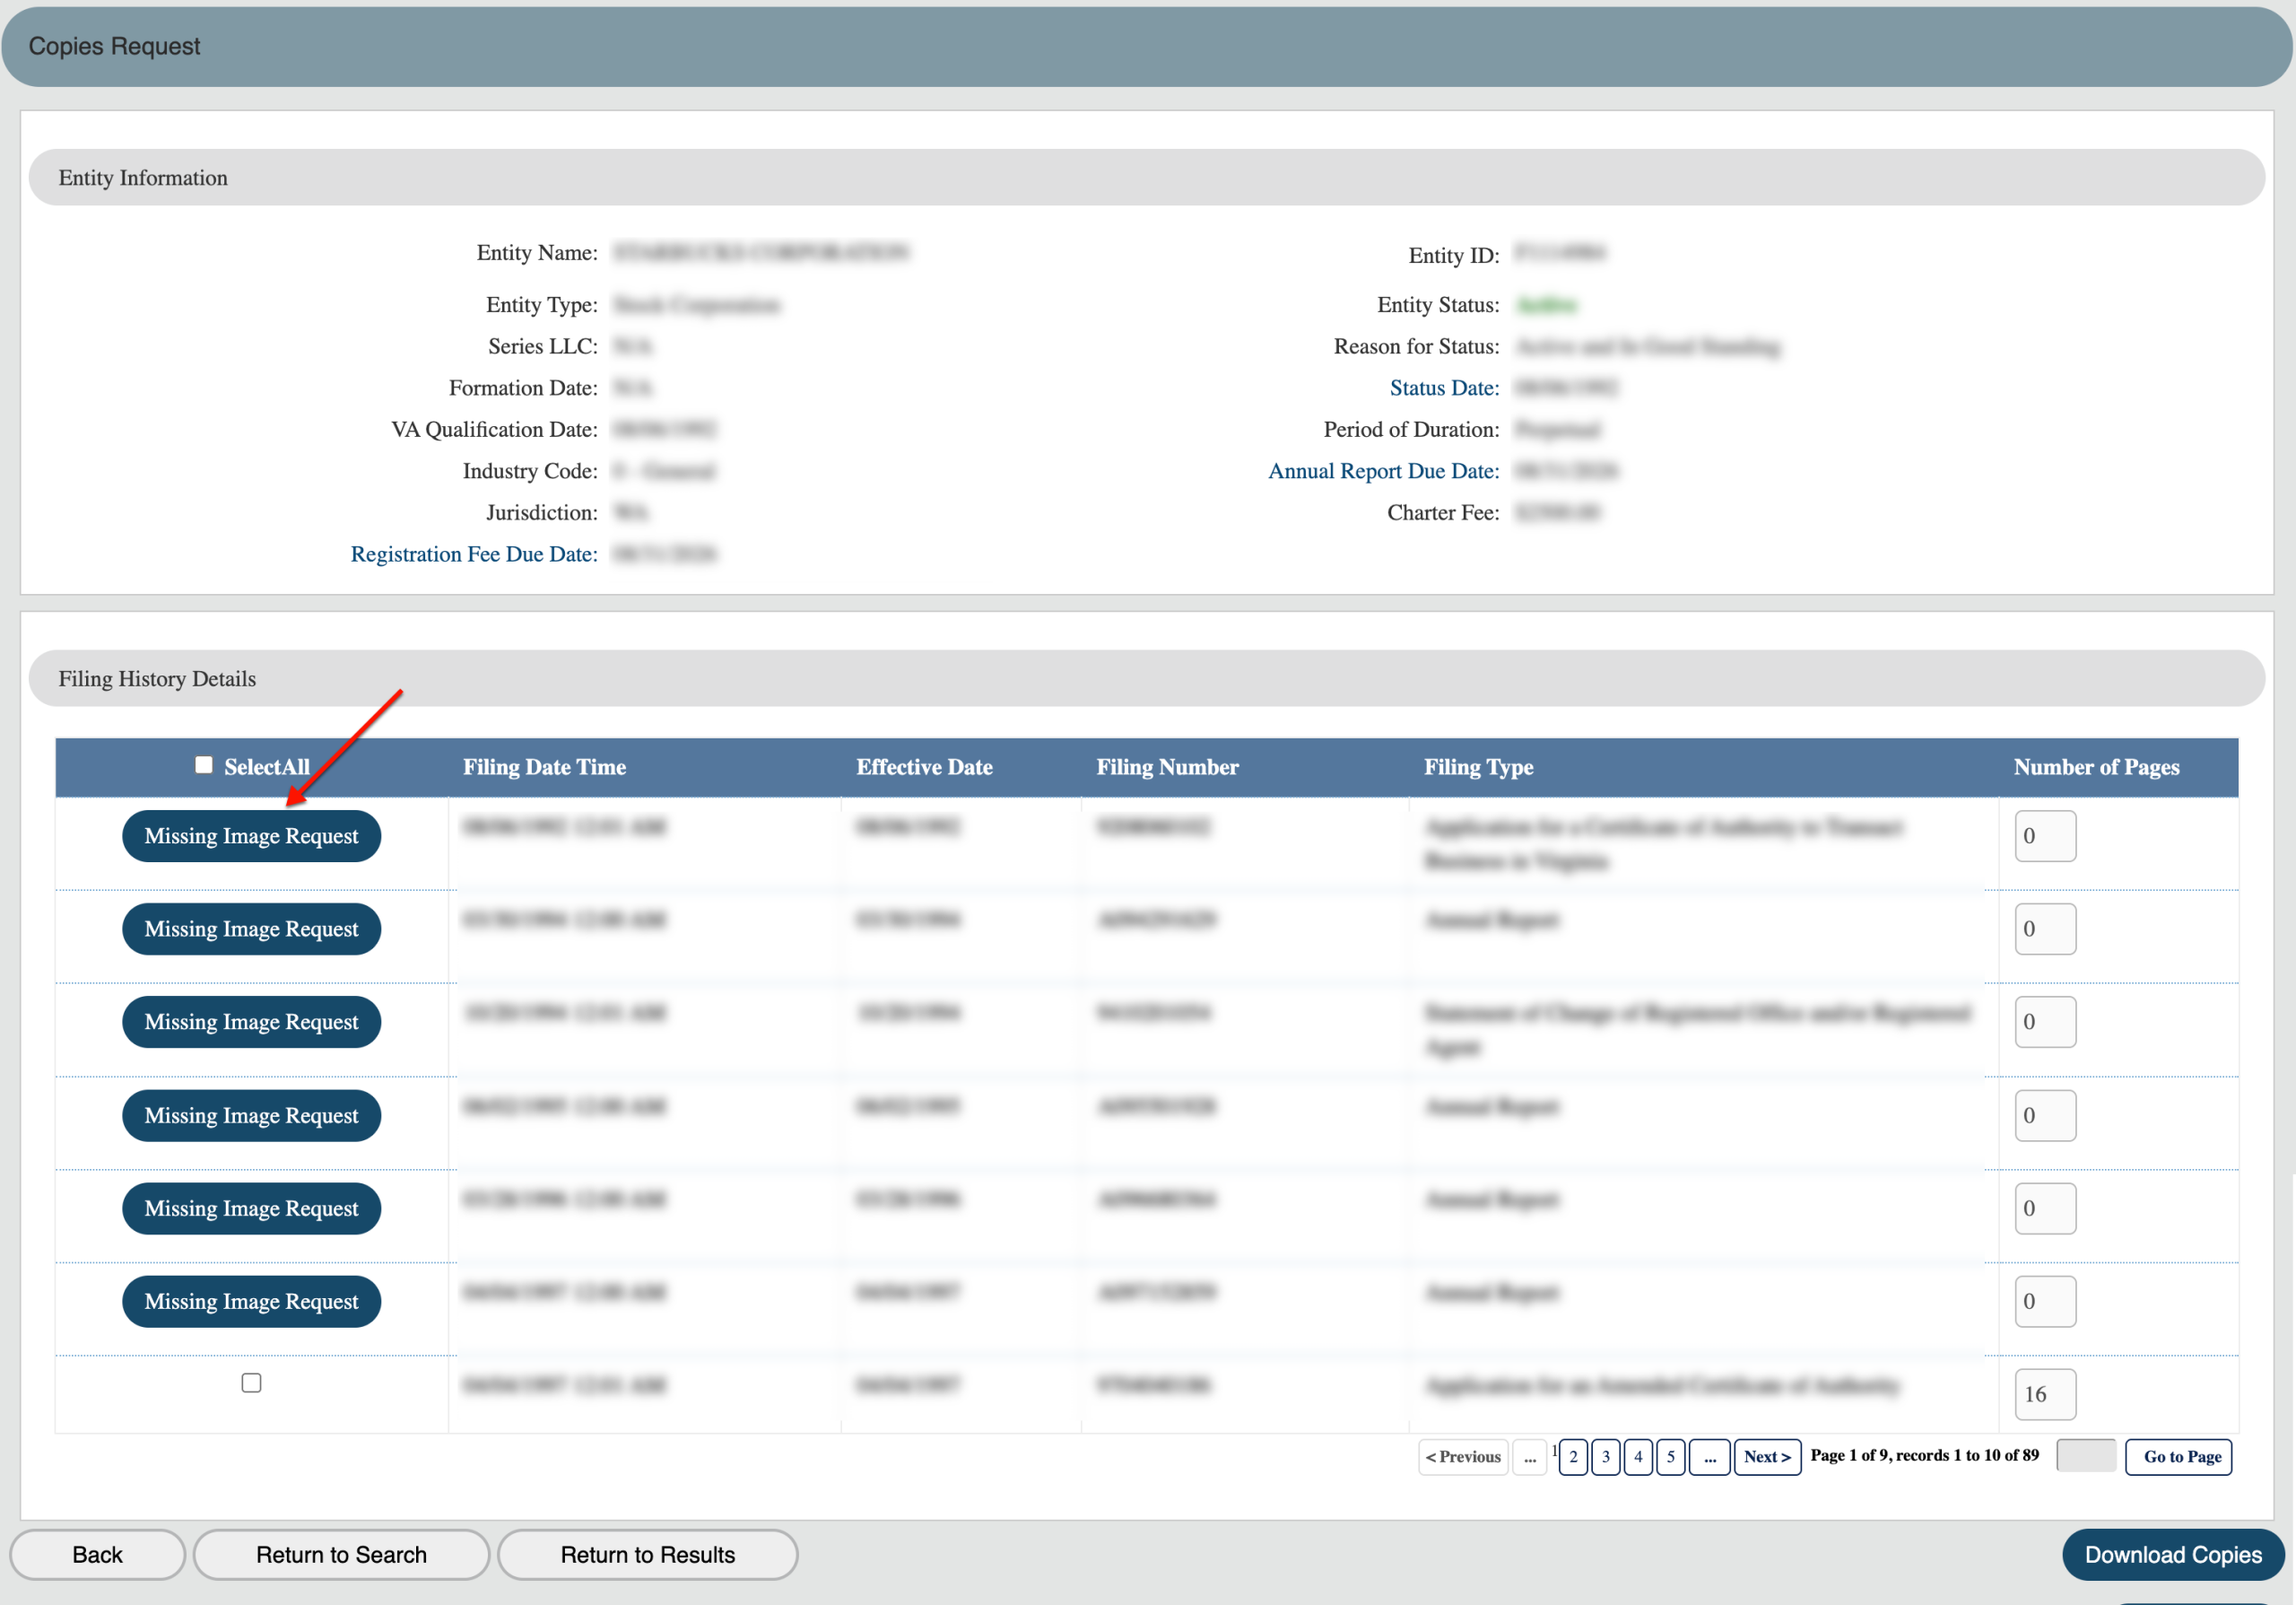
Review the list of the entity’s unscanned documents in the table. To request a scan to view on screen, click on the “Missing Image Report button.
Step 43. Submit Your Identity
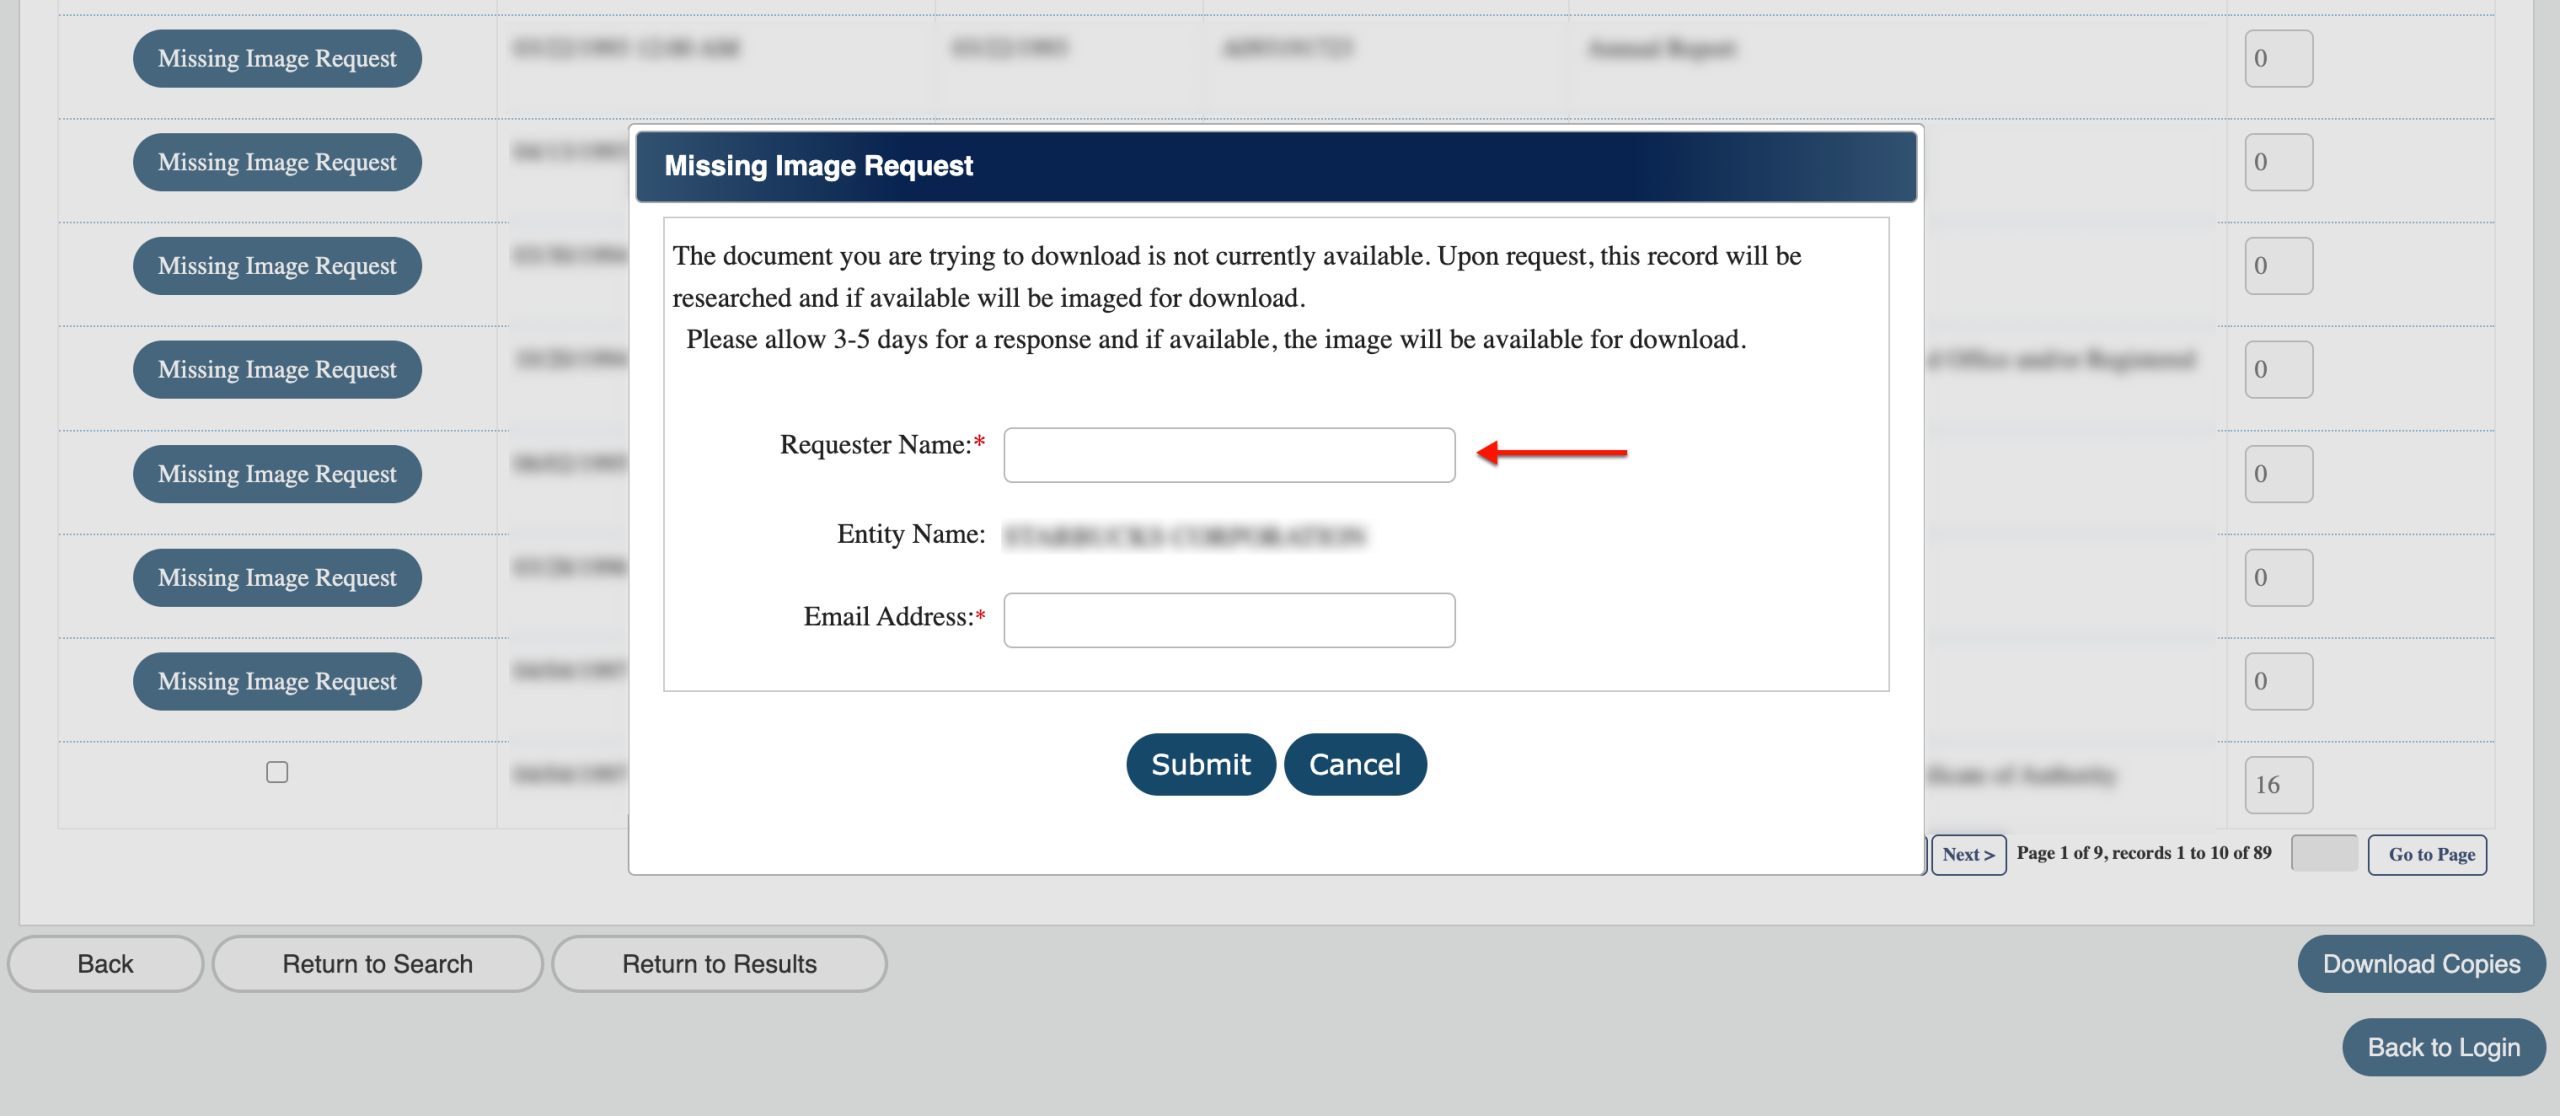
In order to make an image request, fill in your legal name in “Requestor Name.” This is mandatory.
- Requestor Name
- Entity Name
- Email Address
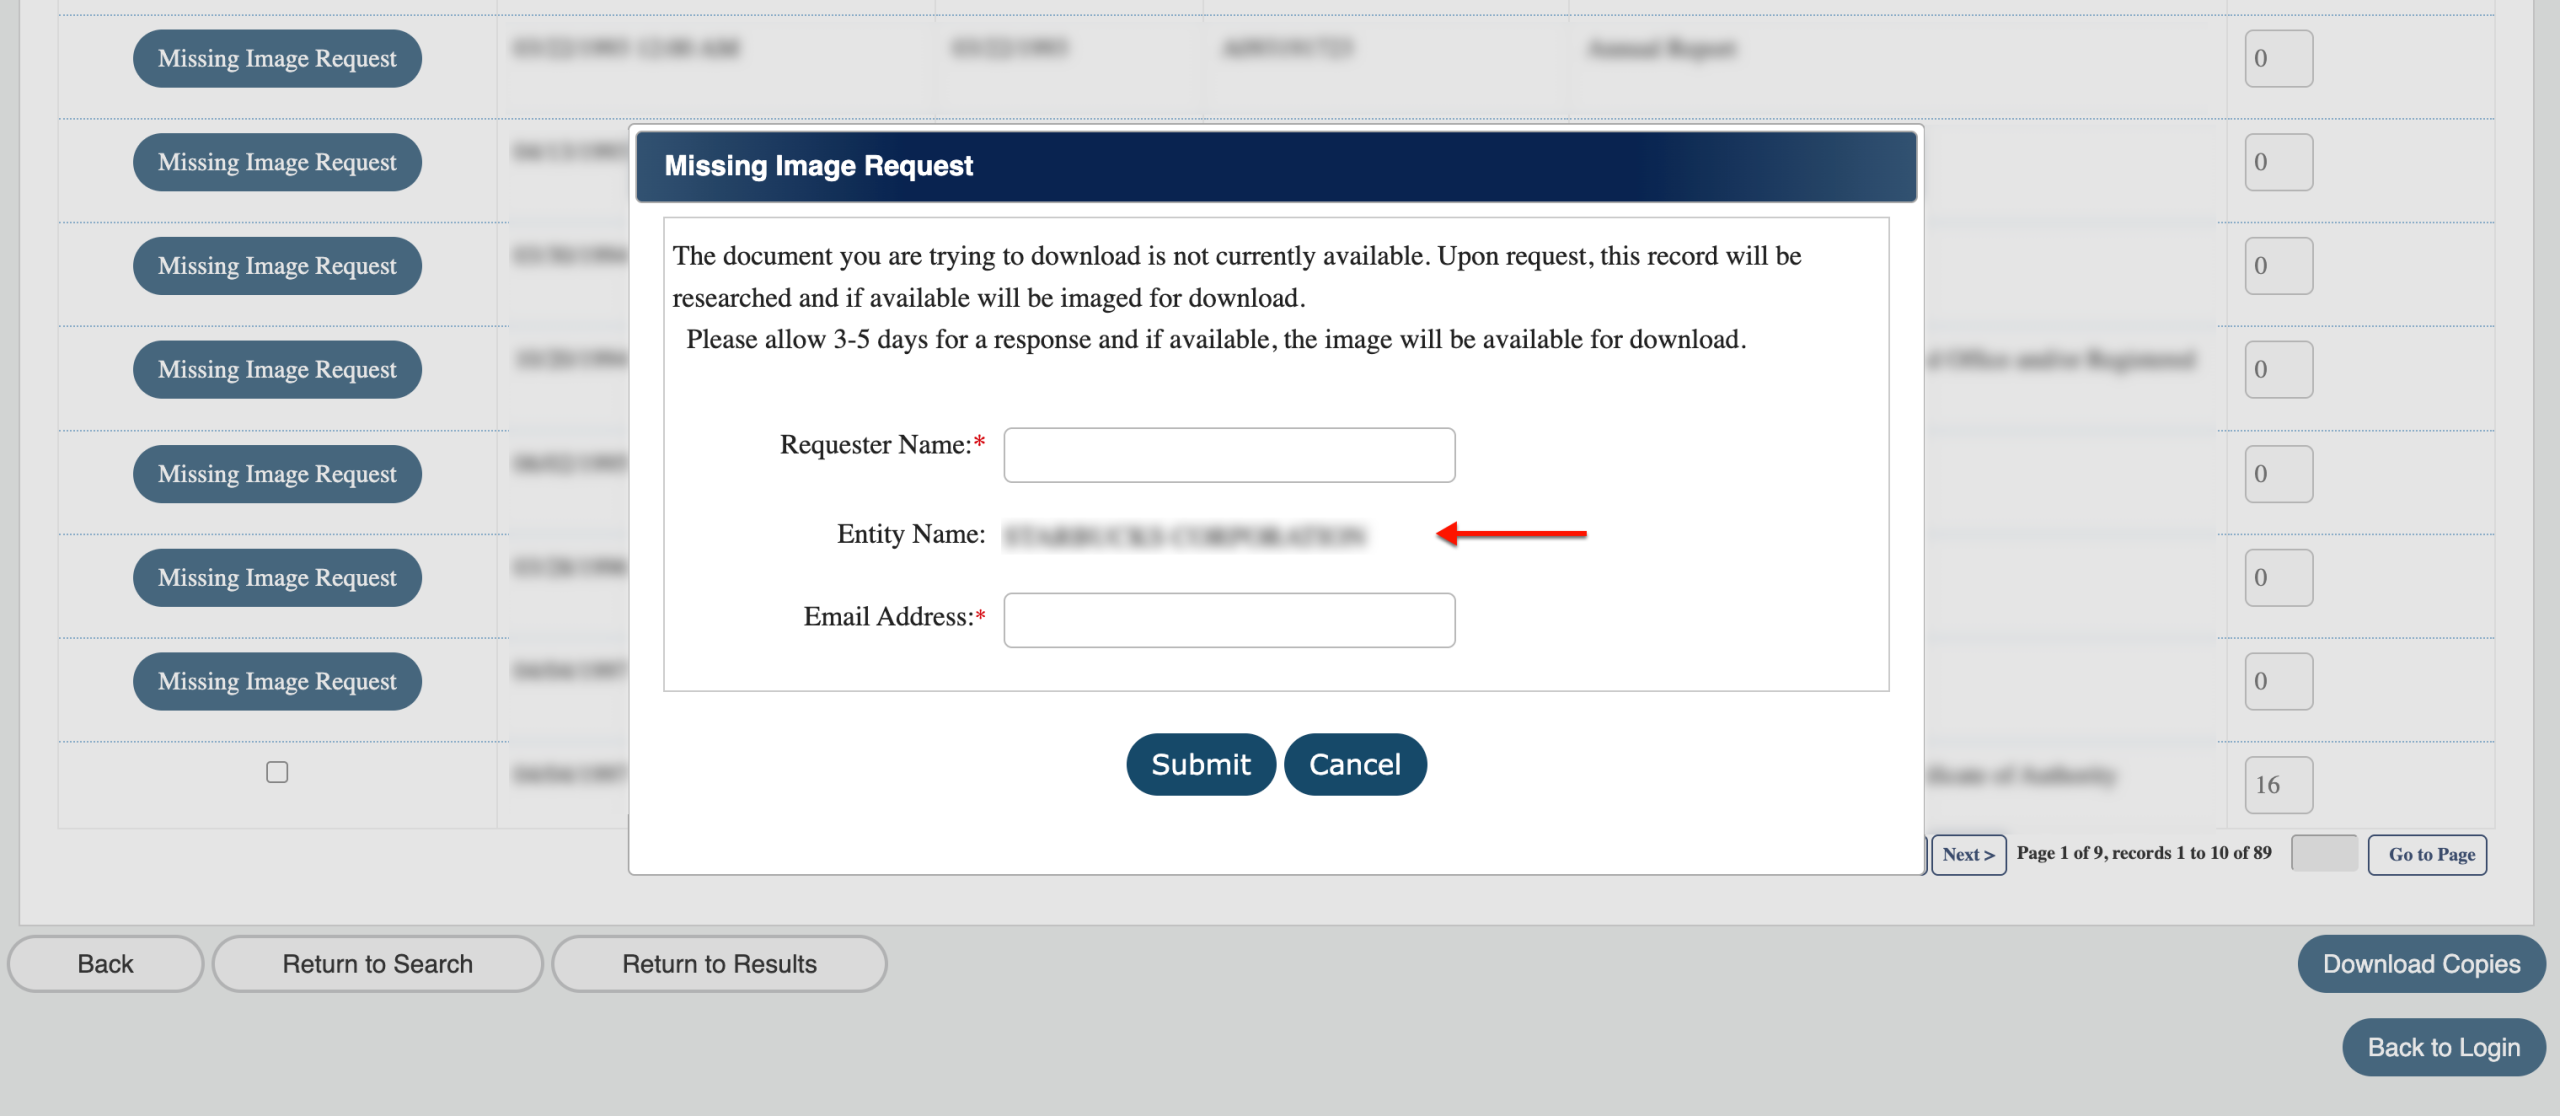
Step 44. Confirm the Entity Name
Make note of the entity name on display. This must be the entity you are investigating, since submitting the wrong name causes delays.
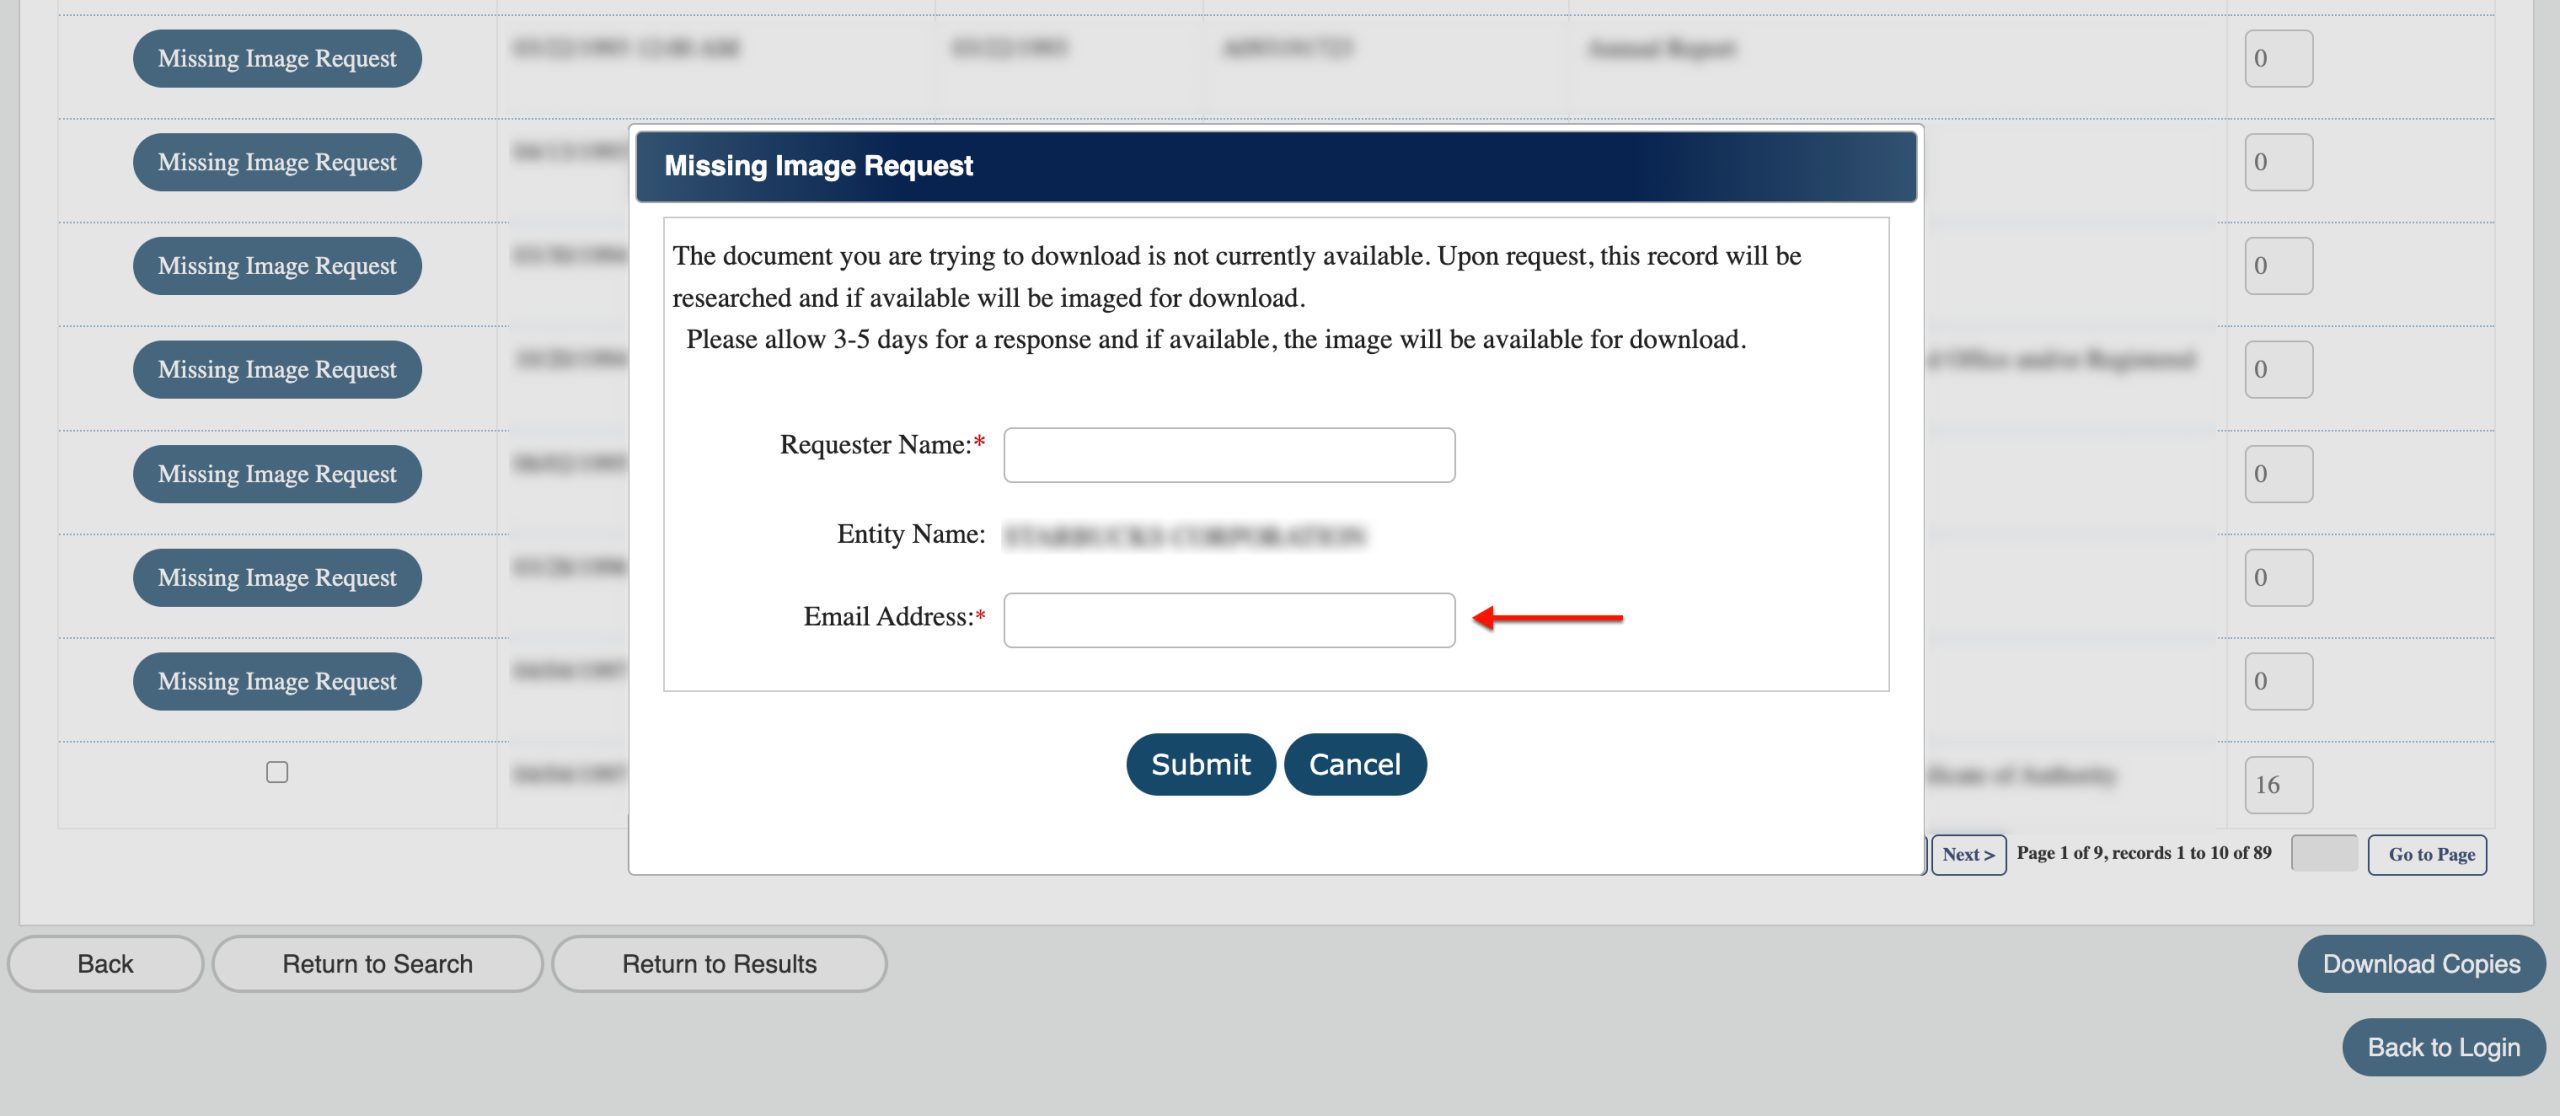
Step 45. Provide Your Email Address
Supply your Email Address in the final text box. This is both mandatory and allows the department to respond to your request.
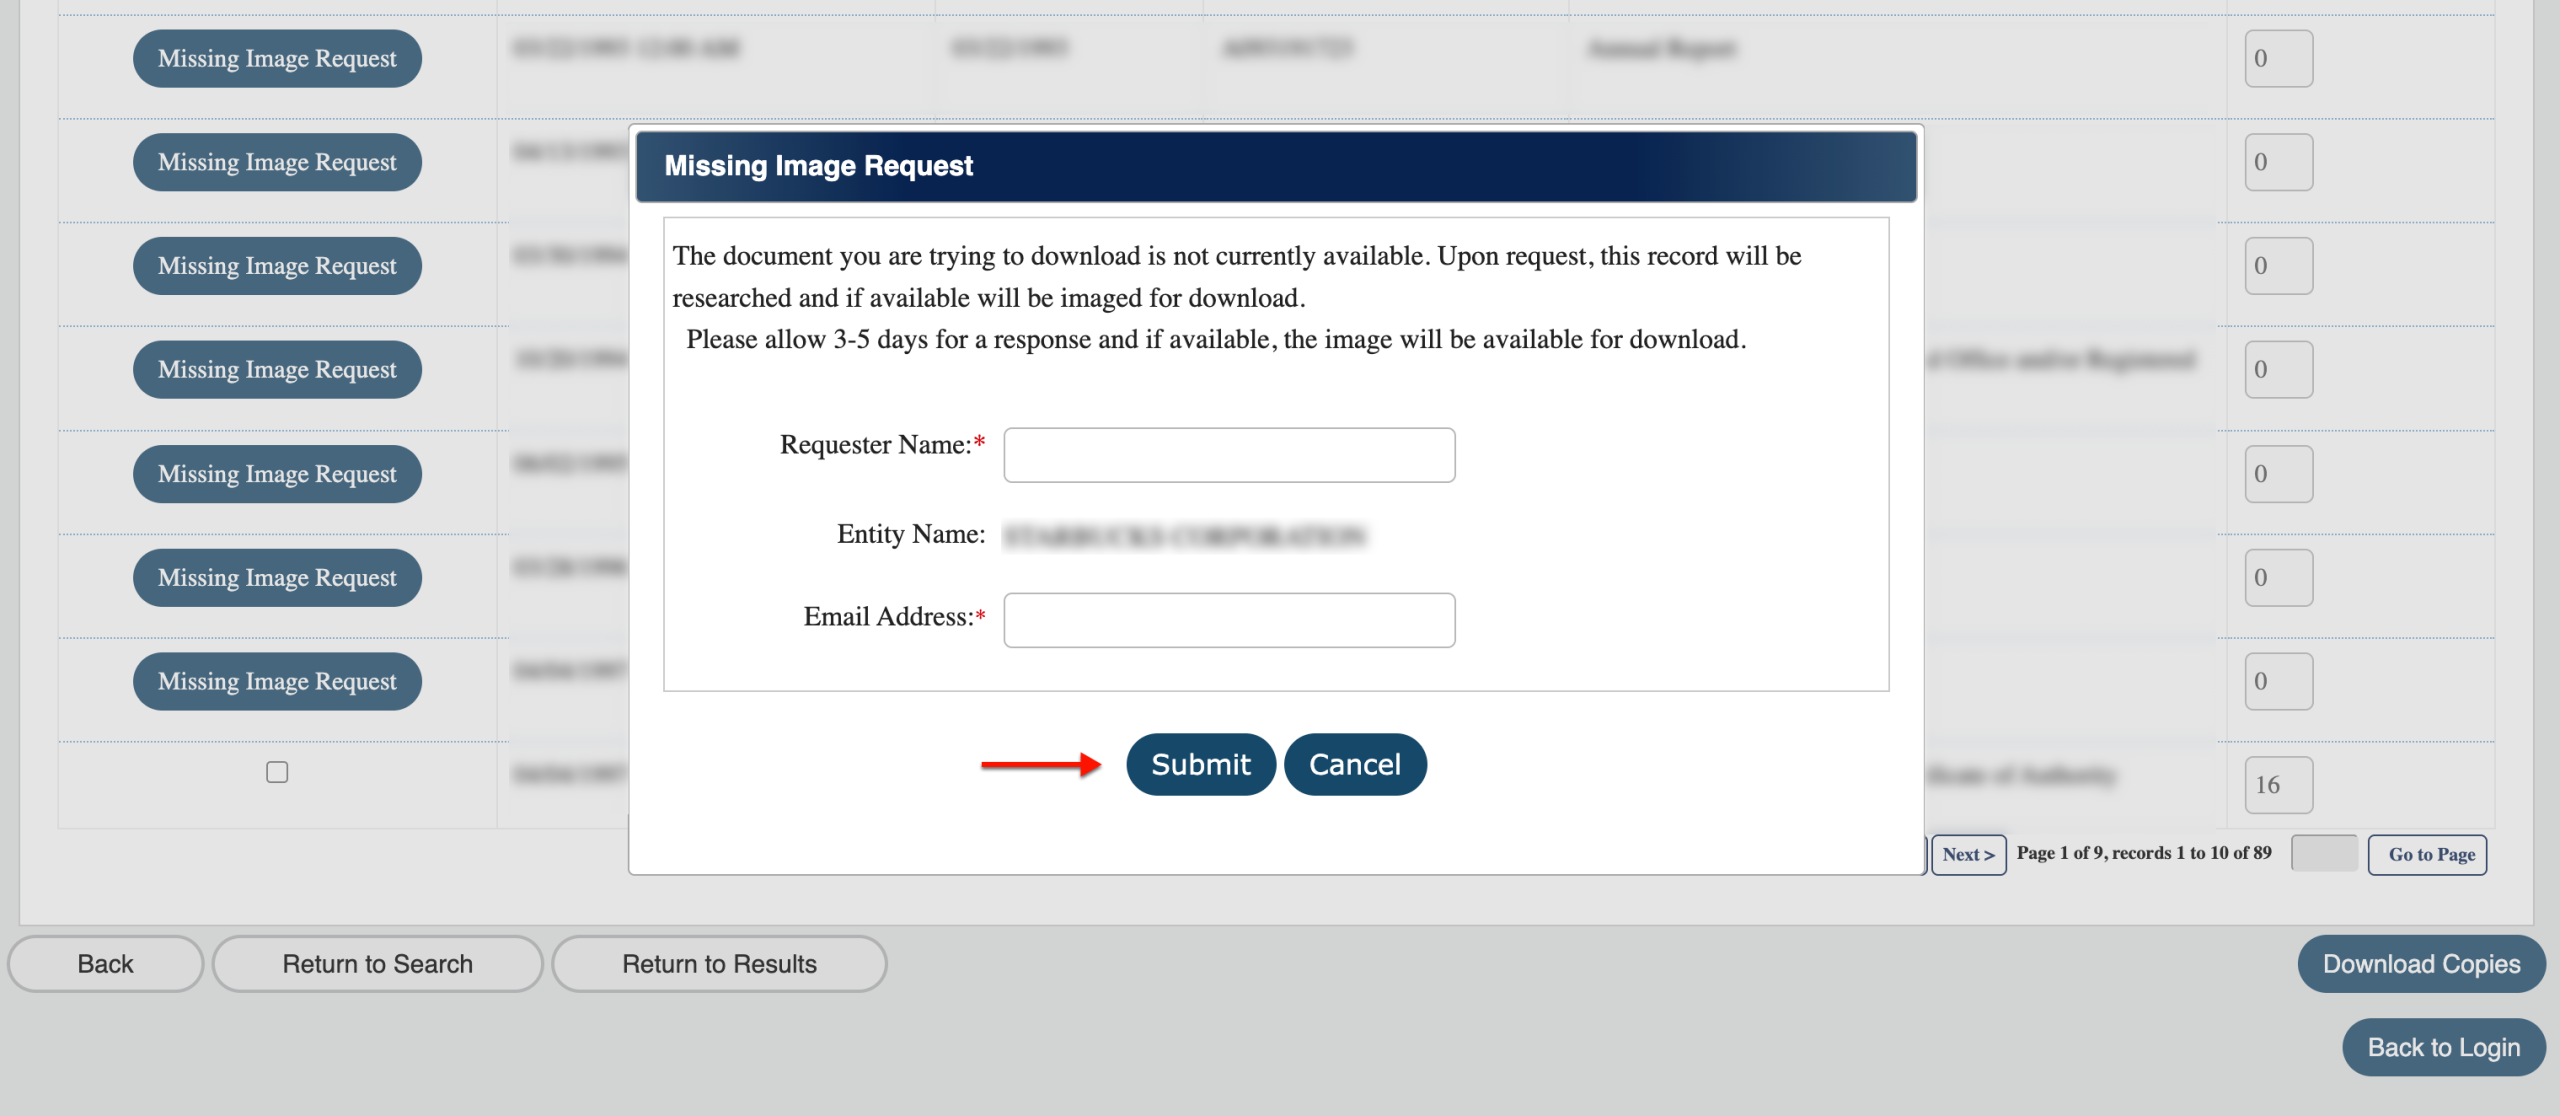
Step 46. Send the Request
Click on “Submit” to send the request. Recheck this page in 3-5 days. Also, keep an eye on your email for correspondence.
Step 47. Returning For Downloads
After 3-5 days of your previous request or receiving a notification, return to this page. Locate the requested file’s row, then mark the checkbox.
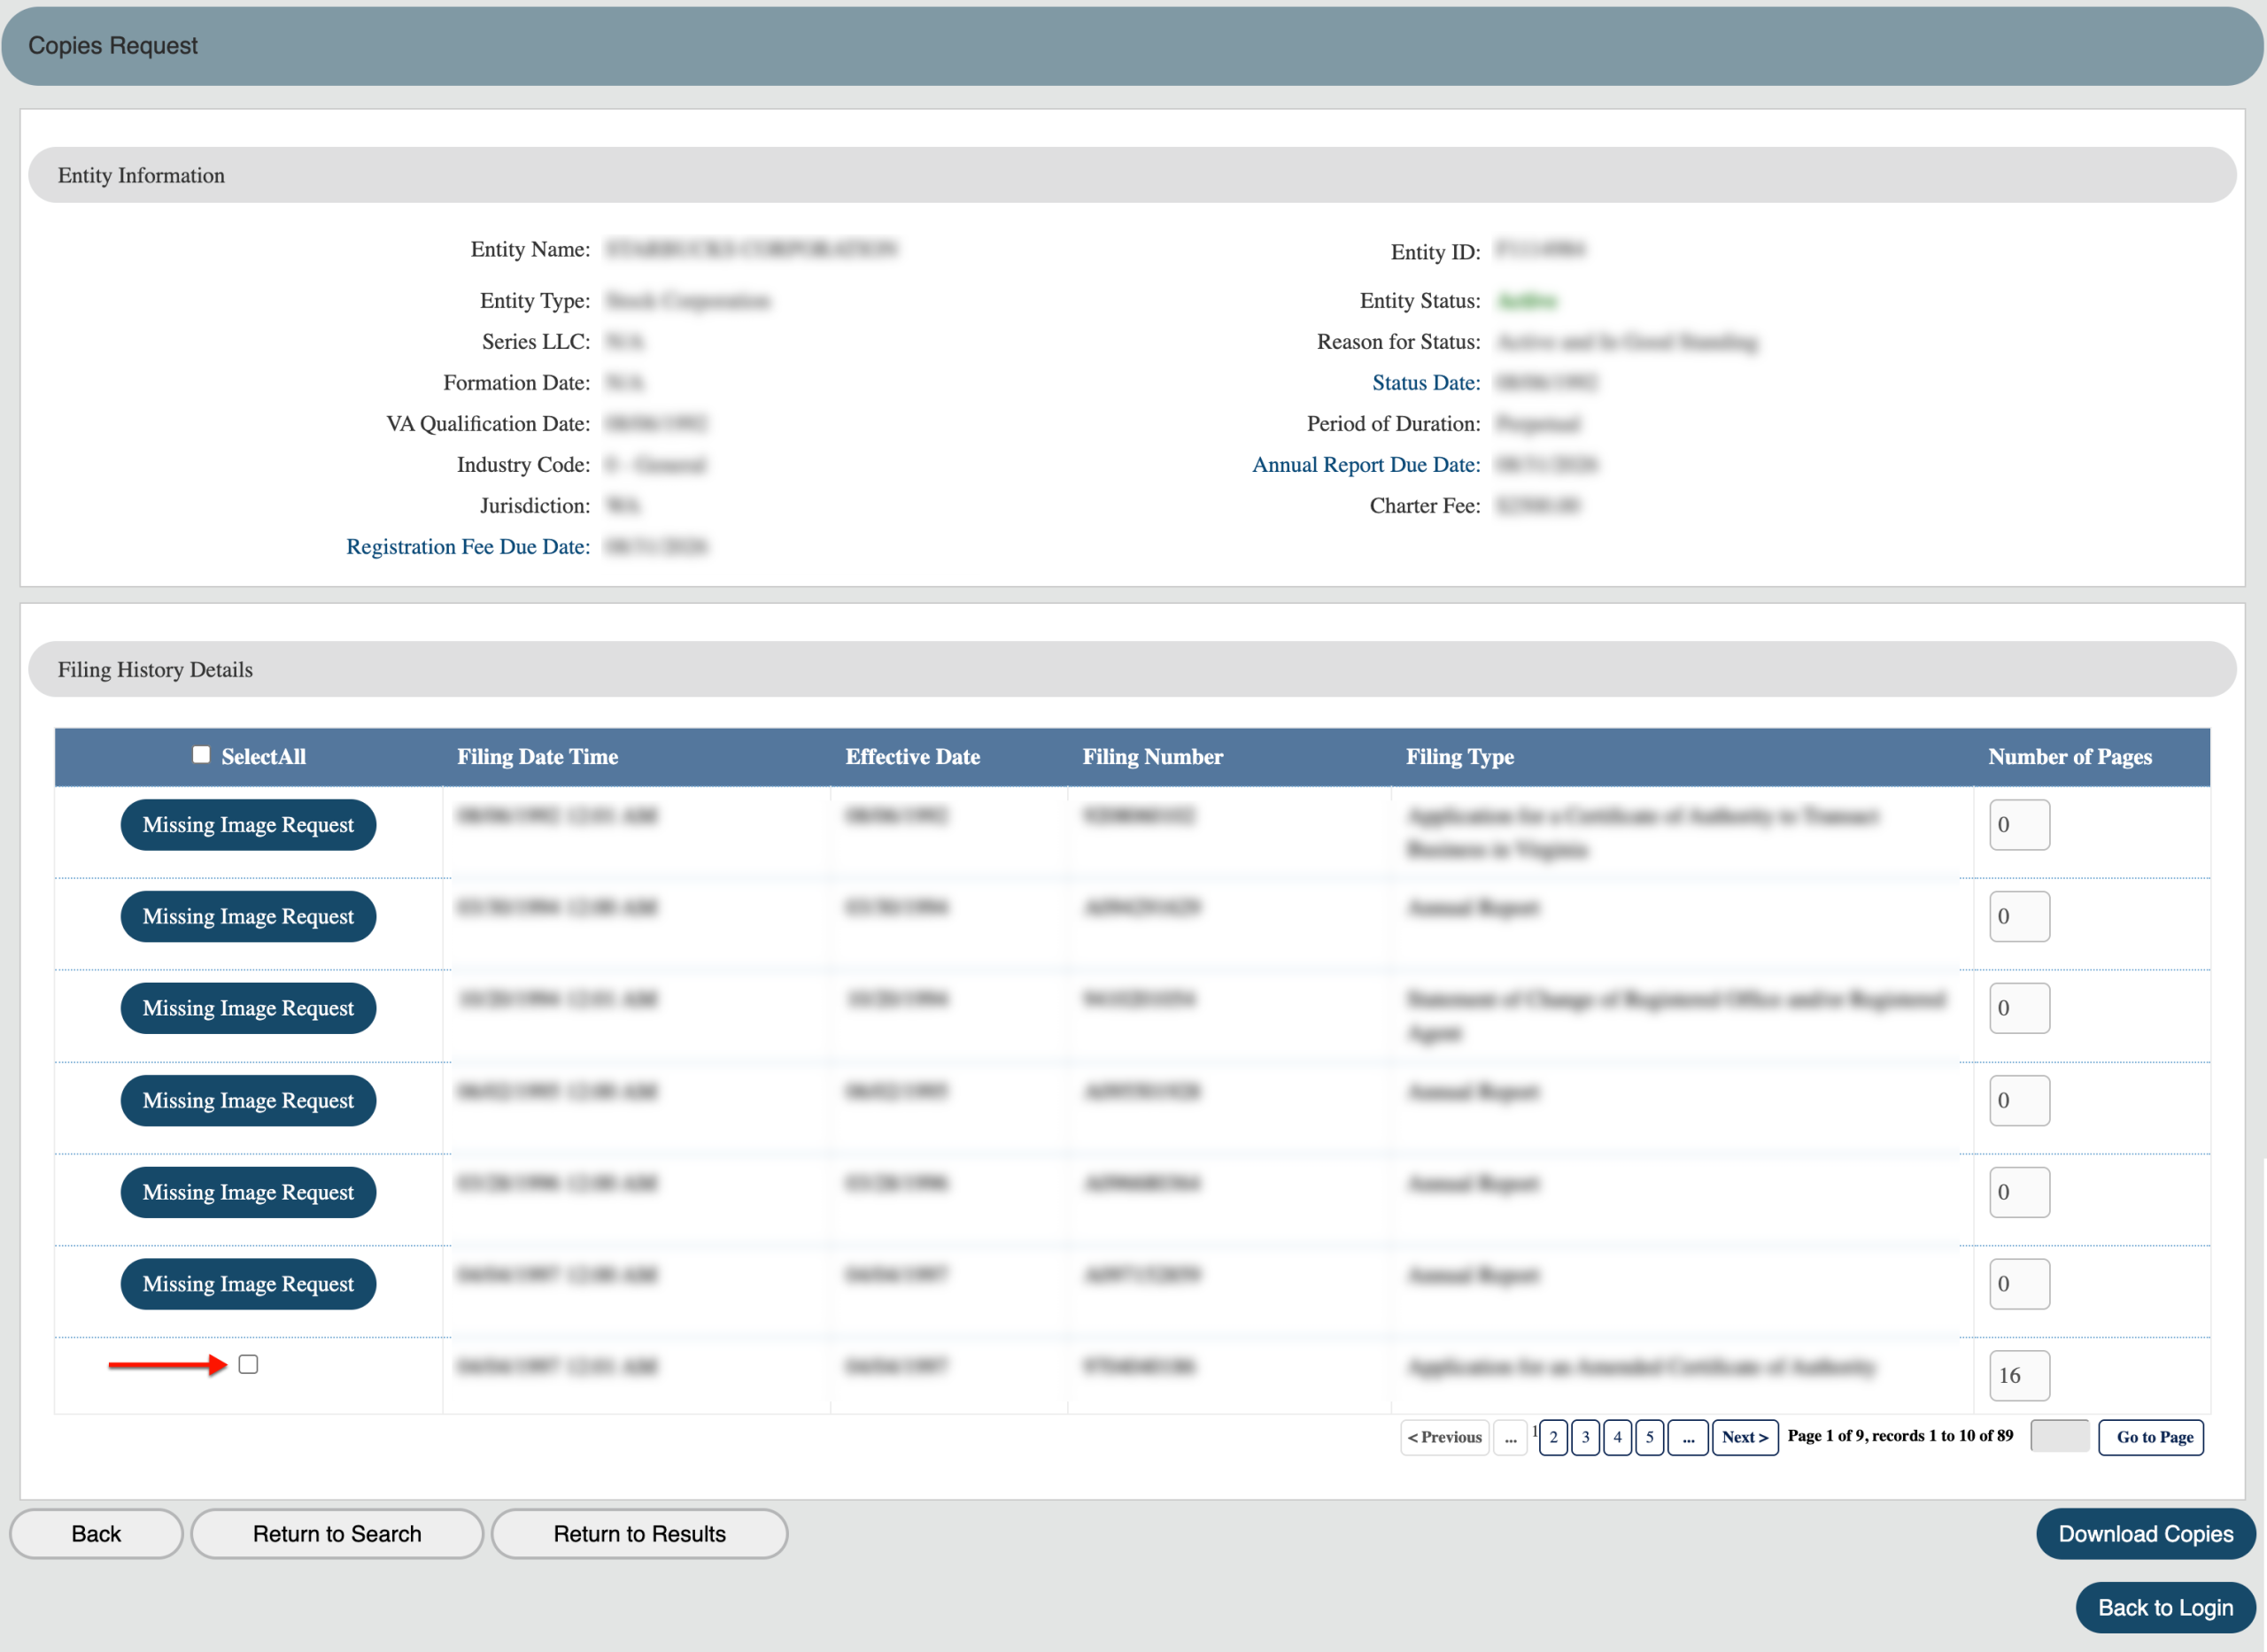
Step 48. Receive the Files
After checking the box, locate the “Download Copies” button. Click on this button to download and view the missing files. Update your records with this information.