The Vermont Secretary of State business entity search helps visitors conduct research on for-profit and non-profit entities operating in the state (legitimately). Users supply their information to the query, which returns a number of matching records. Visitors save time by locating an entity with this tool since the state’s database can be extensive.
Business Name Availability Check
State of Vermont

Business Entity Search
Step 1. Visit Vermont’s Business Entity Search Page
Go to the Vermont Secretary of State’s business entity search page. Consider this a starting point in obtaining entity information or checking name availability.
Step 2. Prepare to Define and Provide Criteria
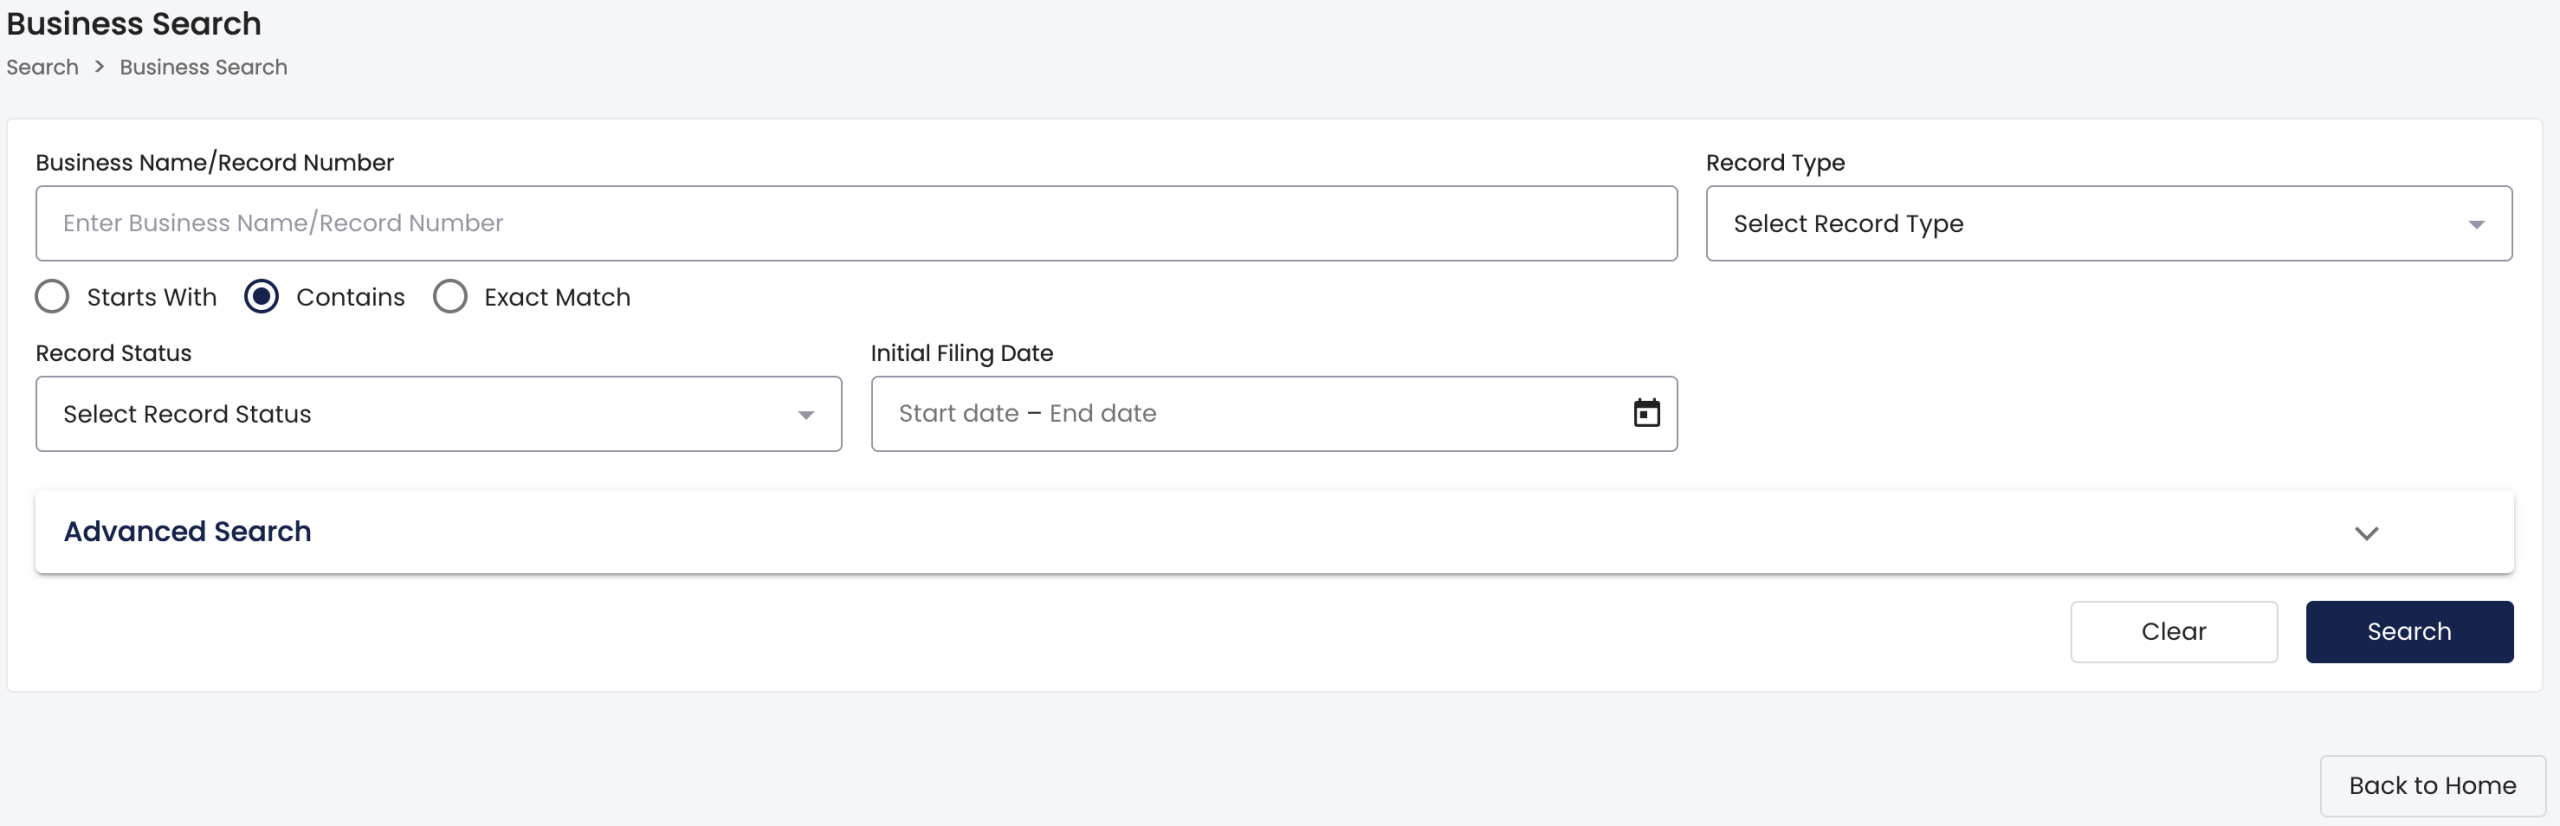
Review the page options to determine your strategy. Keep in mind that while a basic search yields results, using the advanced option will keep the number of results manageable.
- Business Name/Record Number
- Record Type
- Starts With
- Contains
- Exact Match
- Initial Filing Date
- Advanced Search
- Clear
- Search
- Back to Home
Step 3. Dispense Criteria for the Query
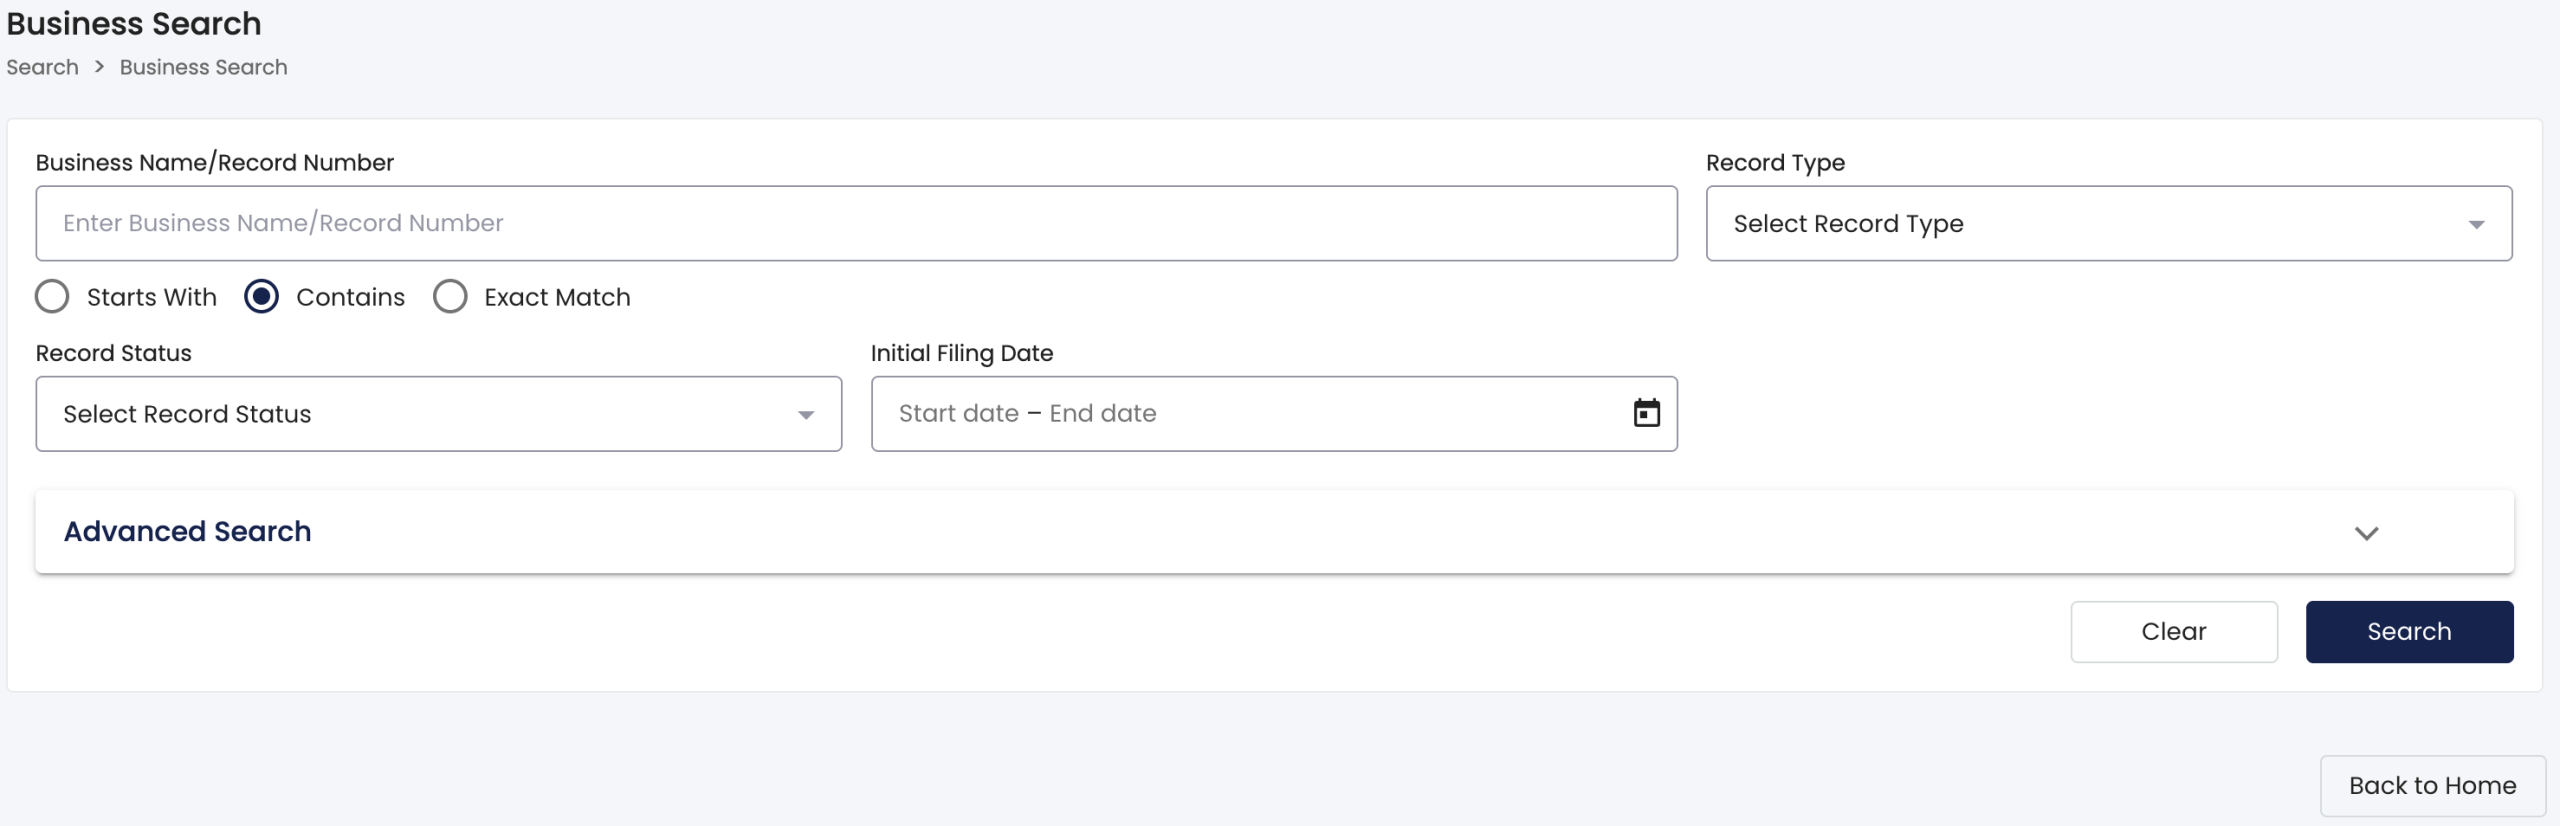
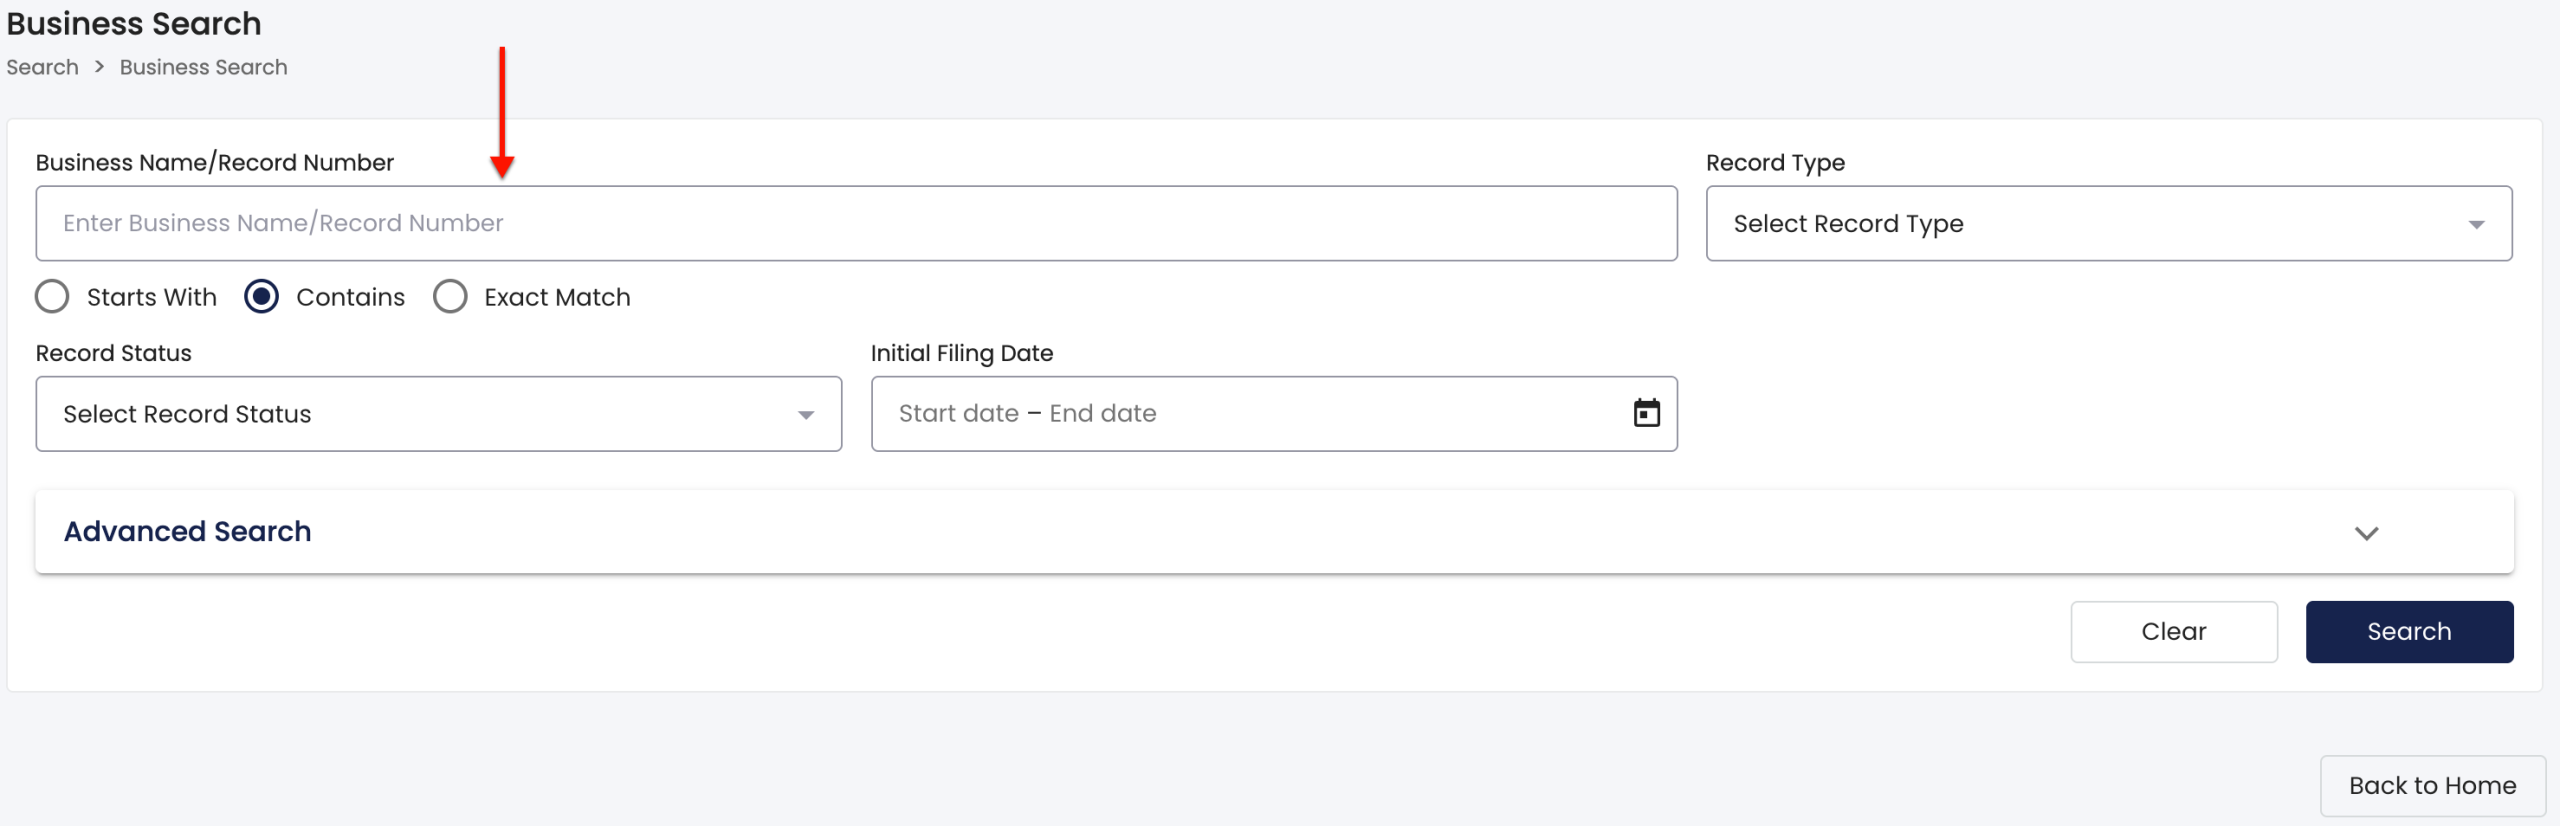
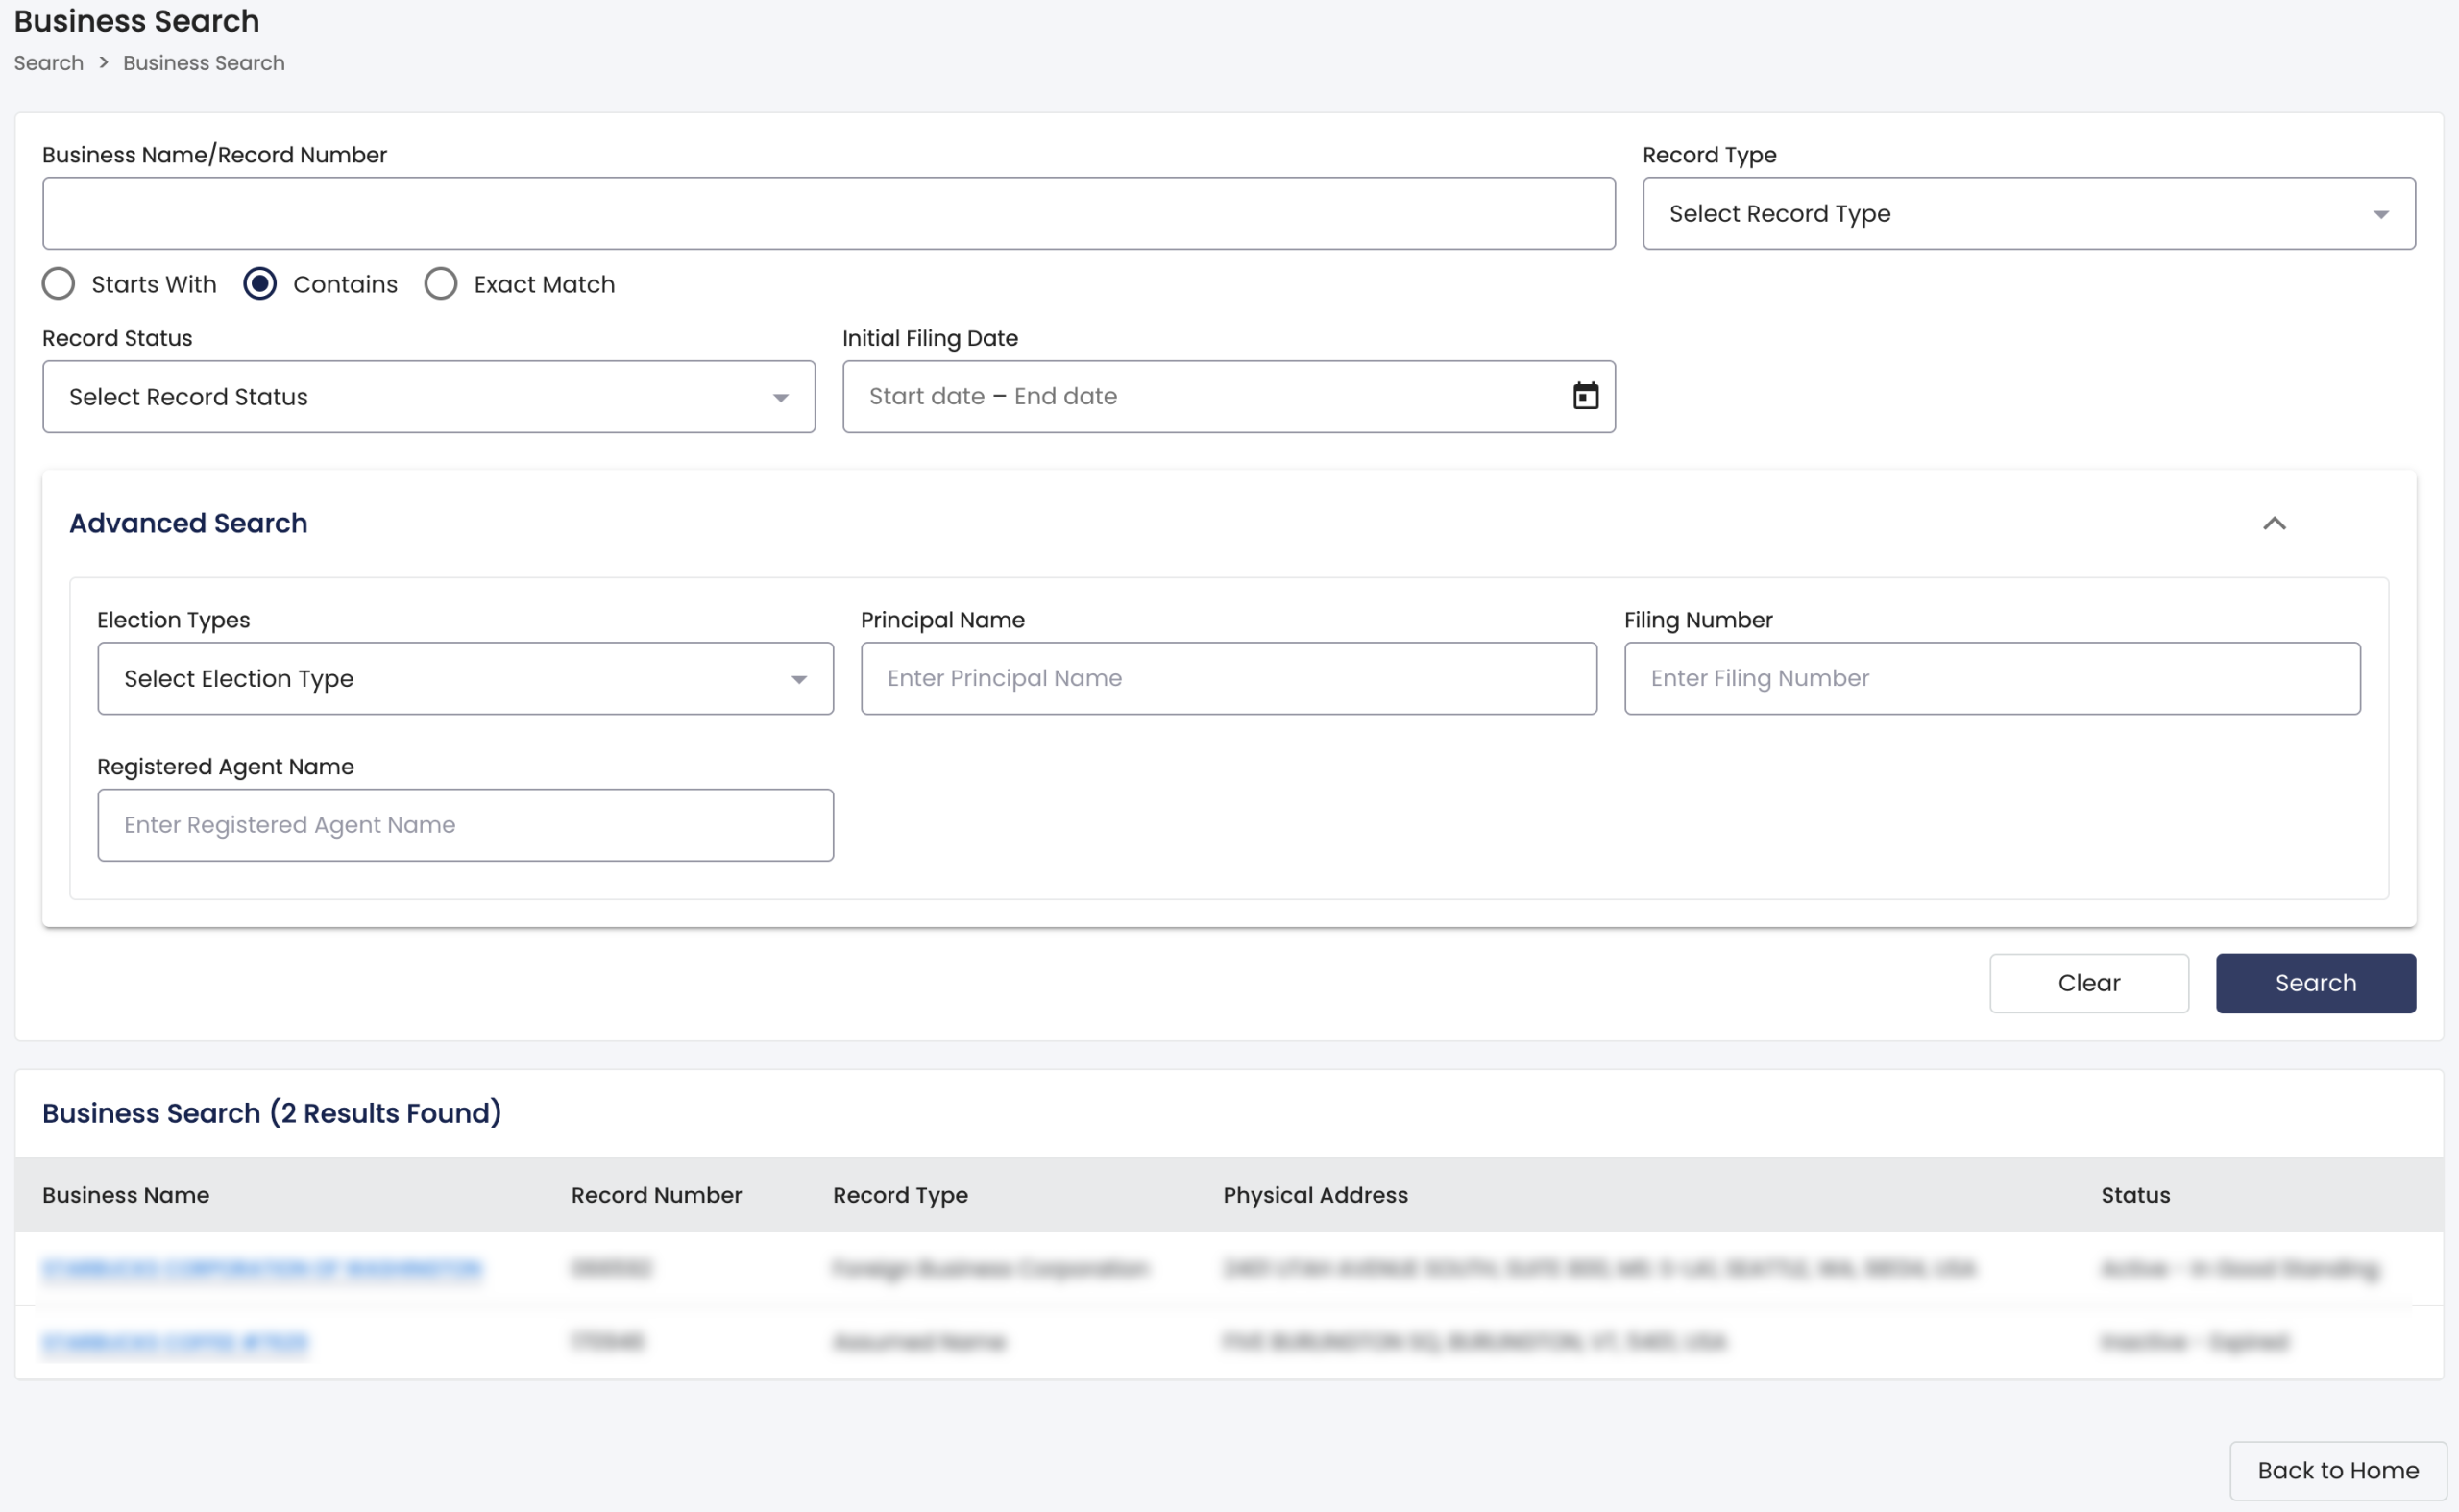
Begin either a basic or an advanced search by supplying a search item (such as an entity’s name) in the “Business Name/Record Number” box.
Step 4. Filter Matching Results Based on Filing Type
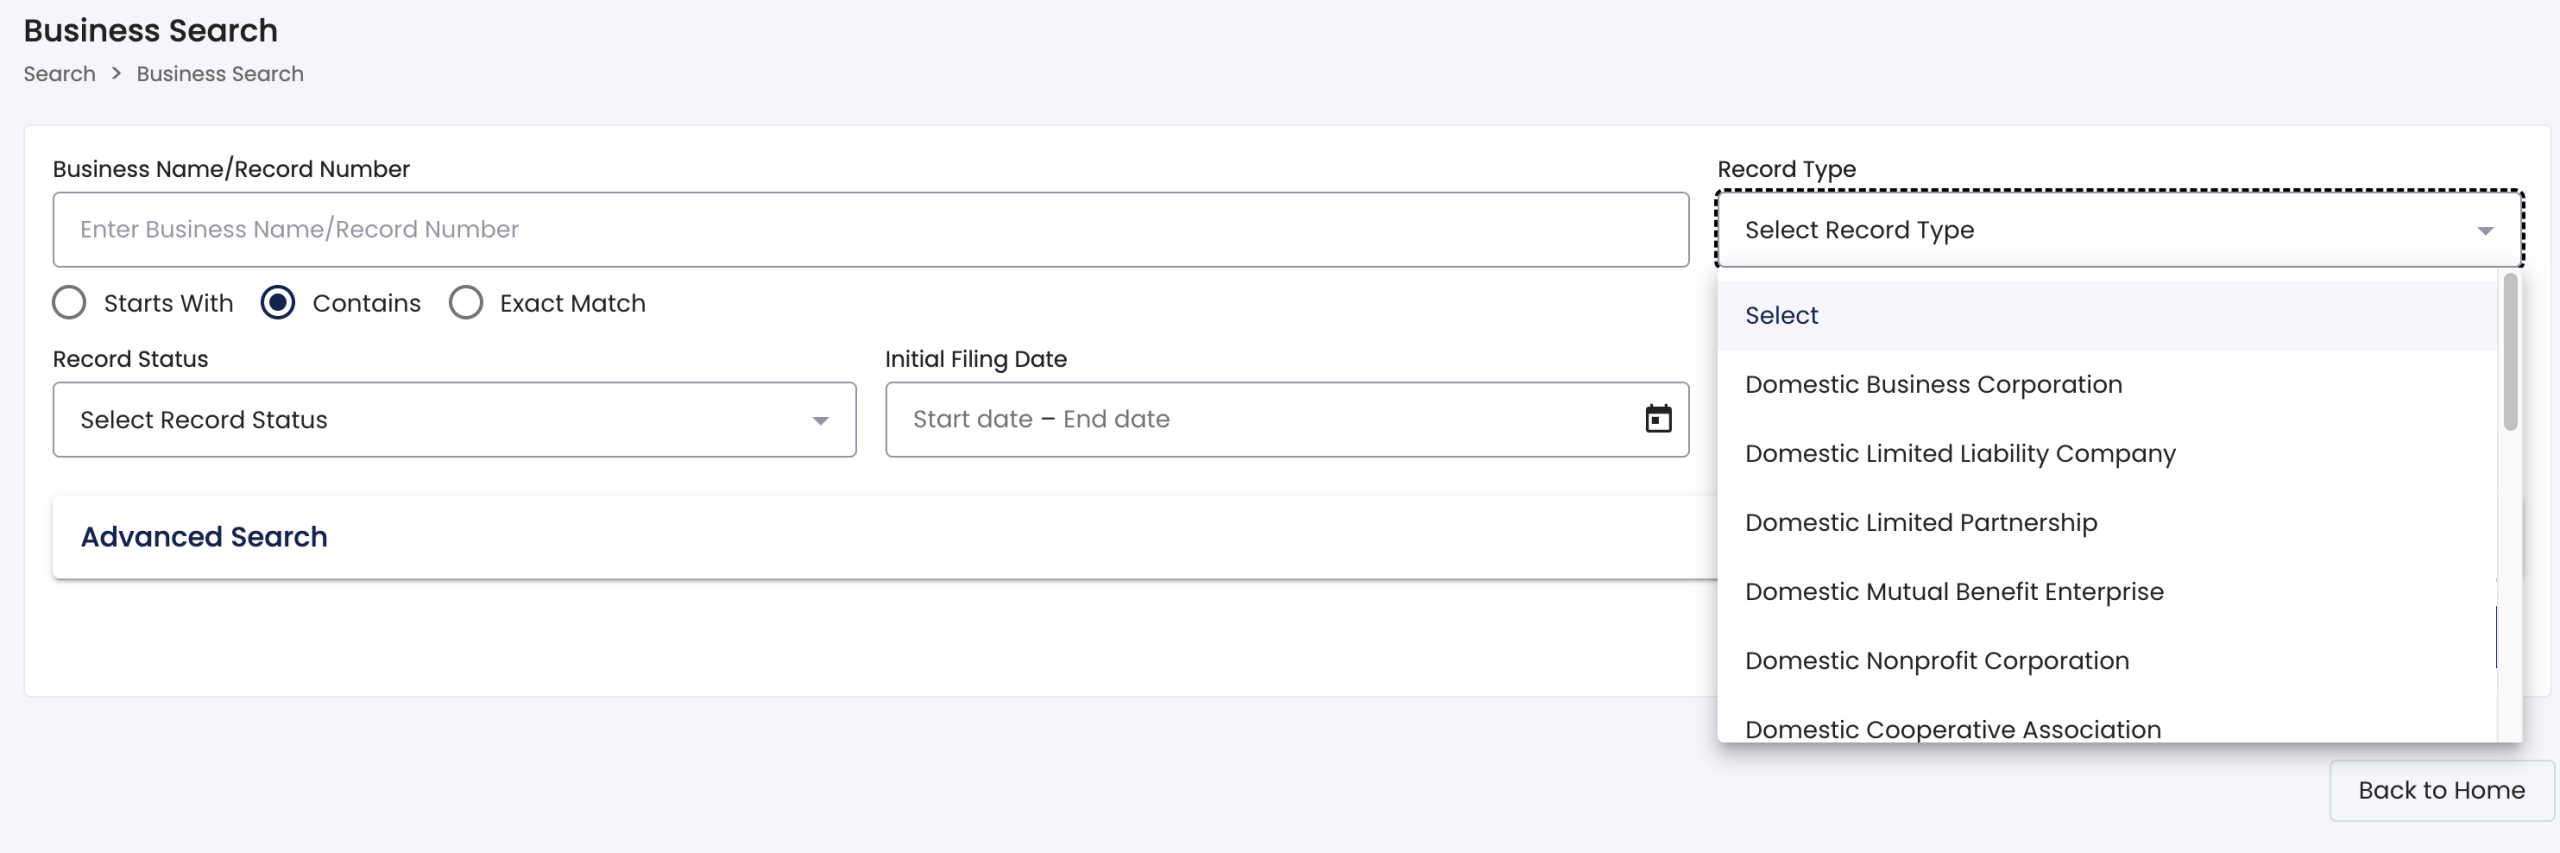
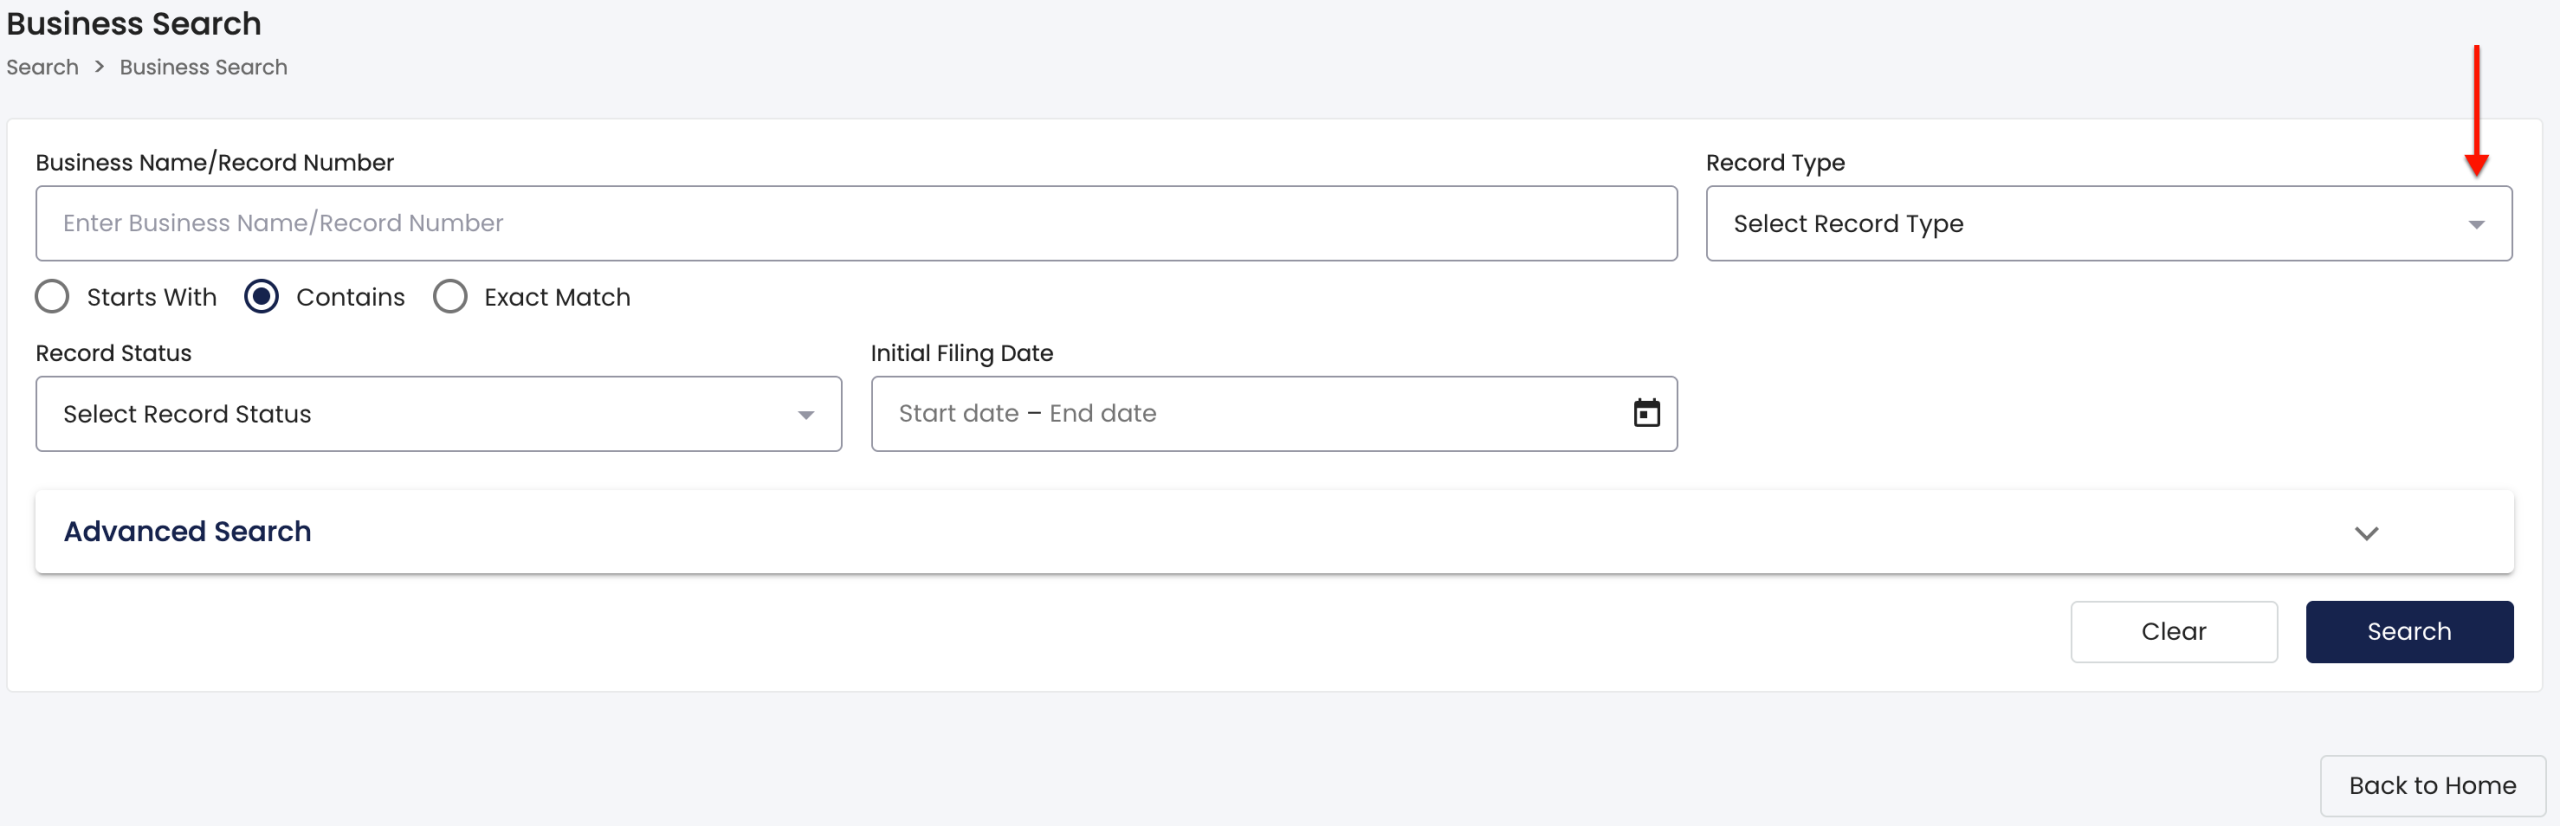
After delivering the search item, locate the “Record Type” drop-down menu (see image). Use this to define the type of target entity to find.
Step 5. Apply the Best Search Method
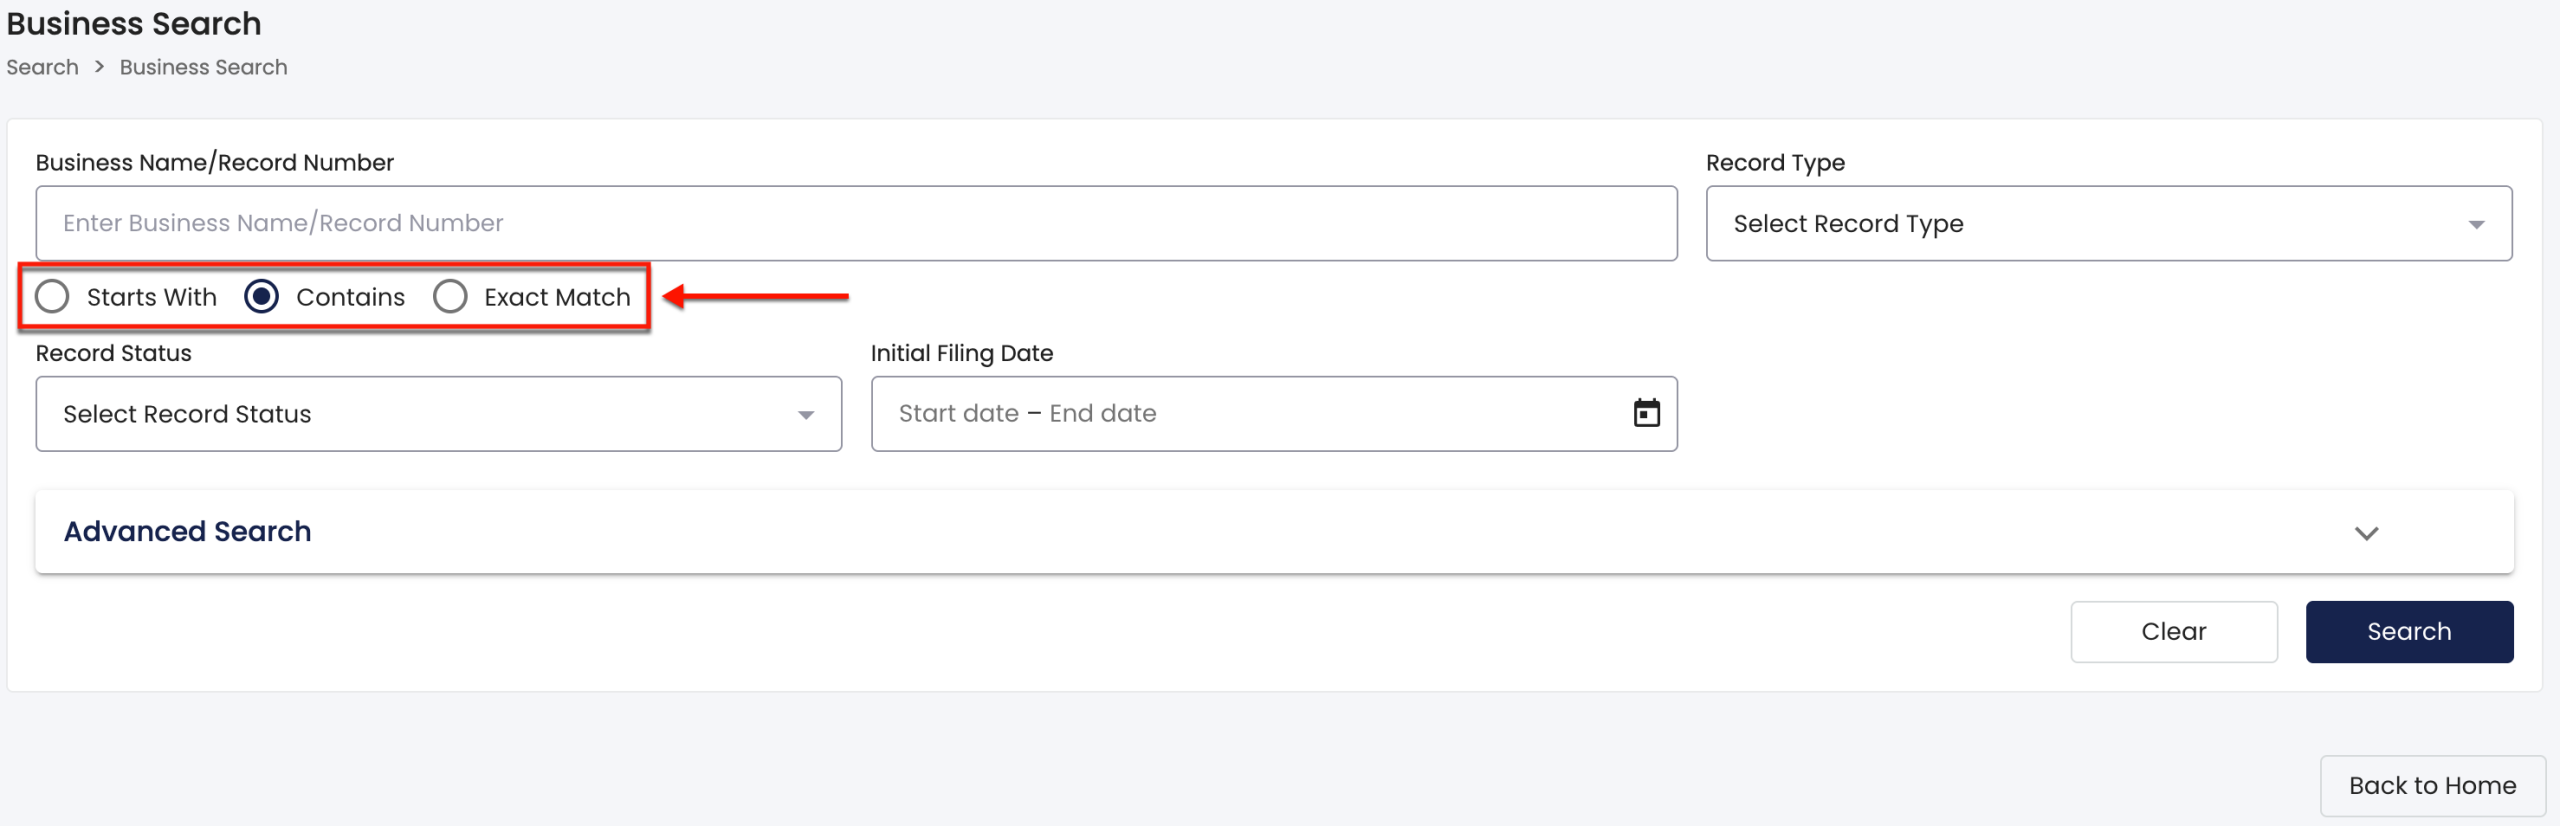
Instruct the query on where in a name to look for the search criteria. Choose one of the radio buttons beneath the search box for this task.
Step 6. Use the Target Entity’s Status as a Filter
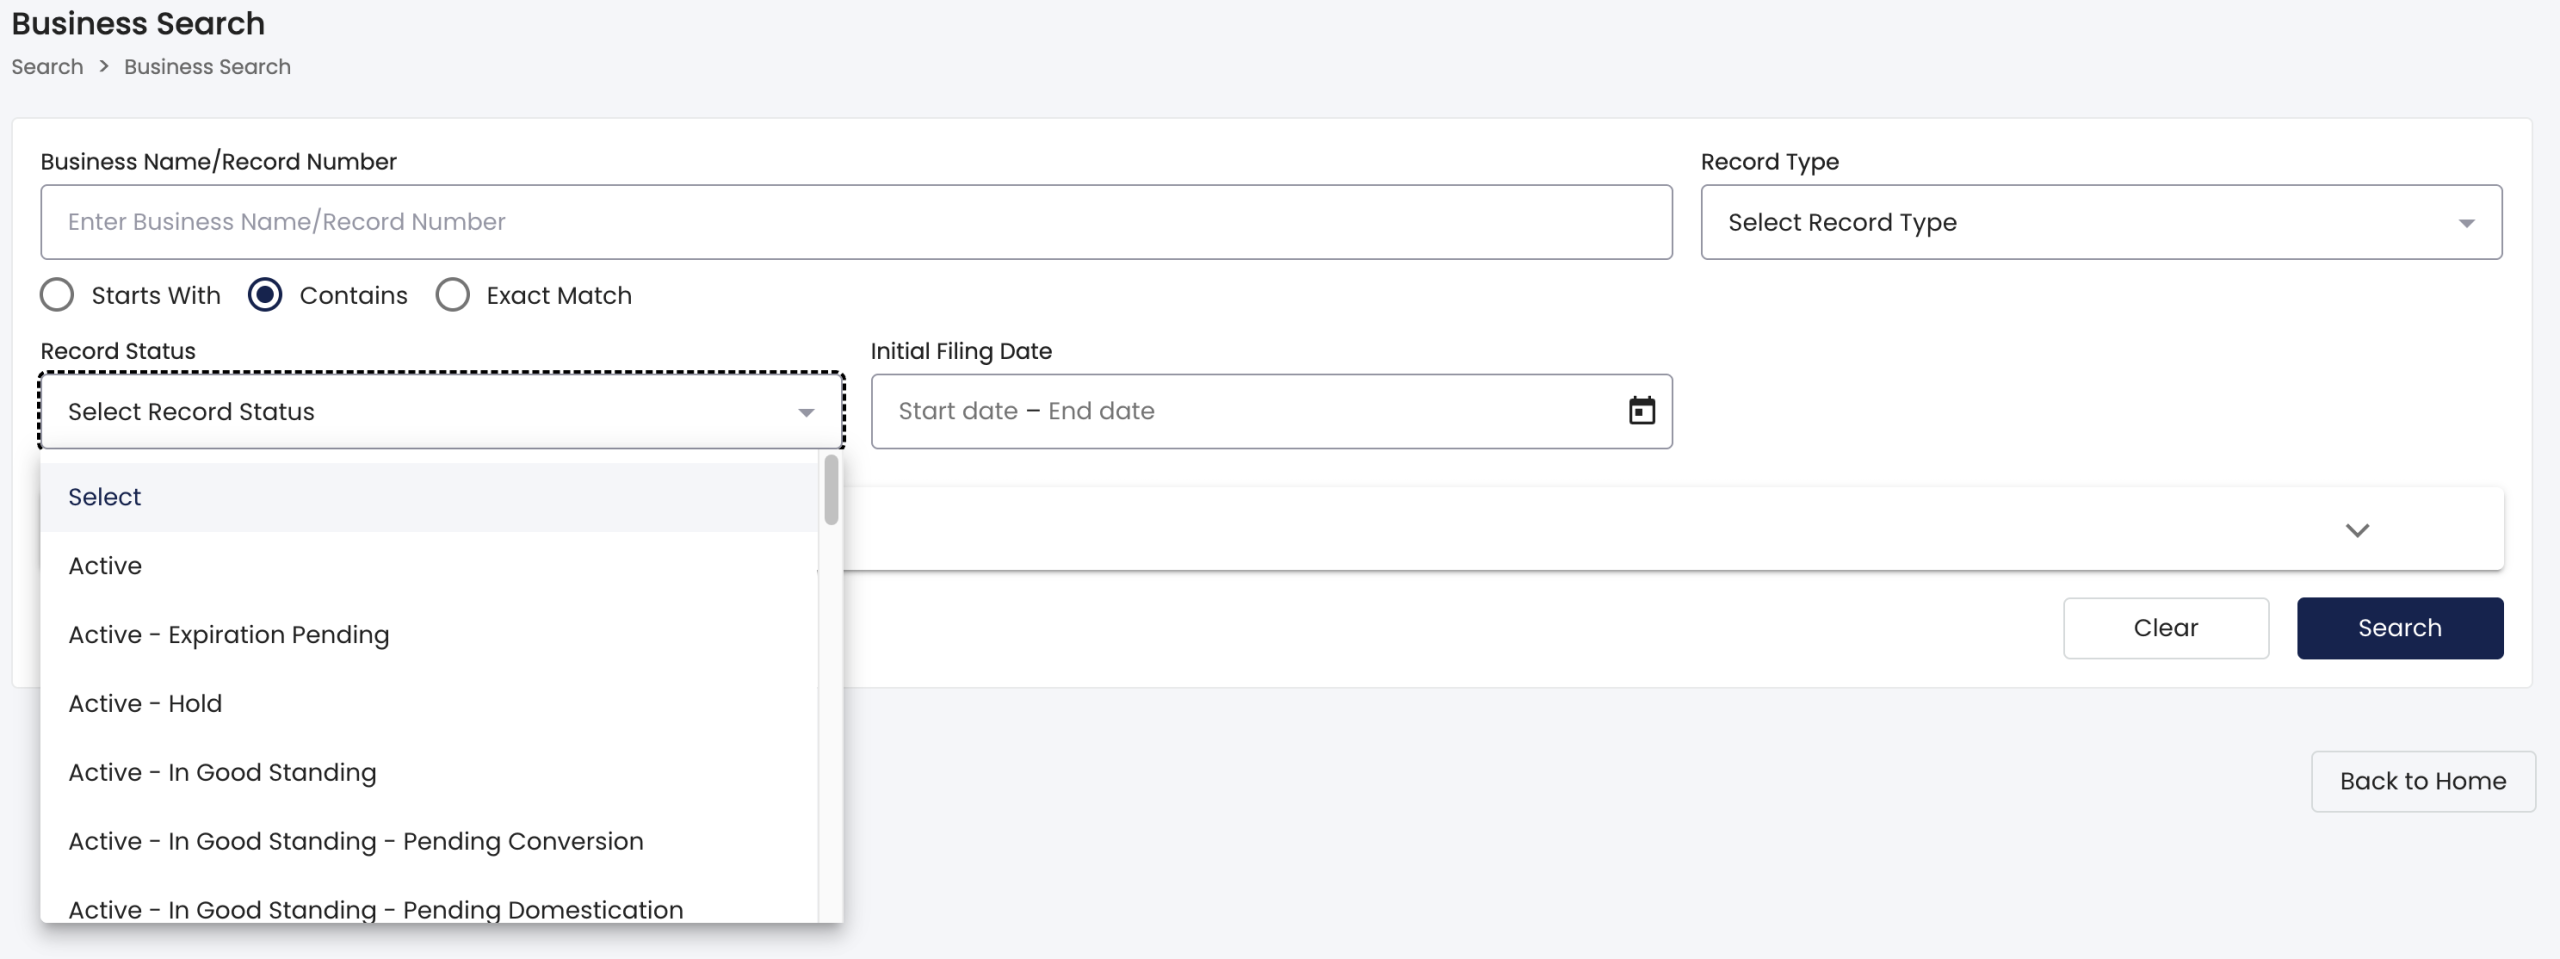
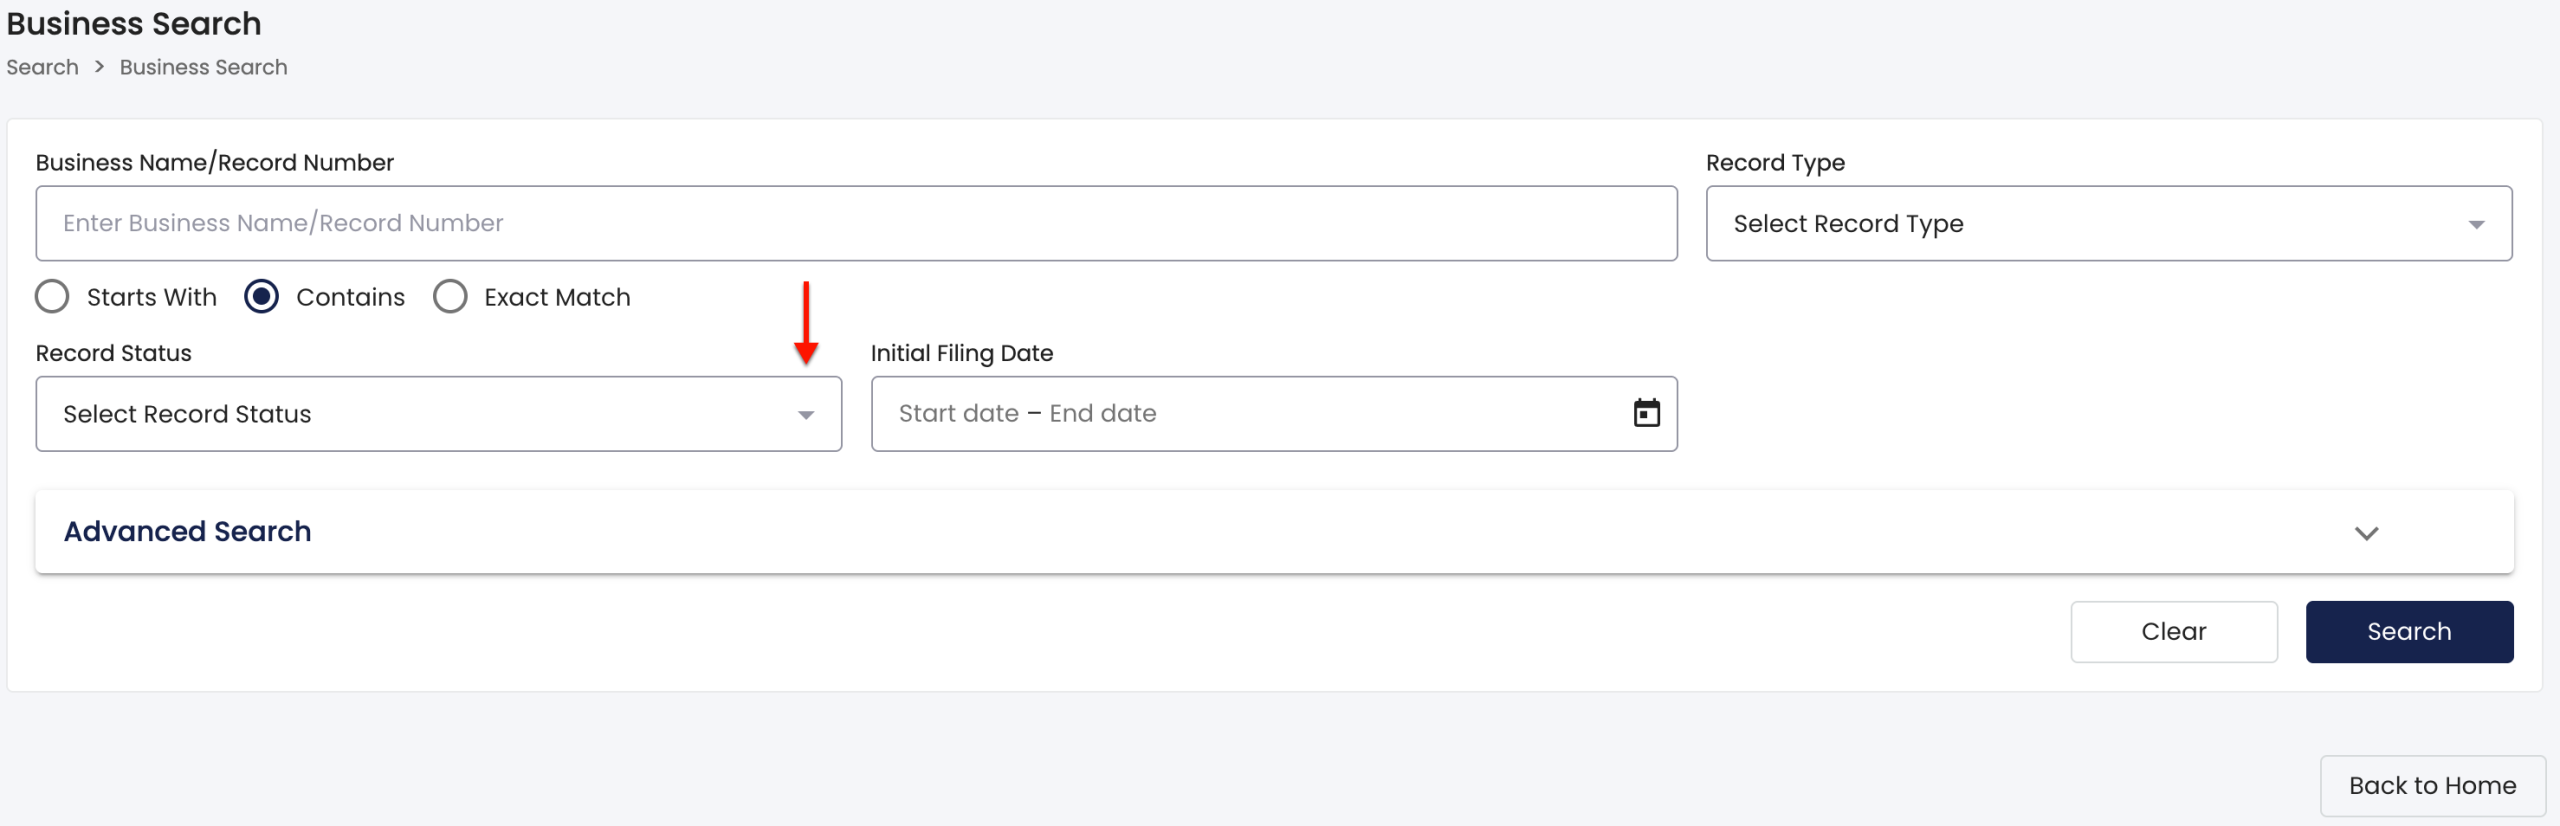
Tighten the number of matching records using the “Record Status” menu (see image). This requires only entities with the status you select to display in the results.
Step 7. Set a Specific Date for The Target’s Initial Filing
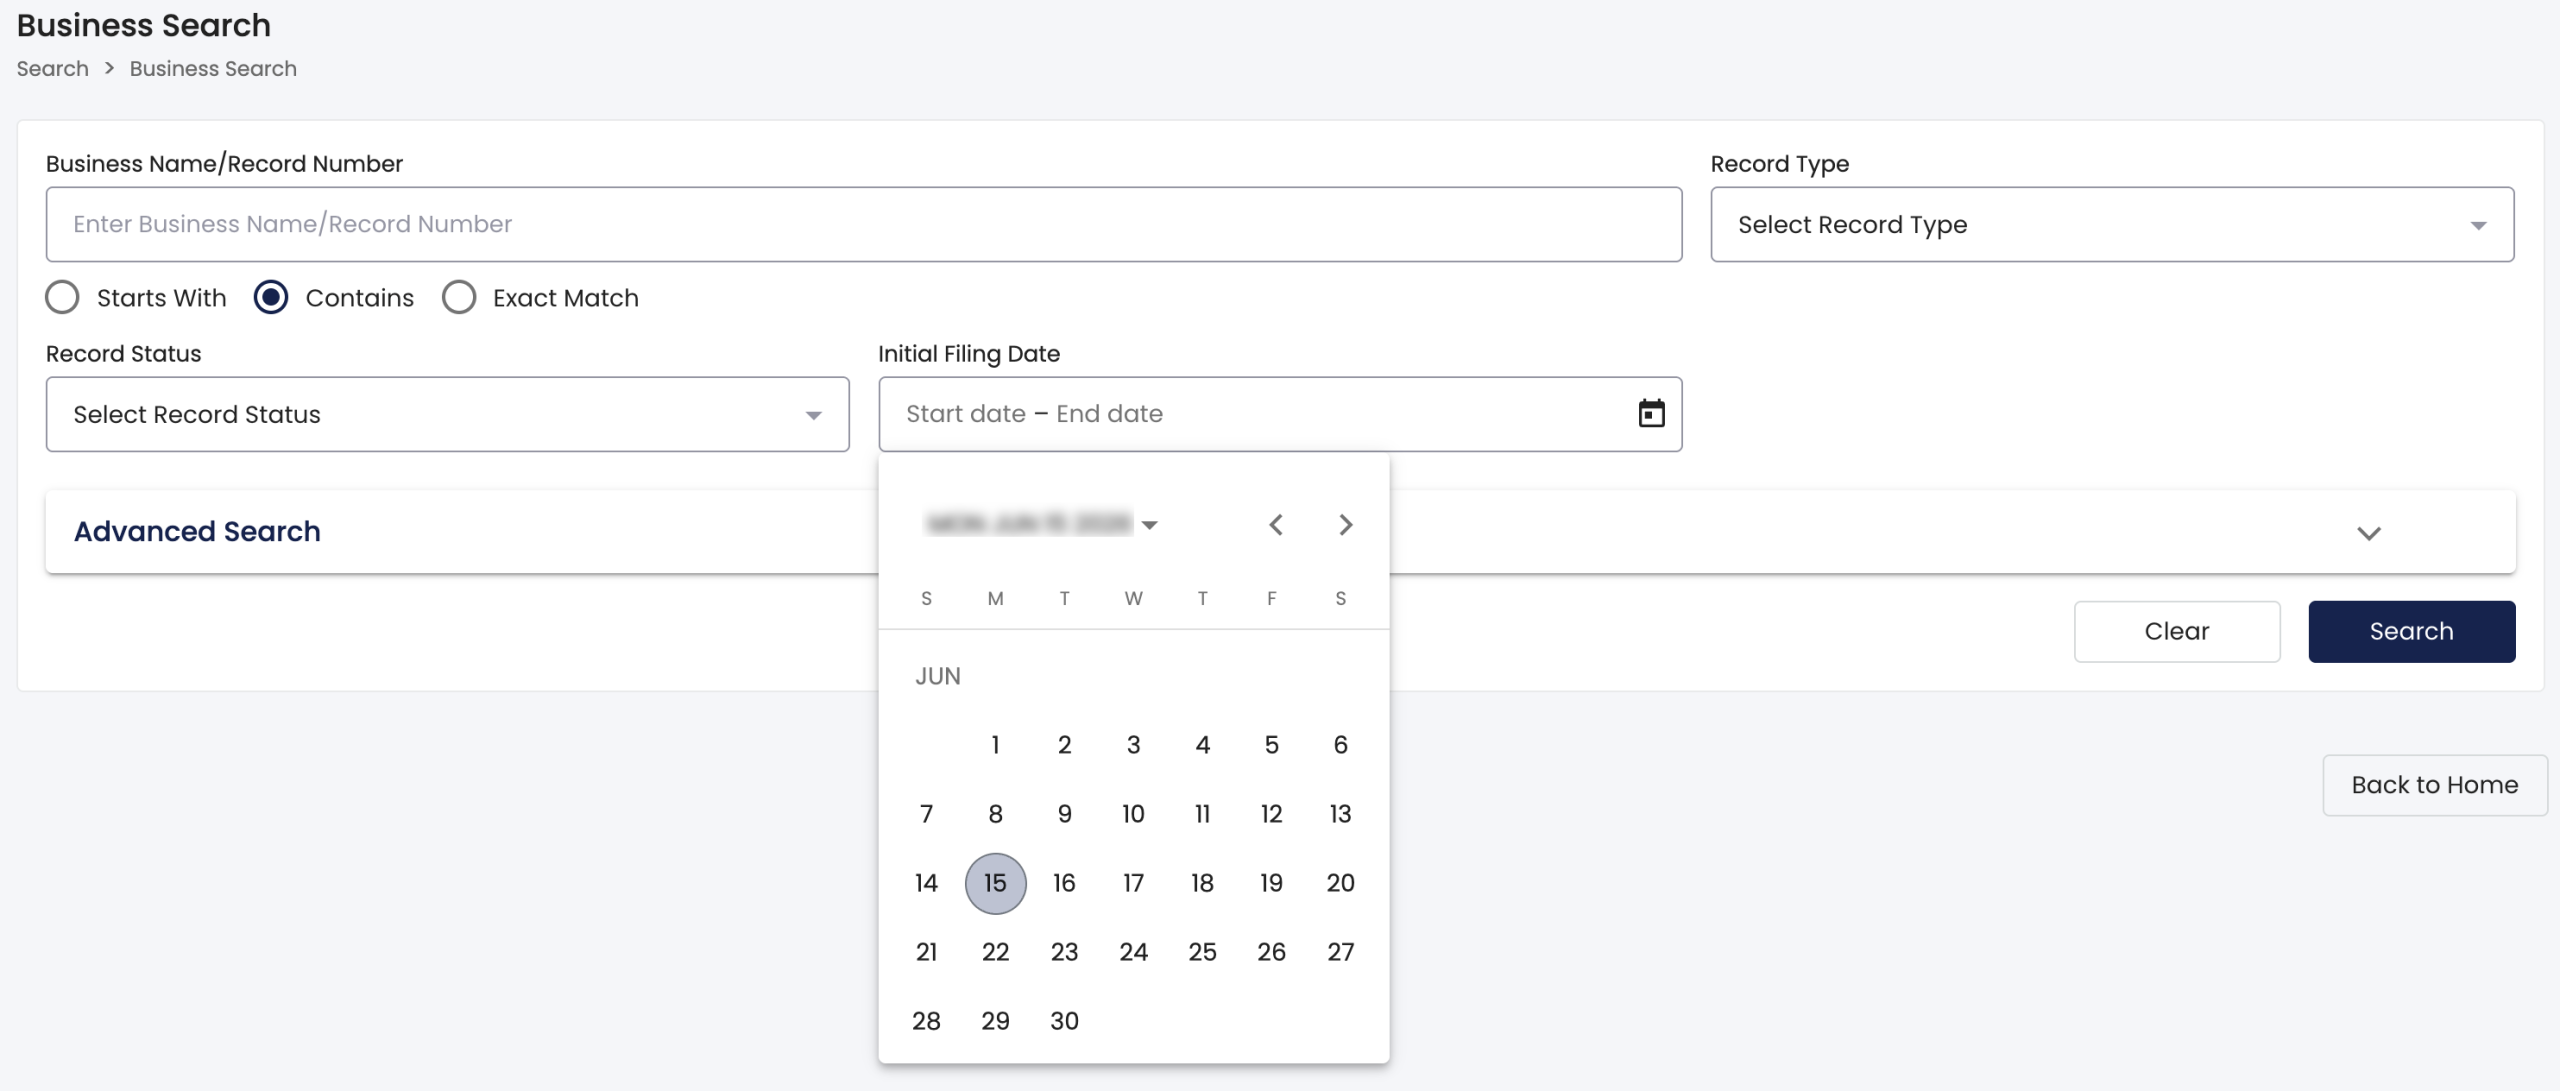
Require that the query present only entities whose “Initial Filing Date” matches or is near a specific calendar date. Choose this date from the calendar tool (see image).
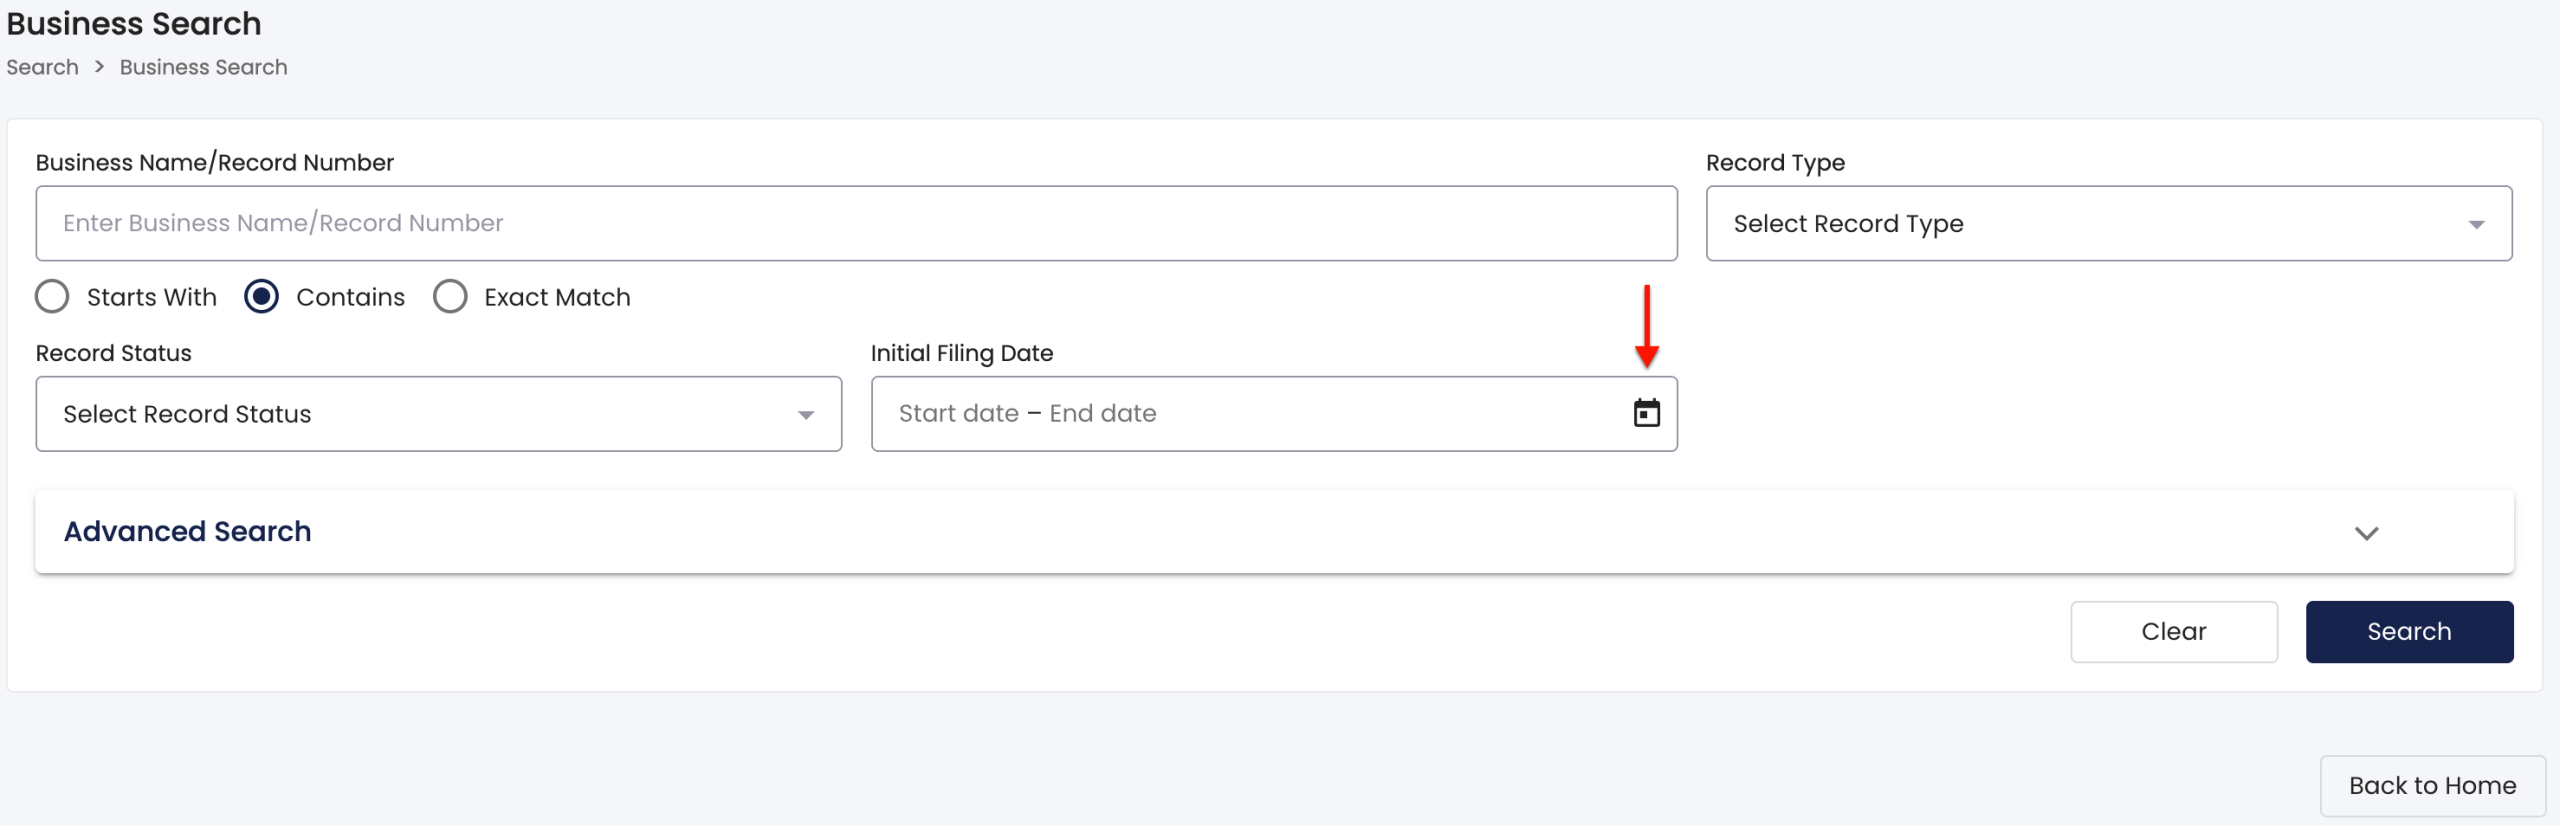
Step 8. Conduct a Basic Search
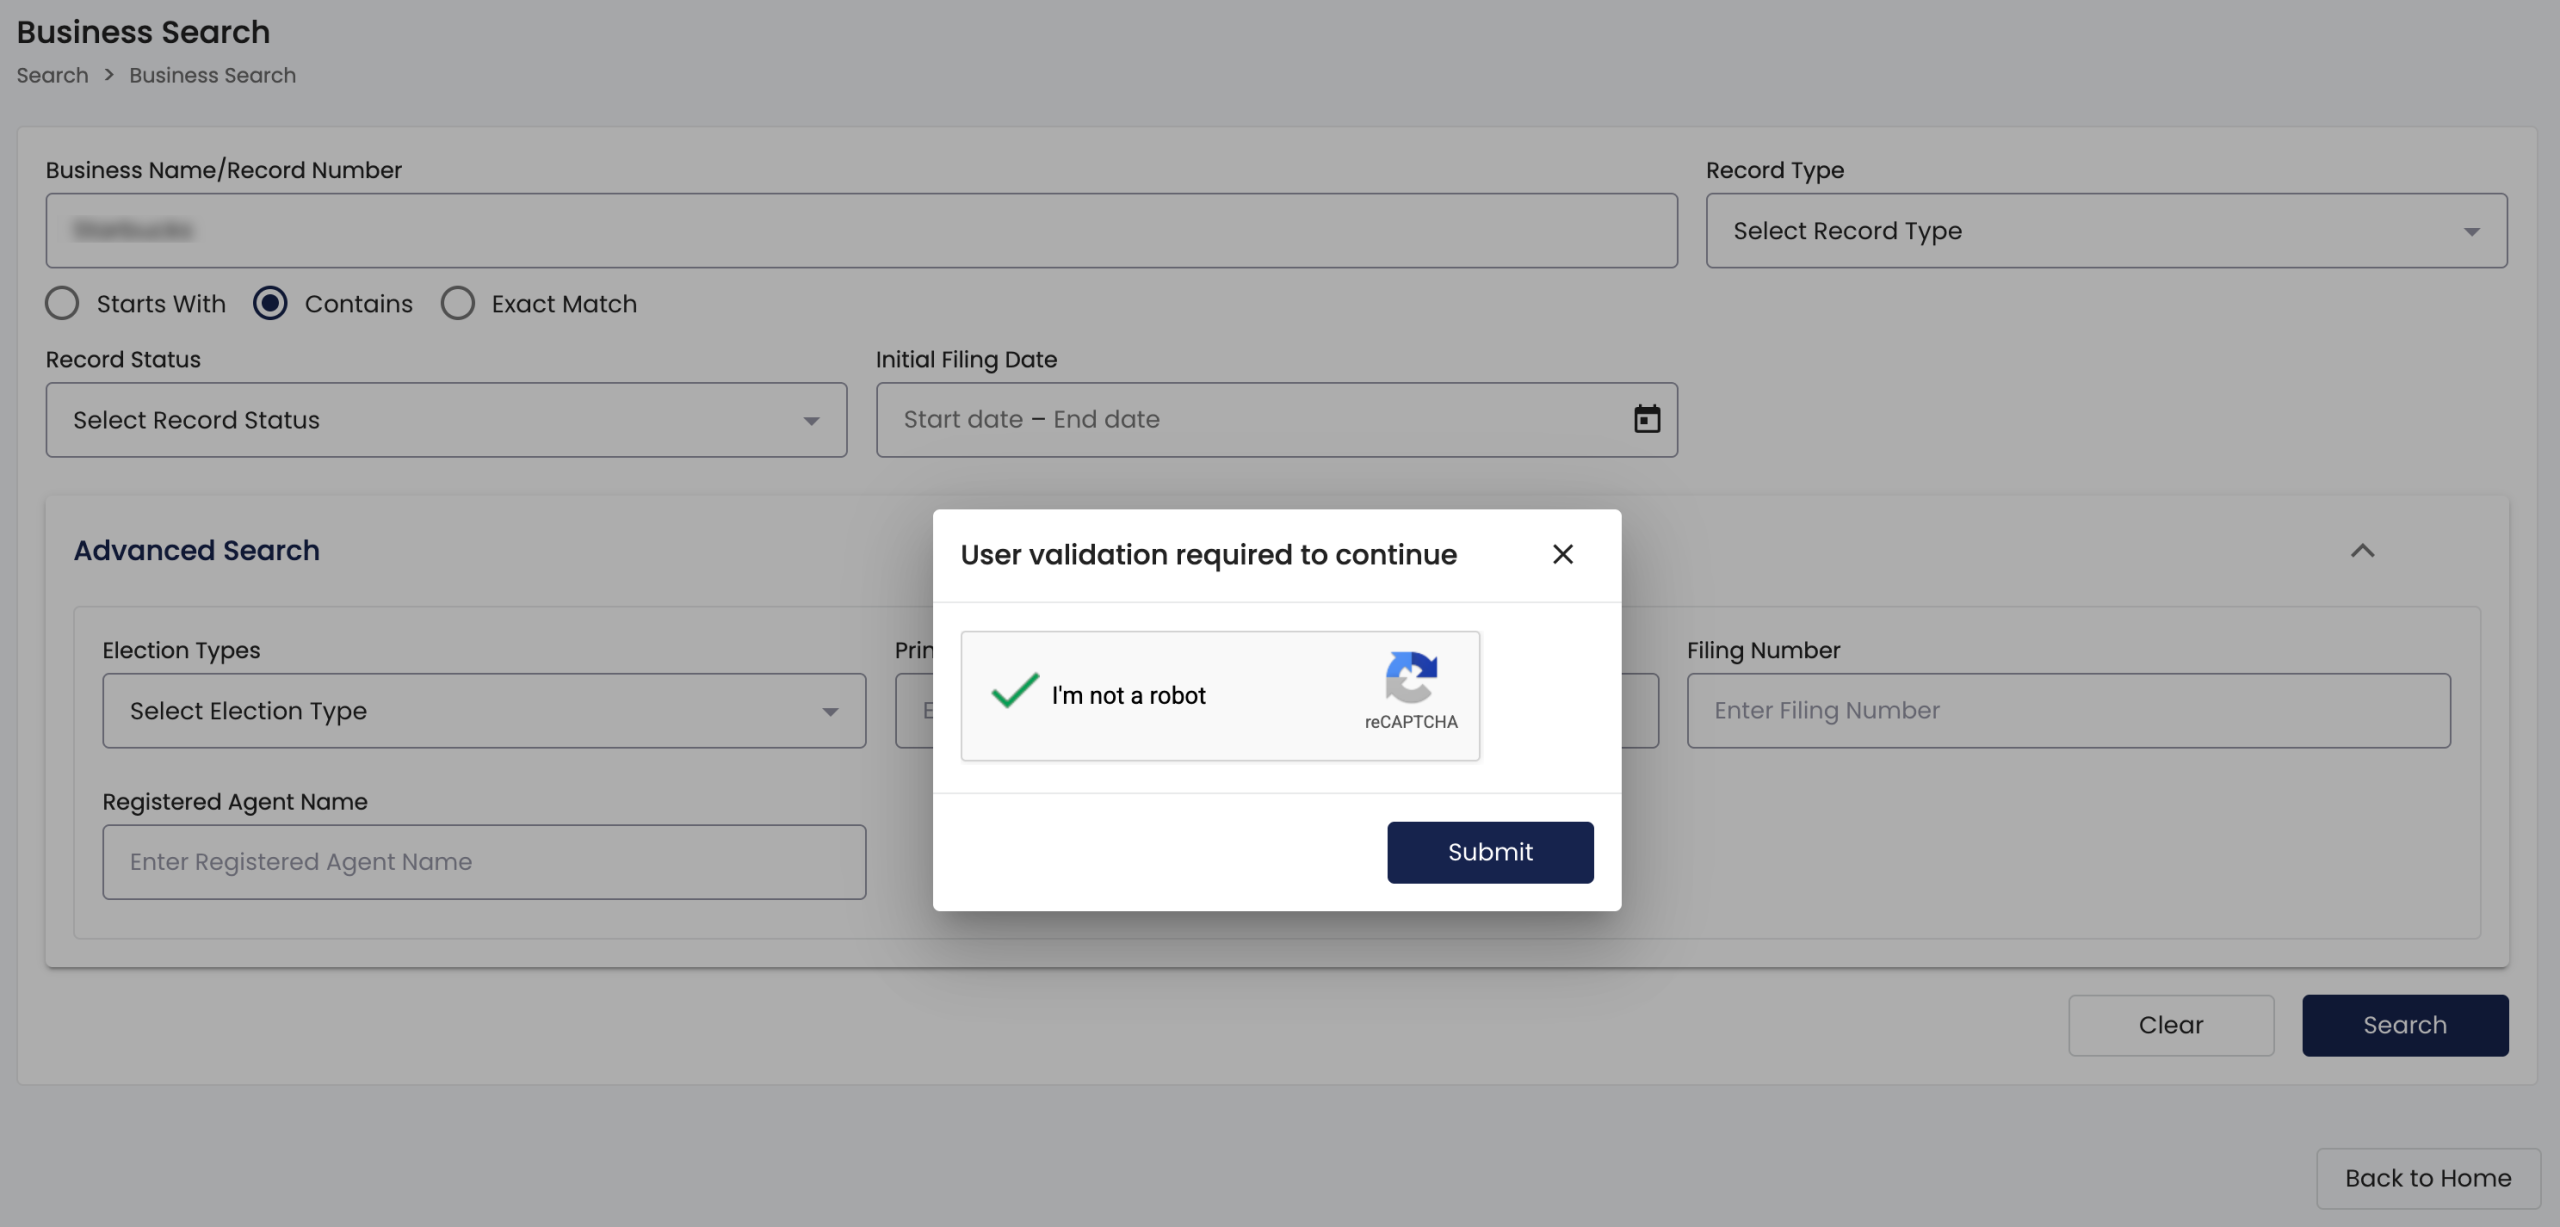
Click on “Search” and complete the reCAPTCHA request (see example), then continue to Step 15 to review the results. If more information is available, go to Step 9 to apply additional filters.
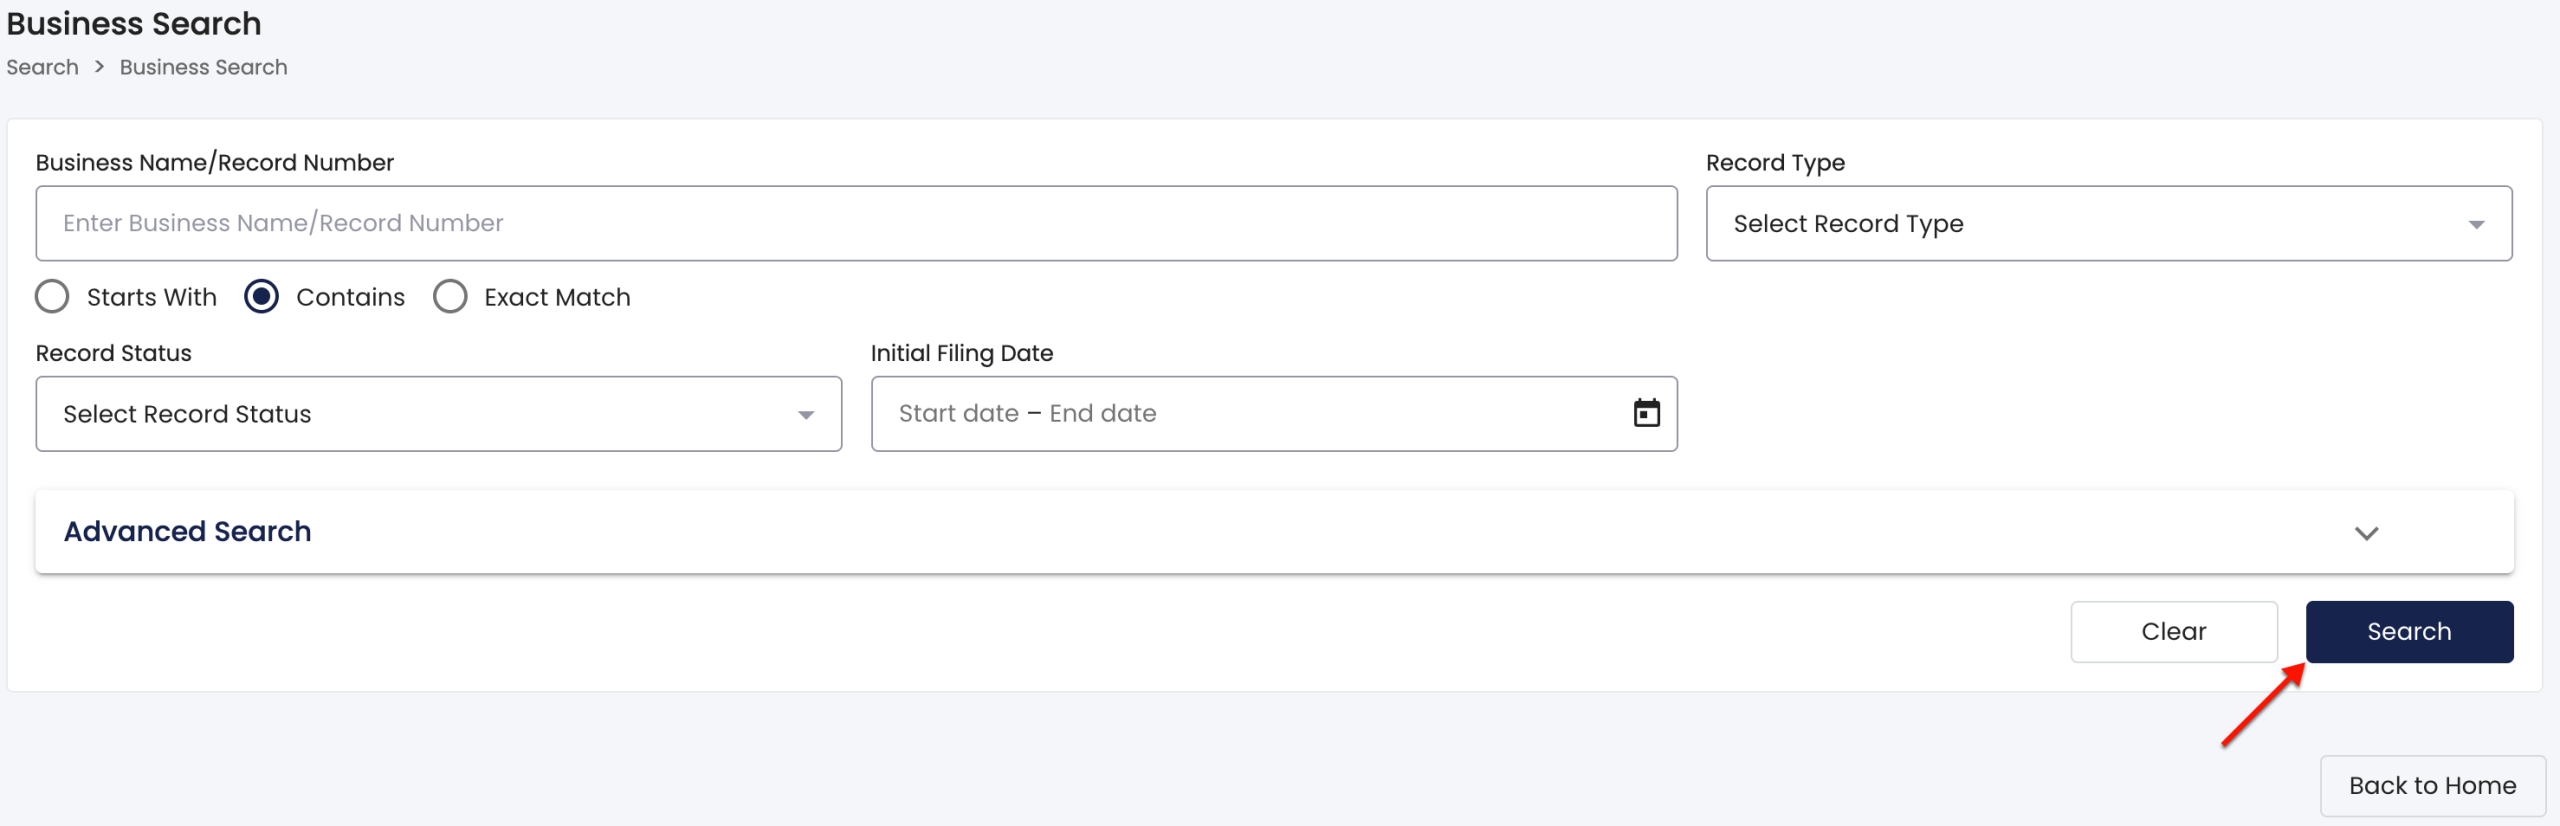
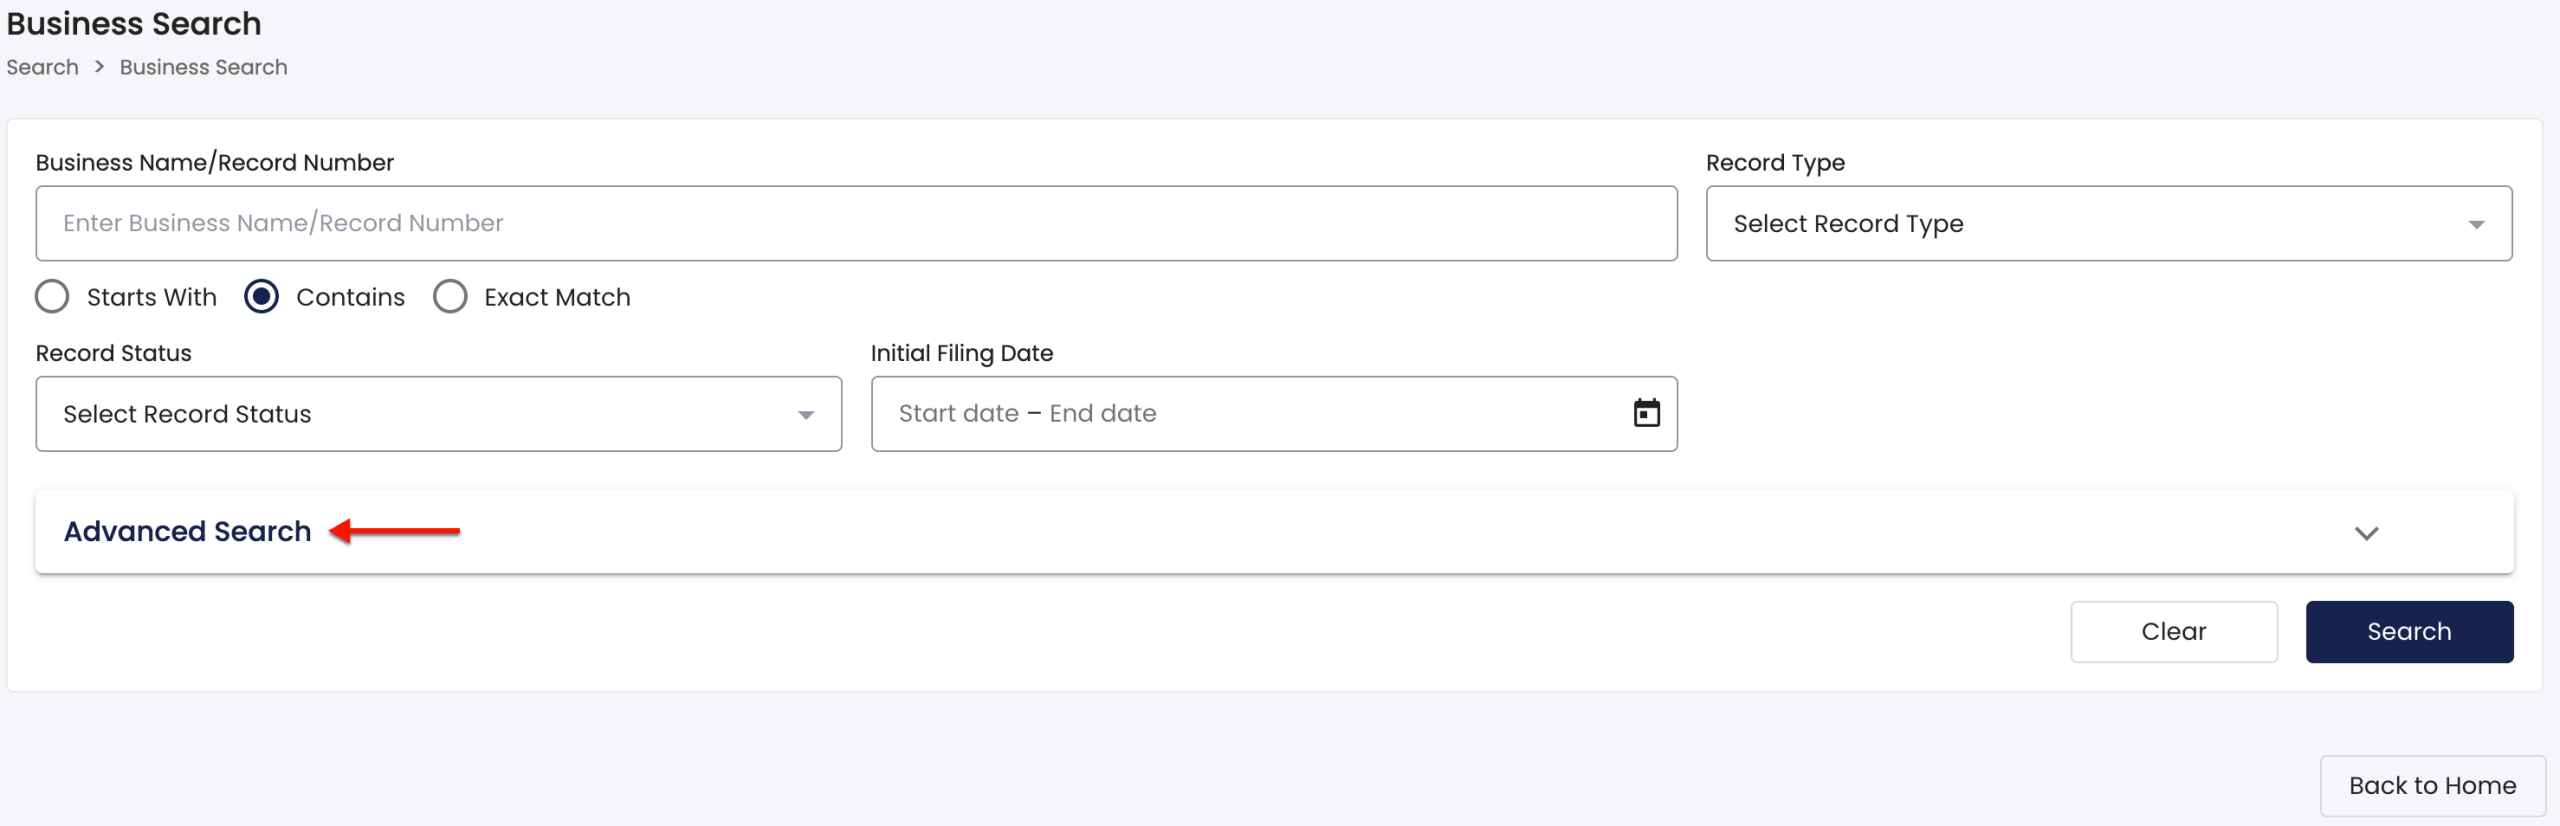
Step 9. Apply Advanced Search Options
Select the “Advanced Search” tab in order to take advantage of this feature. Use the advanced tool if you have more entity information, since applying these filters often results in tightening the query’s focus.
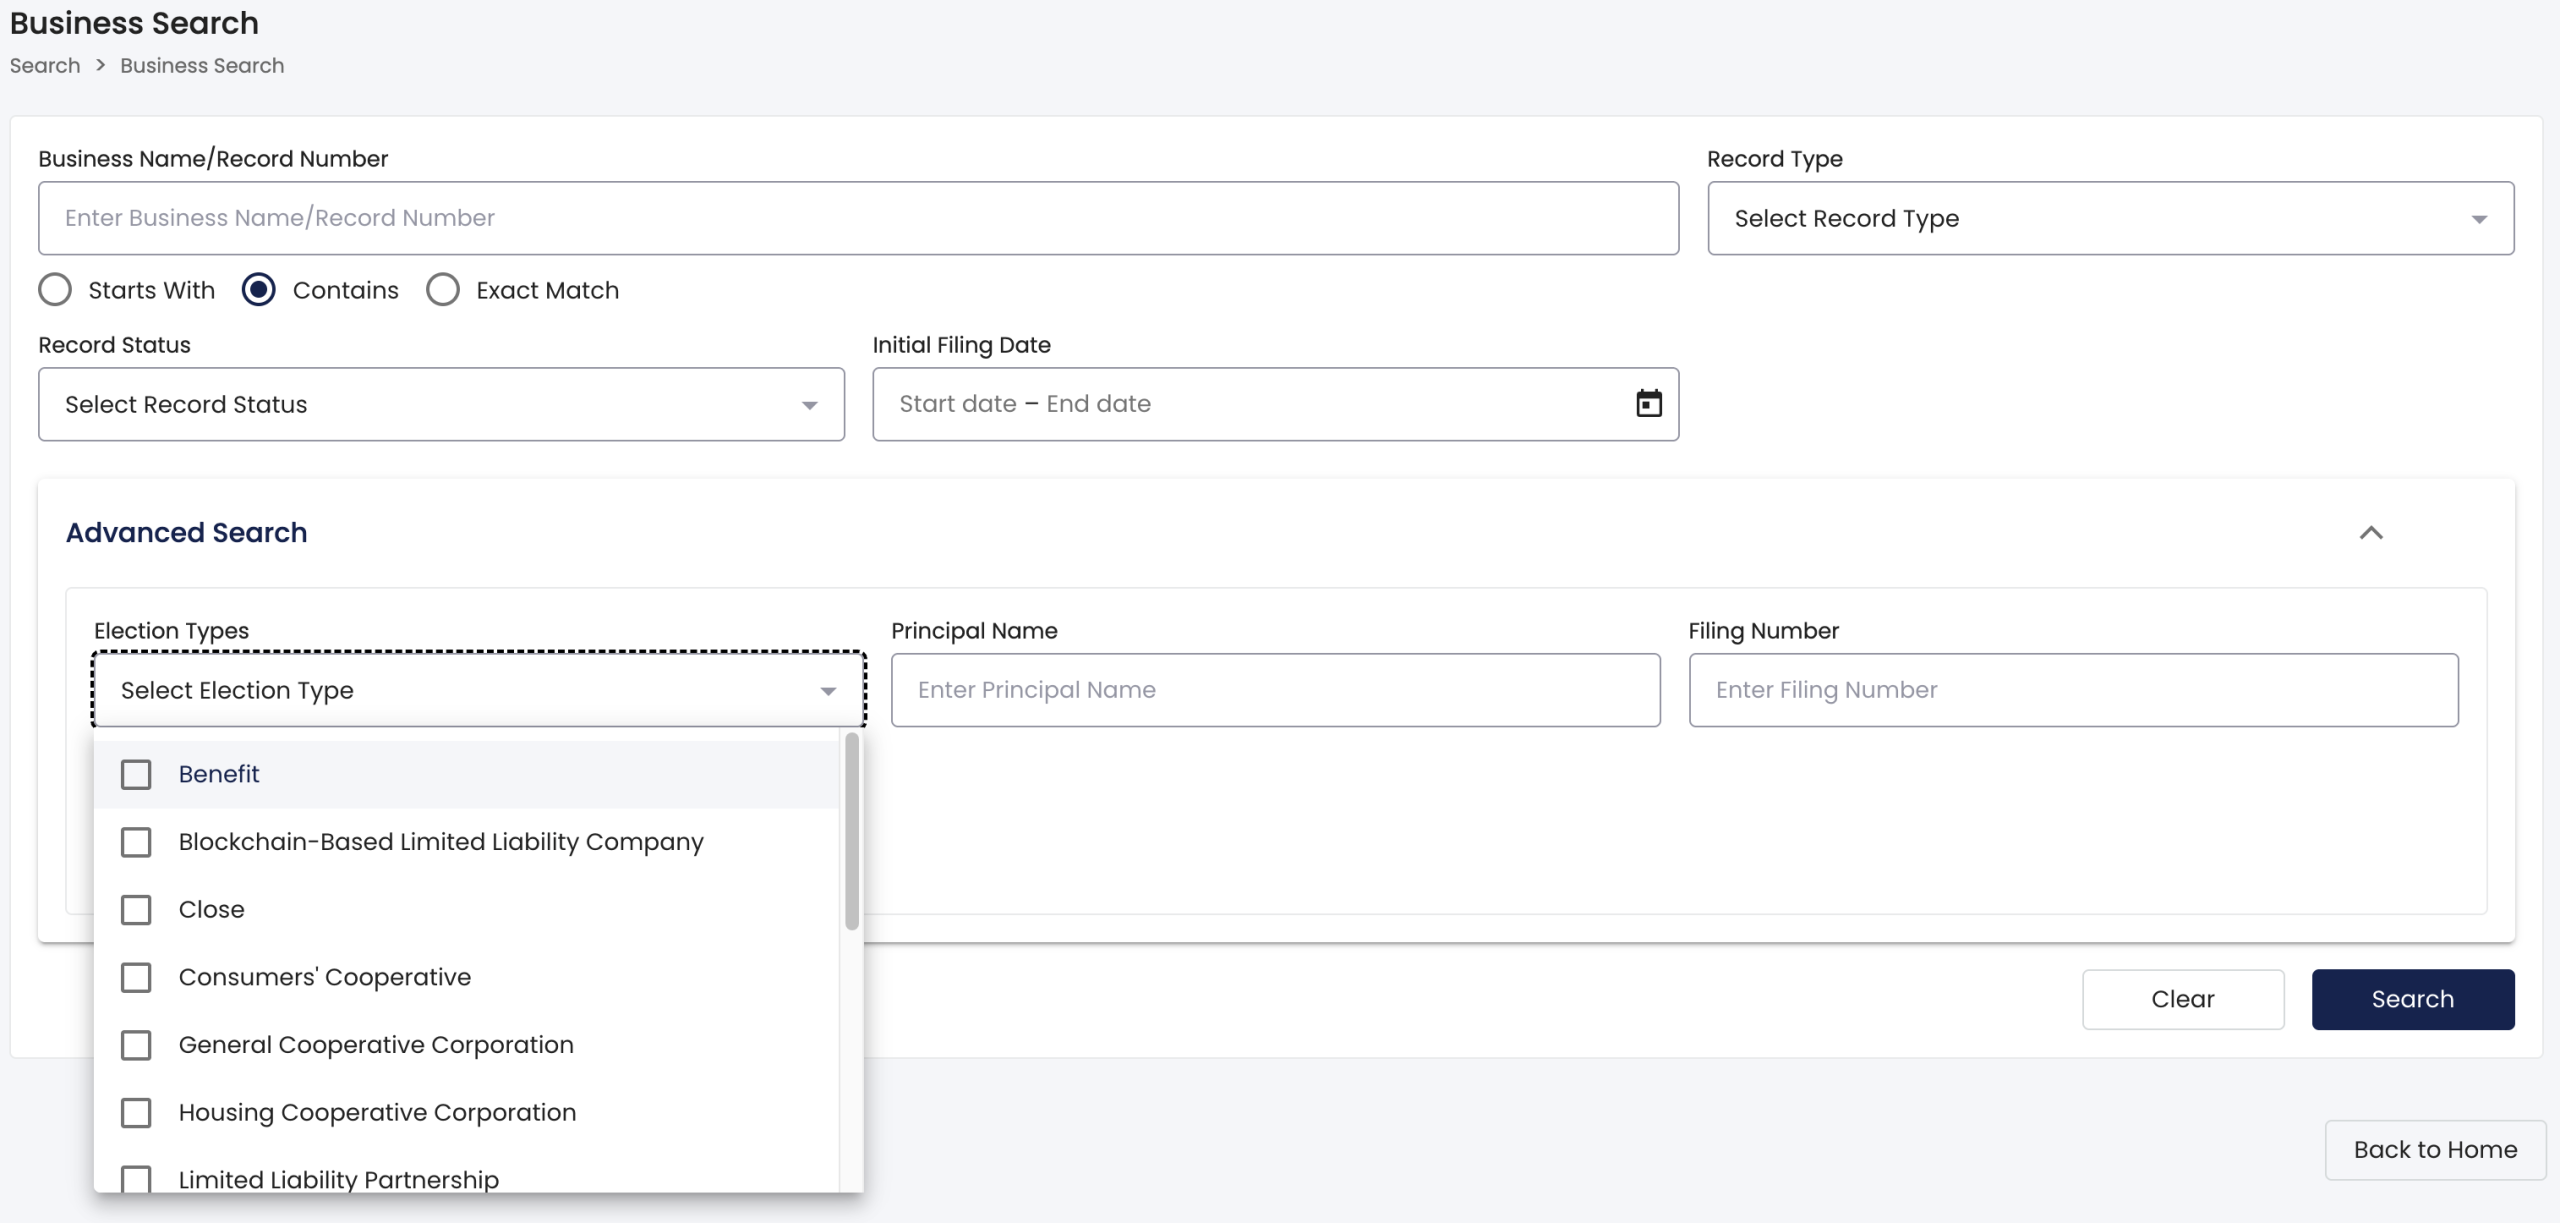
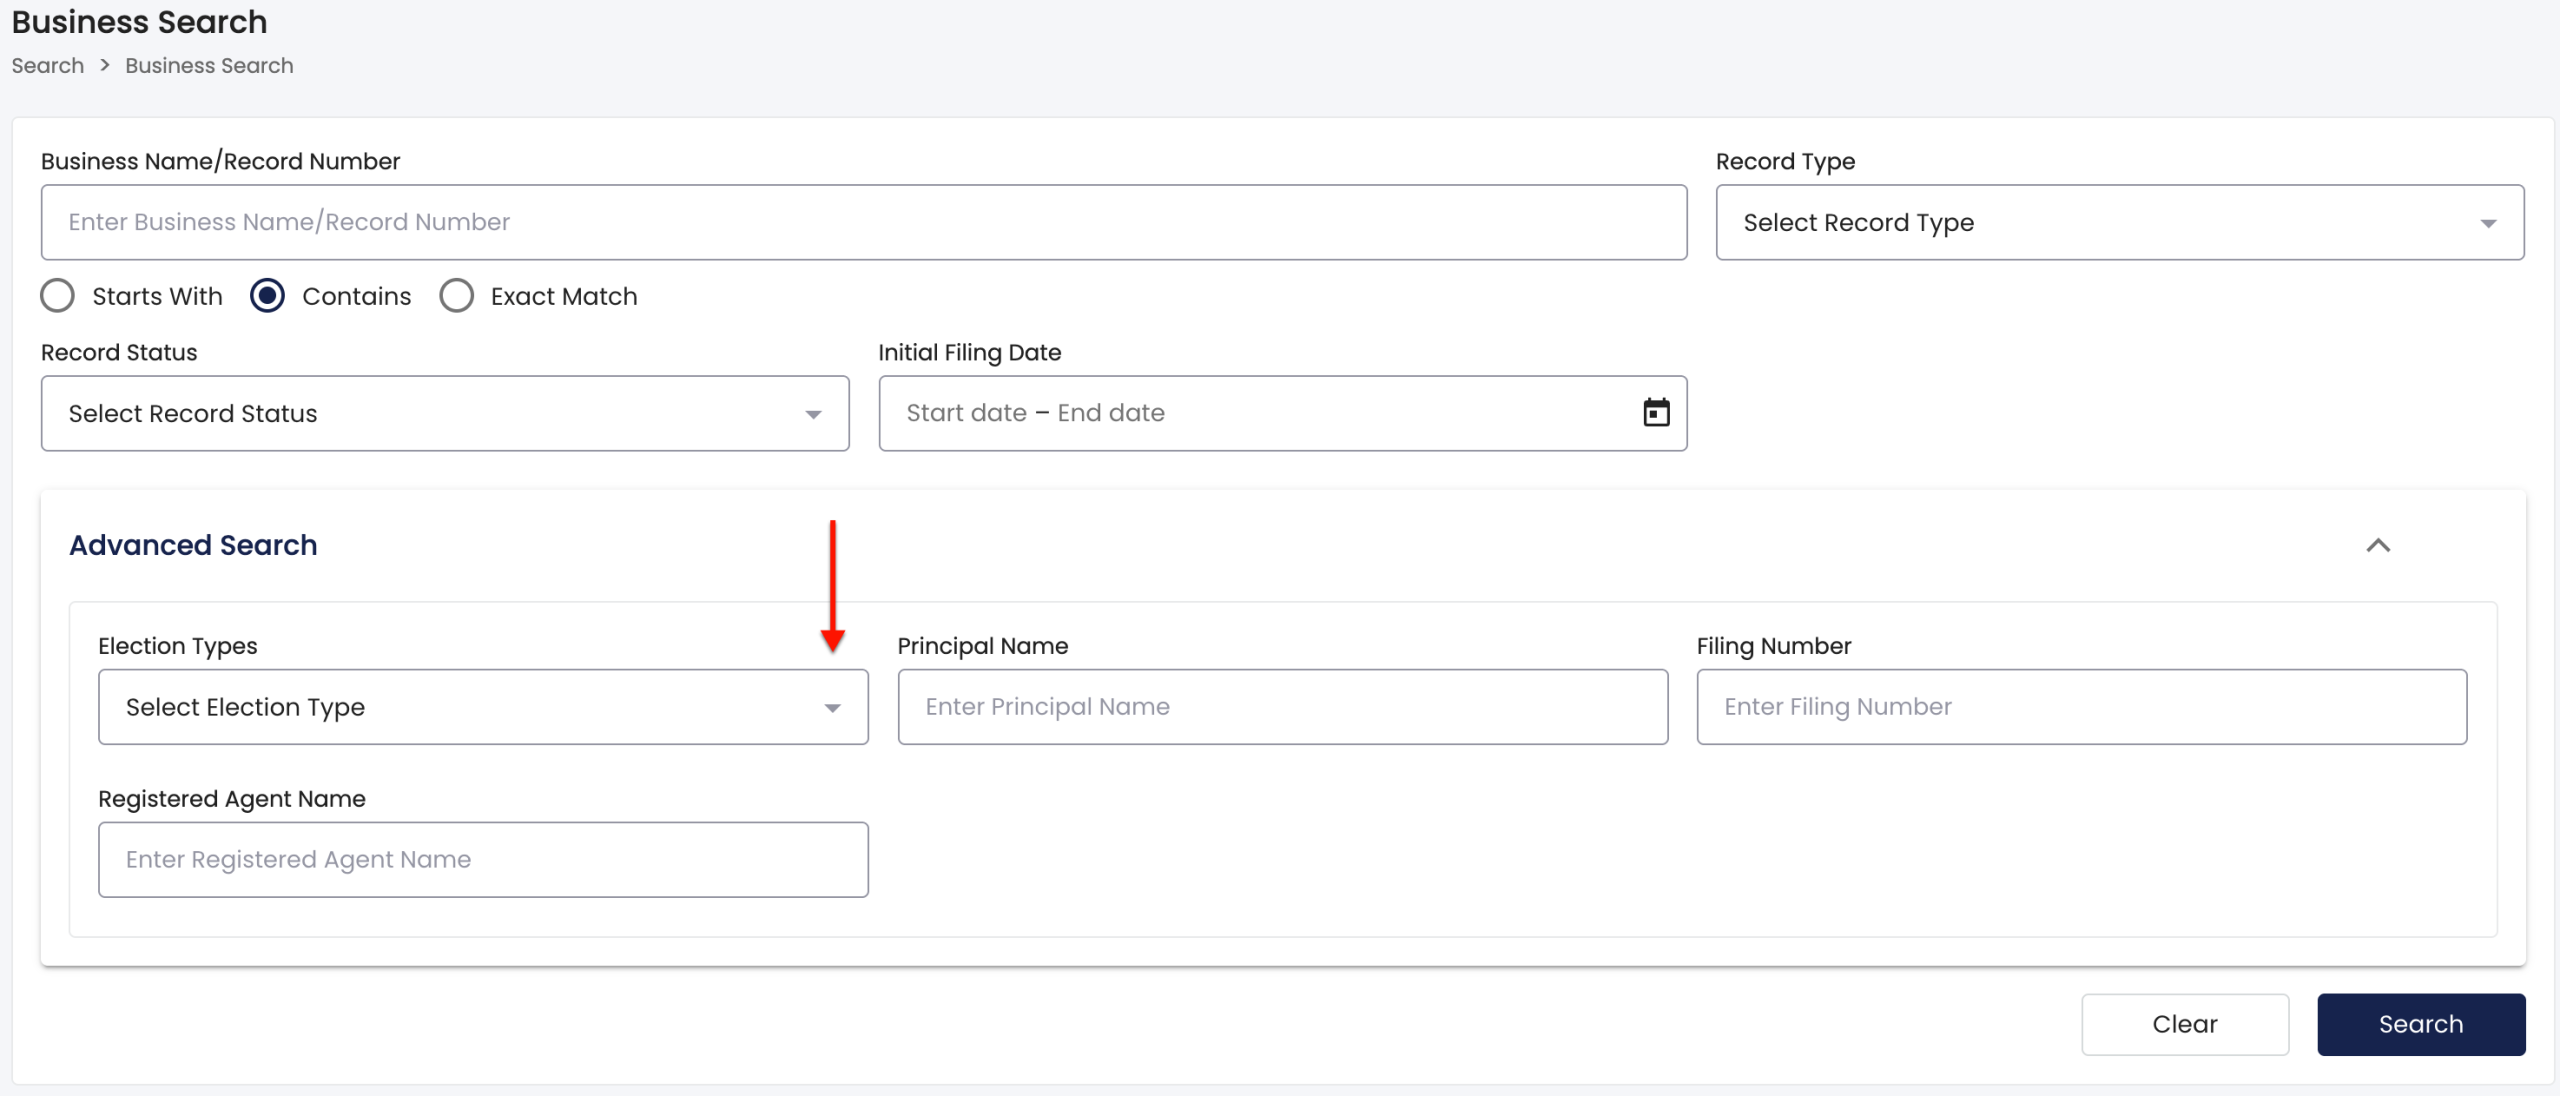
Step 10. Filter Results By Election Type
Look over the advanced search options. Then, indicate how the target classifies its tax status using the “Election Type” drop-down (see image). Naturally, this will significantly narrow results.
- Business Name/Record Number
- Record Type
- Starts With
- Contains
- Exact Match
- Initial Filing Date
- Advanced Search
- Election Types
- Principal Name
- Filing Number
- Registered Agent Name
- Clear
- Search
- Back to Home
Step 11. Use Principal Information
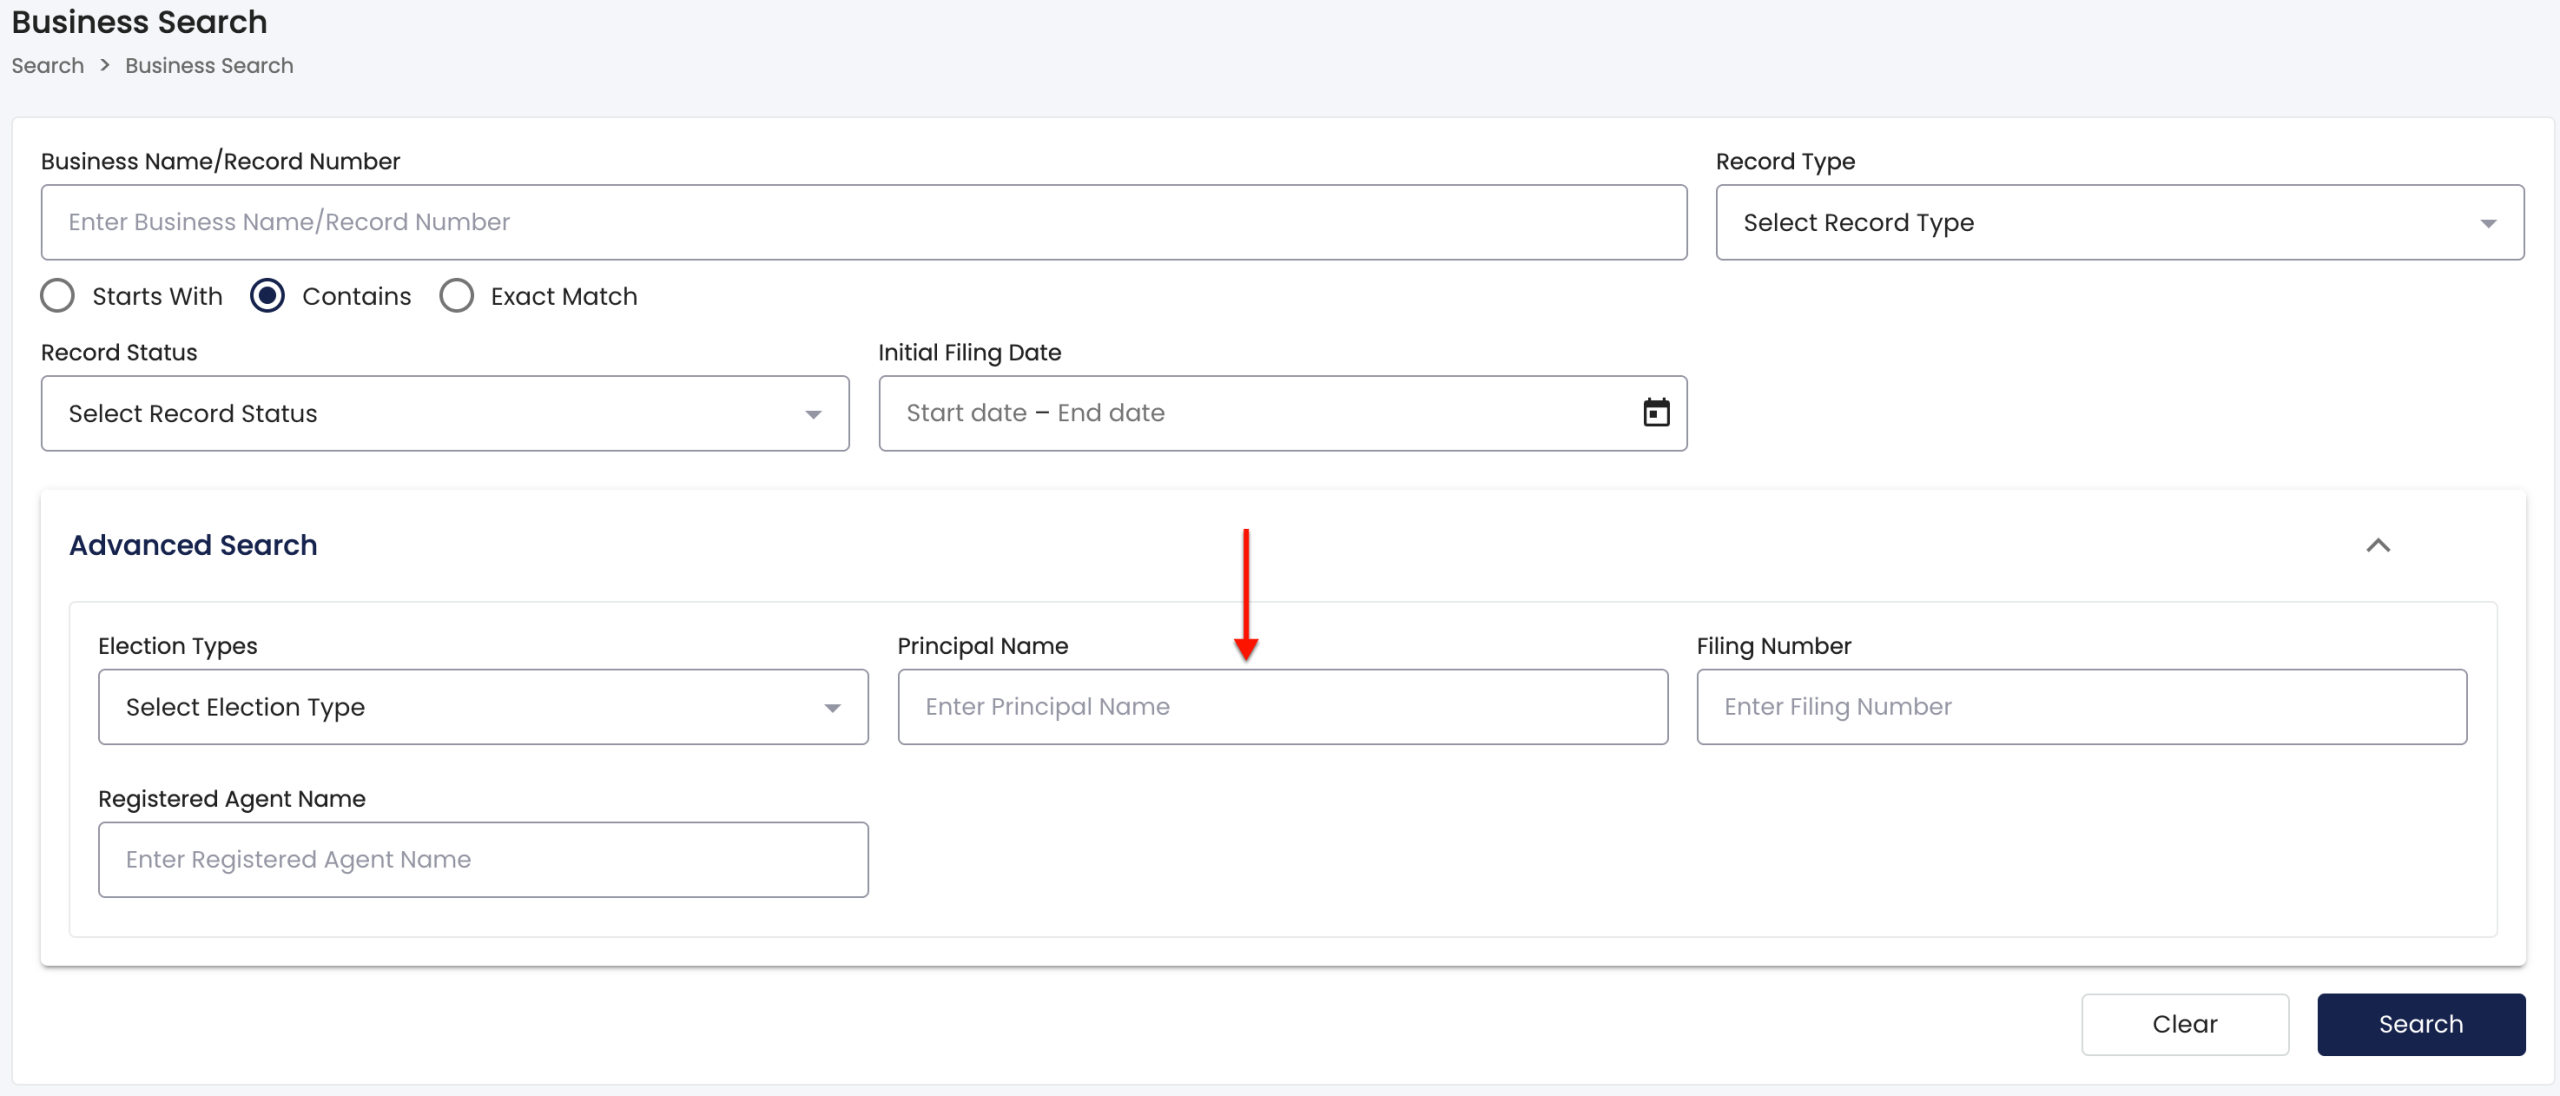
Input the “Principal’s Name” to only show matches associated with or owned by an individual. While these filters are optional, they can be useful for zeroing in on an entity.
Step 12. Add the Filing Number
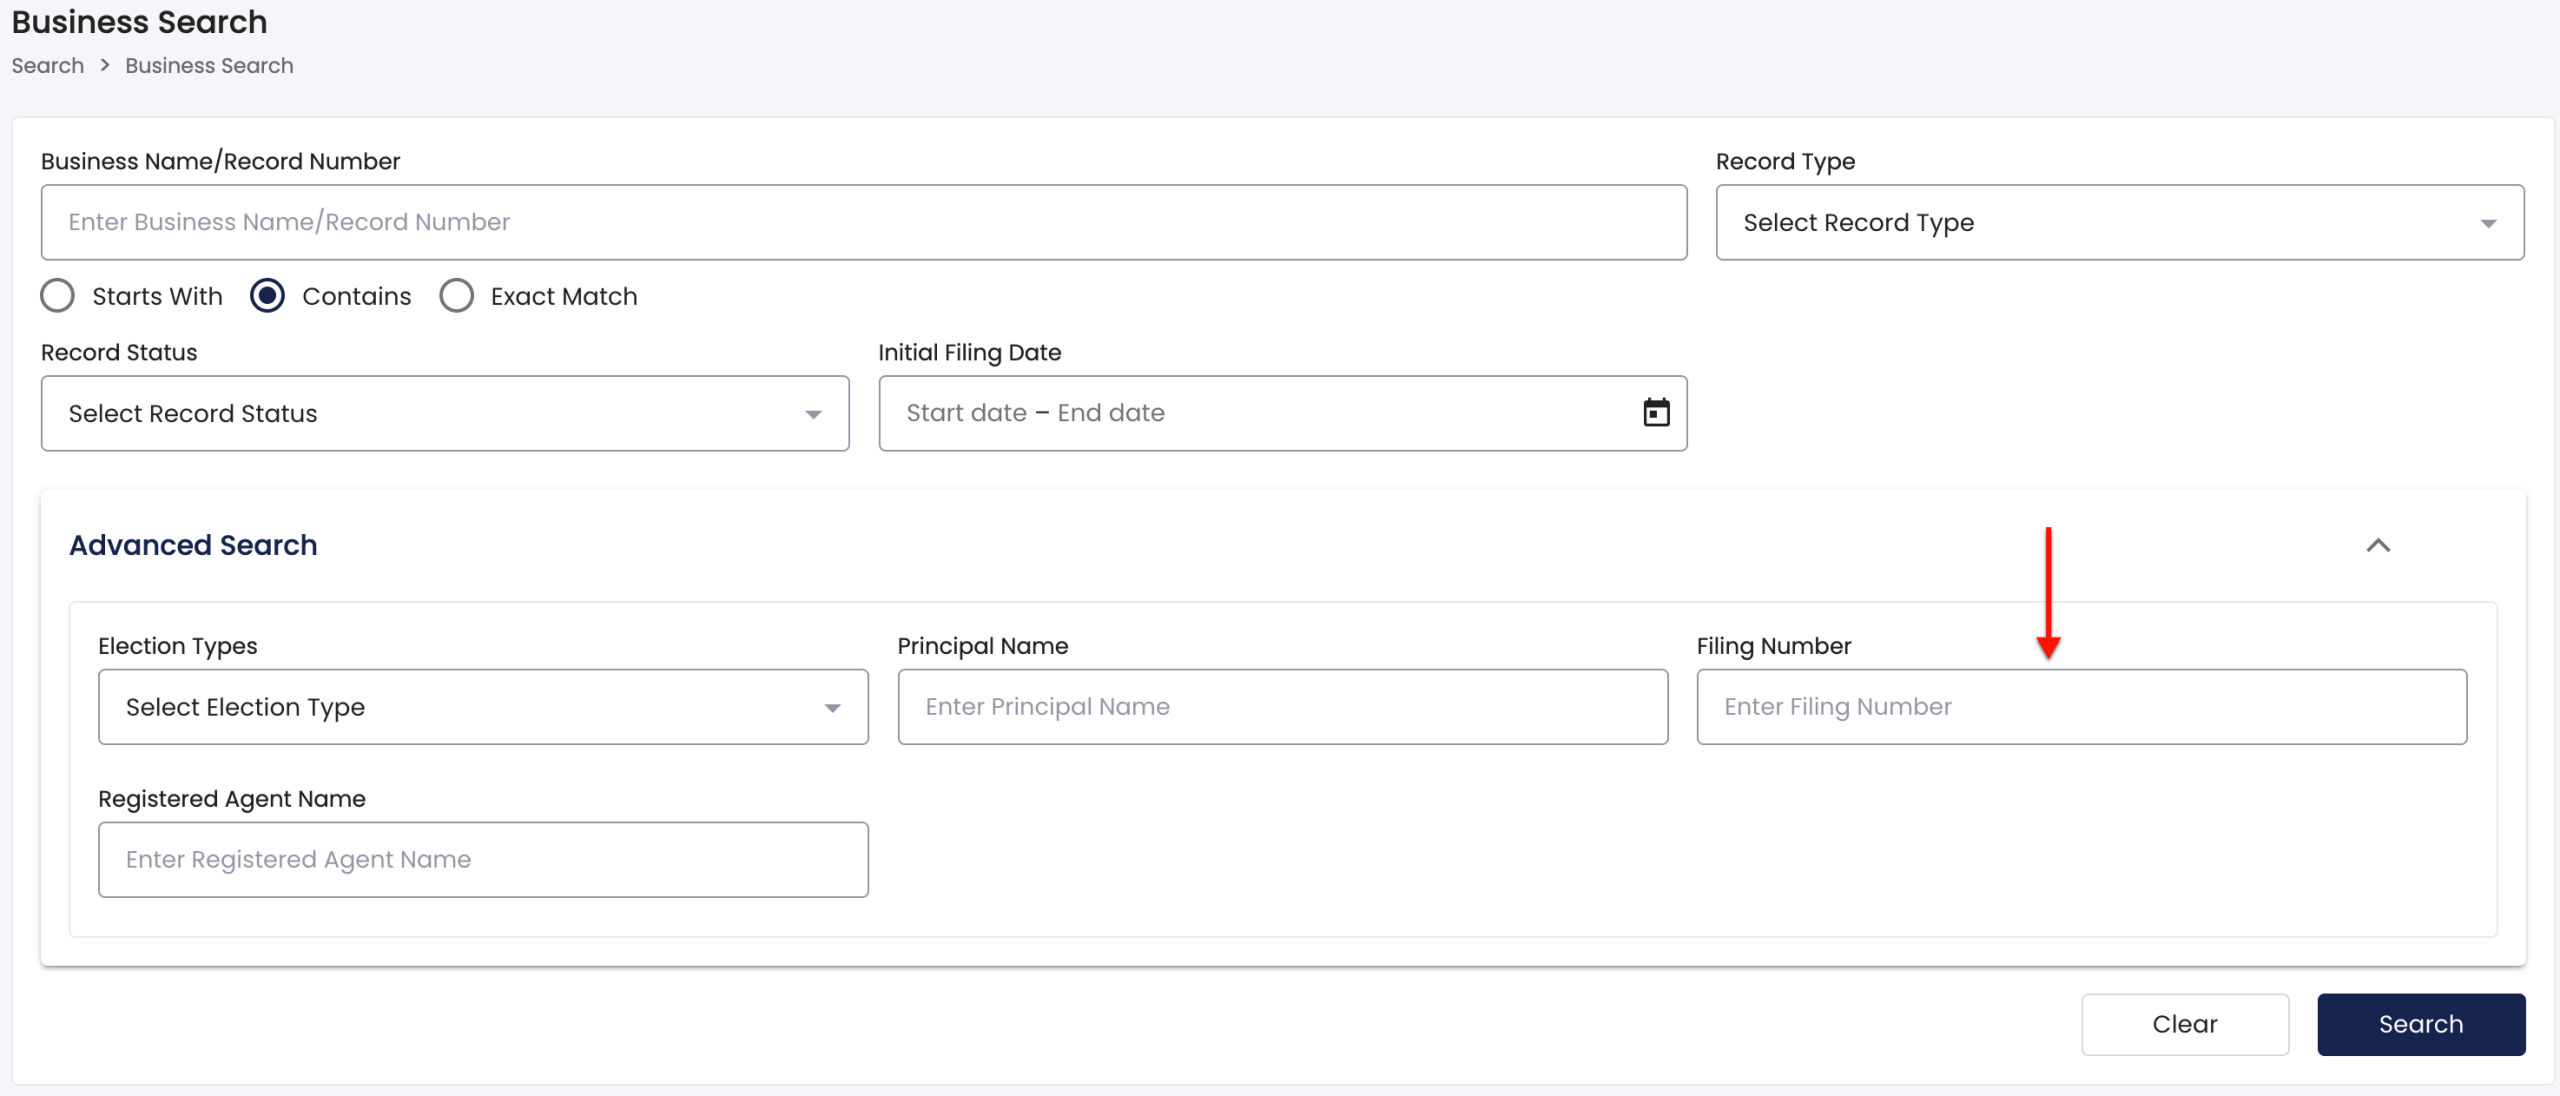
If the entity’s filing number is known, then it can be used to strictly filter results. For this feature, enter the filing number in the appropriate textbox.
Step 13. Include Registered Agent Name
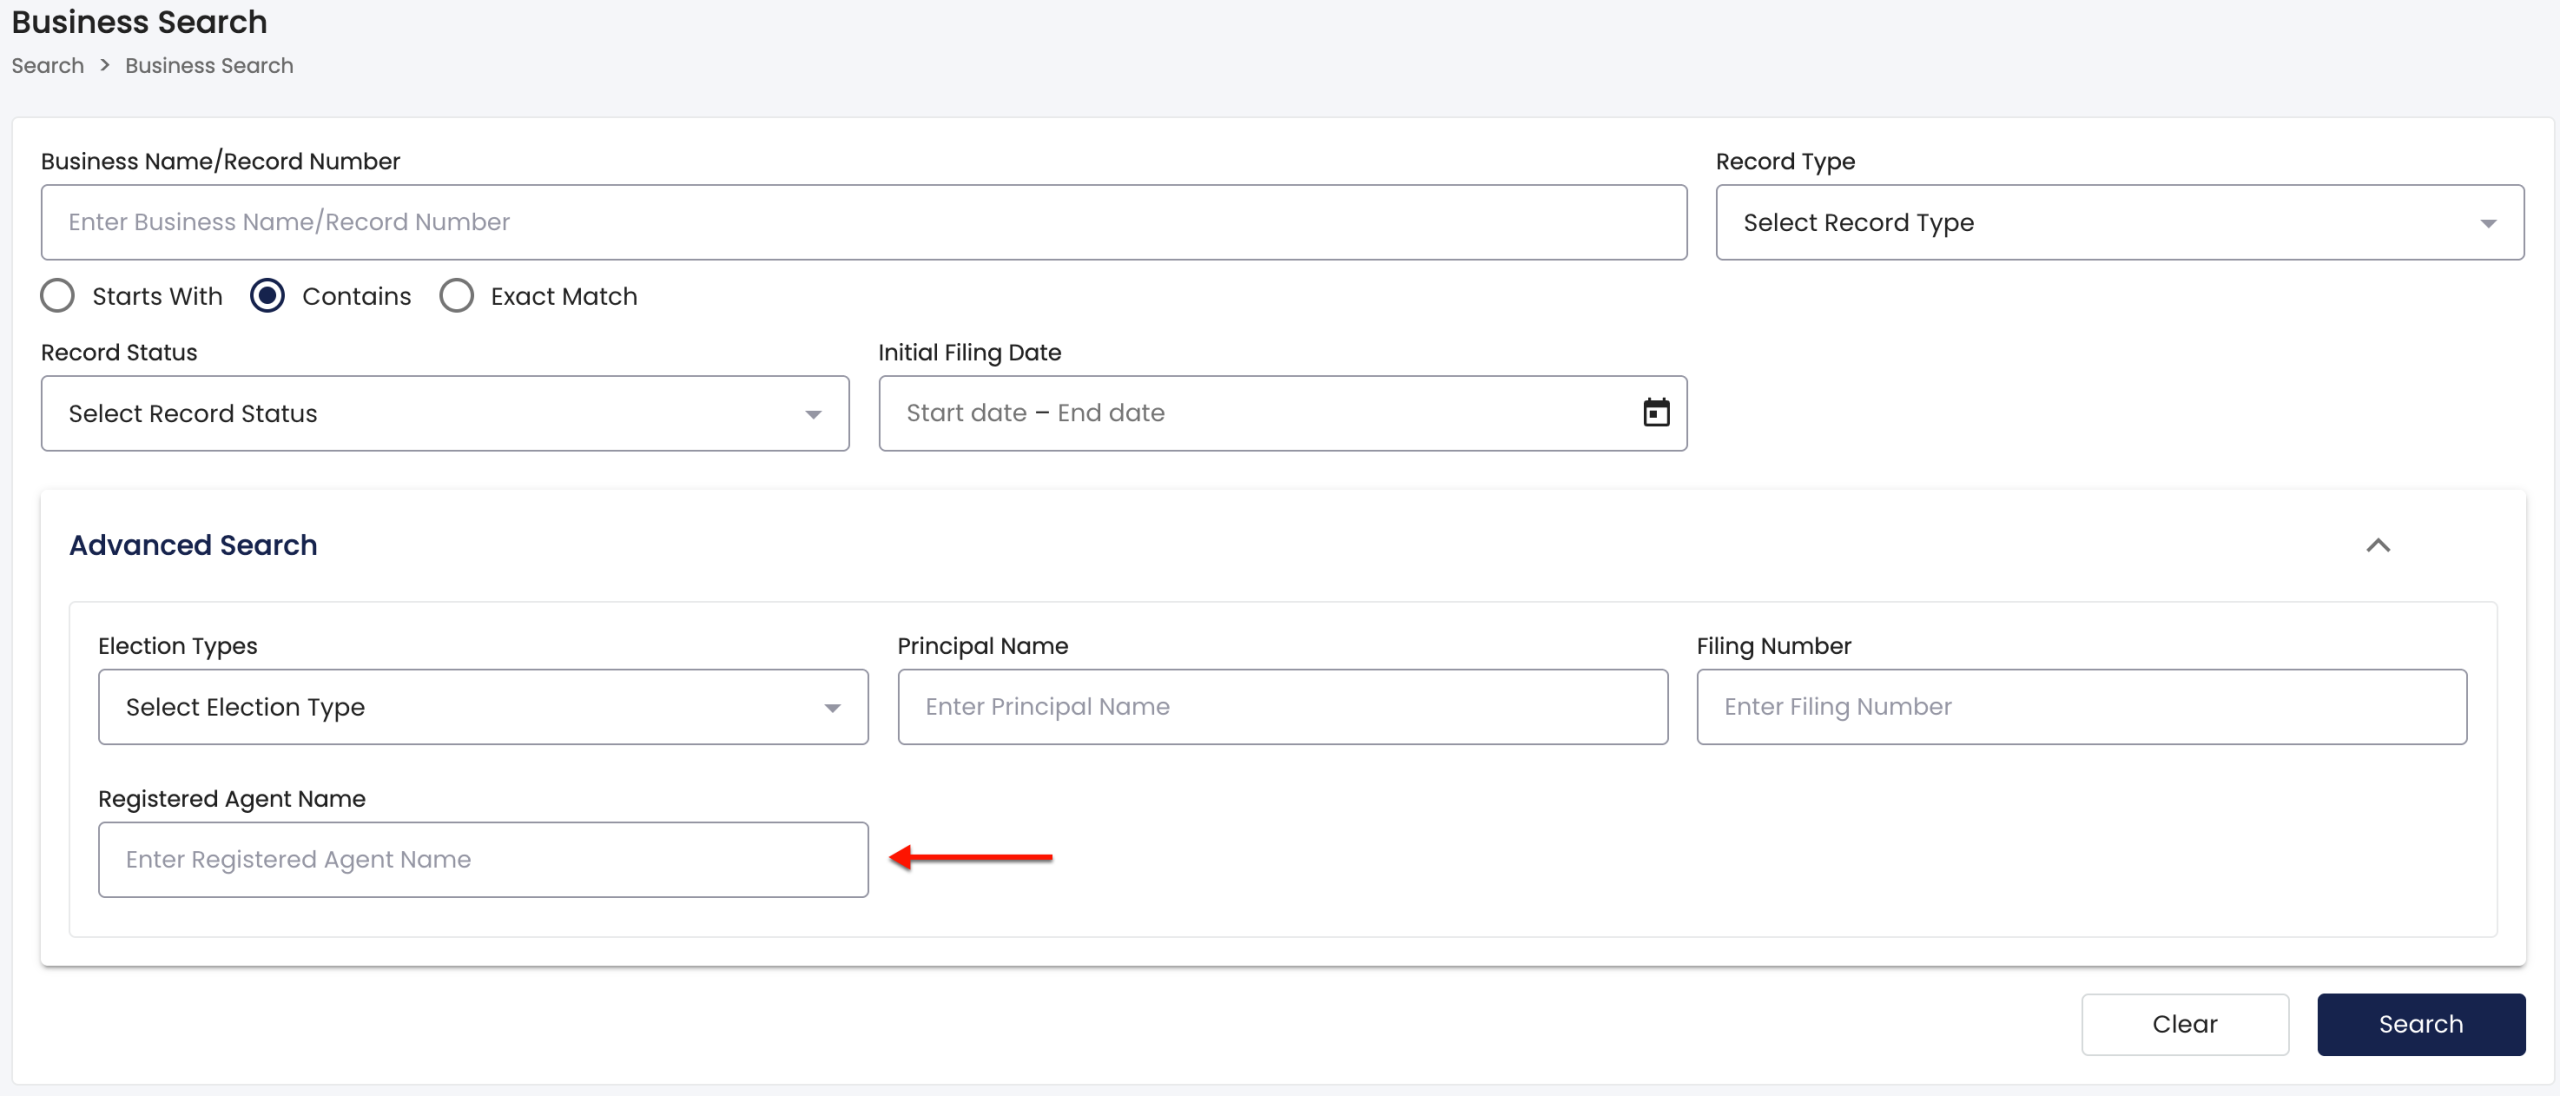
Report the entity’s registered agent in the “Registered Agent Name” box. This strengthens the query’s power even with no other filters.
Step 14. Prompt the Advanced Search Query
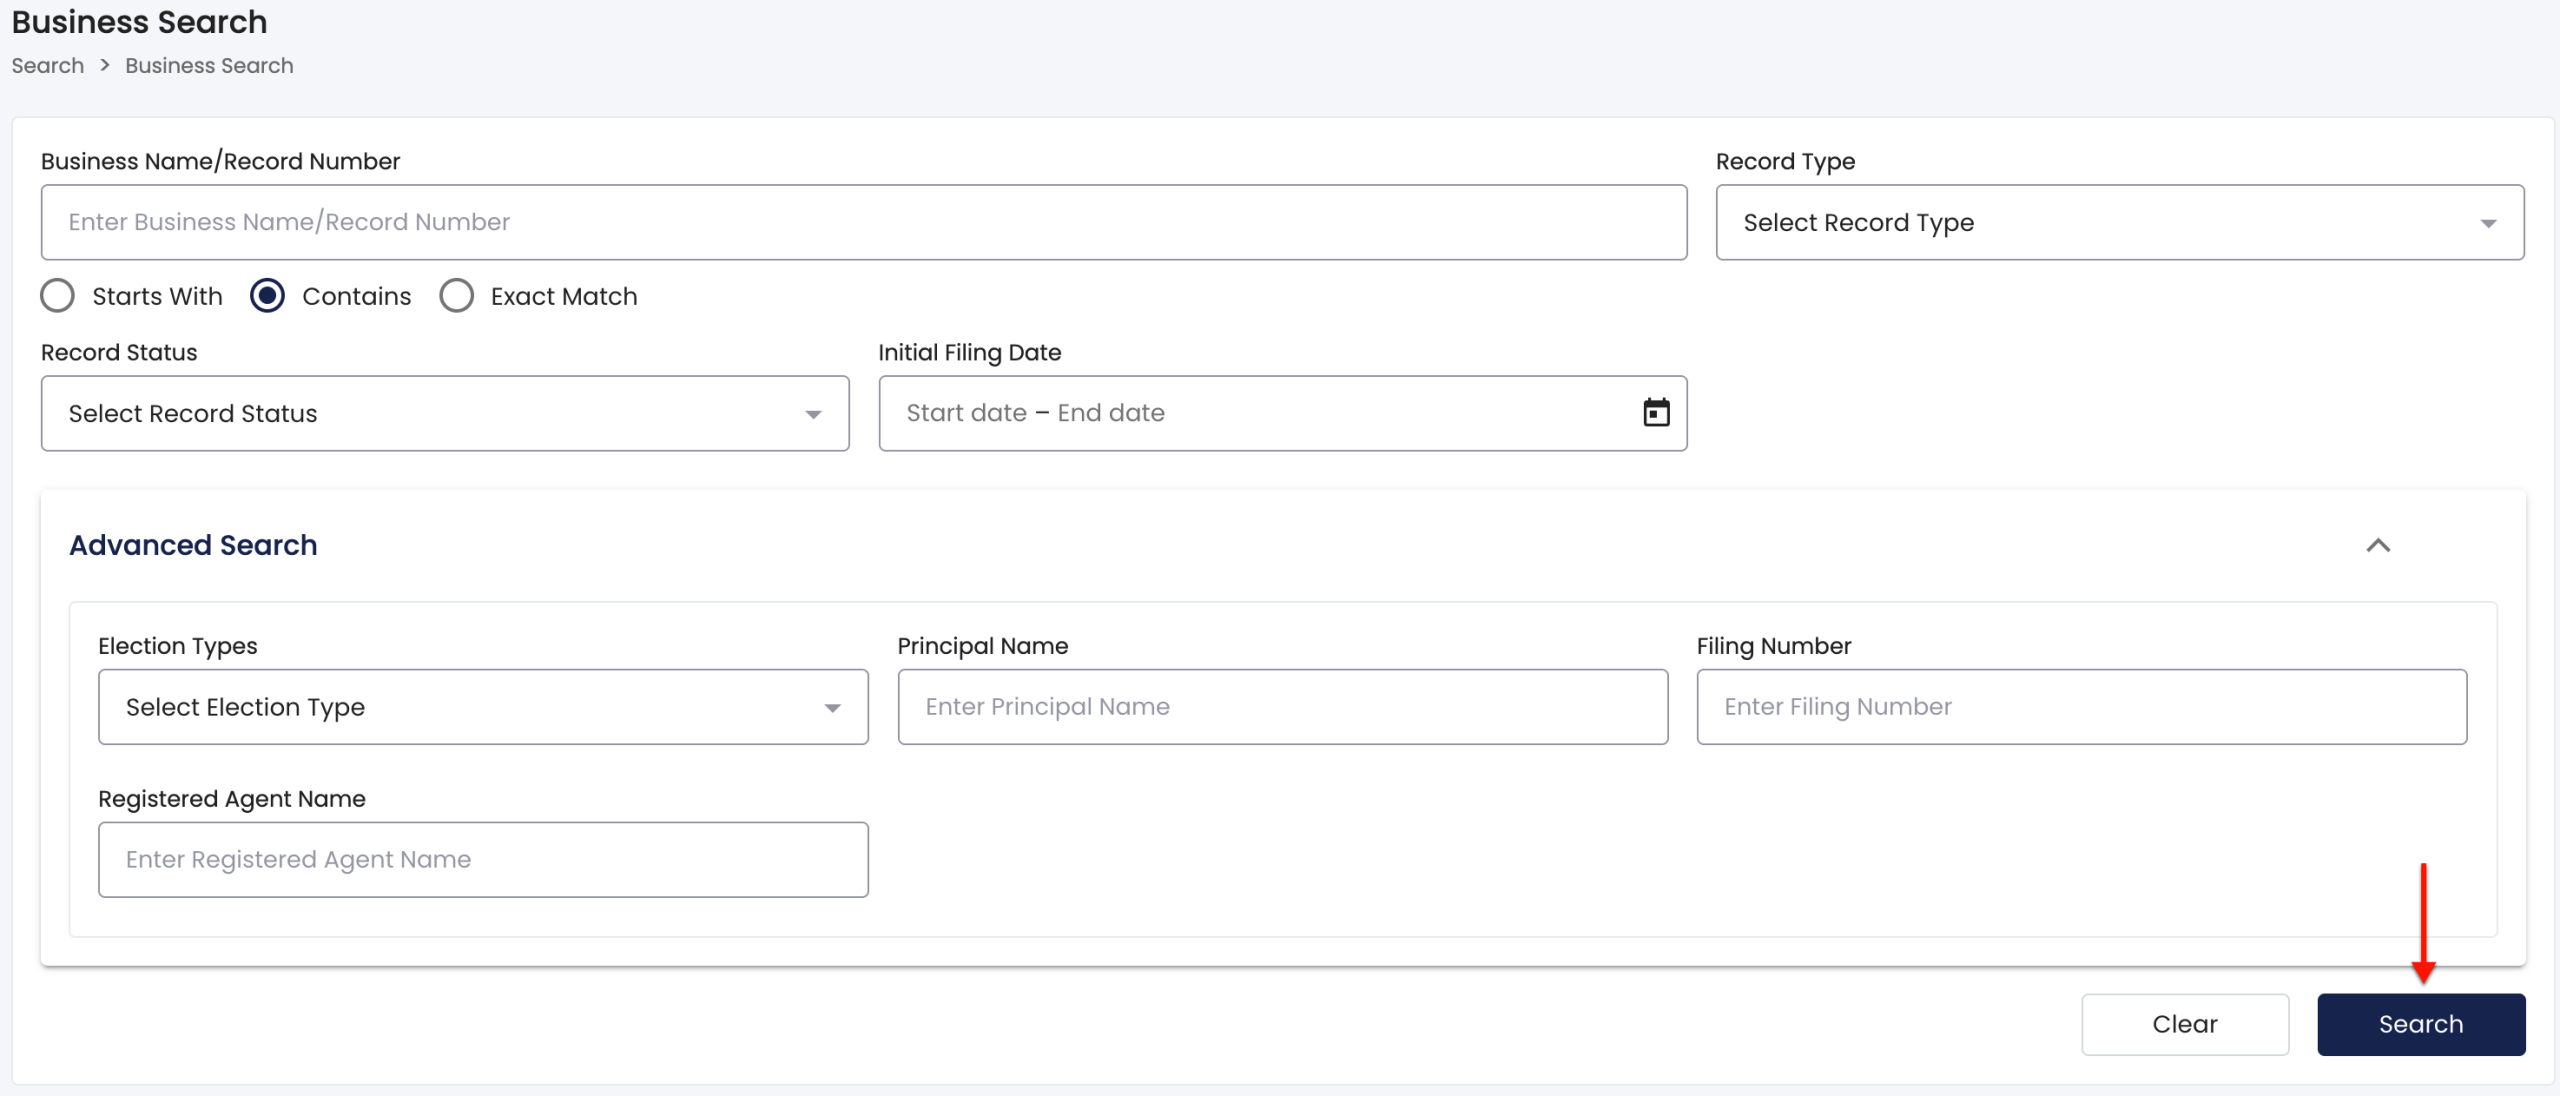
When ready to proceed, find and select the “Search” button to receive results. You must complete the reCAPTCHA (see example) window for this.
Step 15. Scan the Business Search Results
After satisfying the reCAPTCHA, the query results automatically display in a table. Read through this table while seeking the entity.
- Business Name
- Record Number
- Record Type
- Physical Address
- Status
Step 16. Access Information on the Target Entity
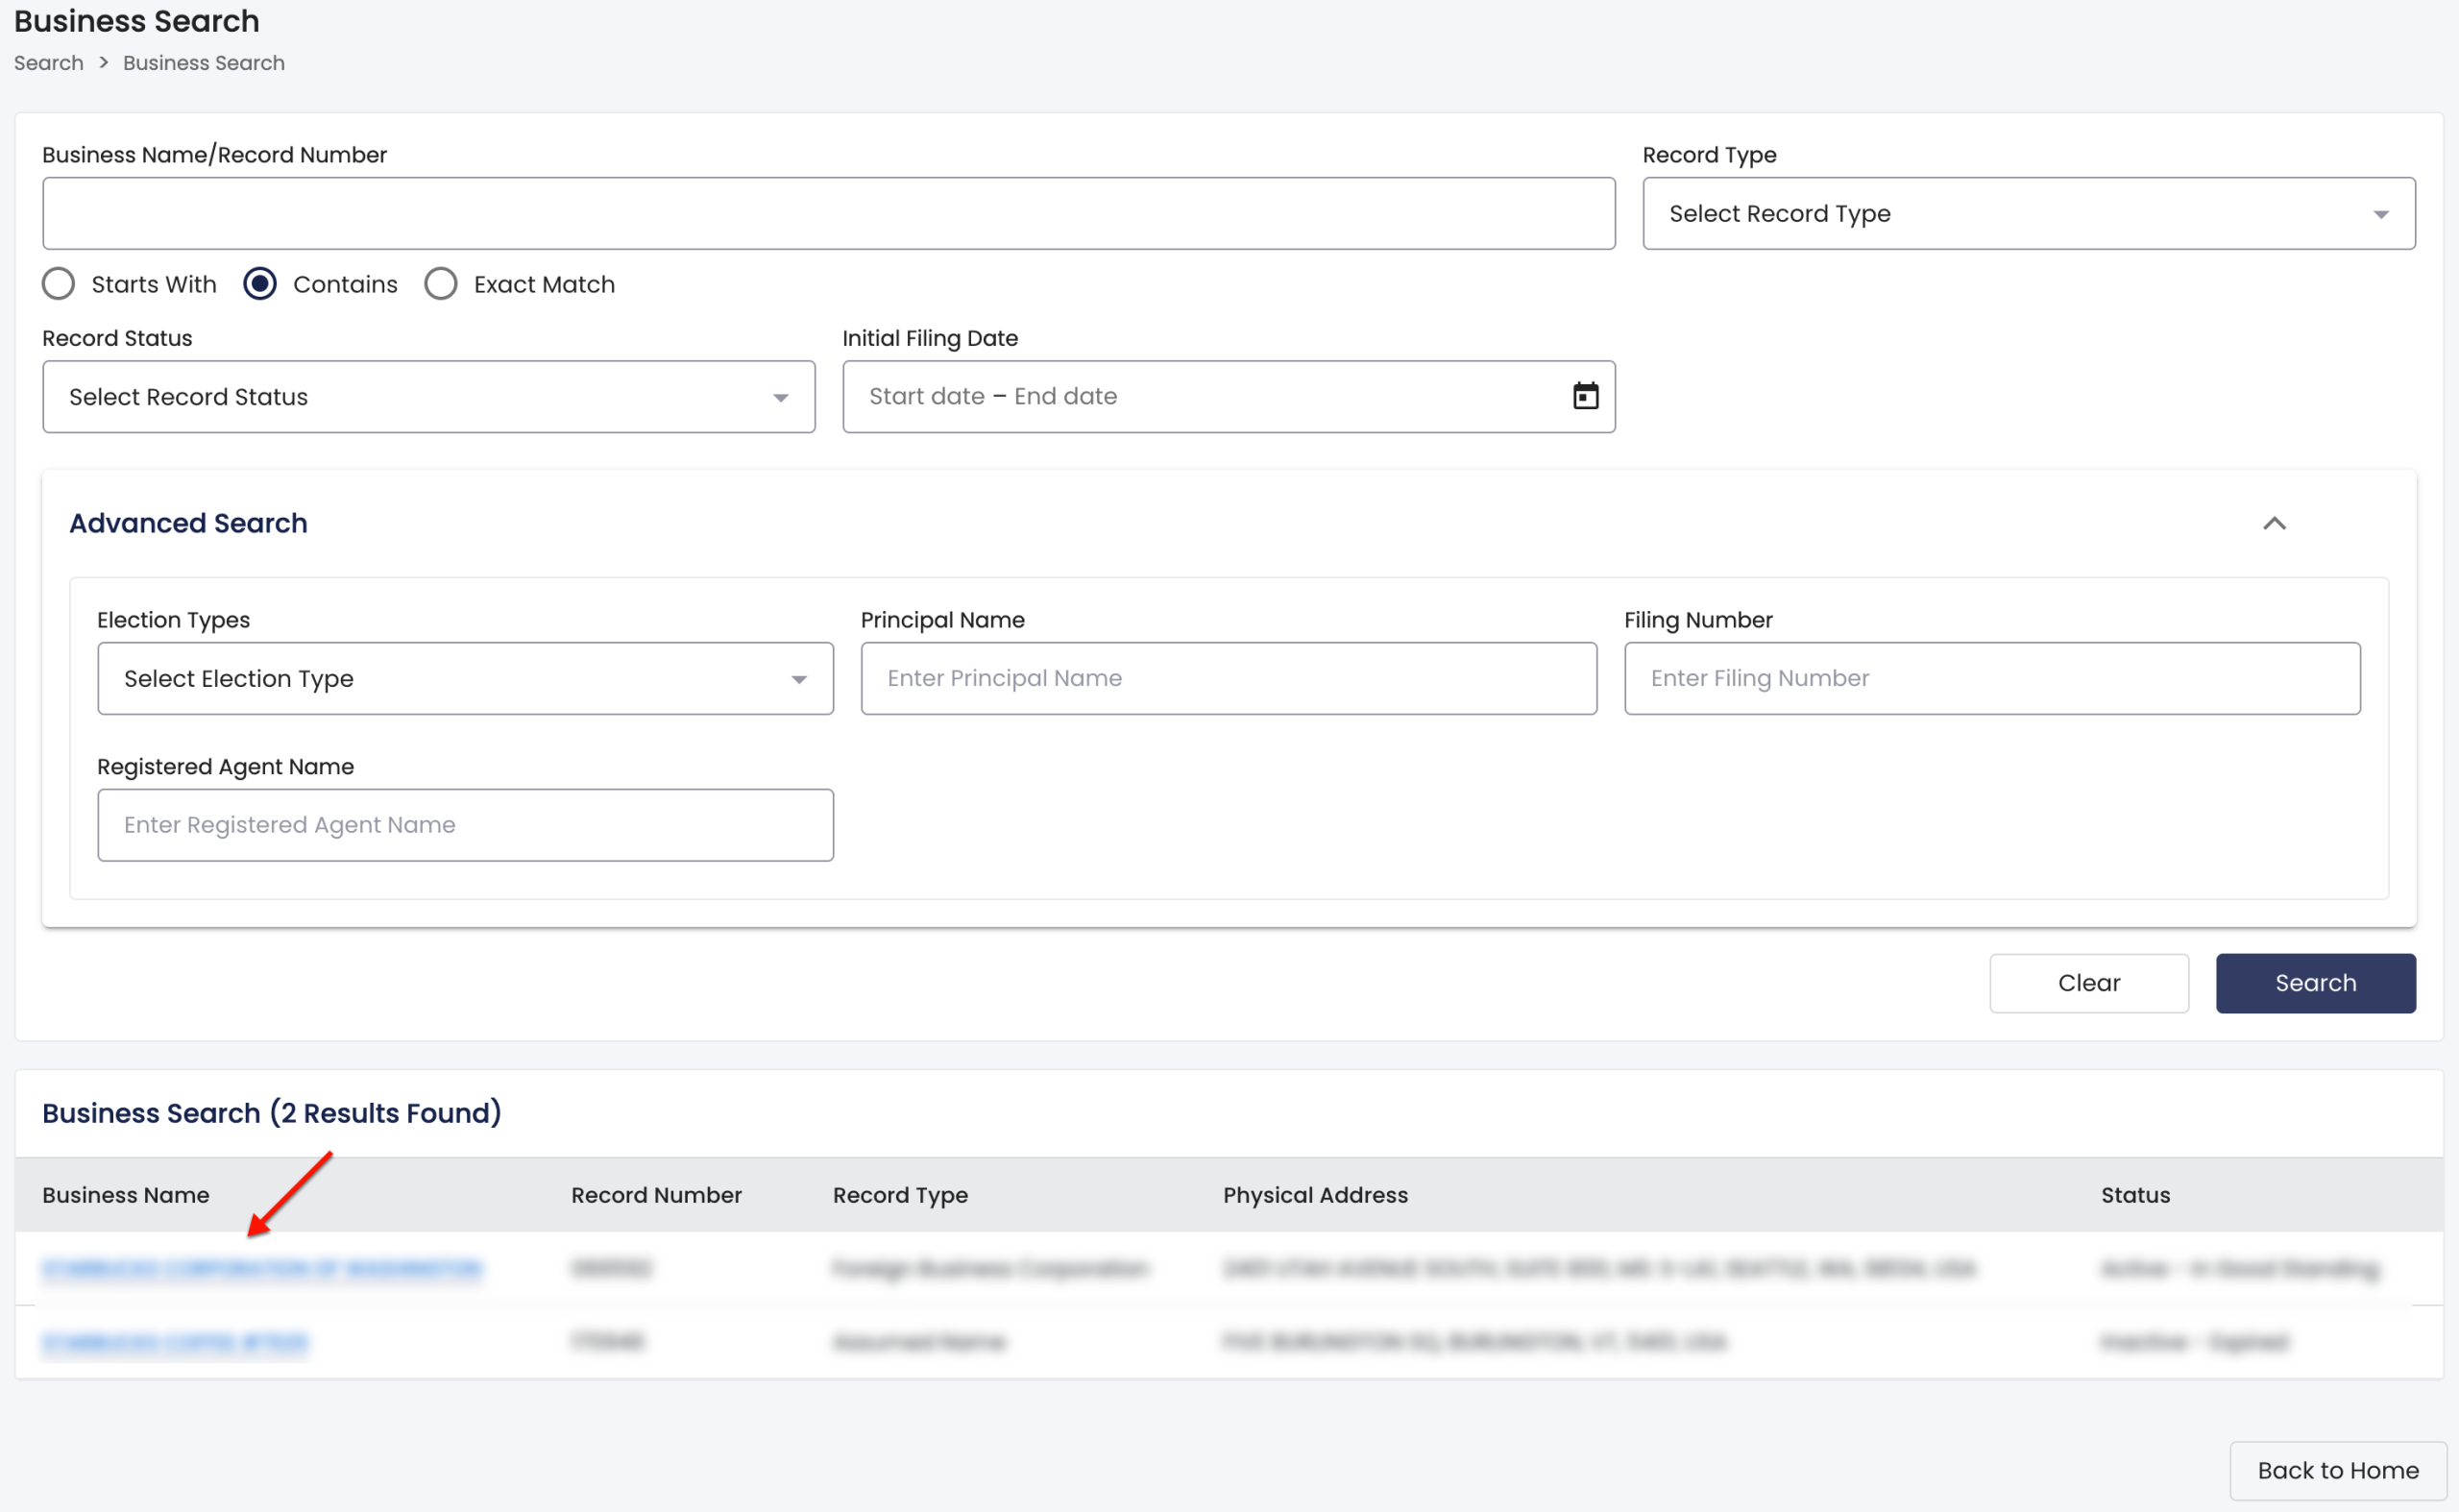
Focus your attention on the first column once you decide to further examine a record. Select the name of this entity to view its details.
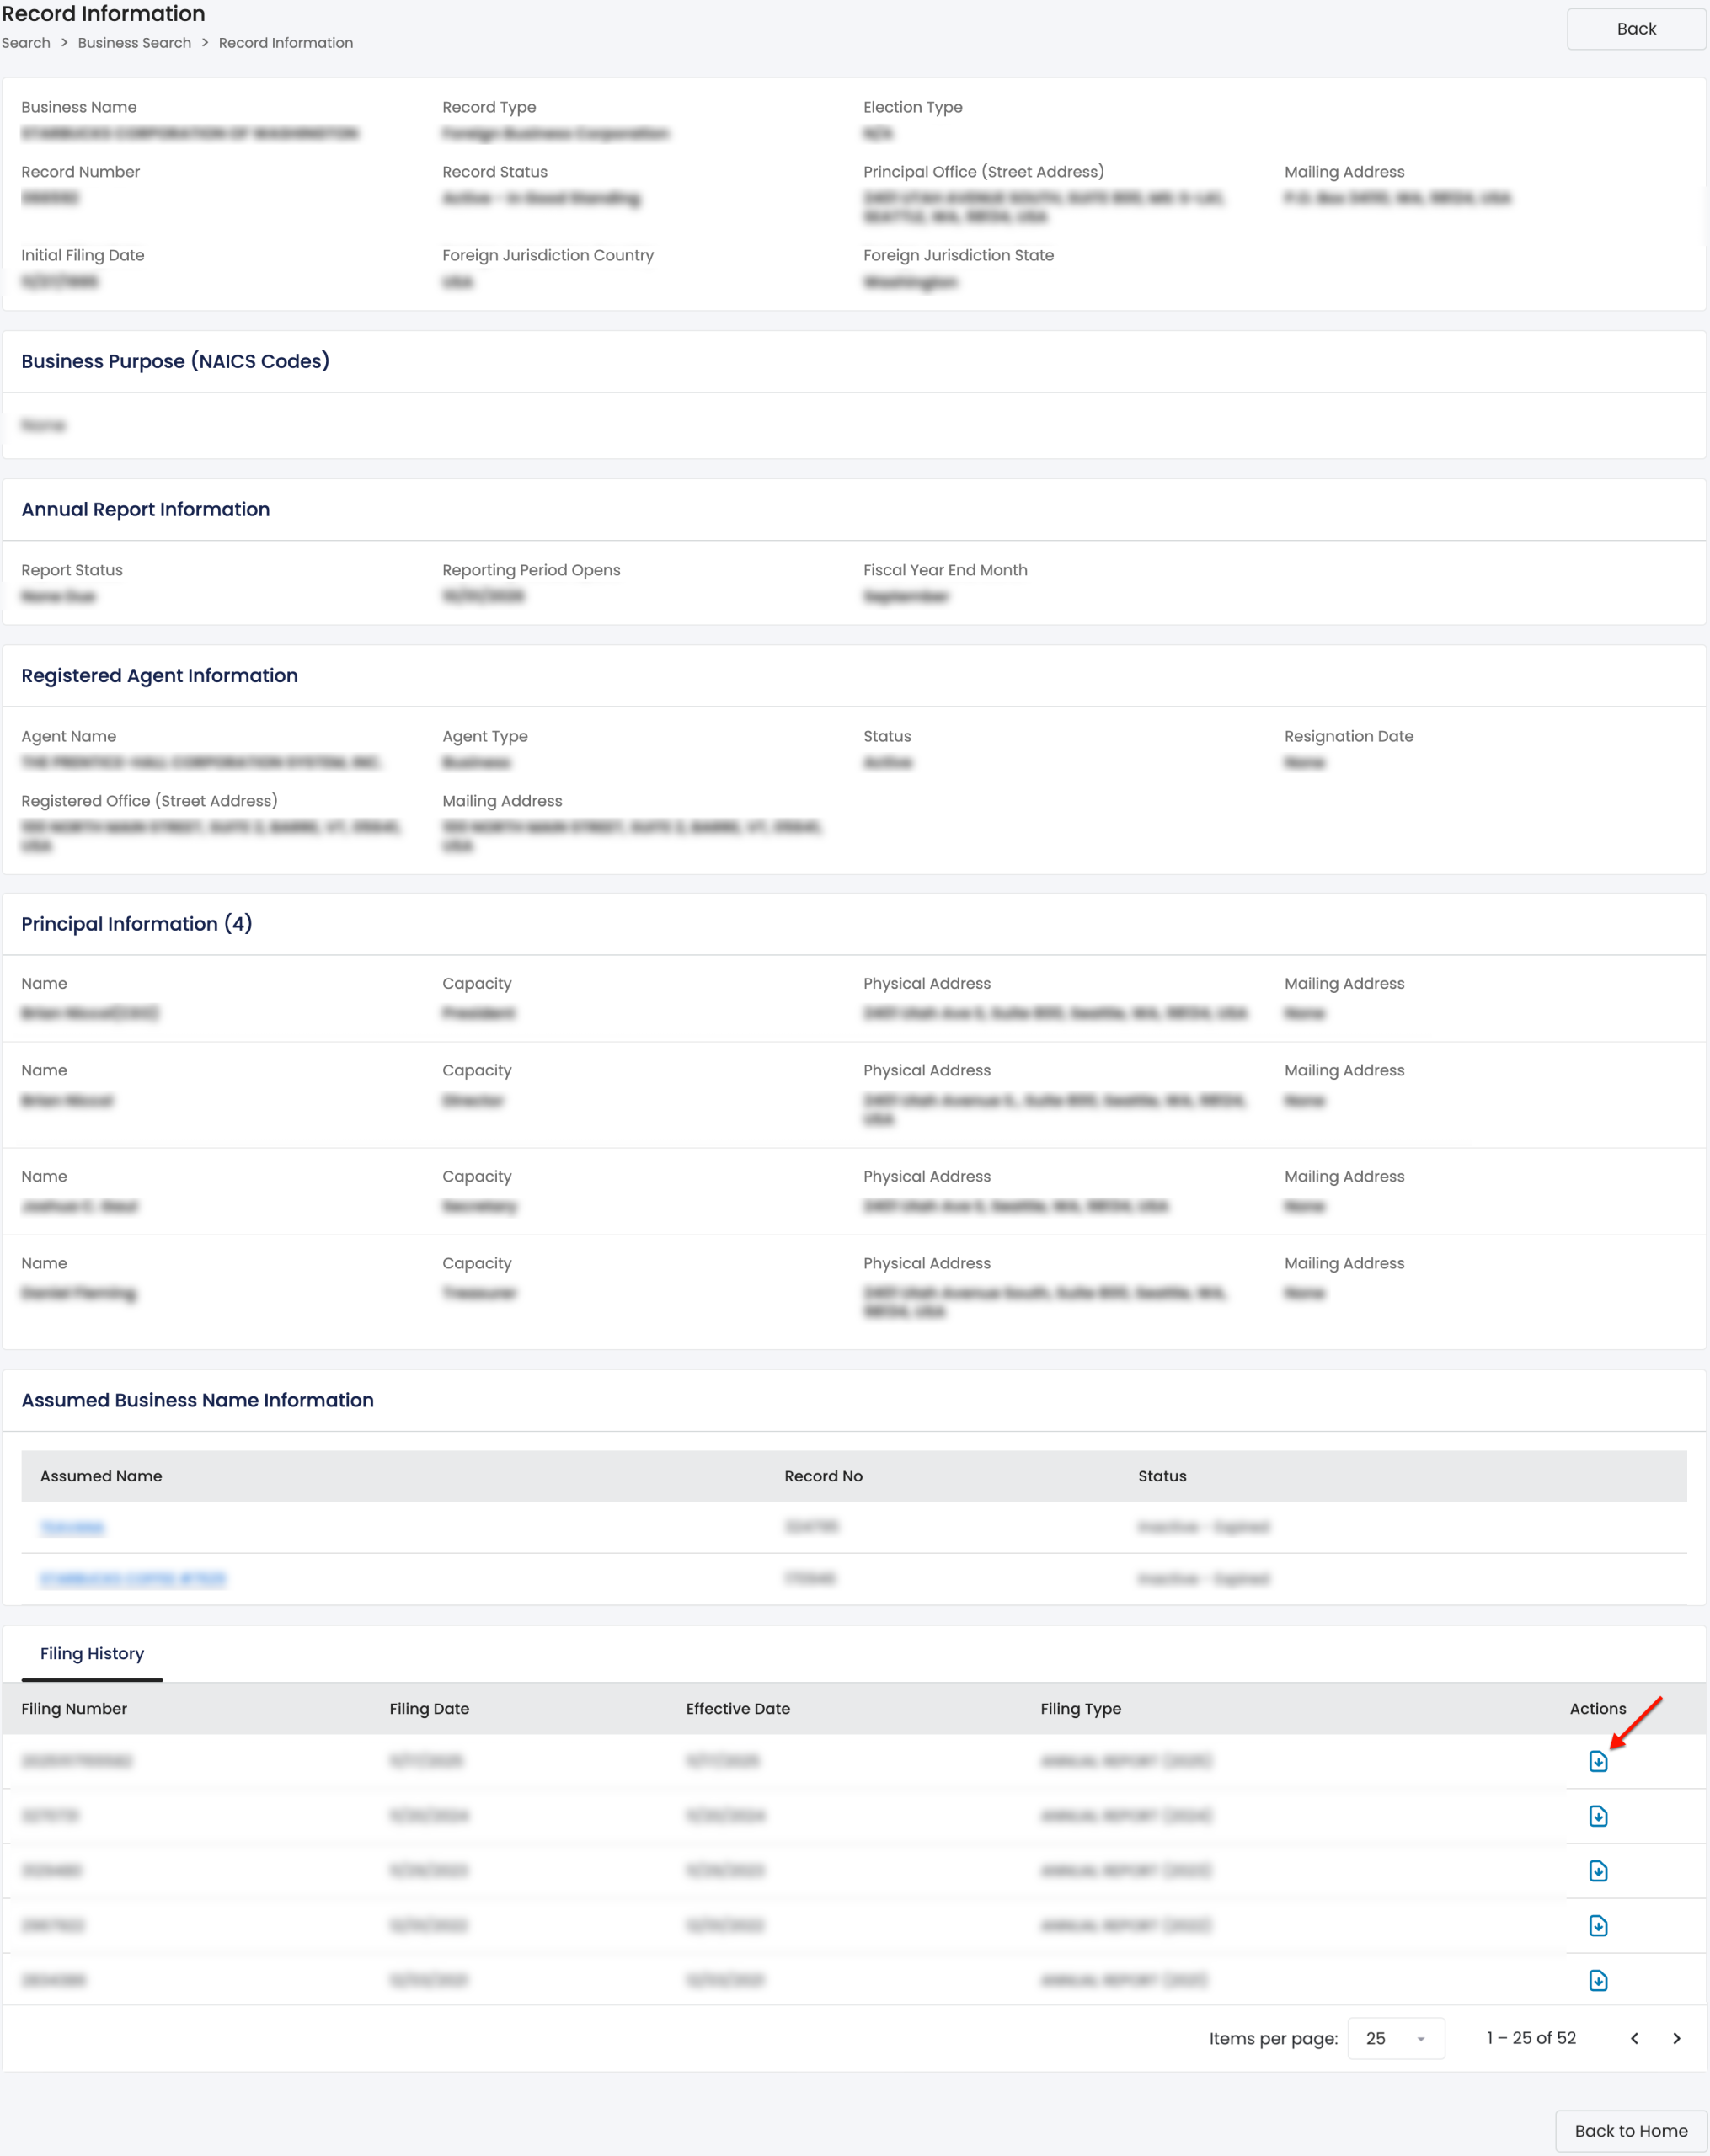
Step 17. Review Record Information
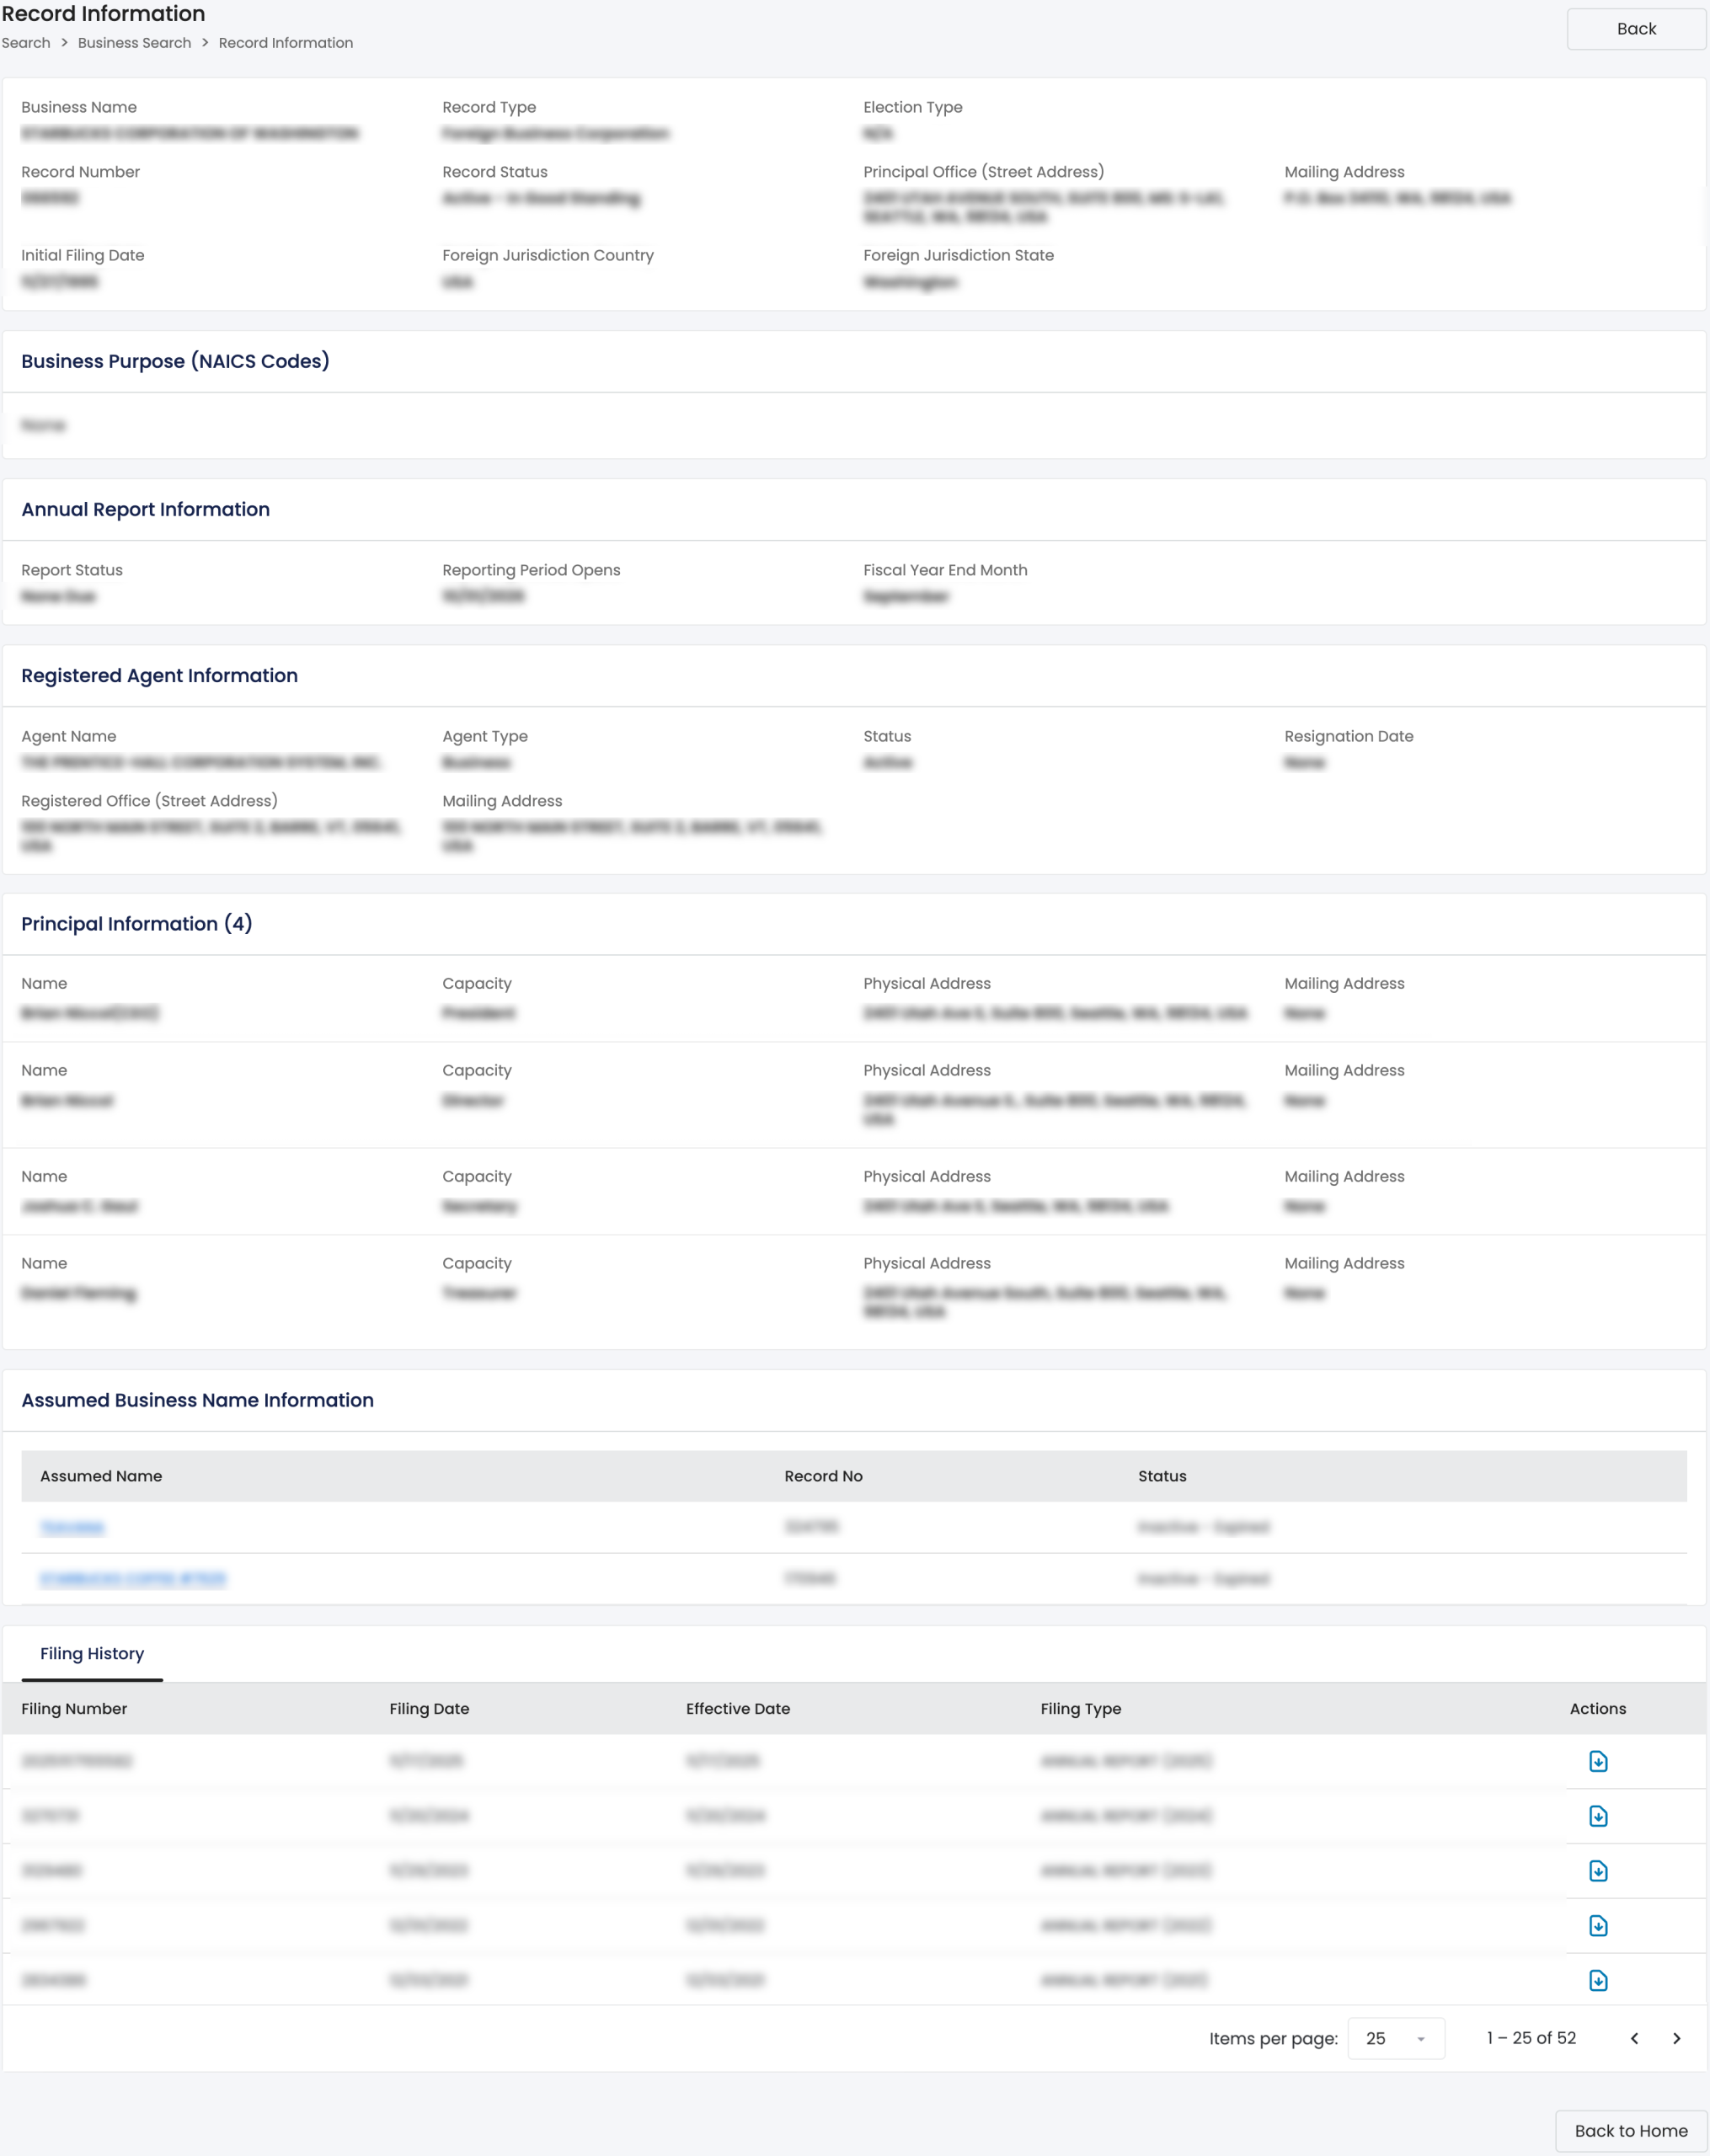
Read through the entity’s information. Notice that several sections provide a wealth of information.
- Business Name
- Record Type
- Election Type
- Record Number
- Record Status
- Principal Office (Street Address)
- Mailing Address
- Initial Filing Date
- Foreign Jurisdiction County
- Foreign Jurisdiction State
- Business Purpose (NAICS Codes)
- Annual Report Information
- Report Status
- Reporting Period Opens
- Fiscal Year End Month
- Registered Agent Information
- Agent Name
- Agent Type
- Stats
- Resignation Date
- Registered Office (Street Address)
- Mailing Address
- Principal Information
- Name
- Capacity
- Physical Address
- Mailing Address
- Assumed Business Name Information
- Assumed Name
- Record No.
- Status
- Filing History
- Filing Number
- Filing Date
- Effective Date
- Filing Type
- Actions
- Back to Home
Step 18. Access Entity Filings and Actions
In addition to the current information on file, this page also presents a history of entity filings. View a specific file or action by selecting it from the final column (“Actions”).