The New Mexico Secretary of State business entity search page is an invaluable tool both for those seeking to check business name availability and for those seeking an existing entity’s public information on file with the state. Since the state keeps such filings in a sizeable database, they provide a query tool to aid visitors in locating entity information.
Business Name Availability Check
State of New Mexico

Business Entity Search
Step 1. Visit New Mexico Secretary of State’s Business Search Page
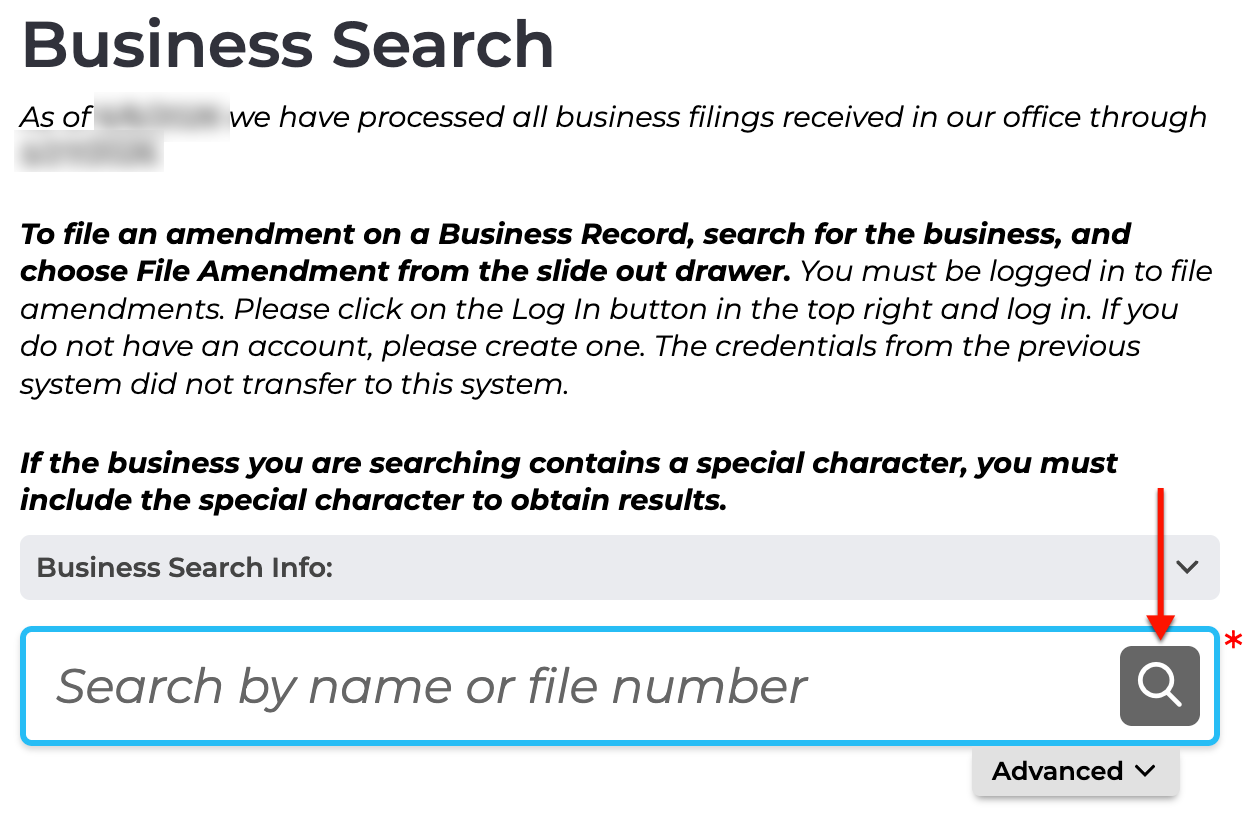
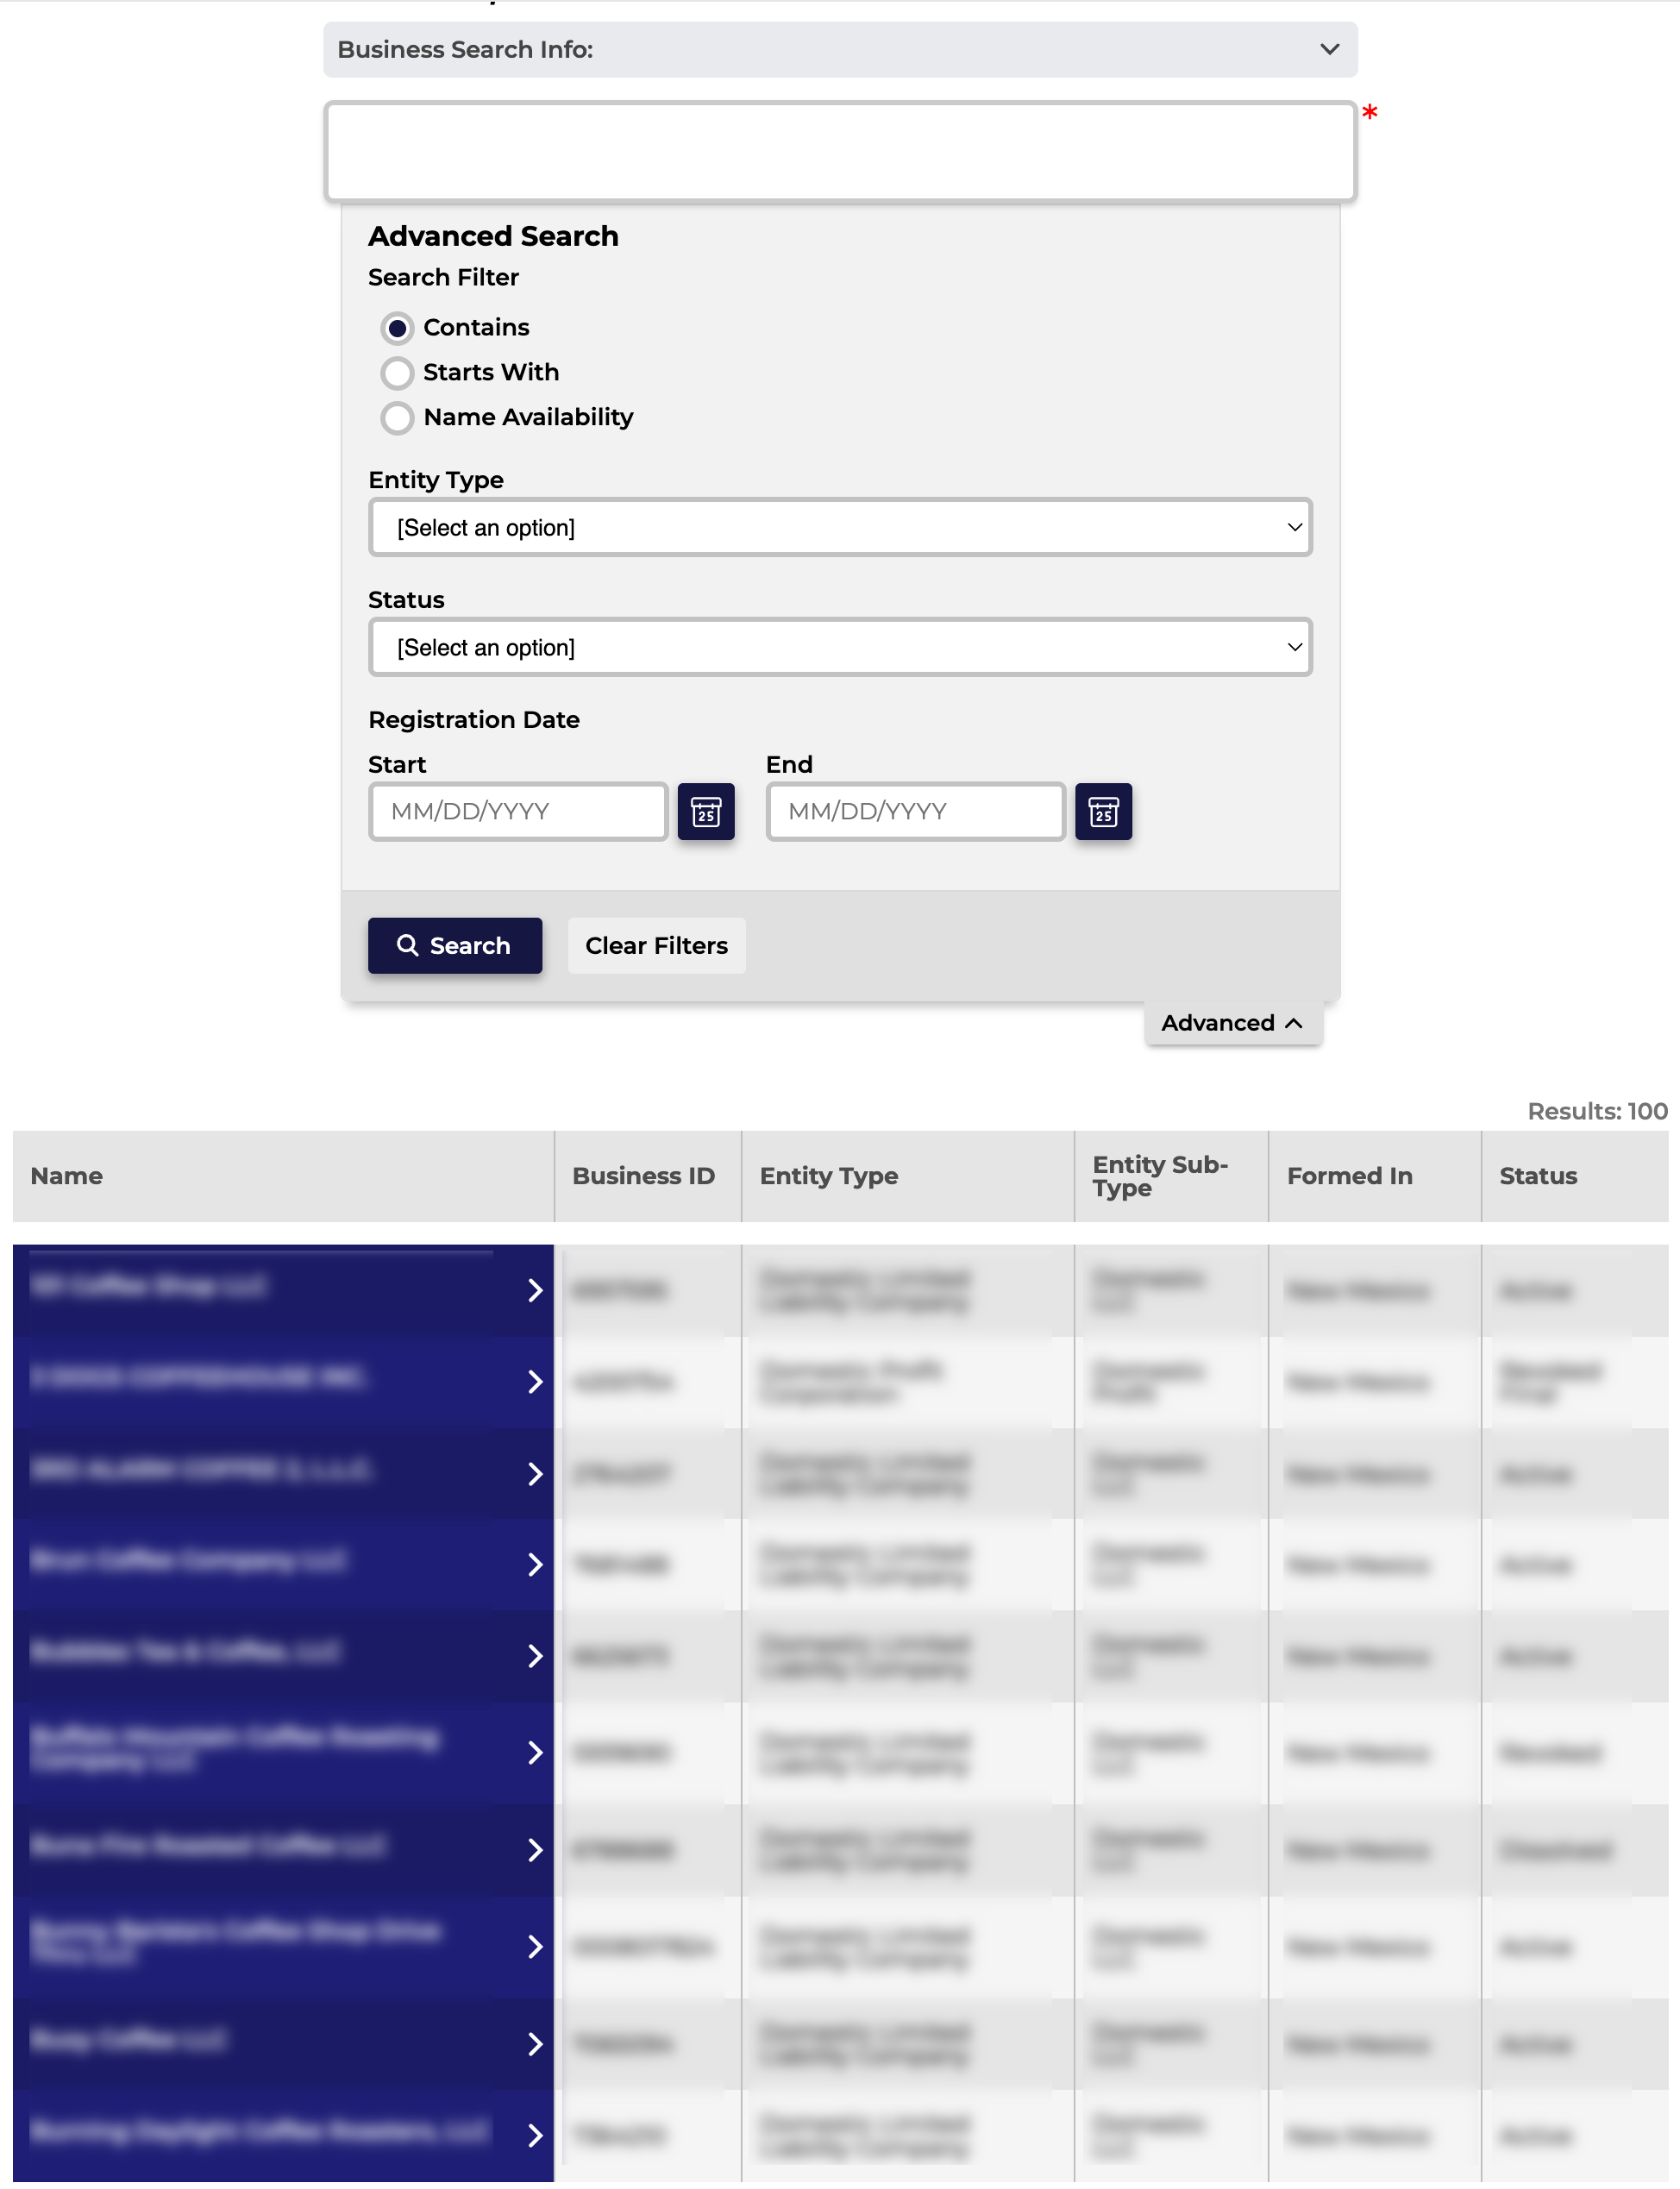
Open the business search page that New Mexico provides for public use. Take a moment to decide whether to run a basic search or an advanced search.
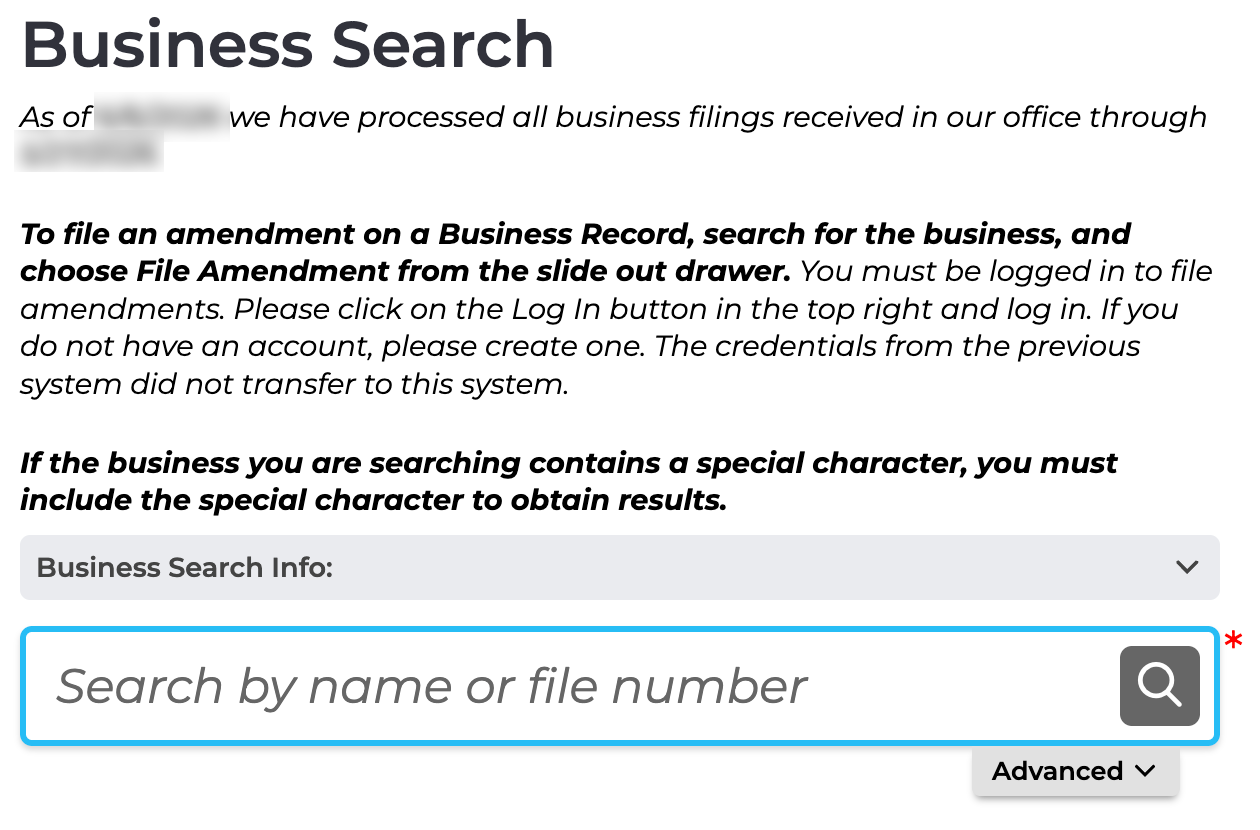
Step 2. Perform A Basic Business Name or File Number Search
Supply an entity’s partial or full name or file number to the text box. You may use a keyword, but this typically yields a large number of results. Continue to Step 8.
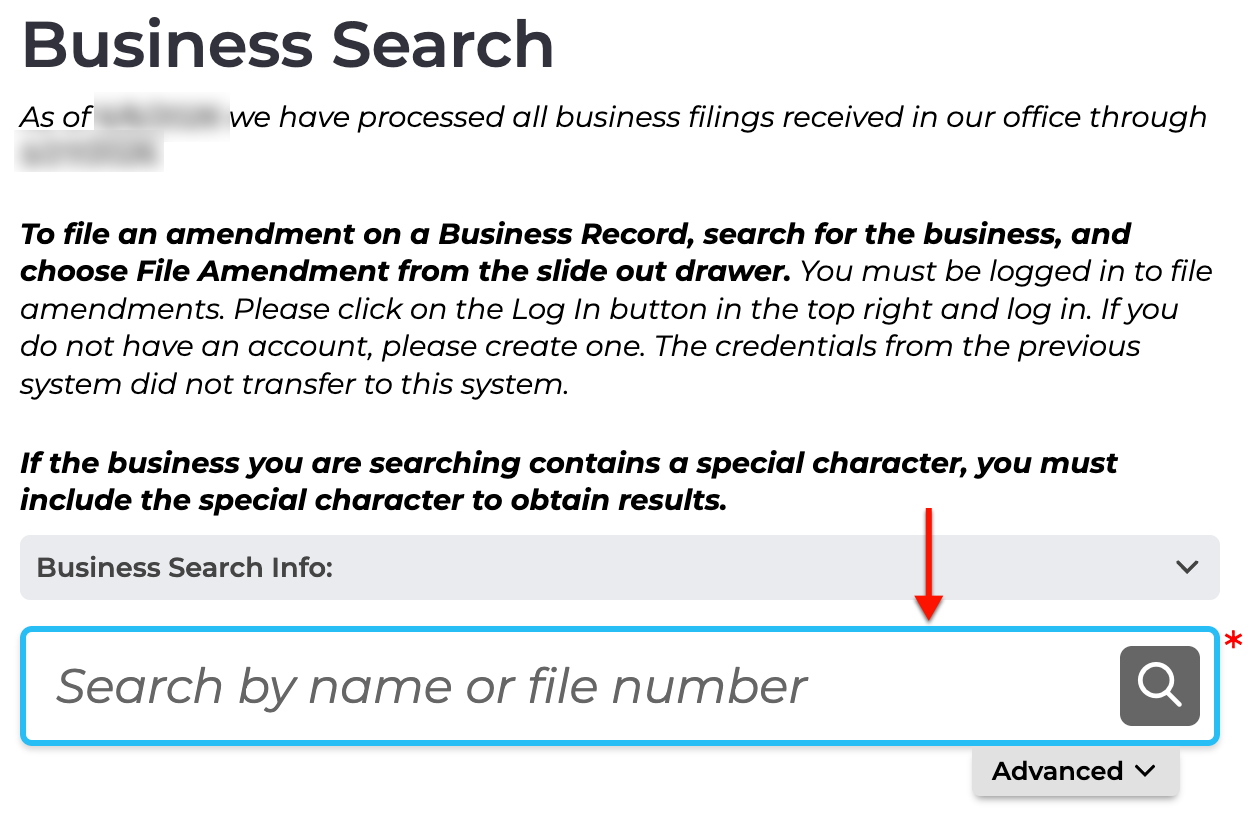
Step 3. Access and Apply Advanced Criteria and Filters
Locate and select the tab labeled “Advanced” to use advanced search features. This will narrow the number of results by focusing the query on specific criteria.
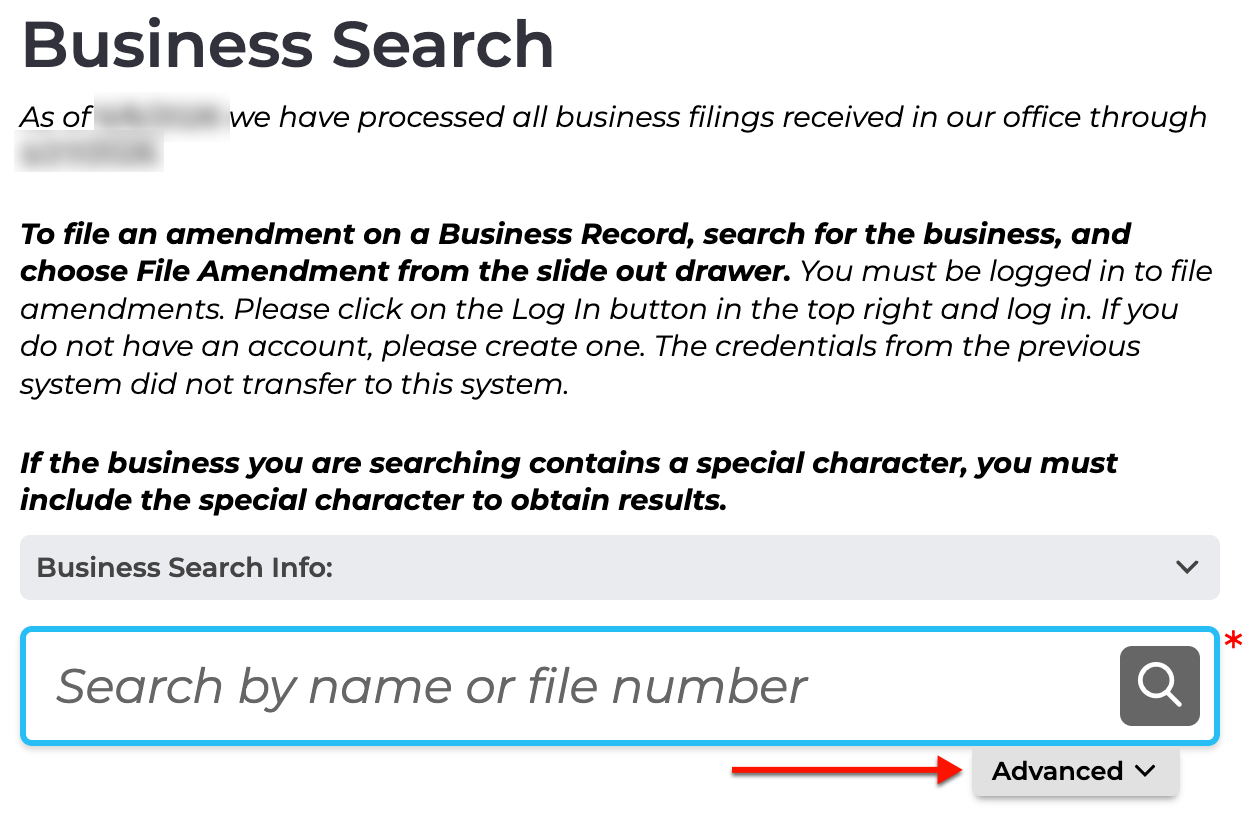
Step 4. Filter By Keyword Strength
Select one of the radio buttons to indicate the search method the query should use. Note that the name availability option only reflects what is currently on file.
- Search Filter
- Contains
- Starts With
- Name Availability
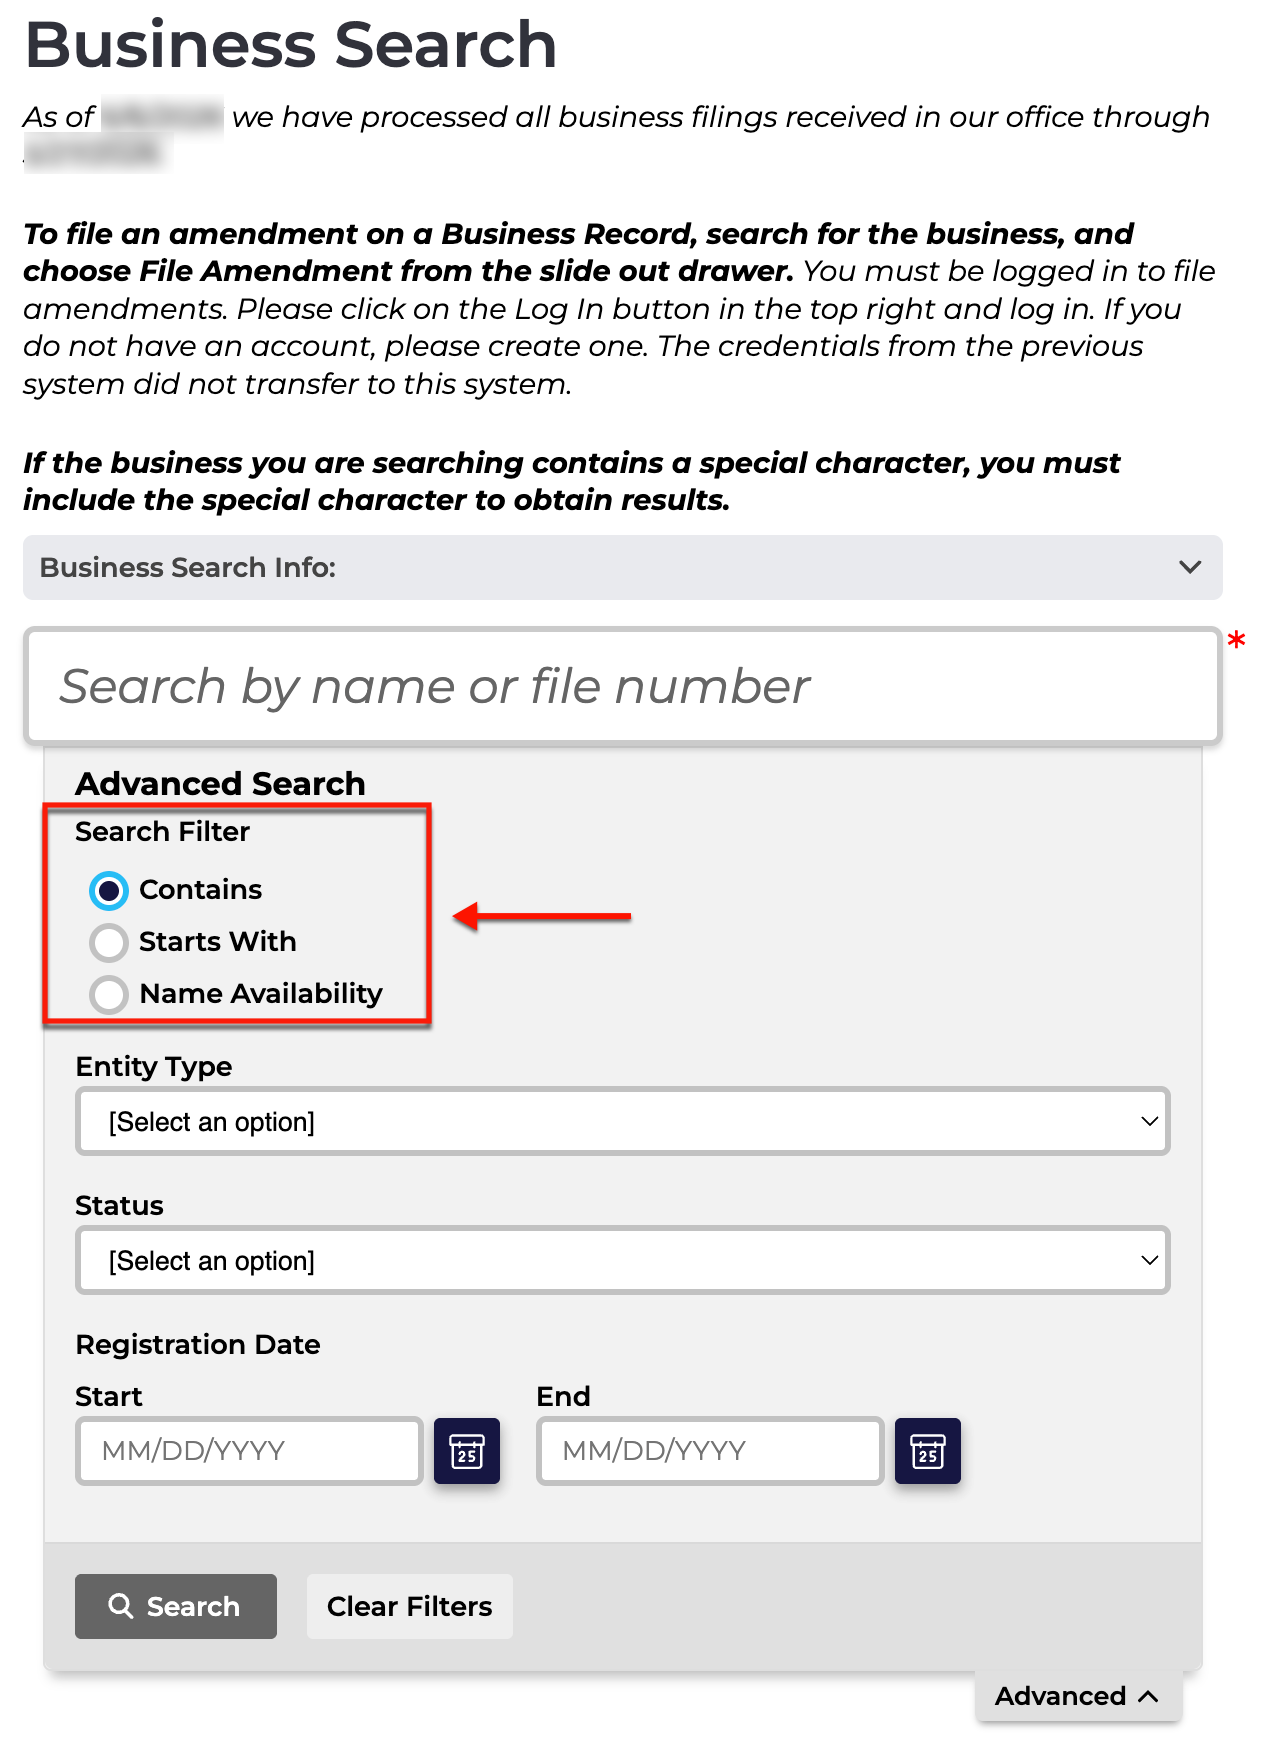
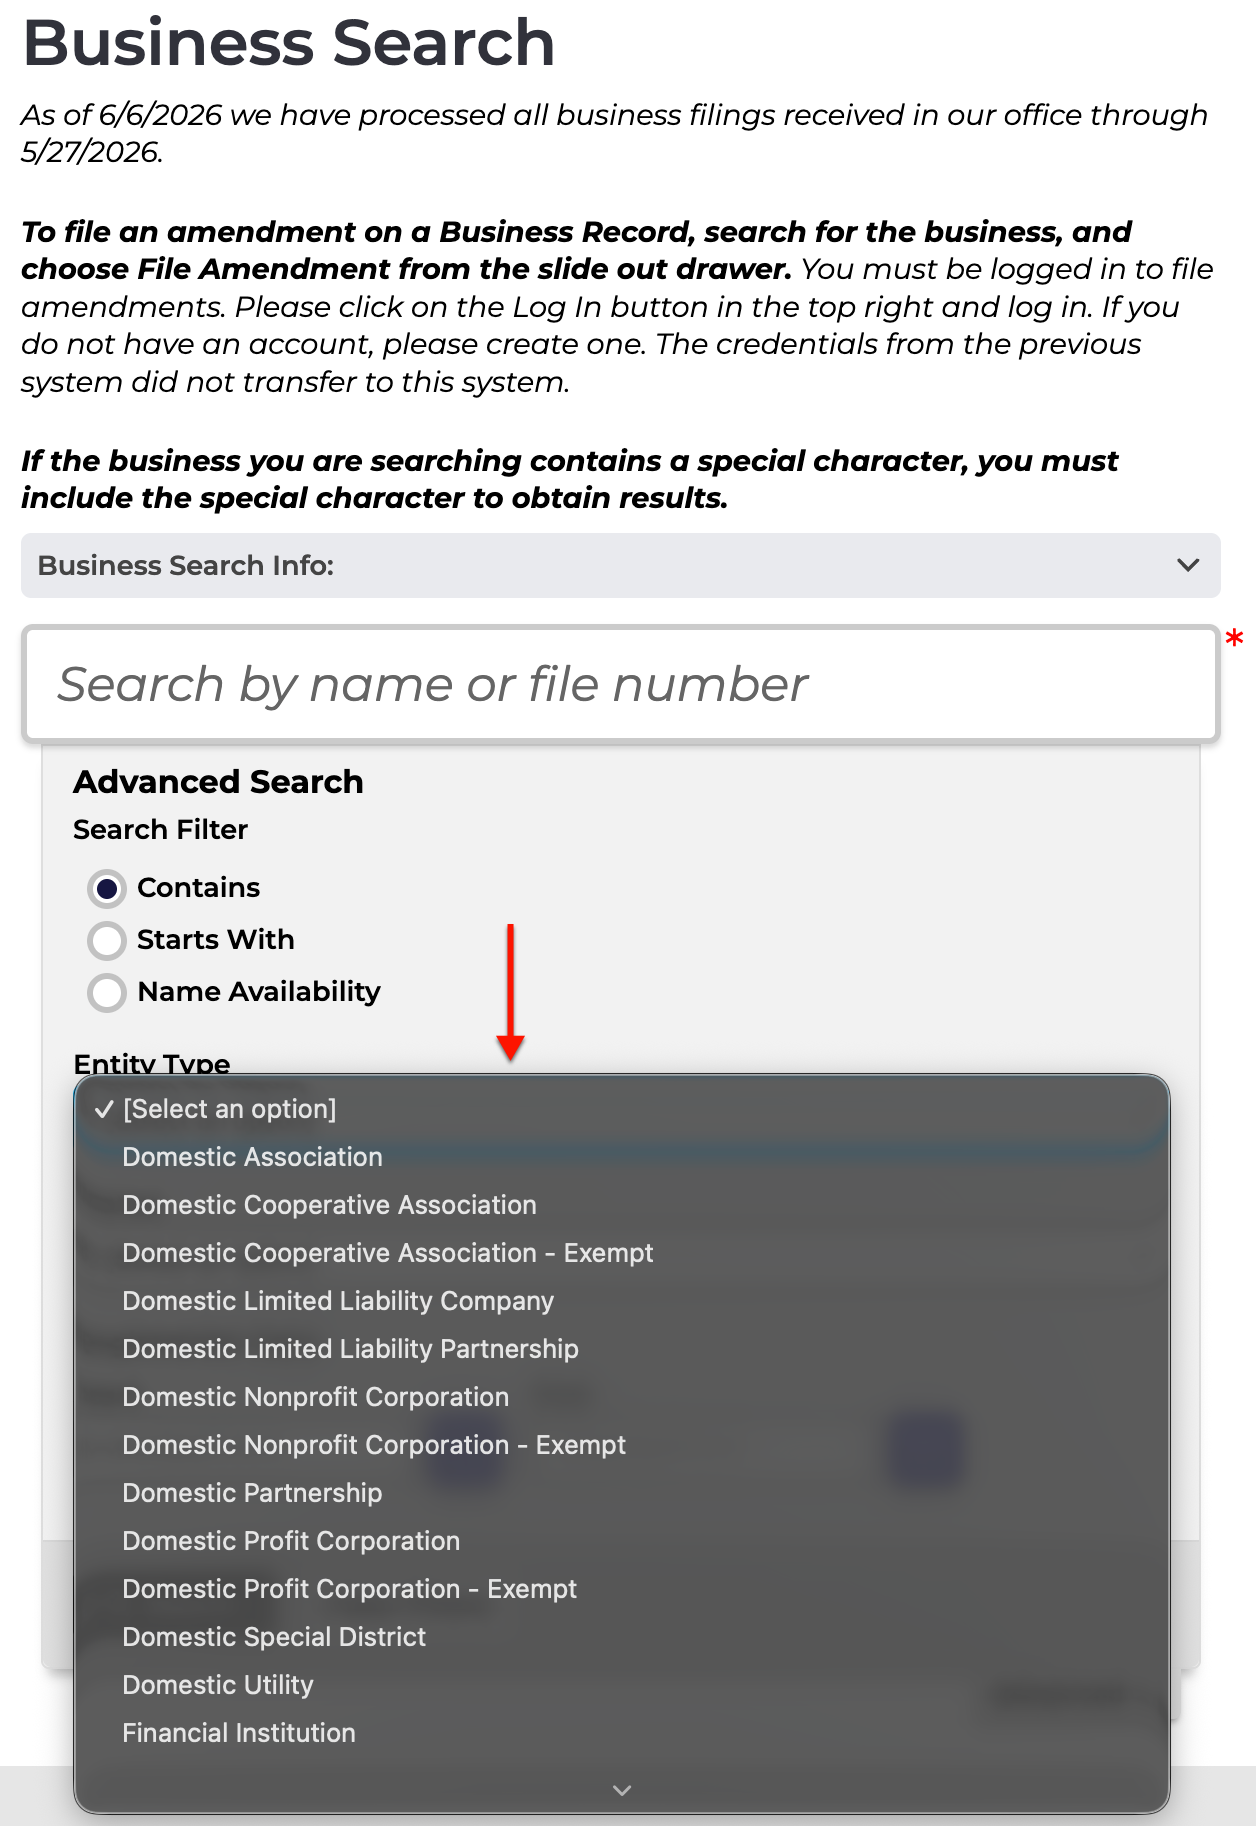
Step 5. Look For A Specific Entity Type
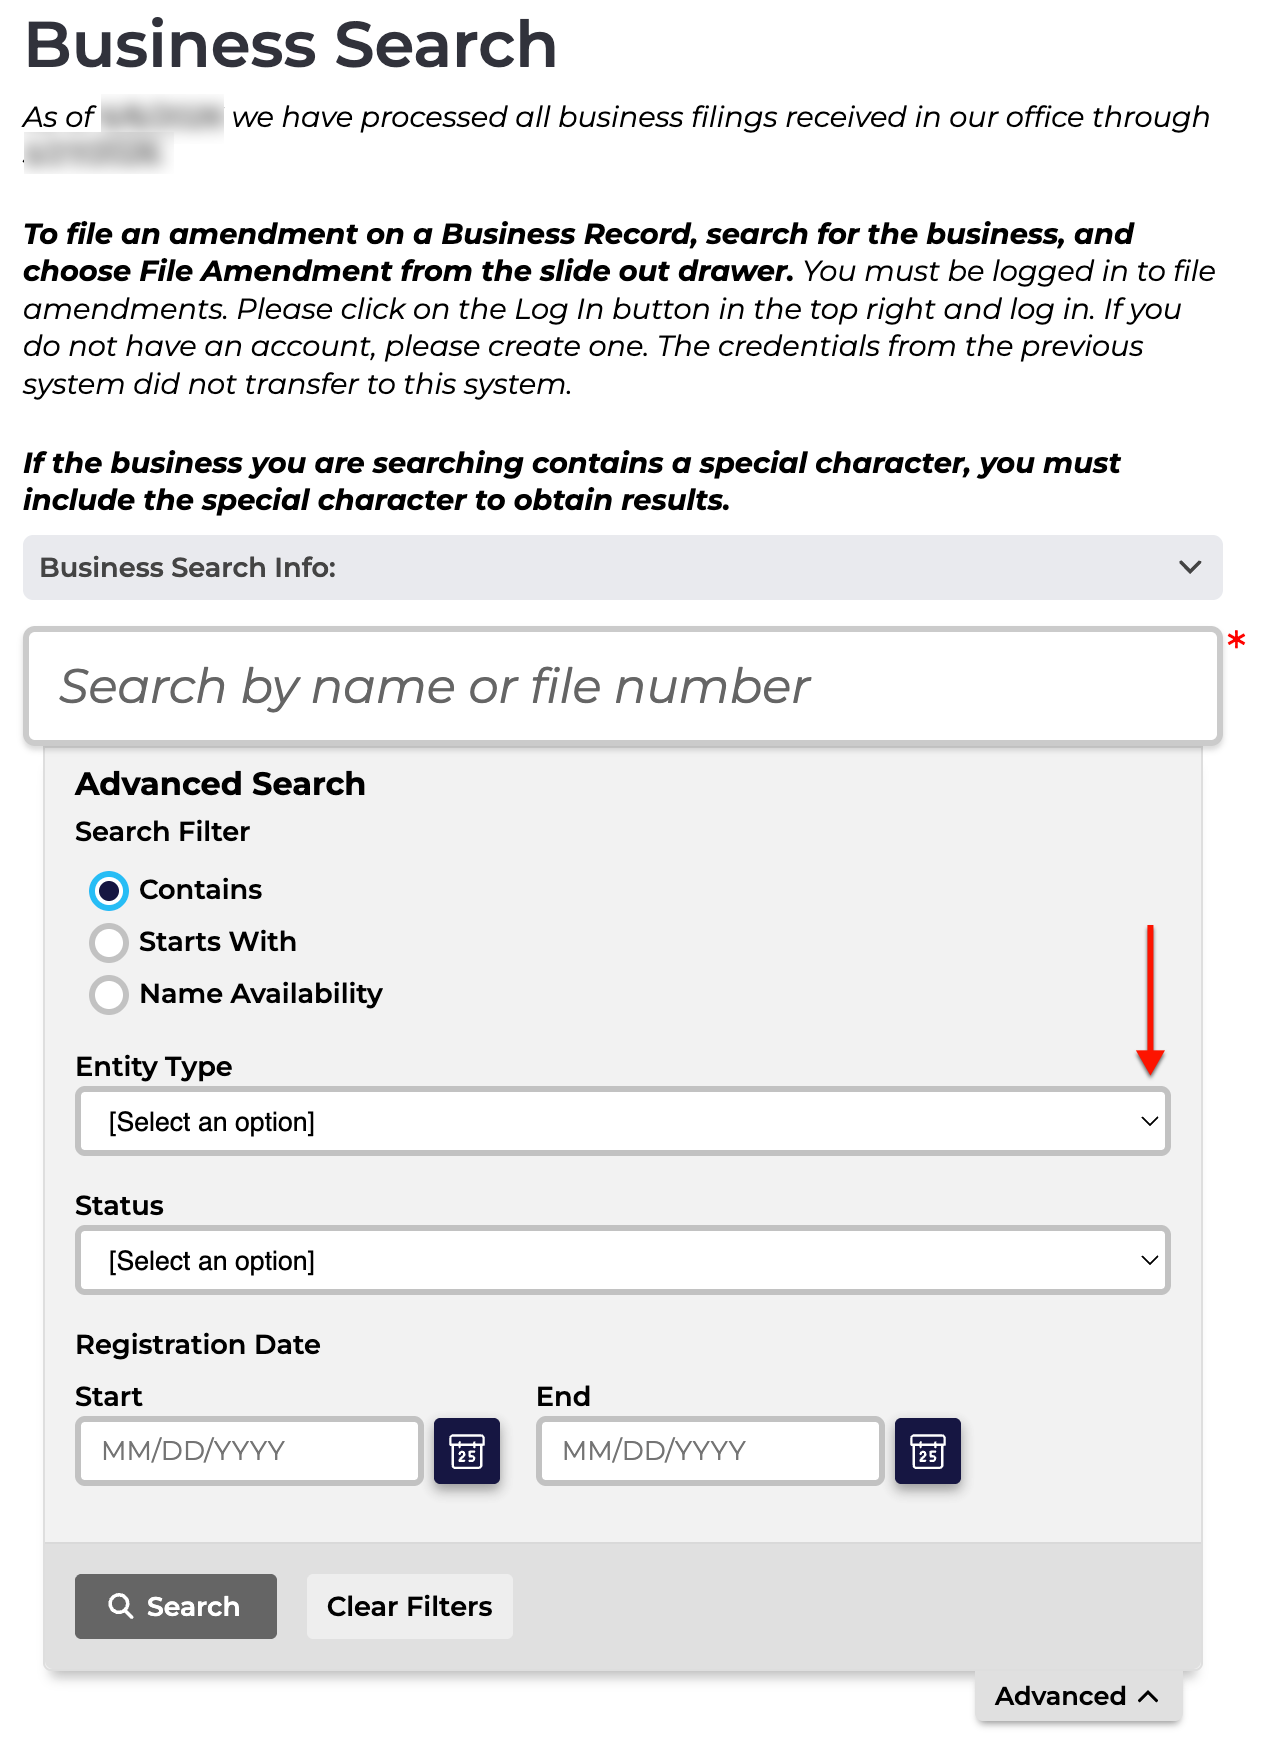
Locate the drop-down menu for “Entity Type” (see image), then look through its options. If this is known, select the appropriate classification for the entity from this list.
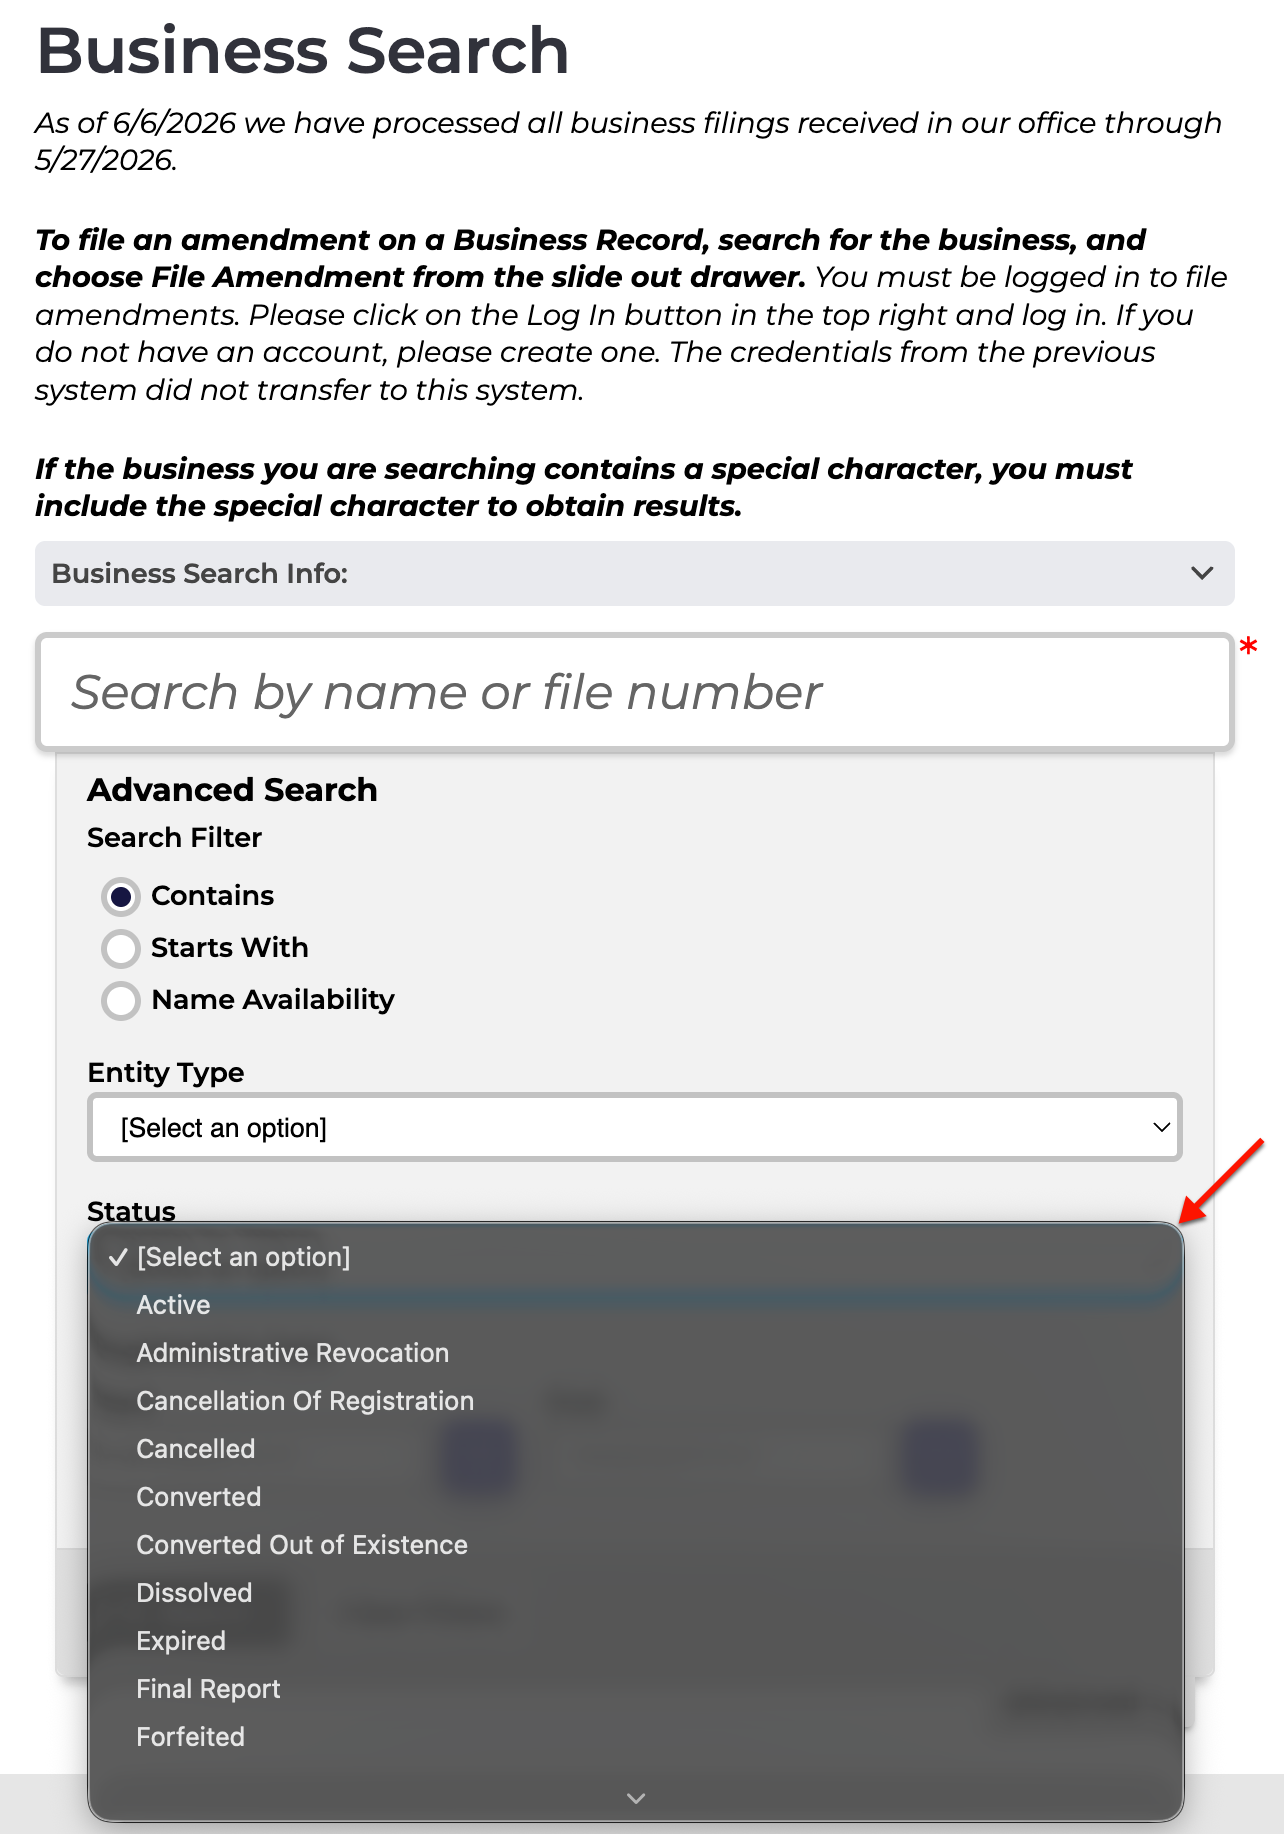
Step 6. Attach the Entity Status as a Requirement
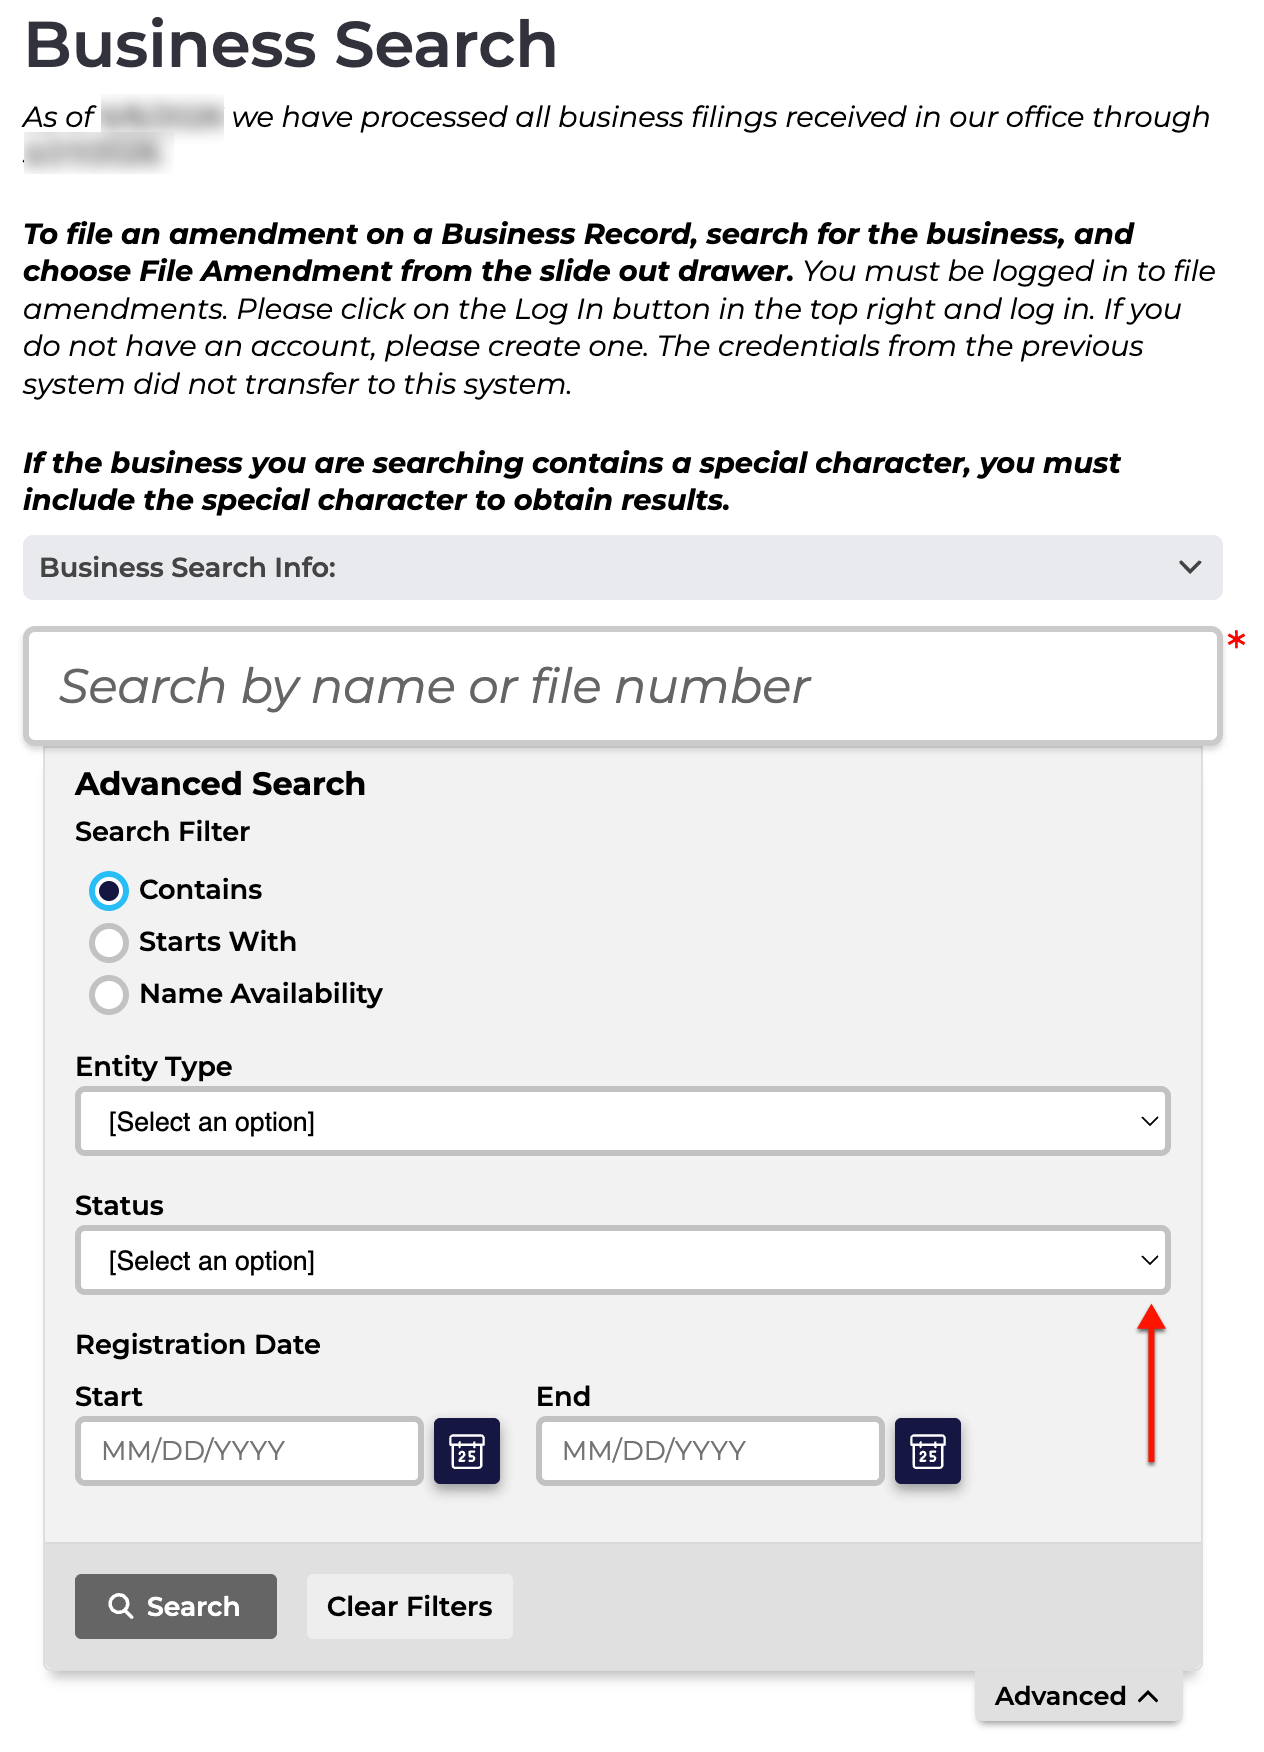
Continue to the next drop-down menu (see image) in order to set the query to filter matching results according to a specific status. This is especially useful in filtering out inactive entities.
Step 7. Disregard Entities Outside of Calendar Range
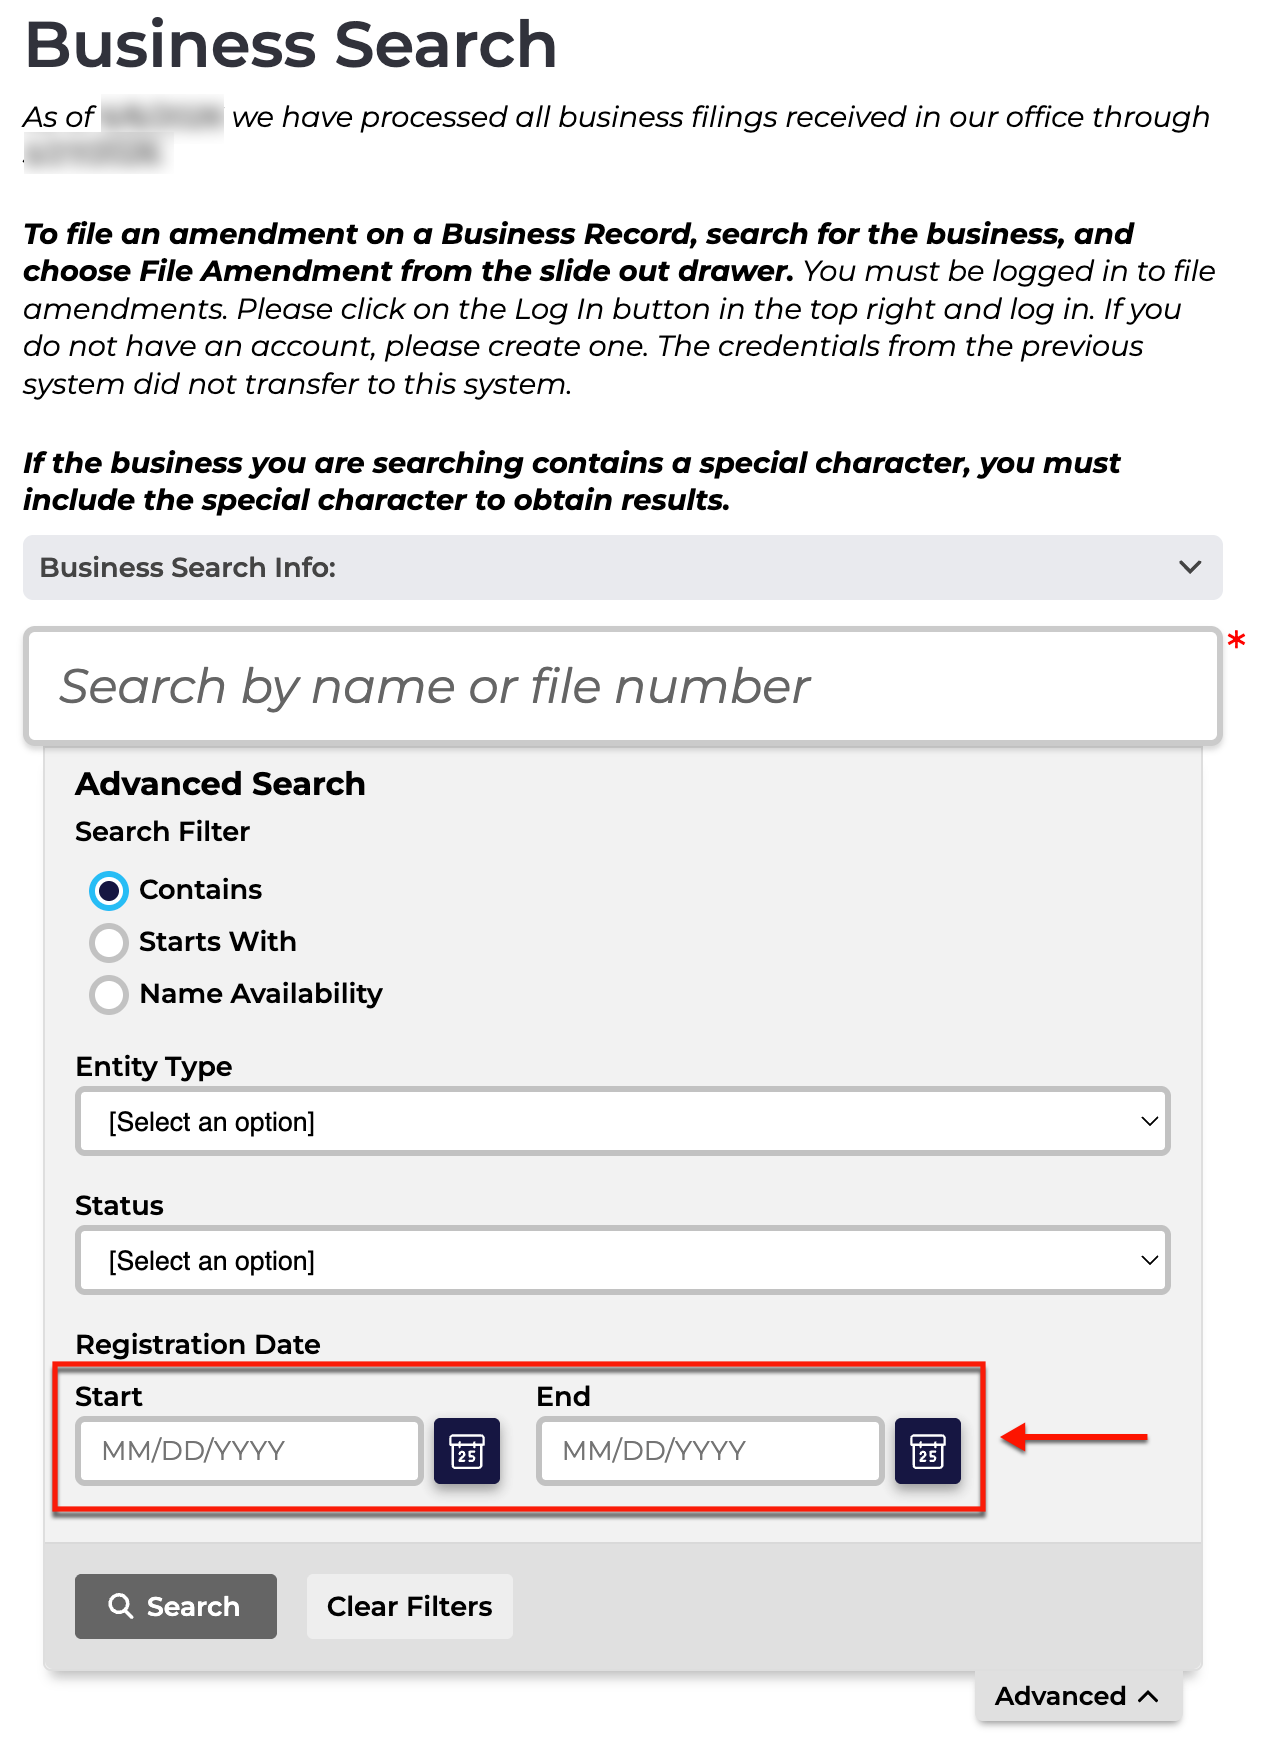
Attach the target entity’s registration date to the search item by setting a range with the calendar tool. It is recommended to use a range of at least 3 days.
Step 8. Employ the Query
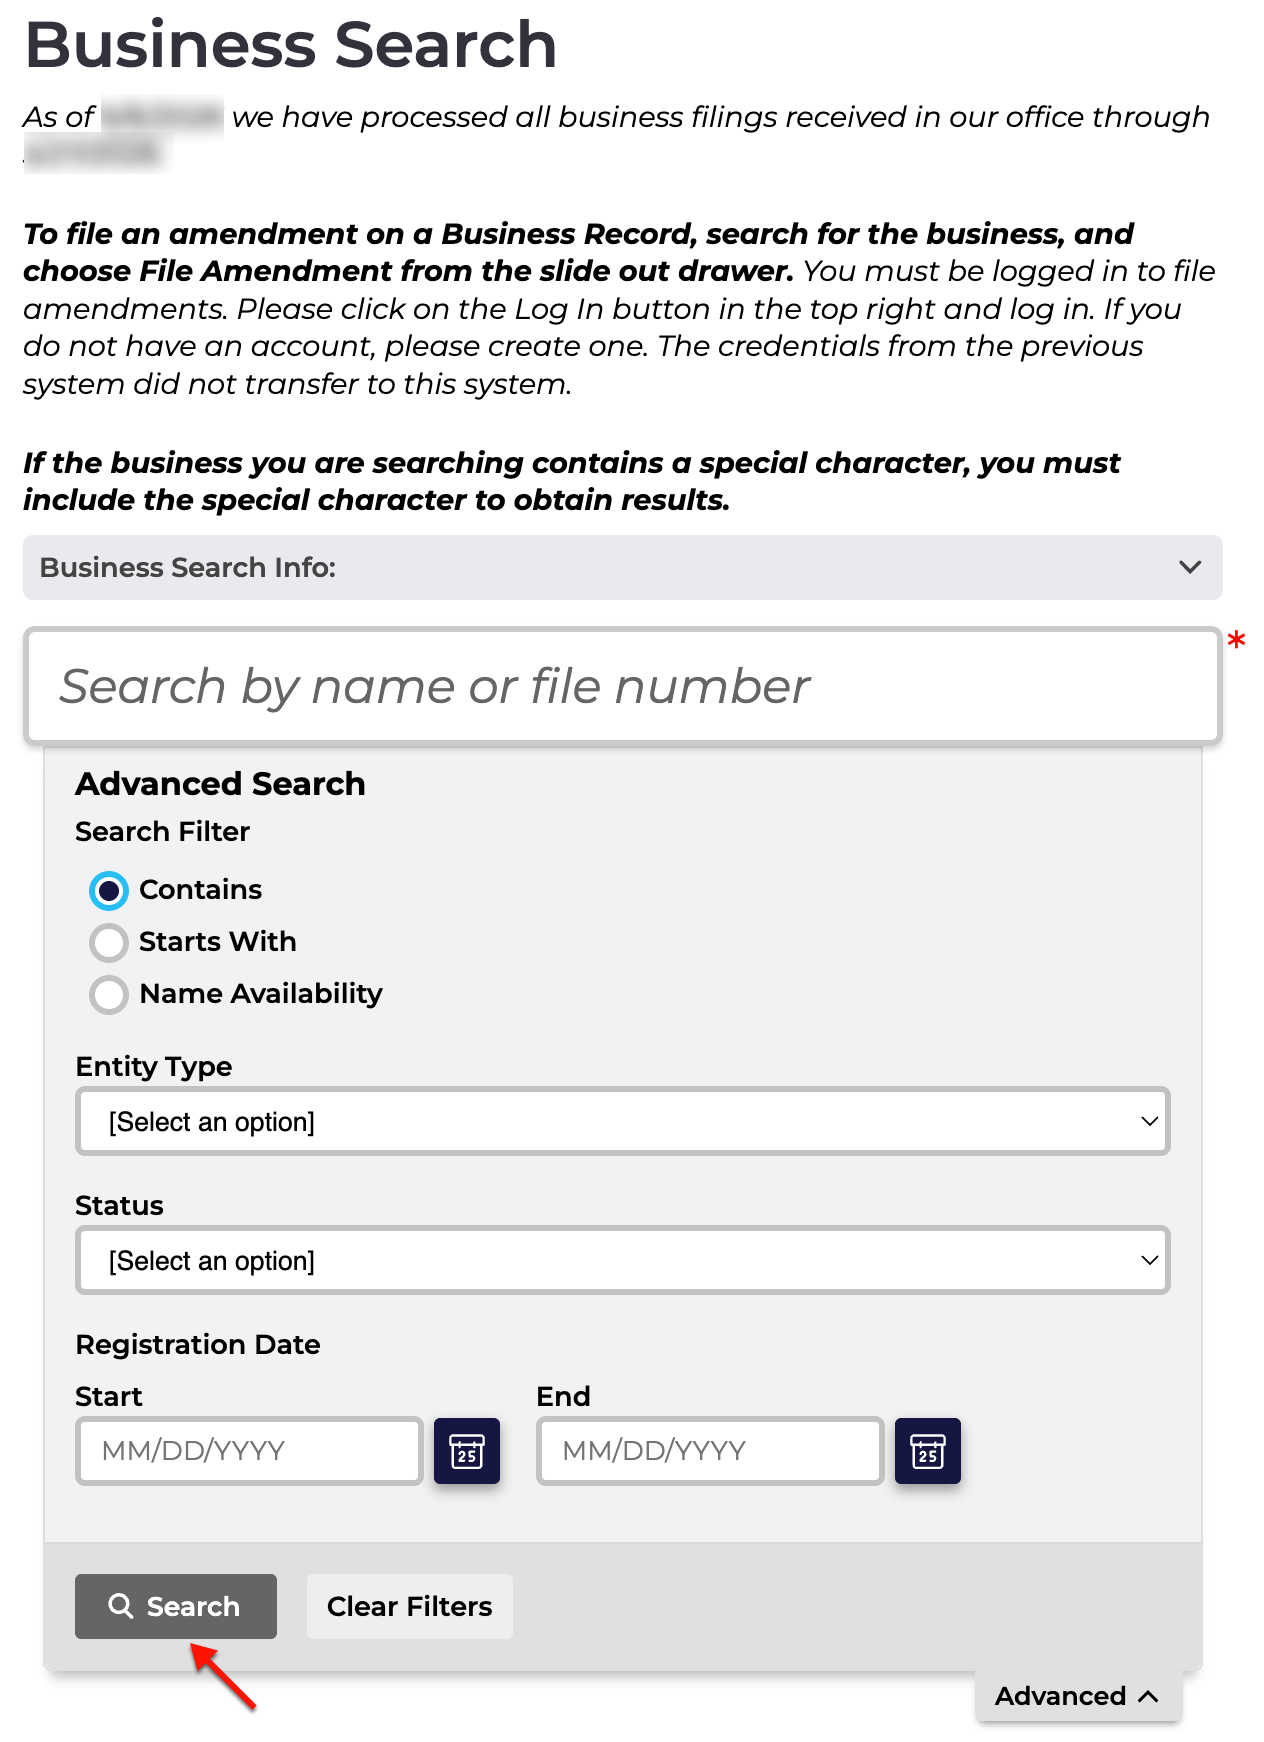
If continuing from Step 2, then select the magnifying glass from the text box area (see image). However, if this is an advanced search, select the word “Search.”
Step 9. Review Onscreen Query Results
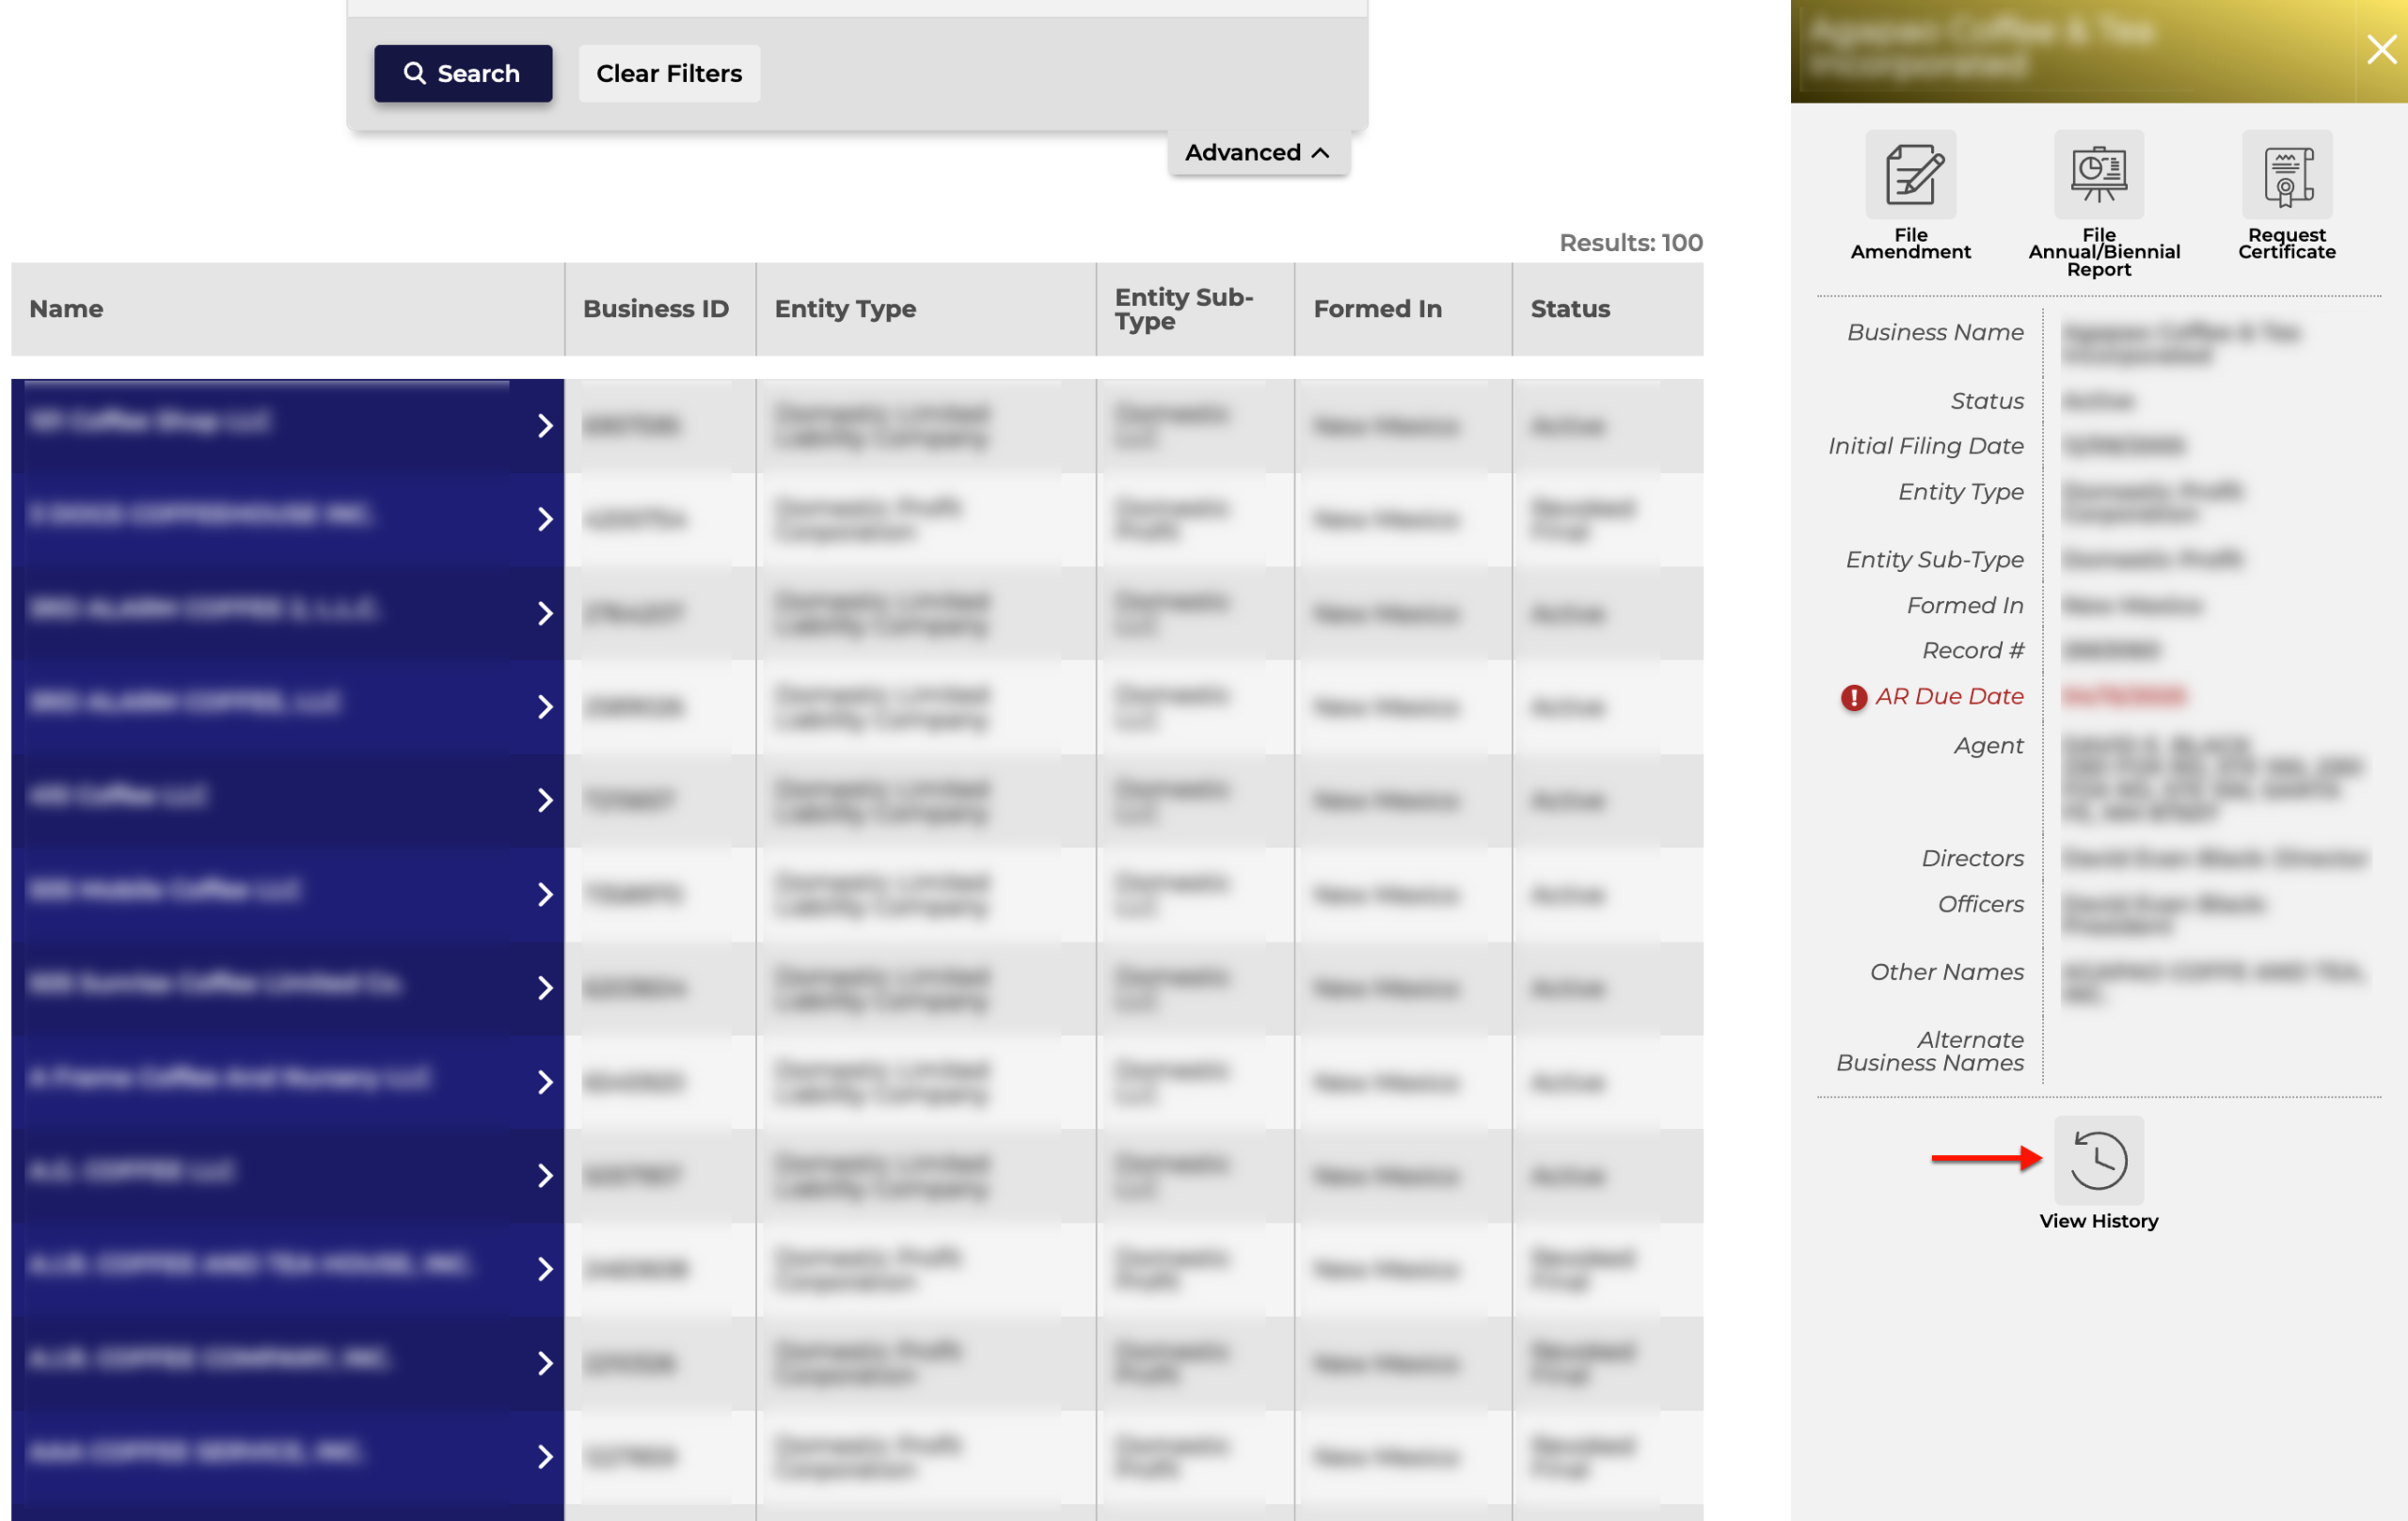
Direct your attention to the table that appears below the search tool. Scroll through the names in the first column for the target and verify its relevance with the supporting information.
- Business ID
- Type
- Name
- Name Type
- Filing Date
- Status
Step 10. Access the Target Entity’s Information
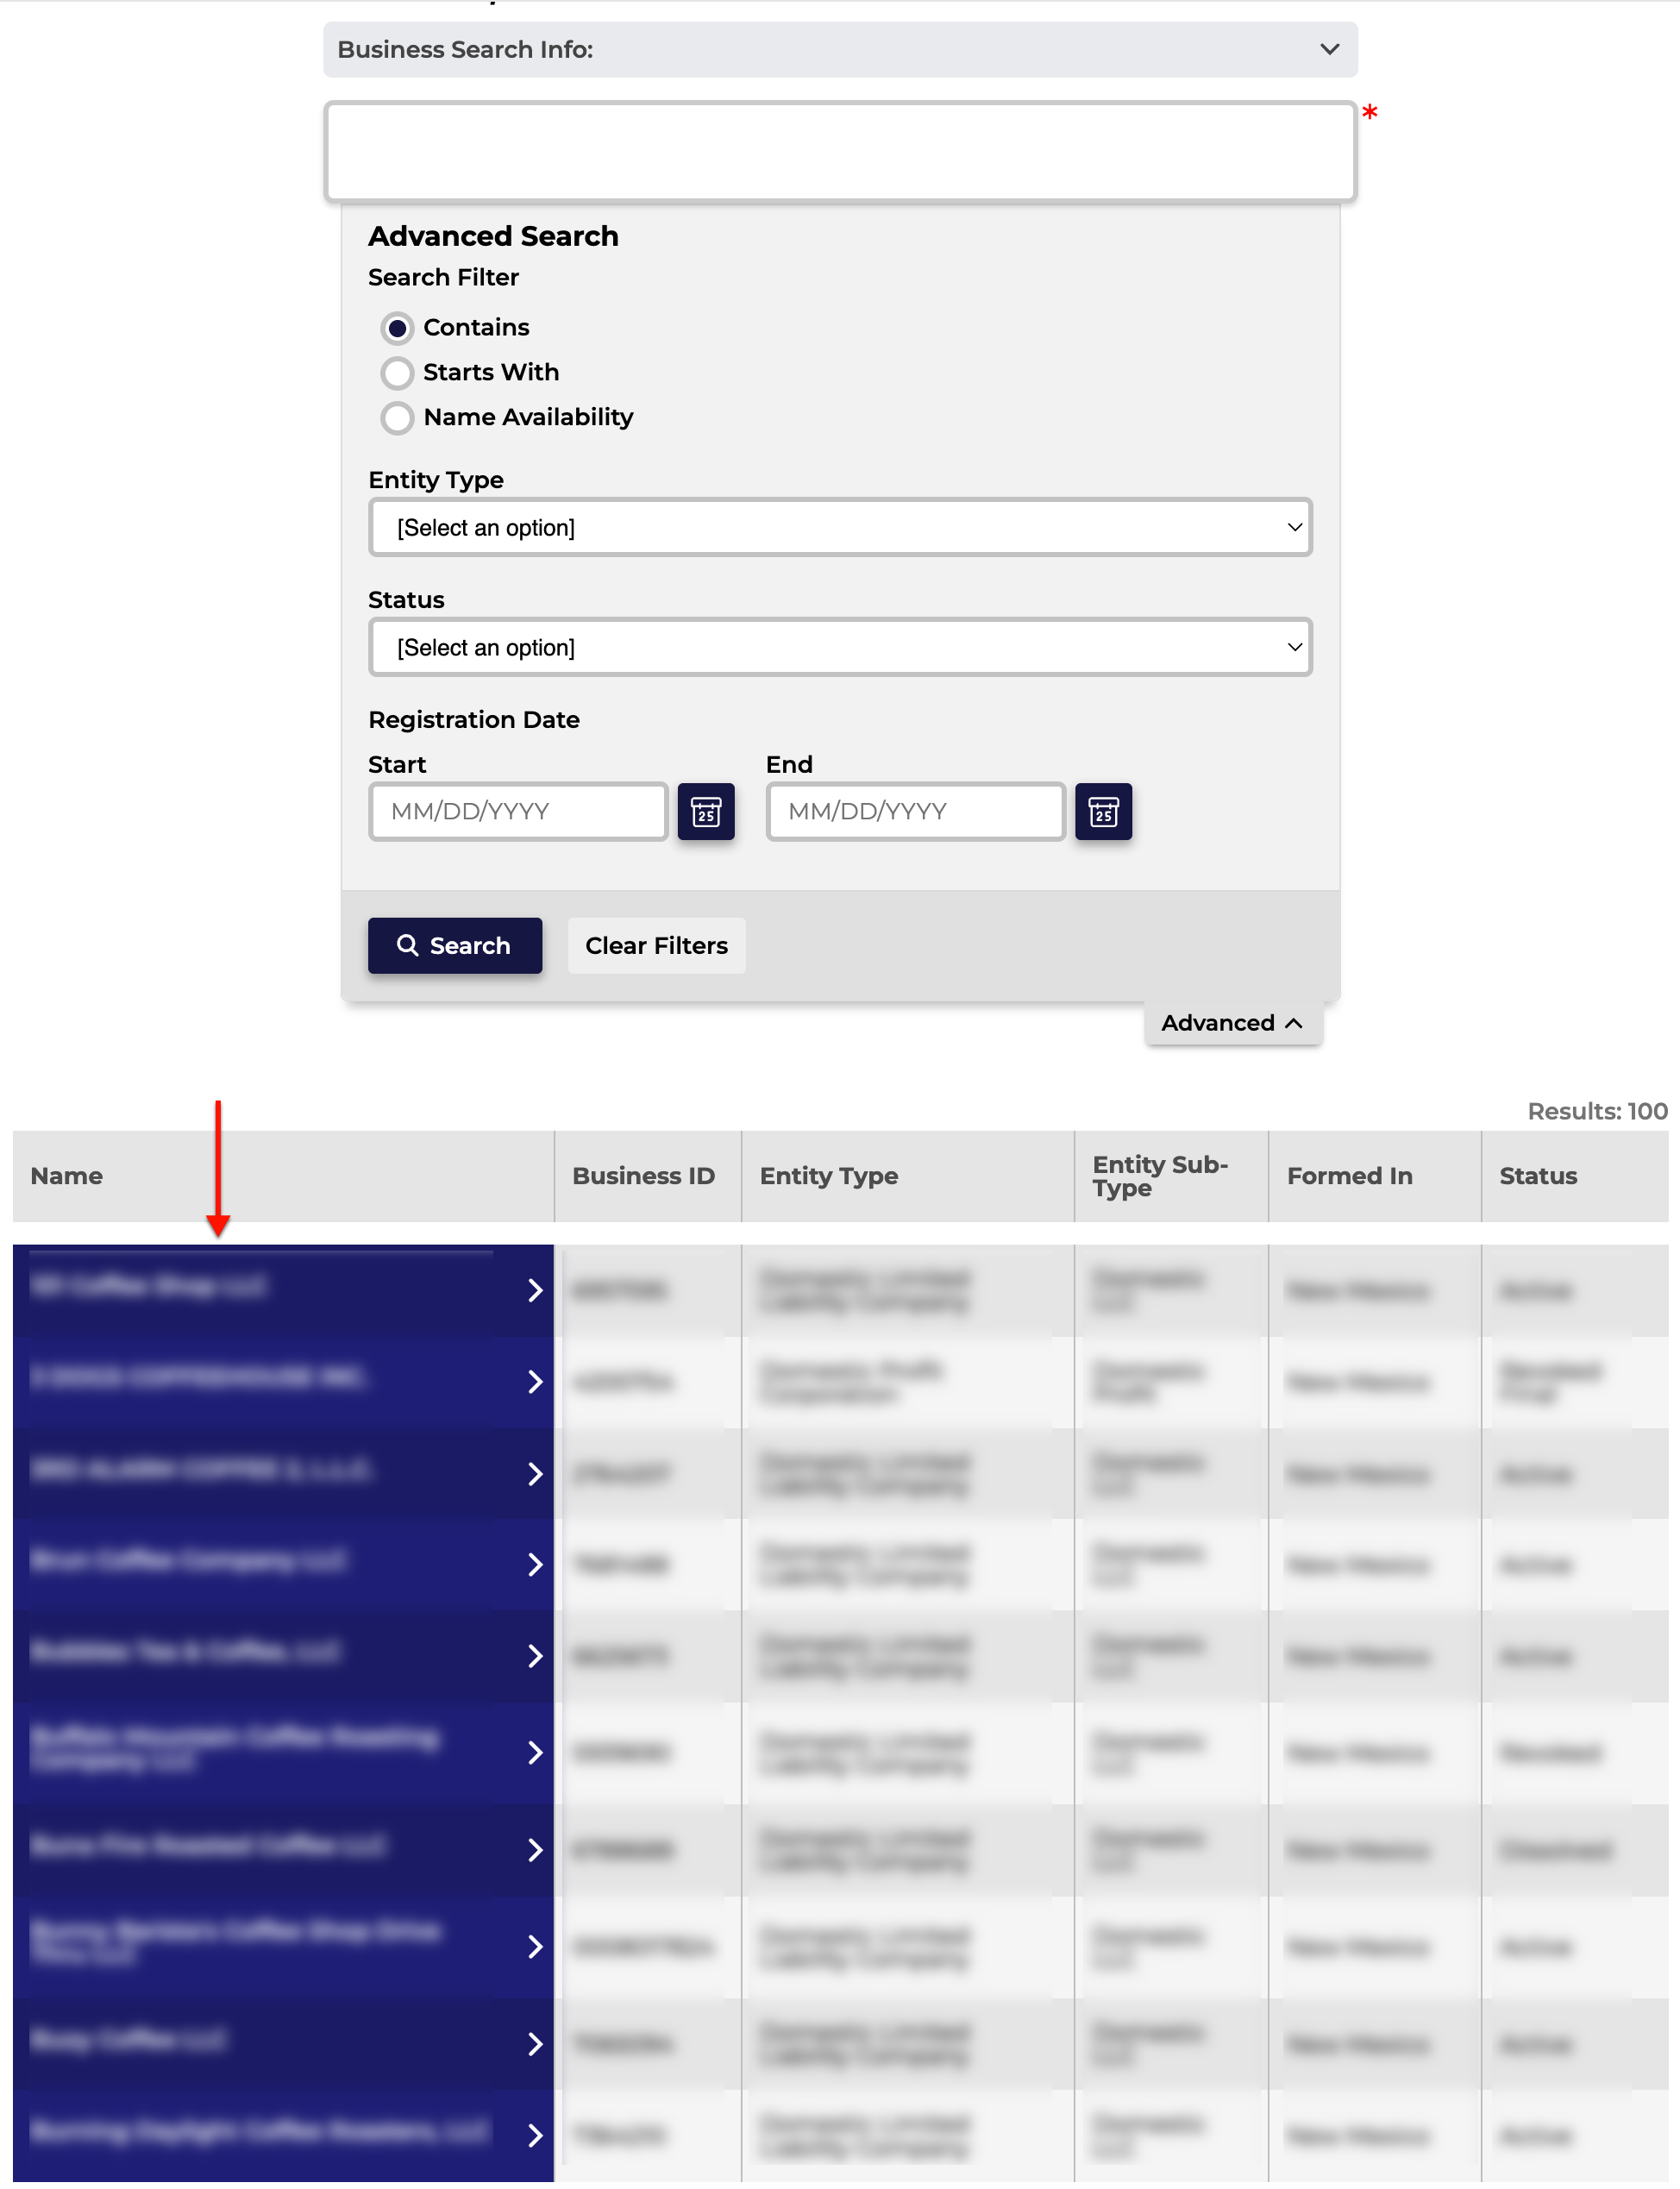
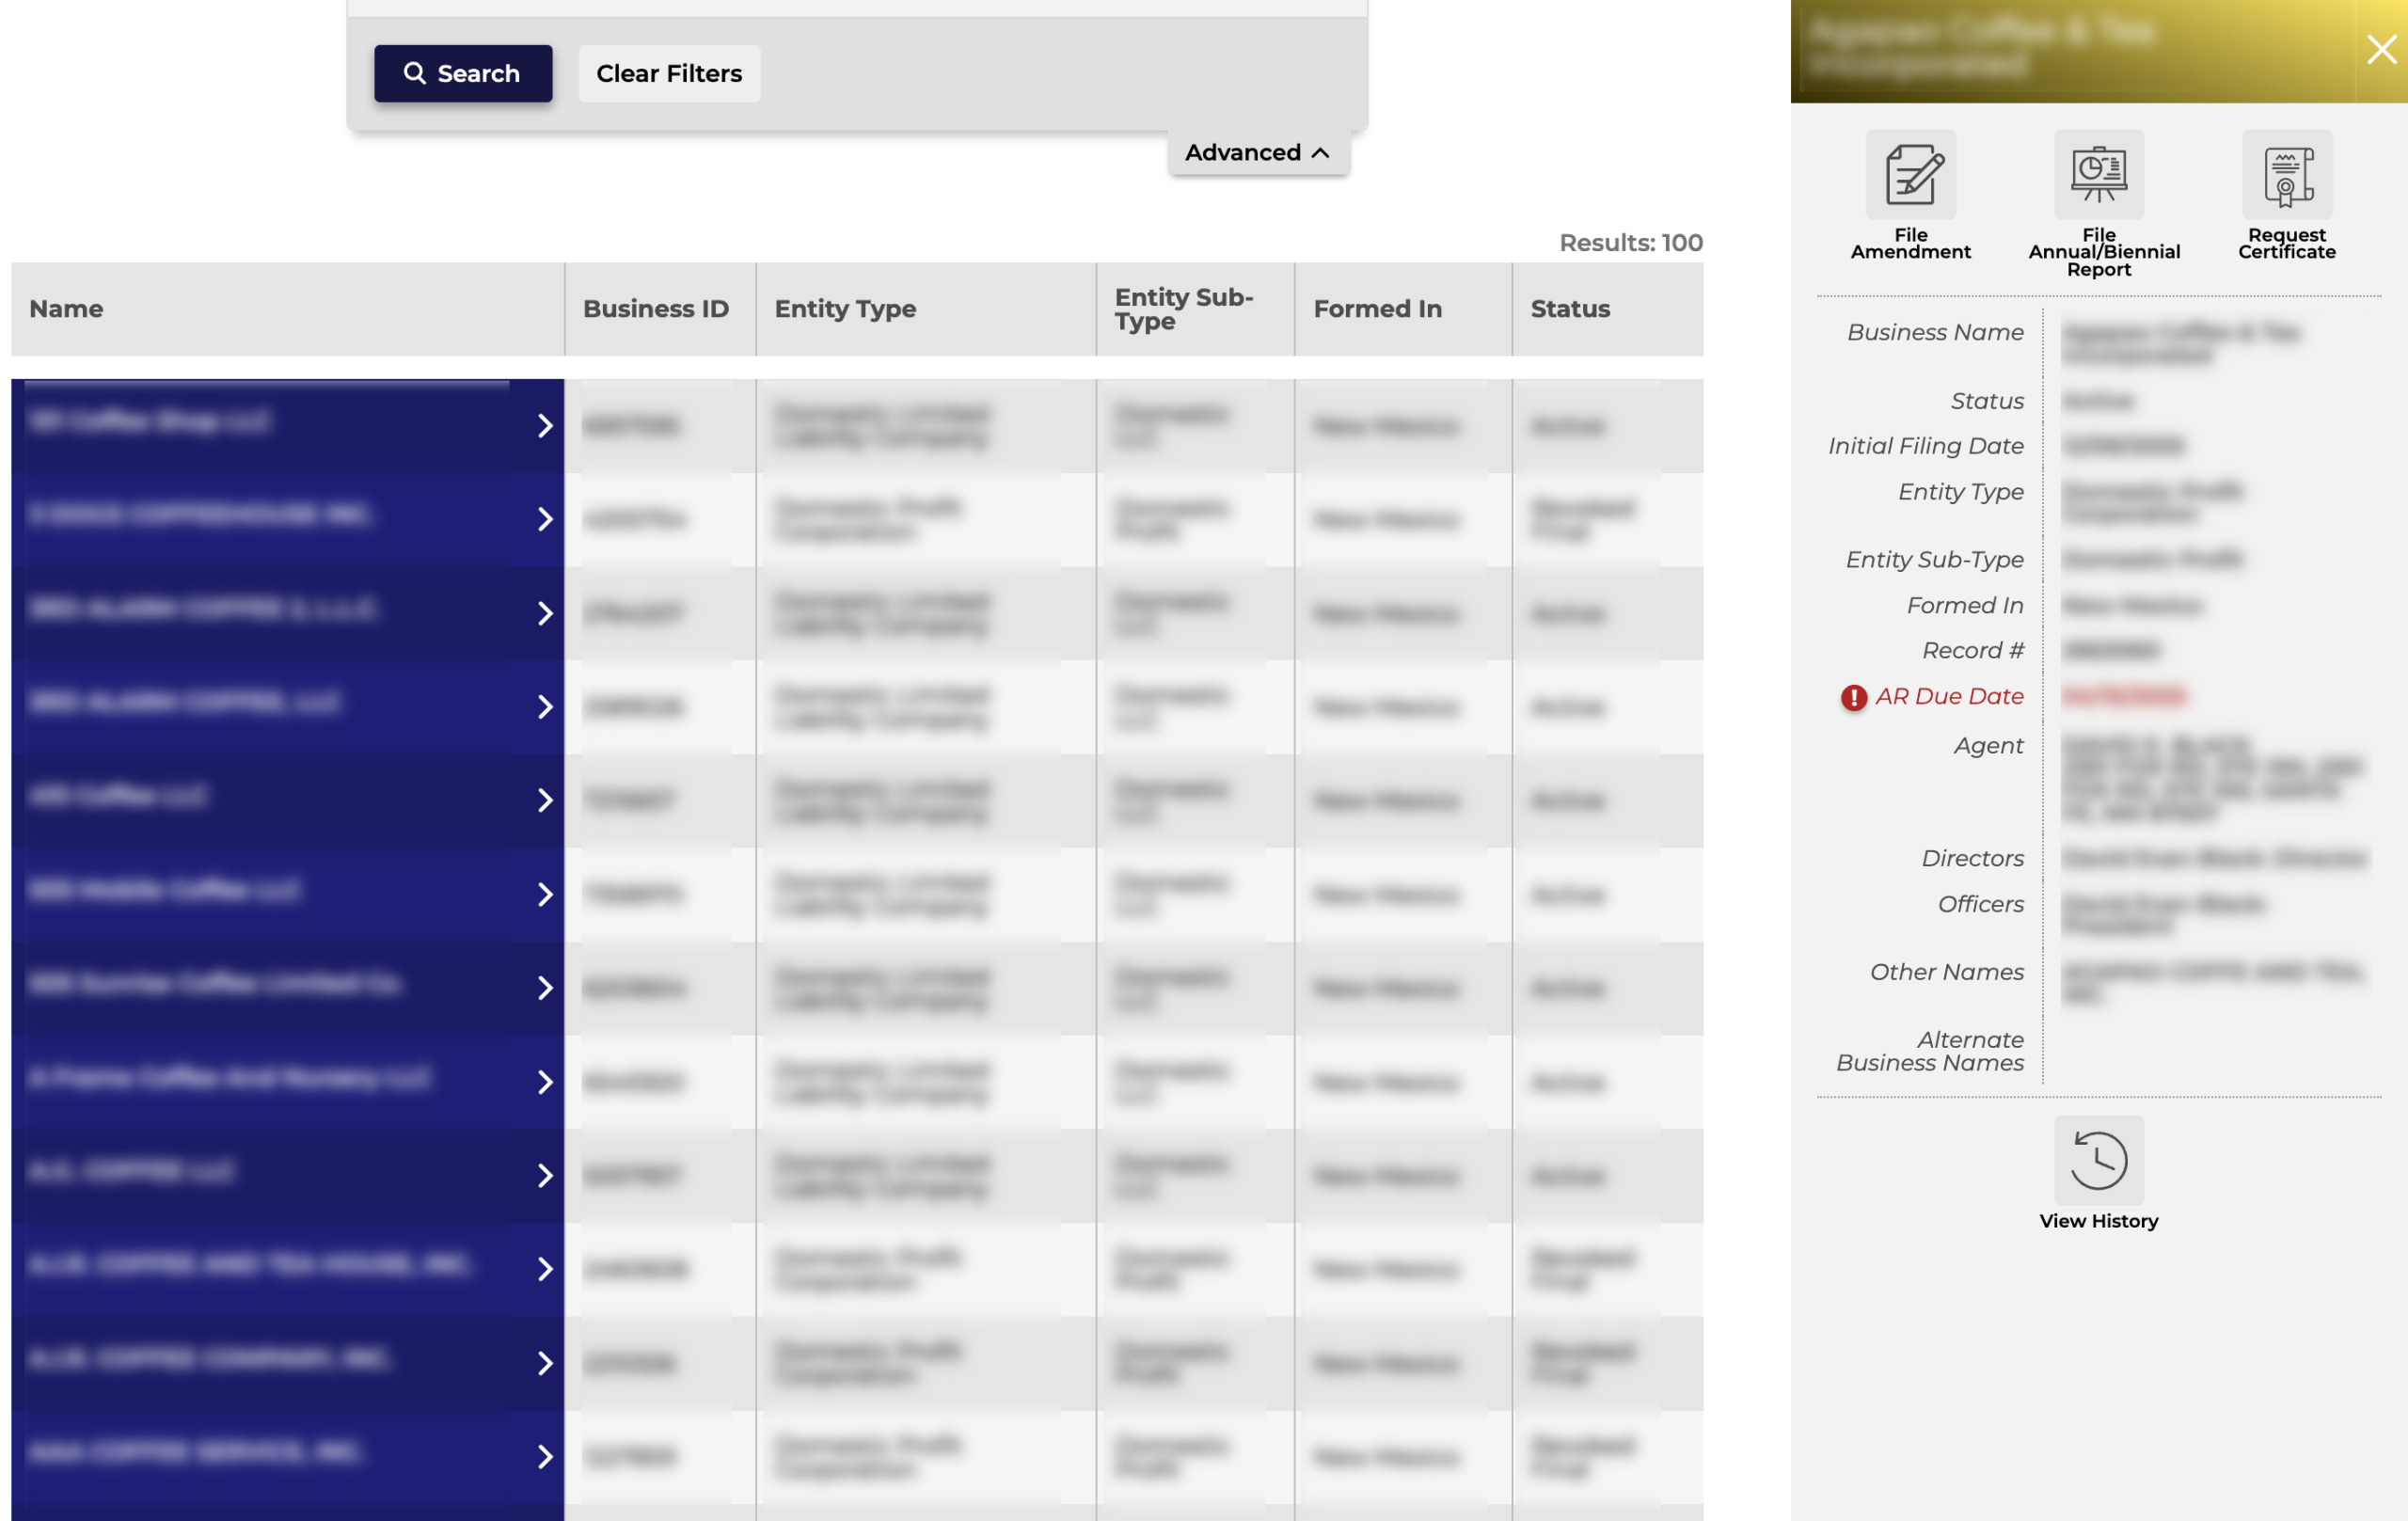
Once you locate an entity to investigate, click on its name. Notice the browser remains on this page while a side panel with the entity details appears.
Step 11. Obtaining The New Mexico Entity’s Details
Read through the entity’s information. Note the buttons along the top are geared for entity actions; however, you may select “View History” (see image) to examine entity filings with the state.
- Business Corporation – Domestic
- Business ID
- Name
- Status
- Formed In
- Term of Duration
- Principal Office
- Shares of Stock
- Initial Filing Date
- Next Annual Report Due Date
- Inactive Date
- Mailing Address
- Registered Agent
- Agent Name
- Agent Address
- Agent Mailing Address
- History
- Type
- File Date
- View All Document Links
- Detail
Step 12. Selecting Filing Records
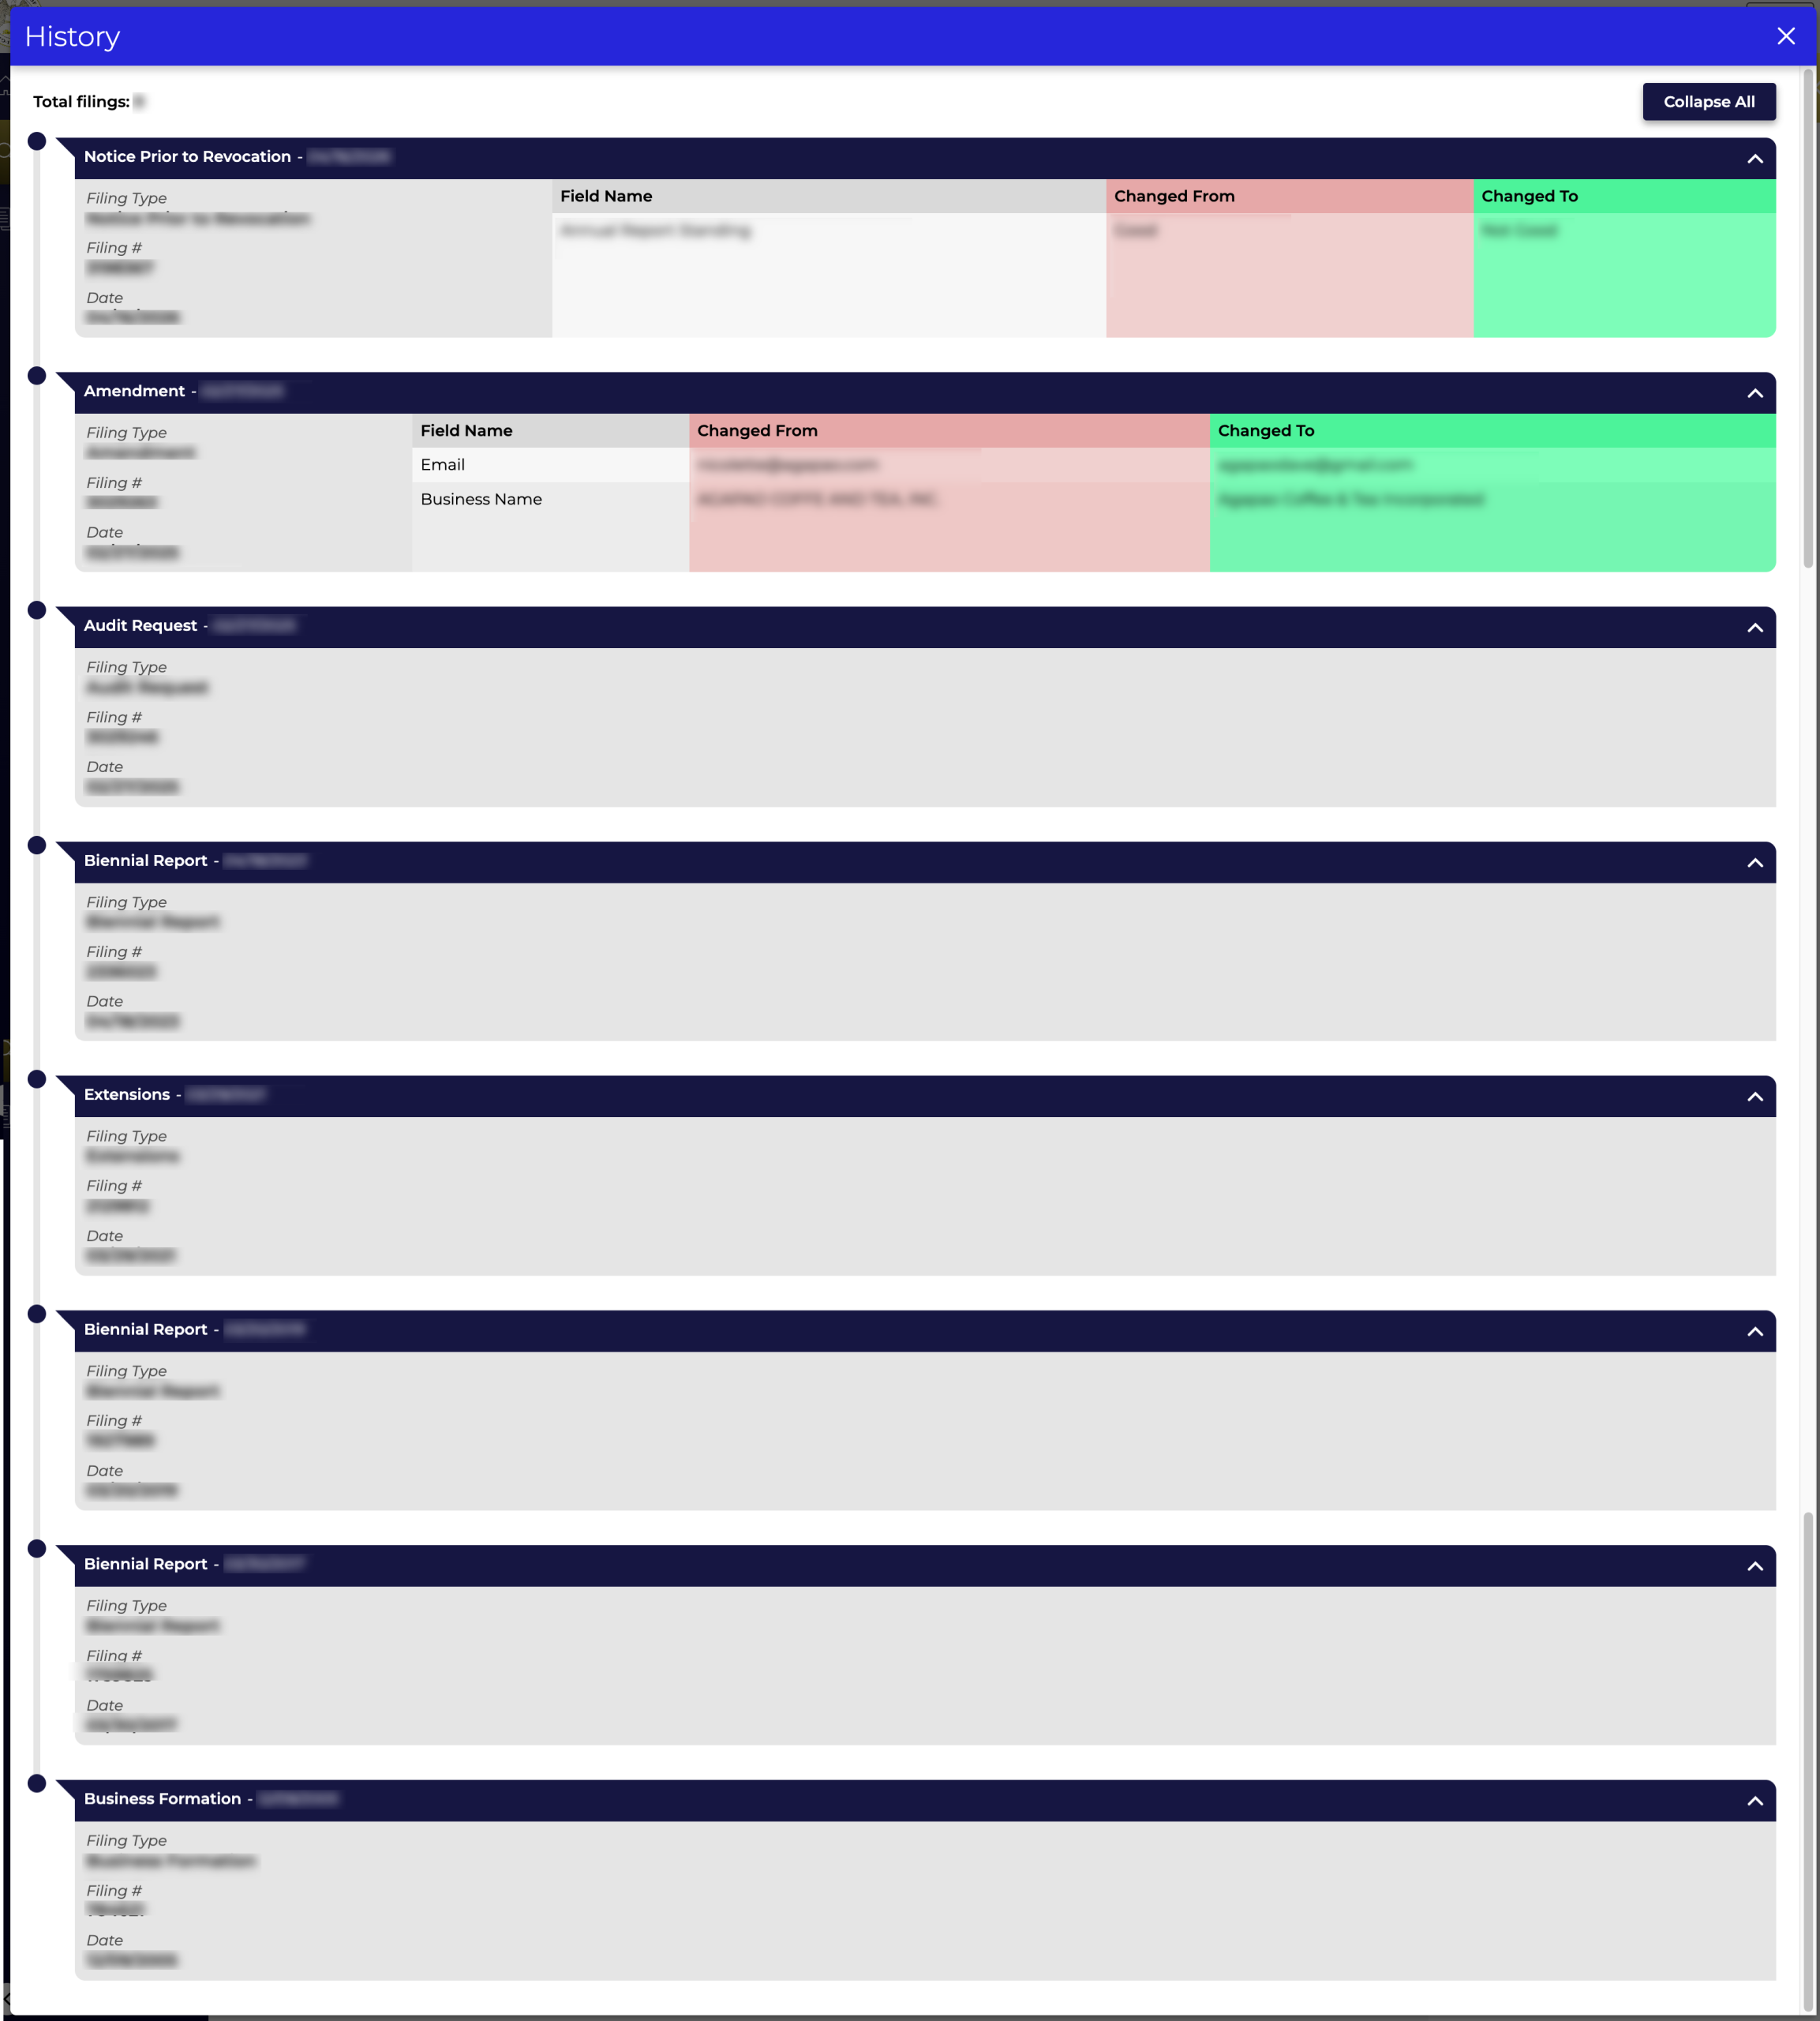
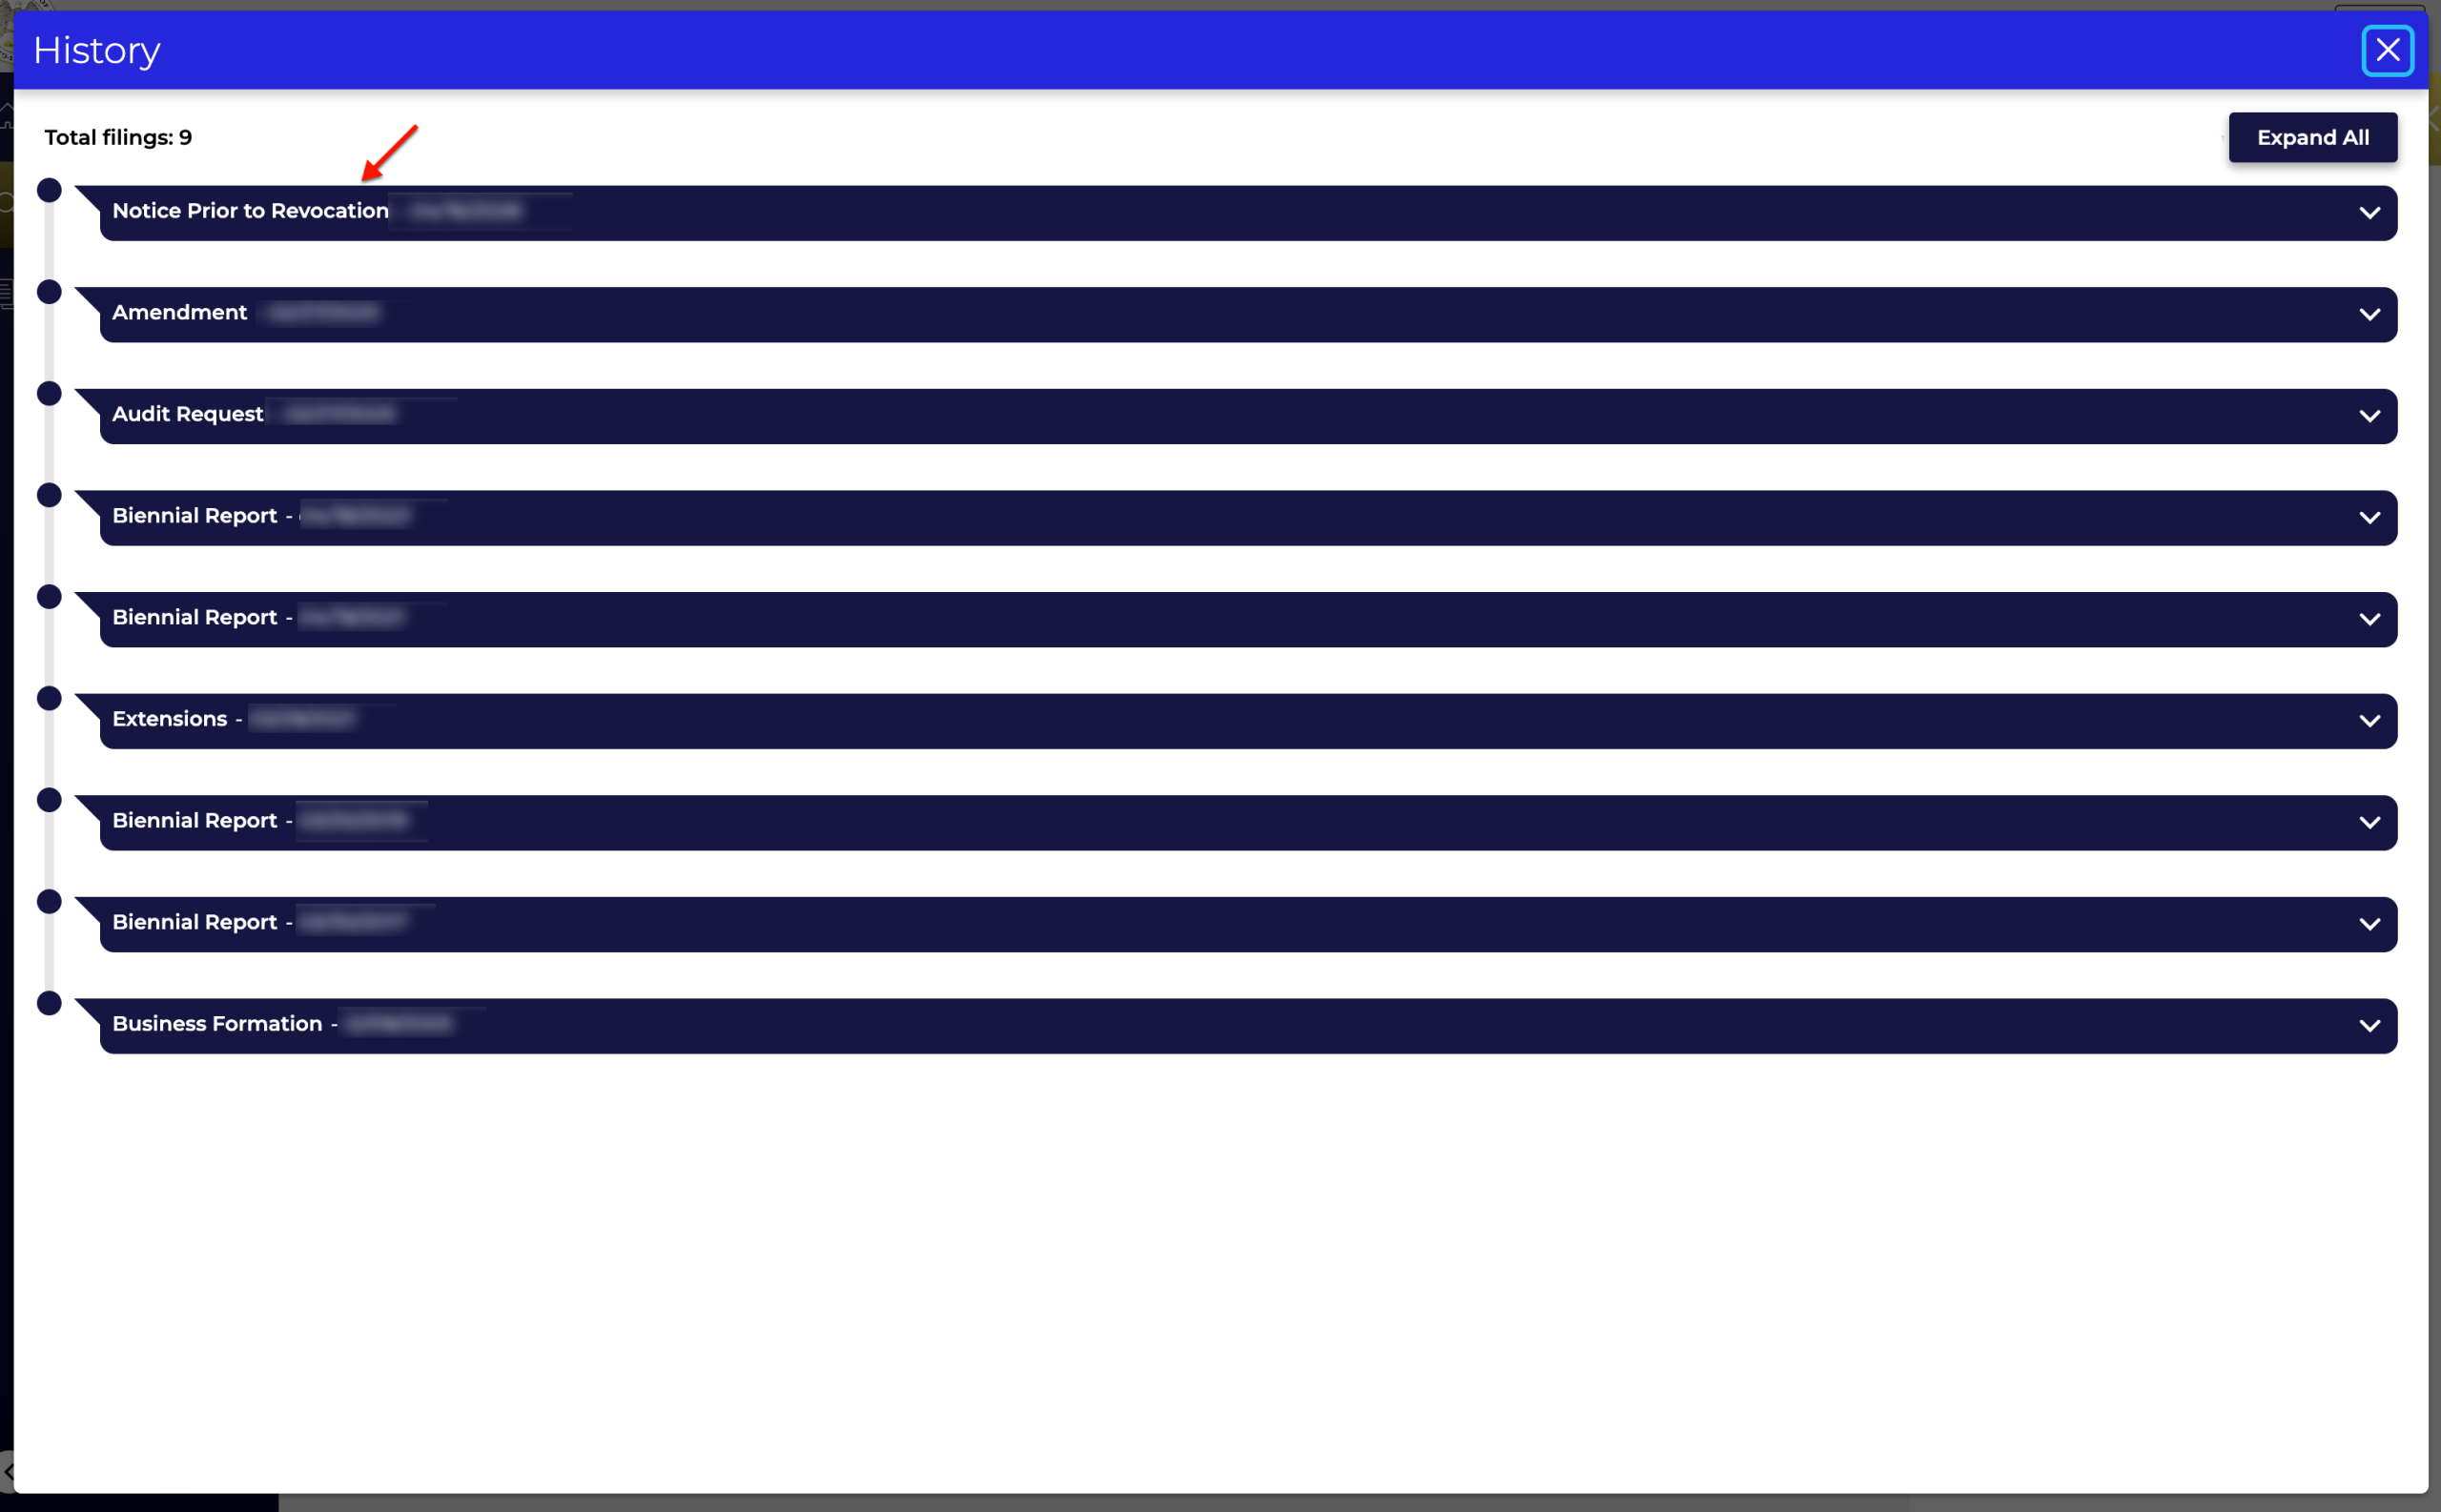
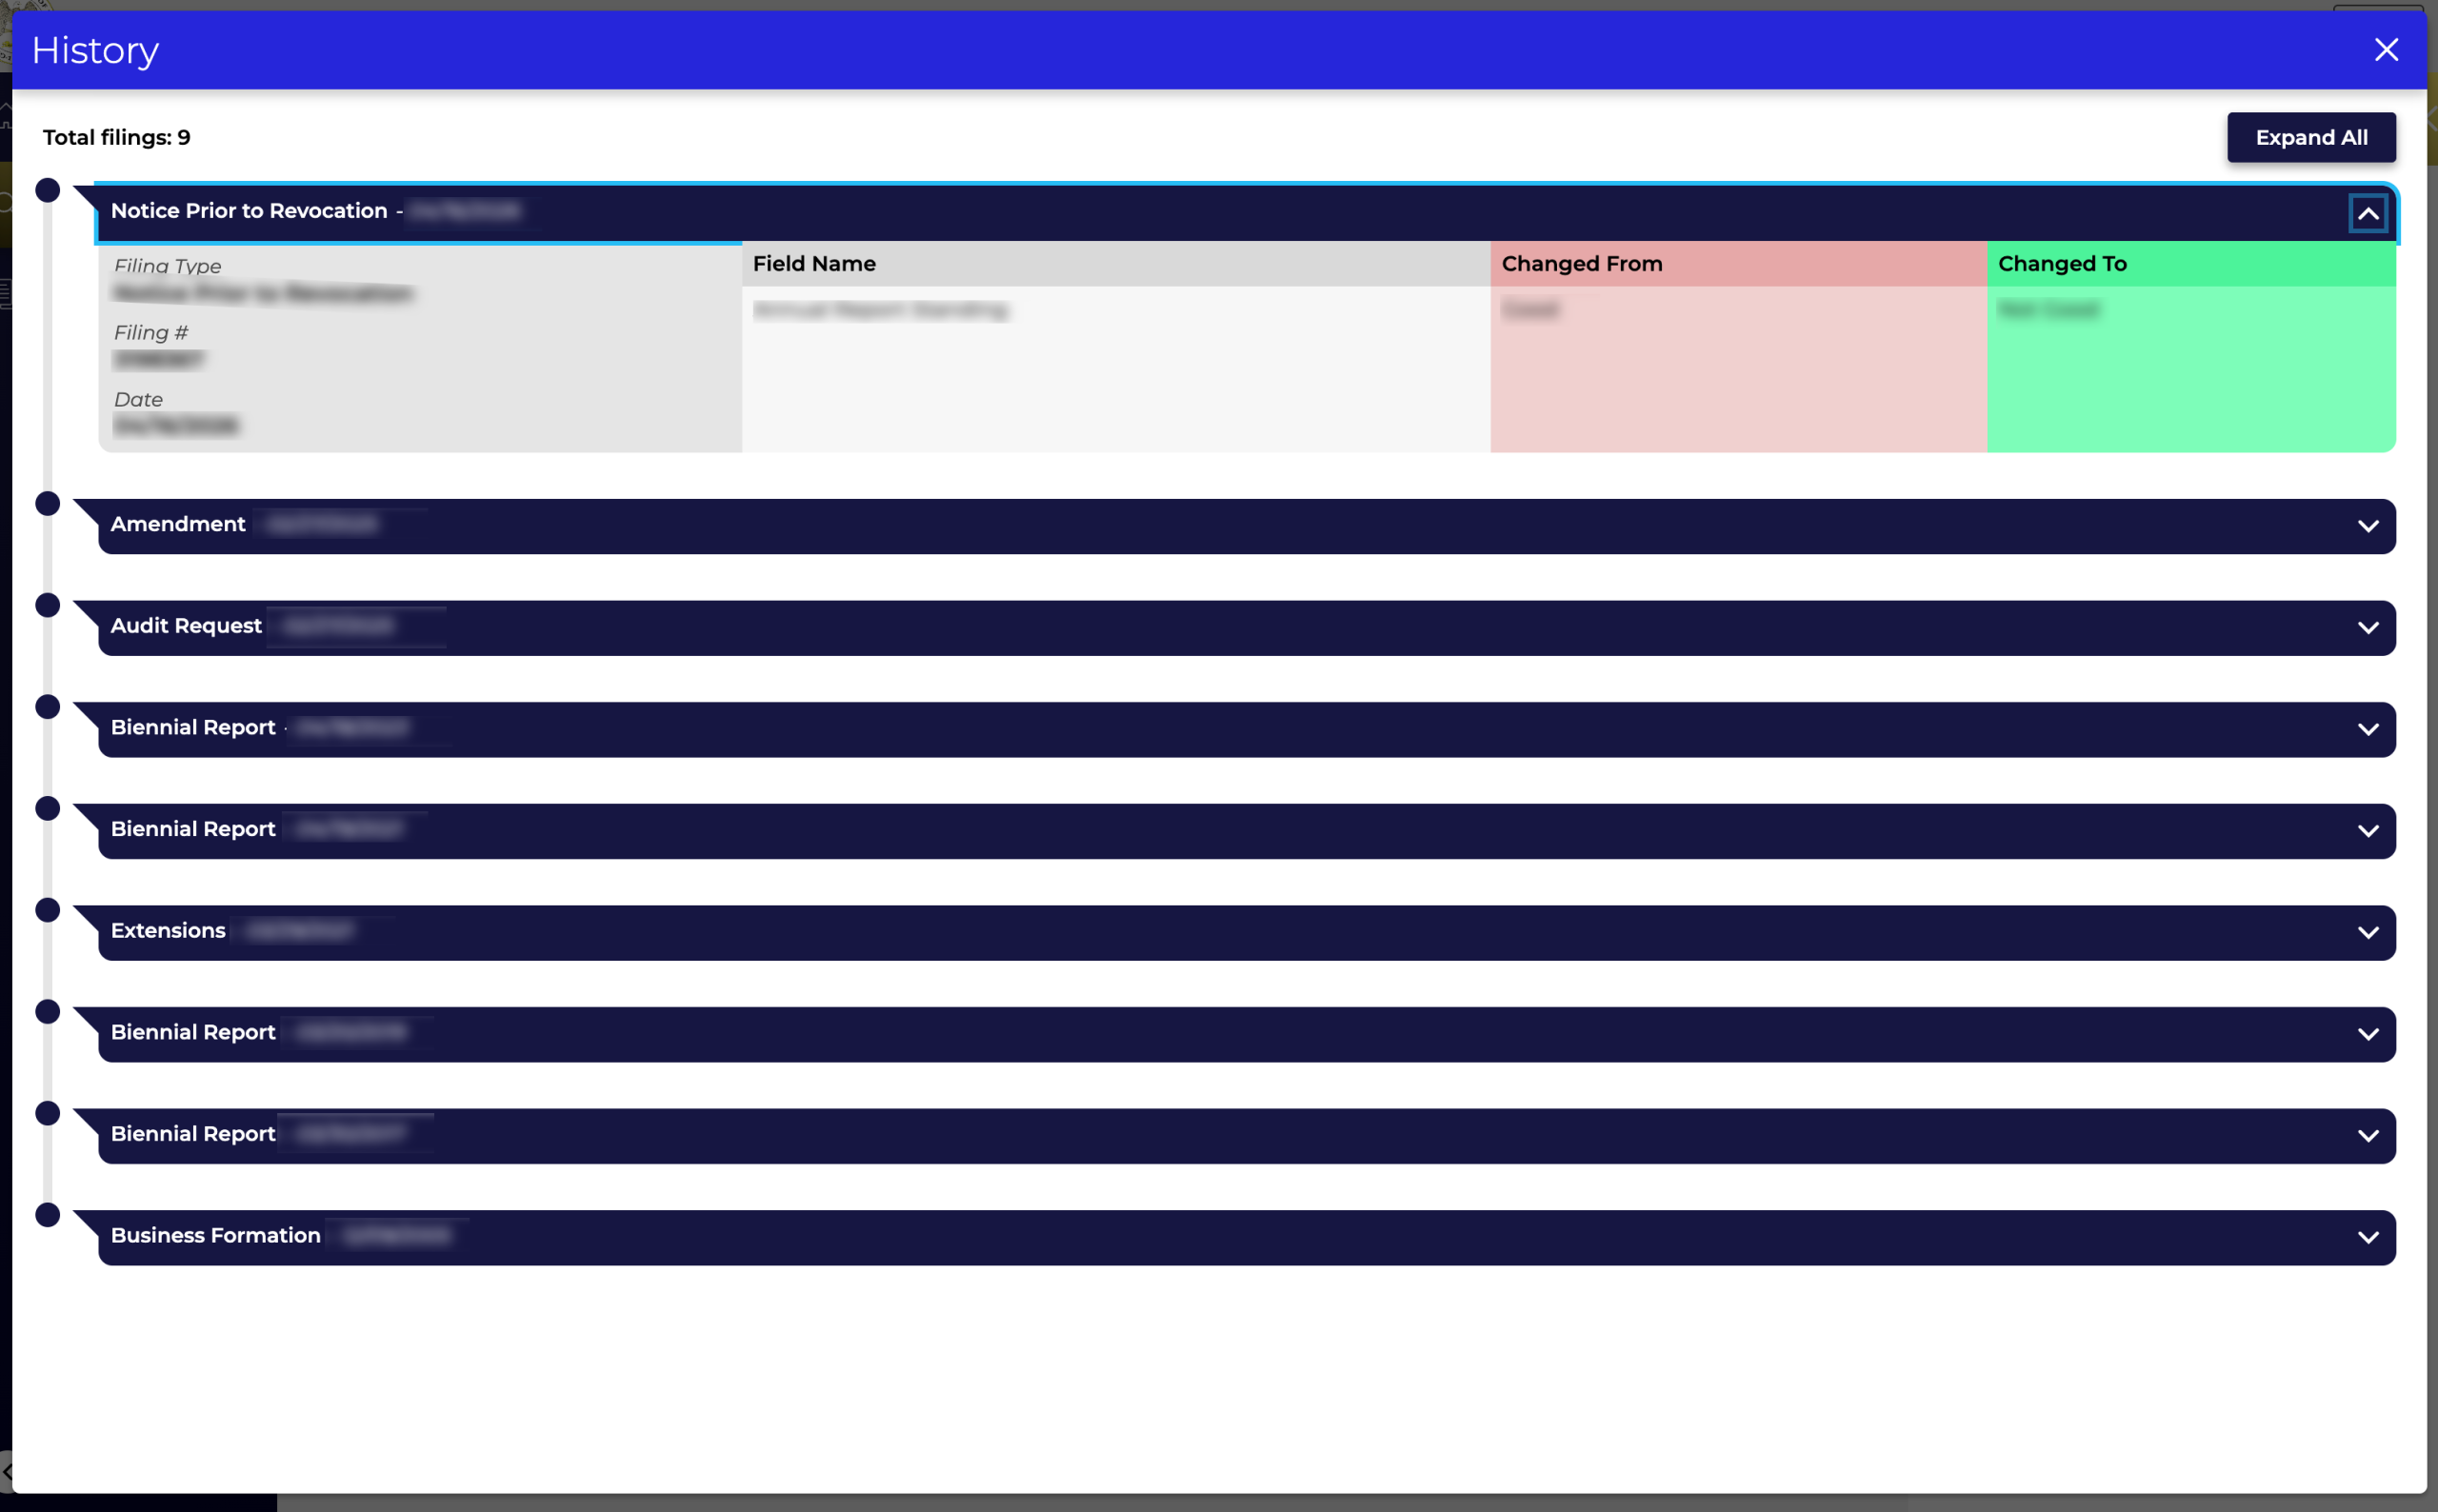
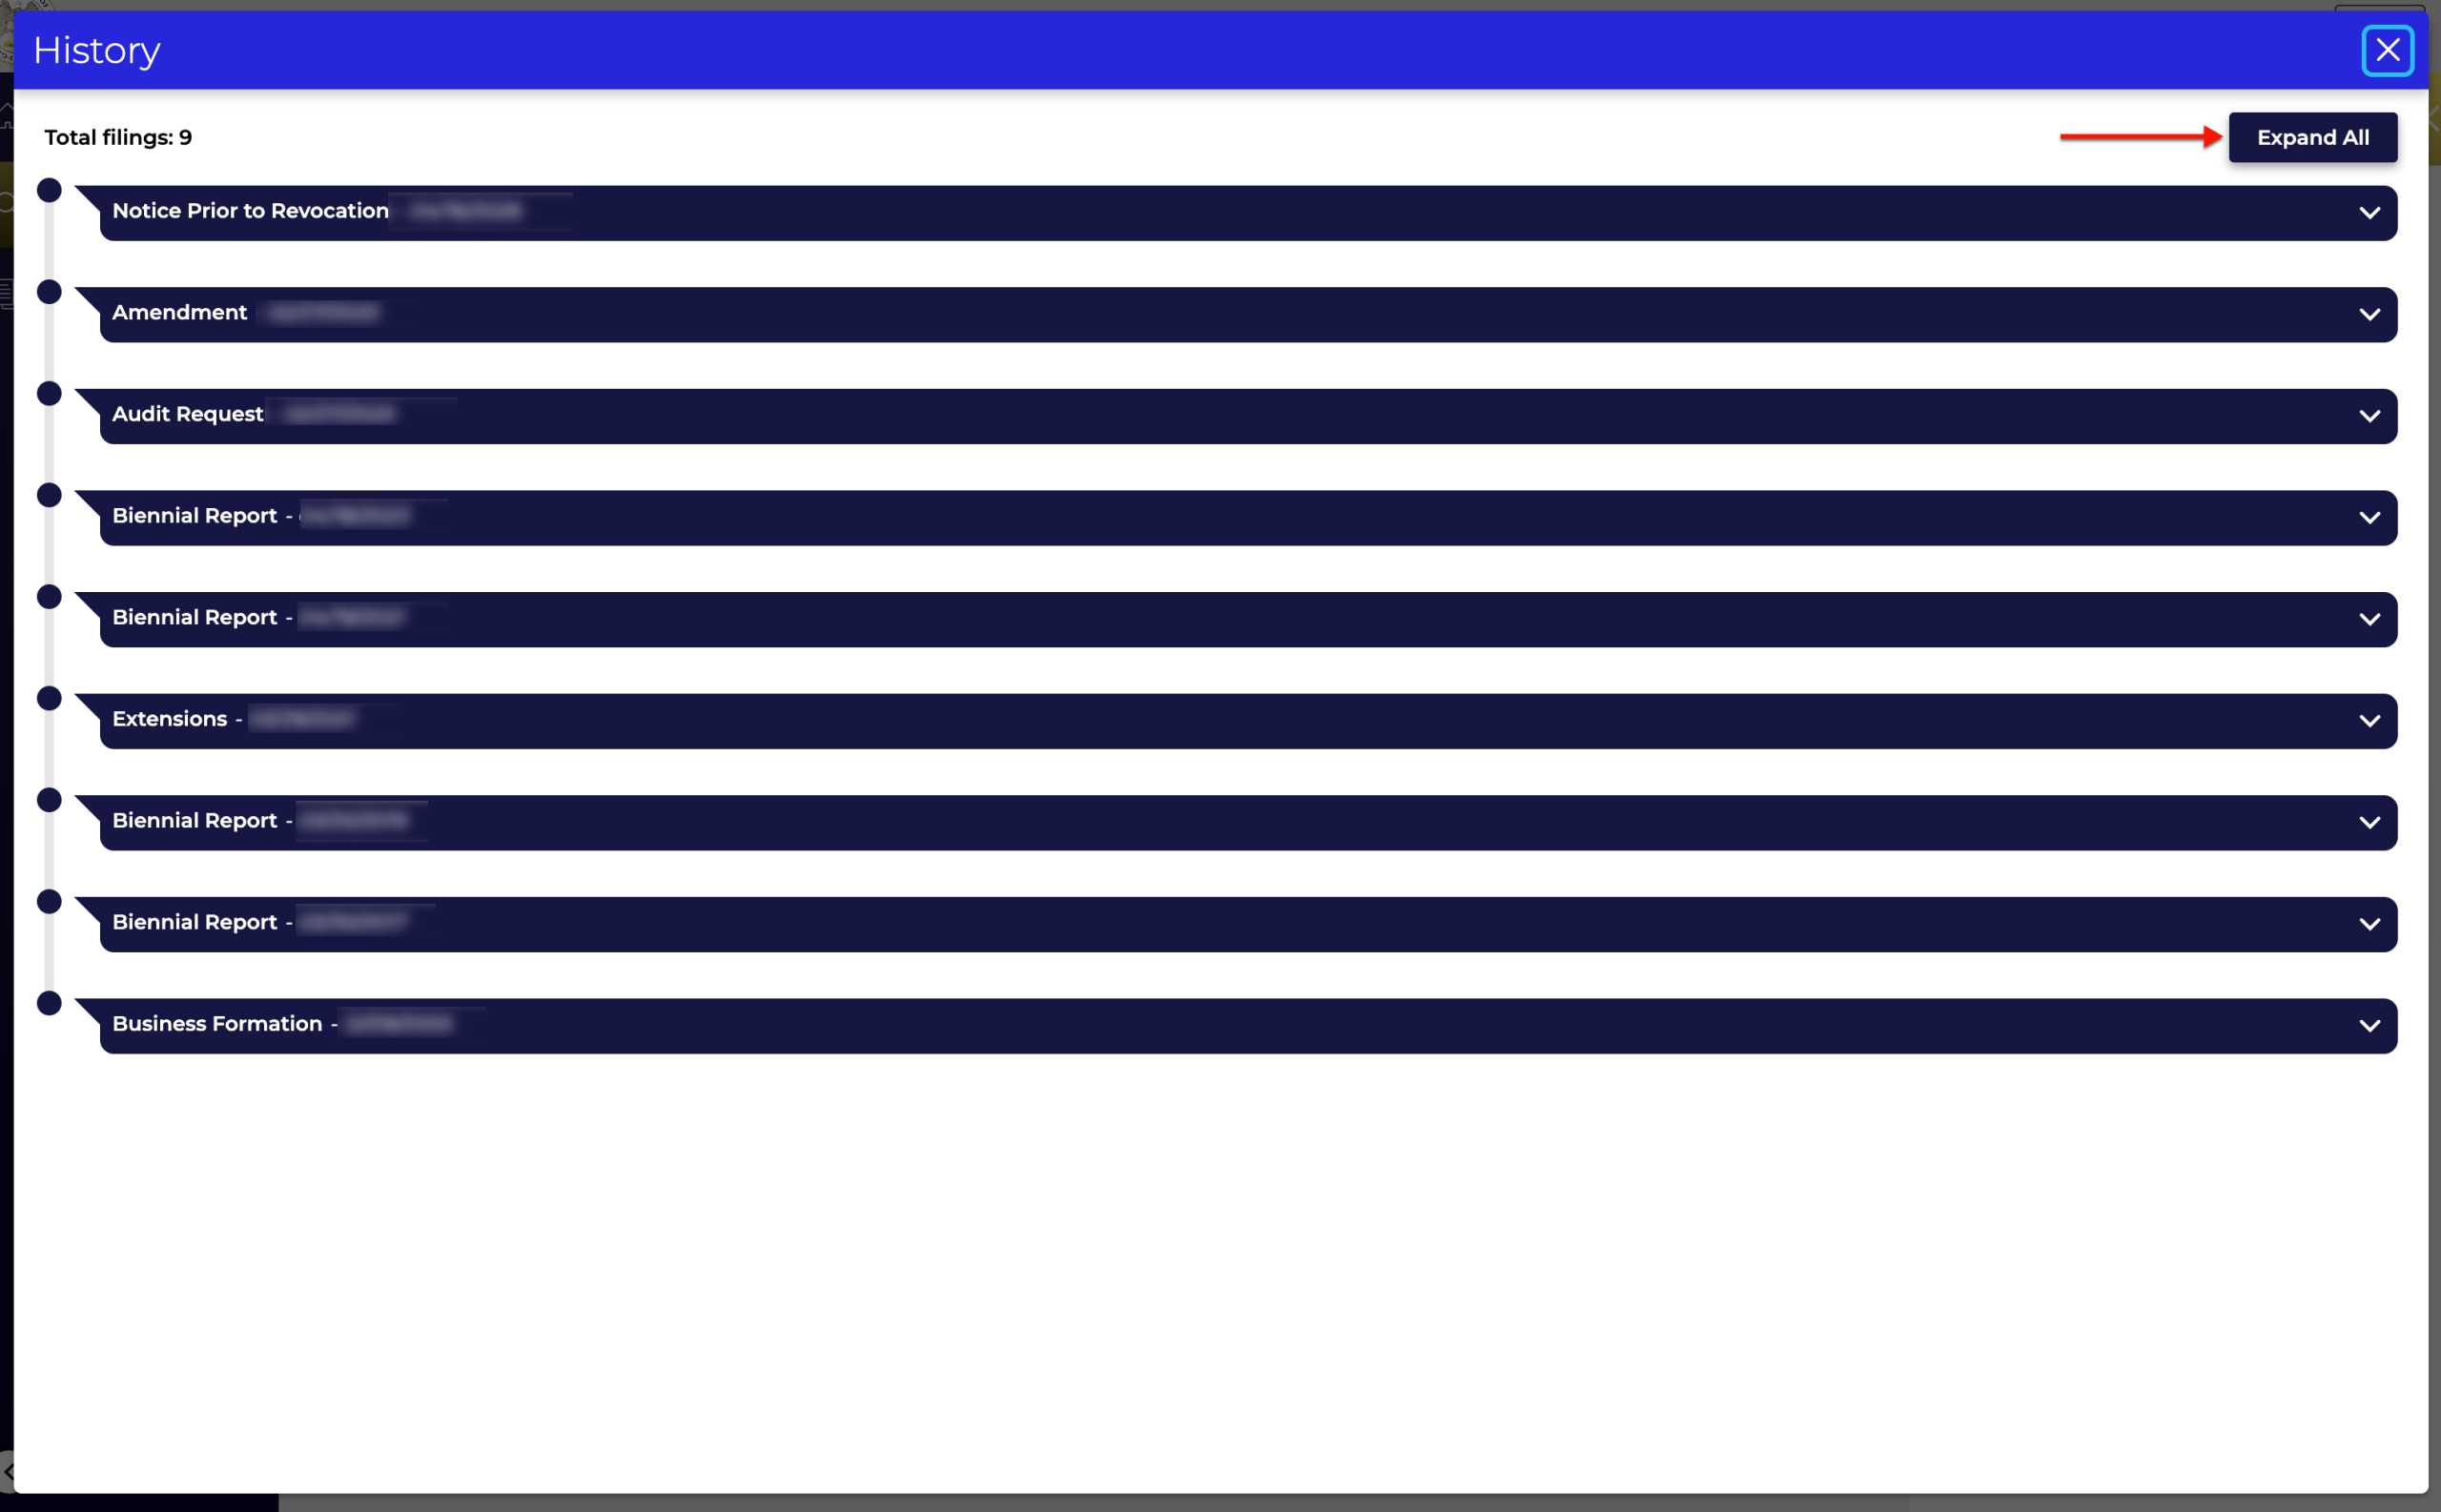
Read through the filing types and dates identifying each record, then click on one of the rows (see image) or the “Expand All” button in order to see a summary.
Step 13. Reviewing Filing Information
Look over the filing record (see image) or records, which display several pieces of information, including status changes. Return to the details page by simply closing the pop-up window.