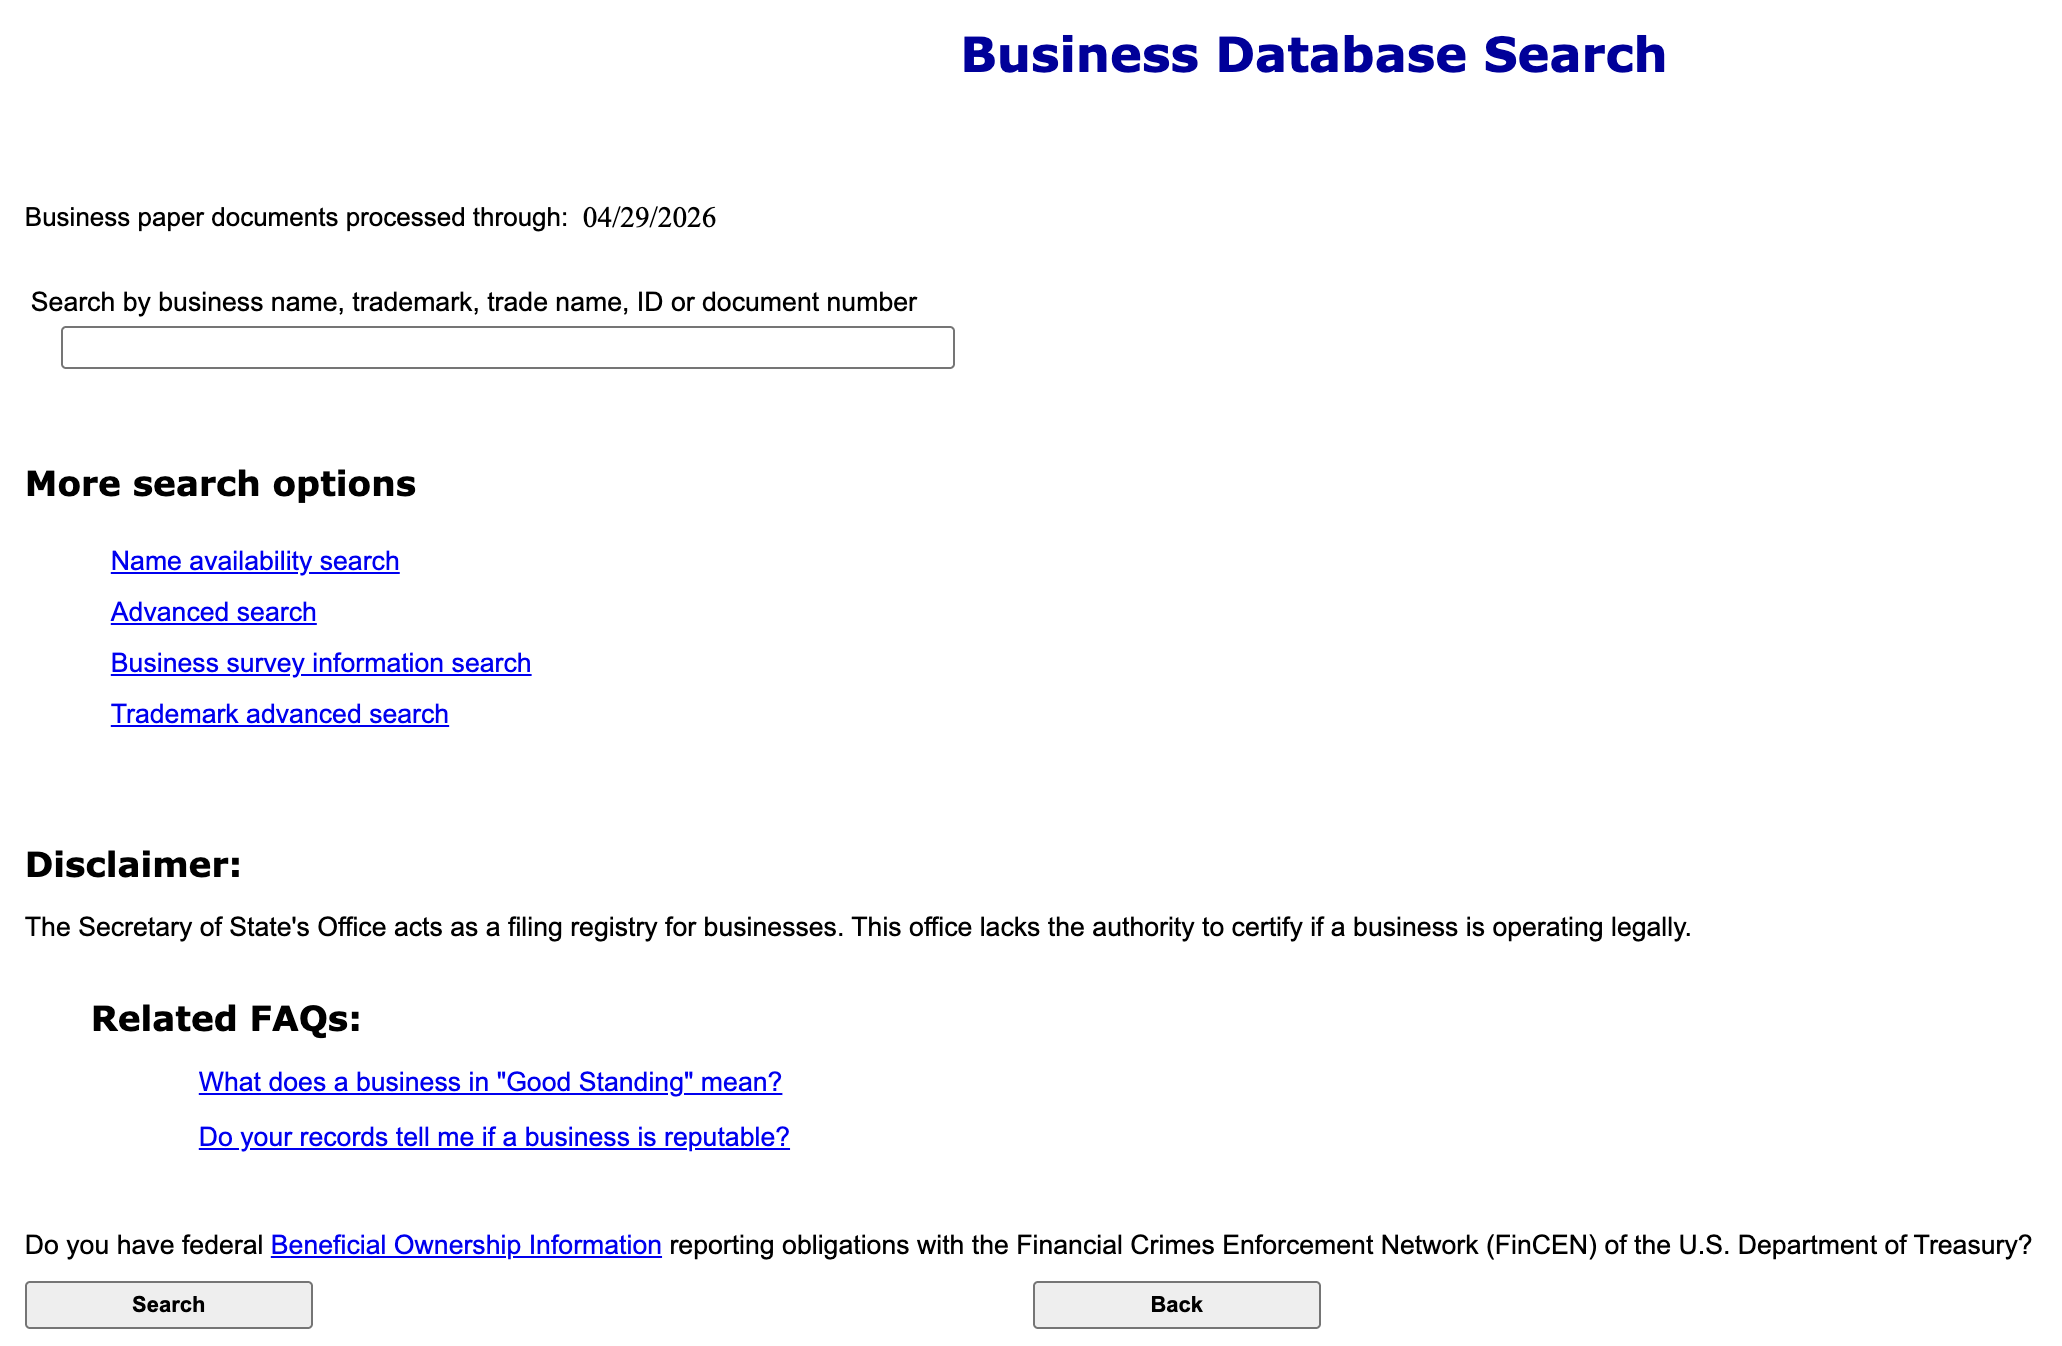
The Colorado Secretary of State’s business database search page provides a query tool for visitors investigating an entity’s public information. By supplying a specific name or general phrase, users gain access to every entity (on file) that matches the criteria. In addition to the on-screen information, users can purchase more in-depth reports.
Business Name Availability Check
State of Colorado

Business Entity Search
Step 1. Open Business Database Search Tool Page
Visit the Colorado Secretary of State’s business database search tool. Gather and prepare your references for the task at hand.
Step 2. Target a Specific Phrase or Number
Notice the default search is set to find a business name. Pursue this by entering the name of a business or a keyword in the textbox. However, take a moment to review the other search options.
- Name Availability Search (see image)
- Advanced Search
- Business Survey Information Search
- Trademark Advanced Search
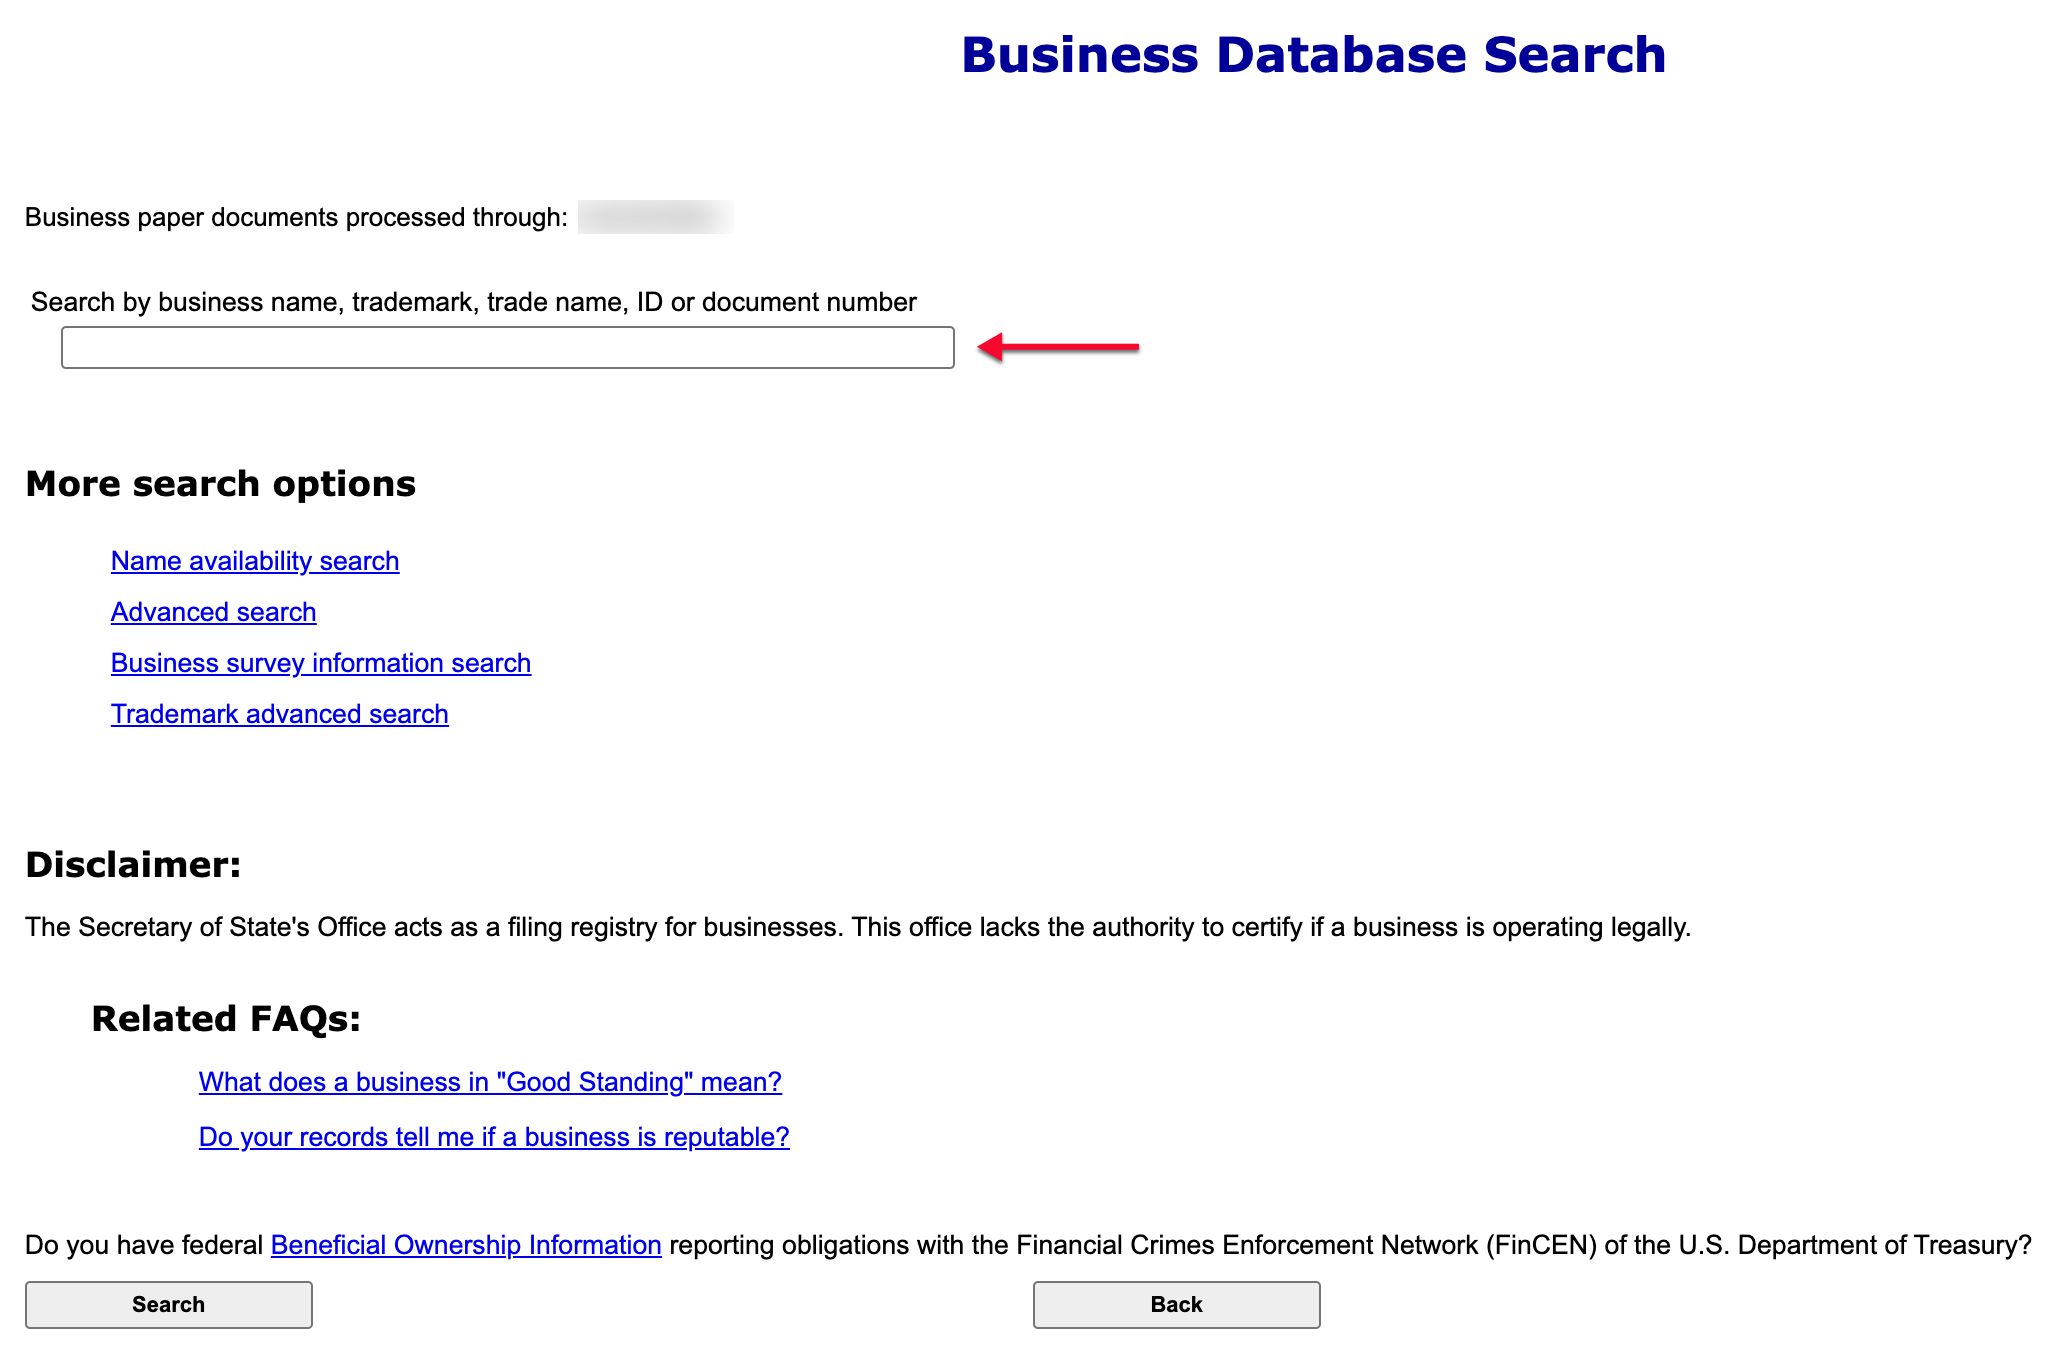
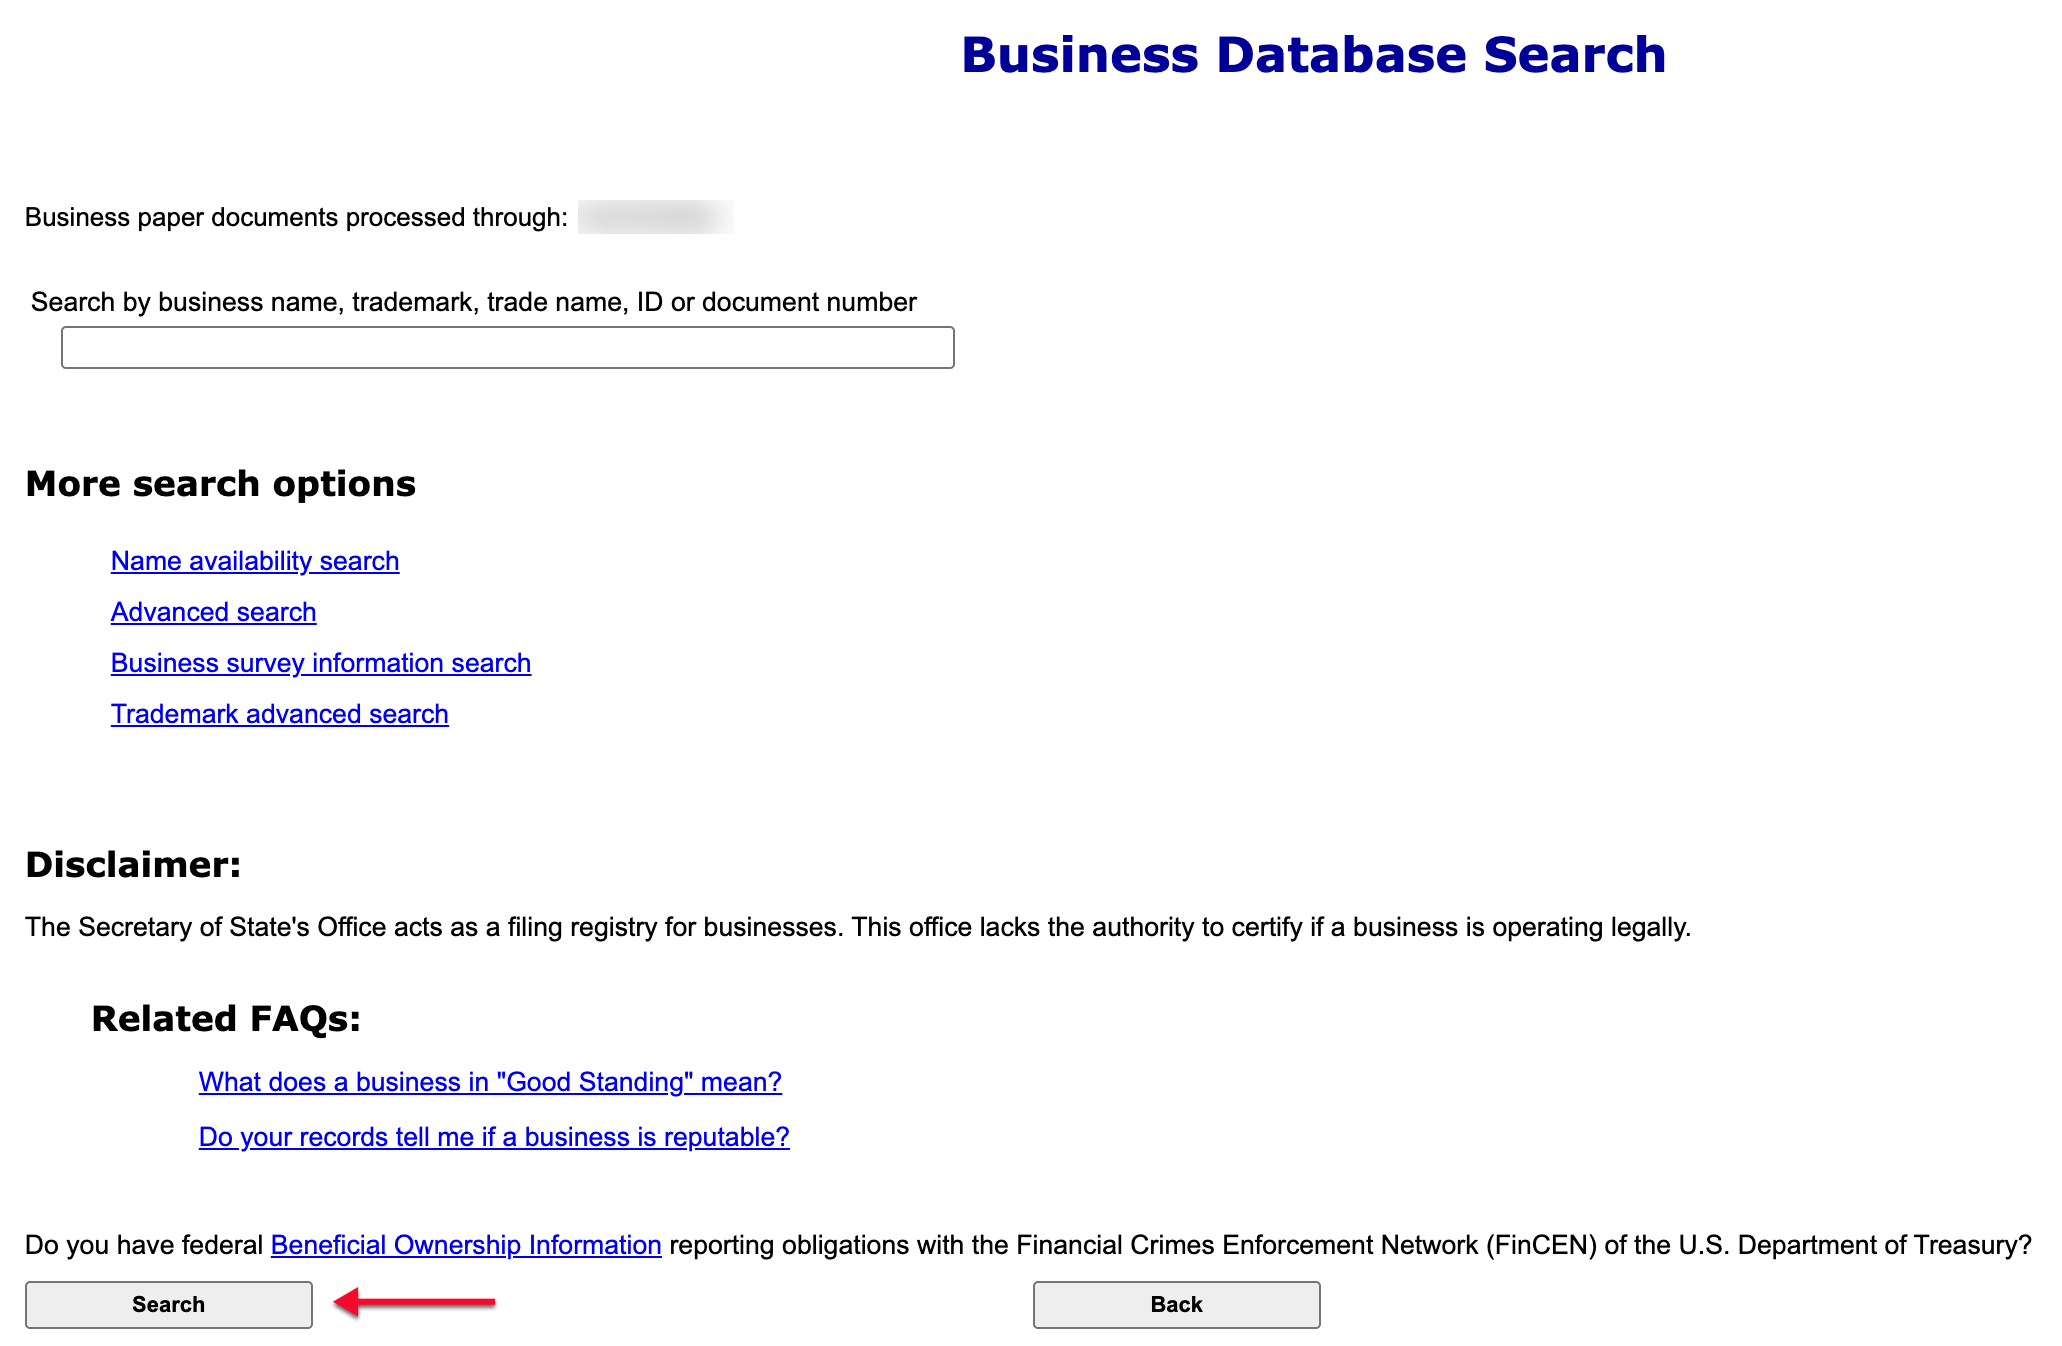
Step 3. Run the Business Database Query
Confirm the spelling of your search phrase. Then, submit the query to the database by clicking “Search” and proceed to Step 7. For advanced options, go to Step 4.
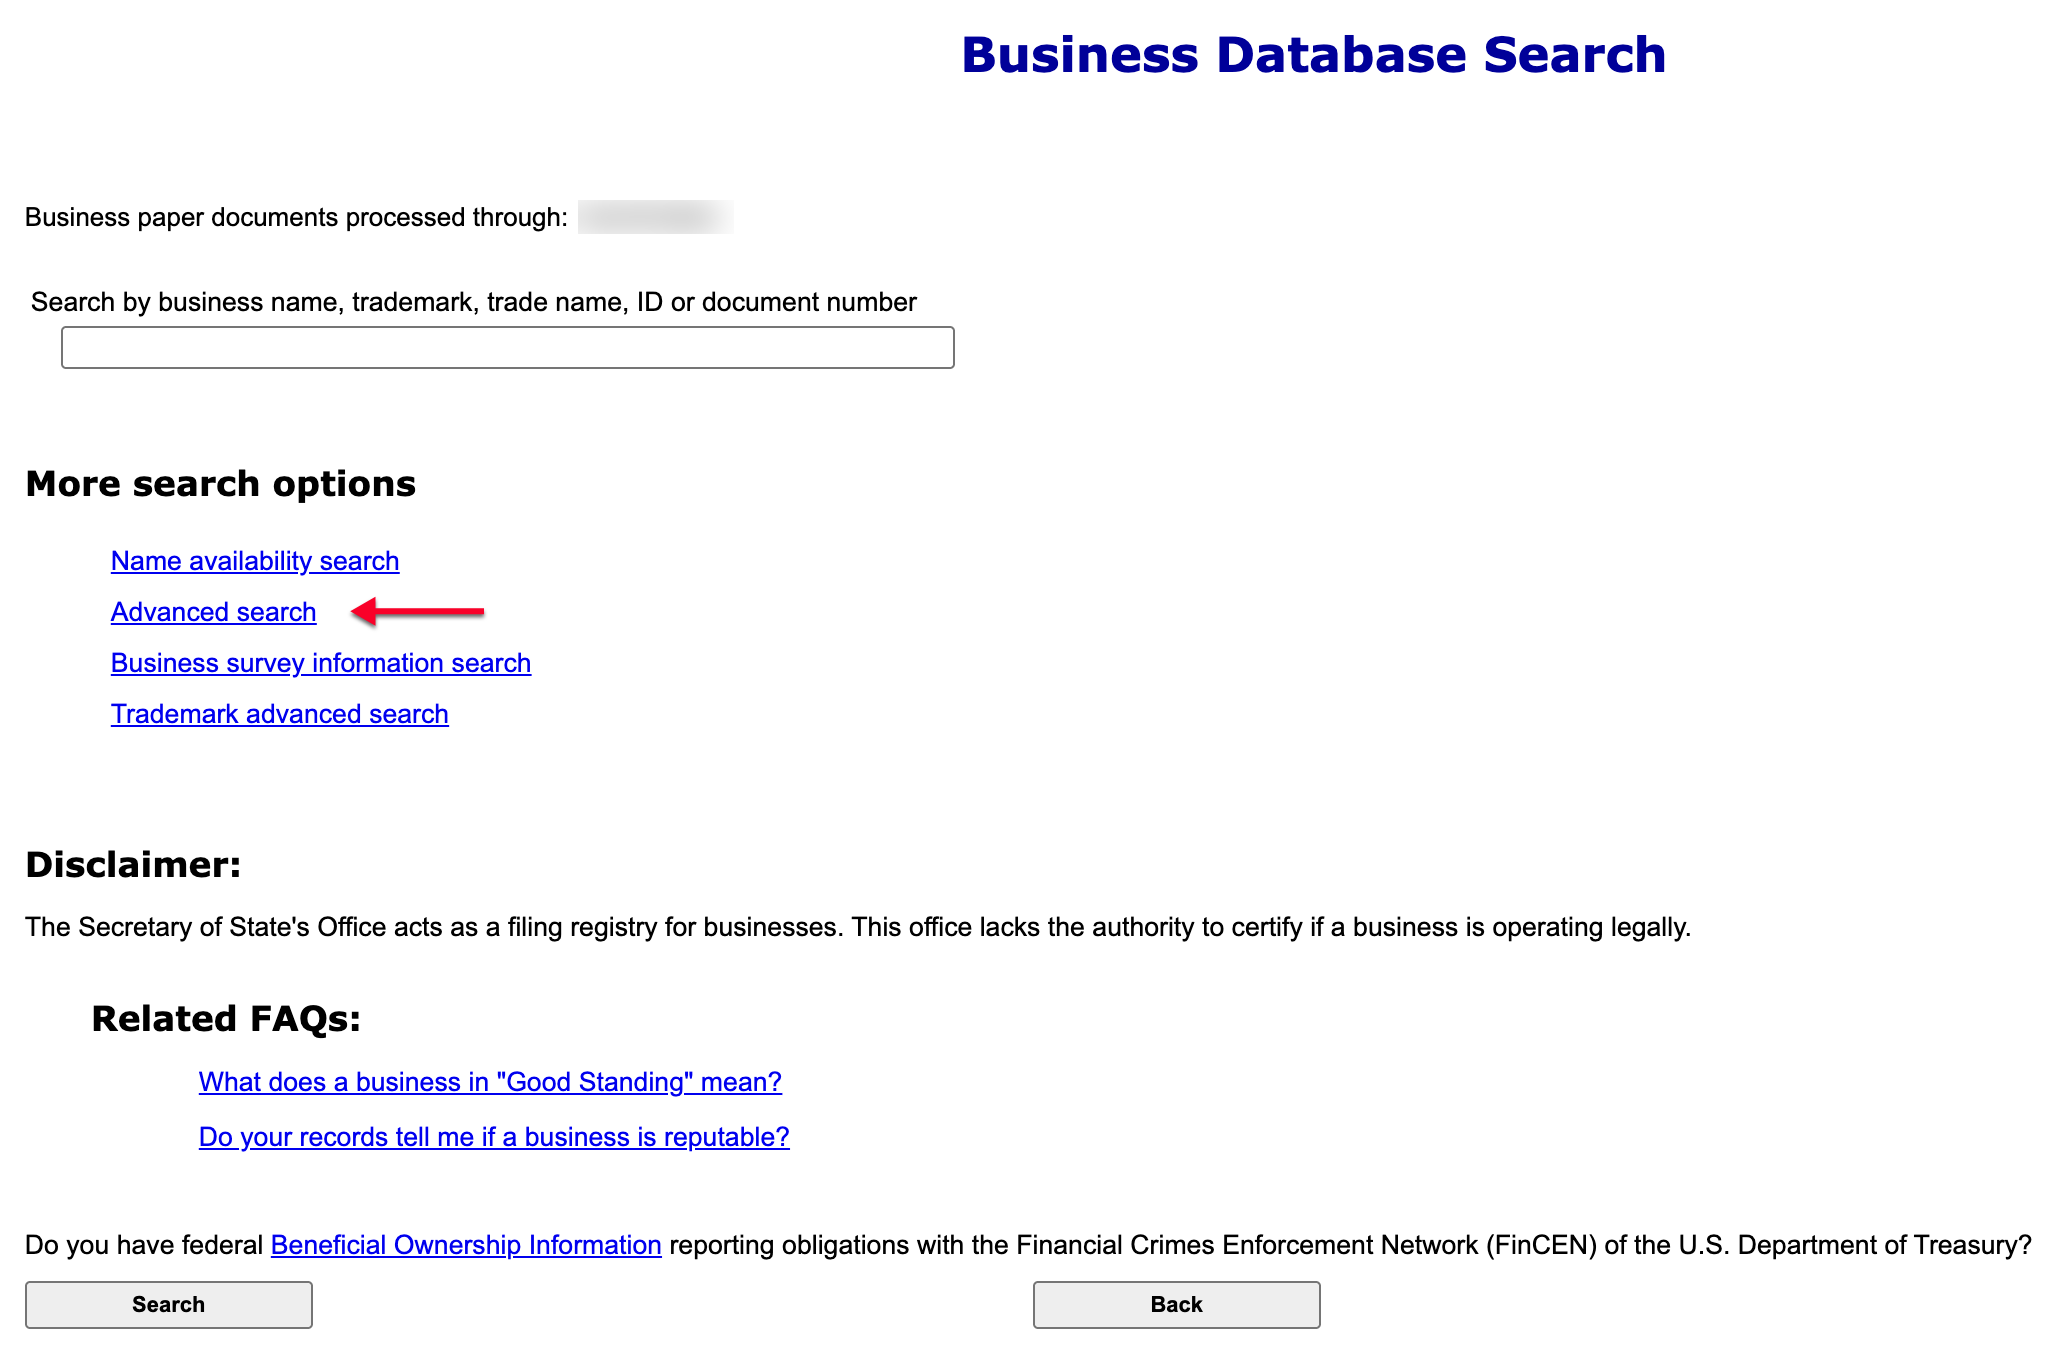
Step 4. Tighten the Search
Since general phrasing and loose parameters can potentially return a large number of results, the state provides an “Advanced Search” option. Select this option from the page.
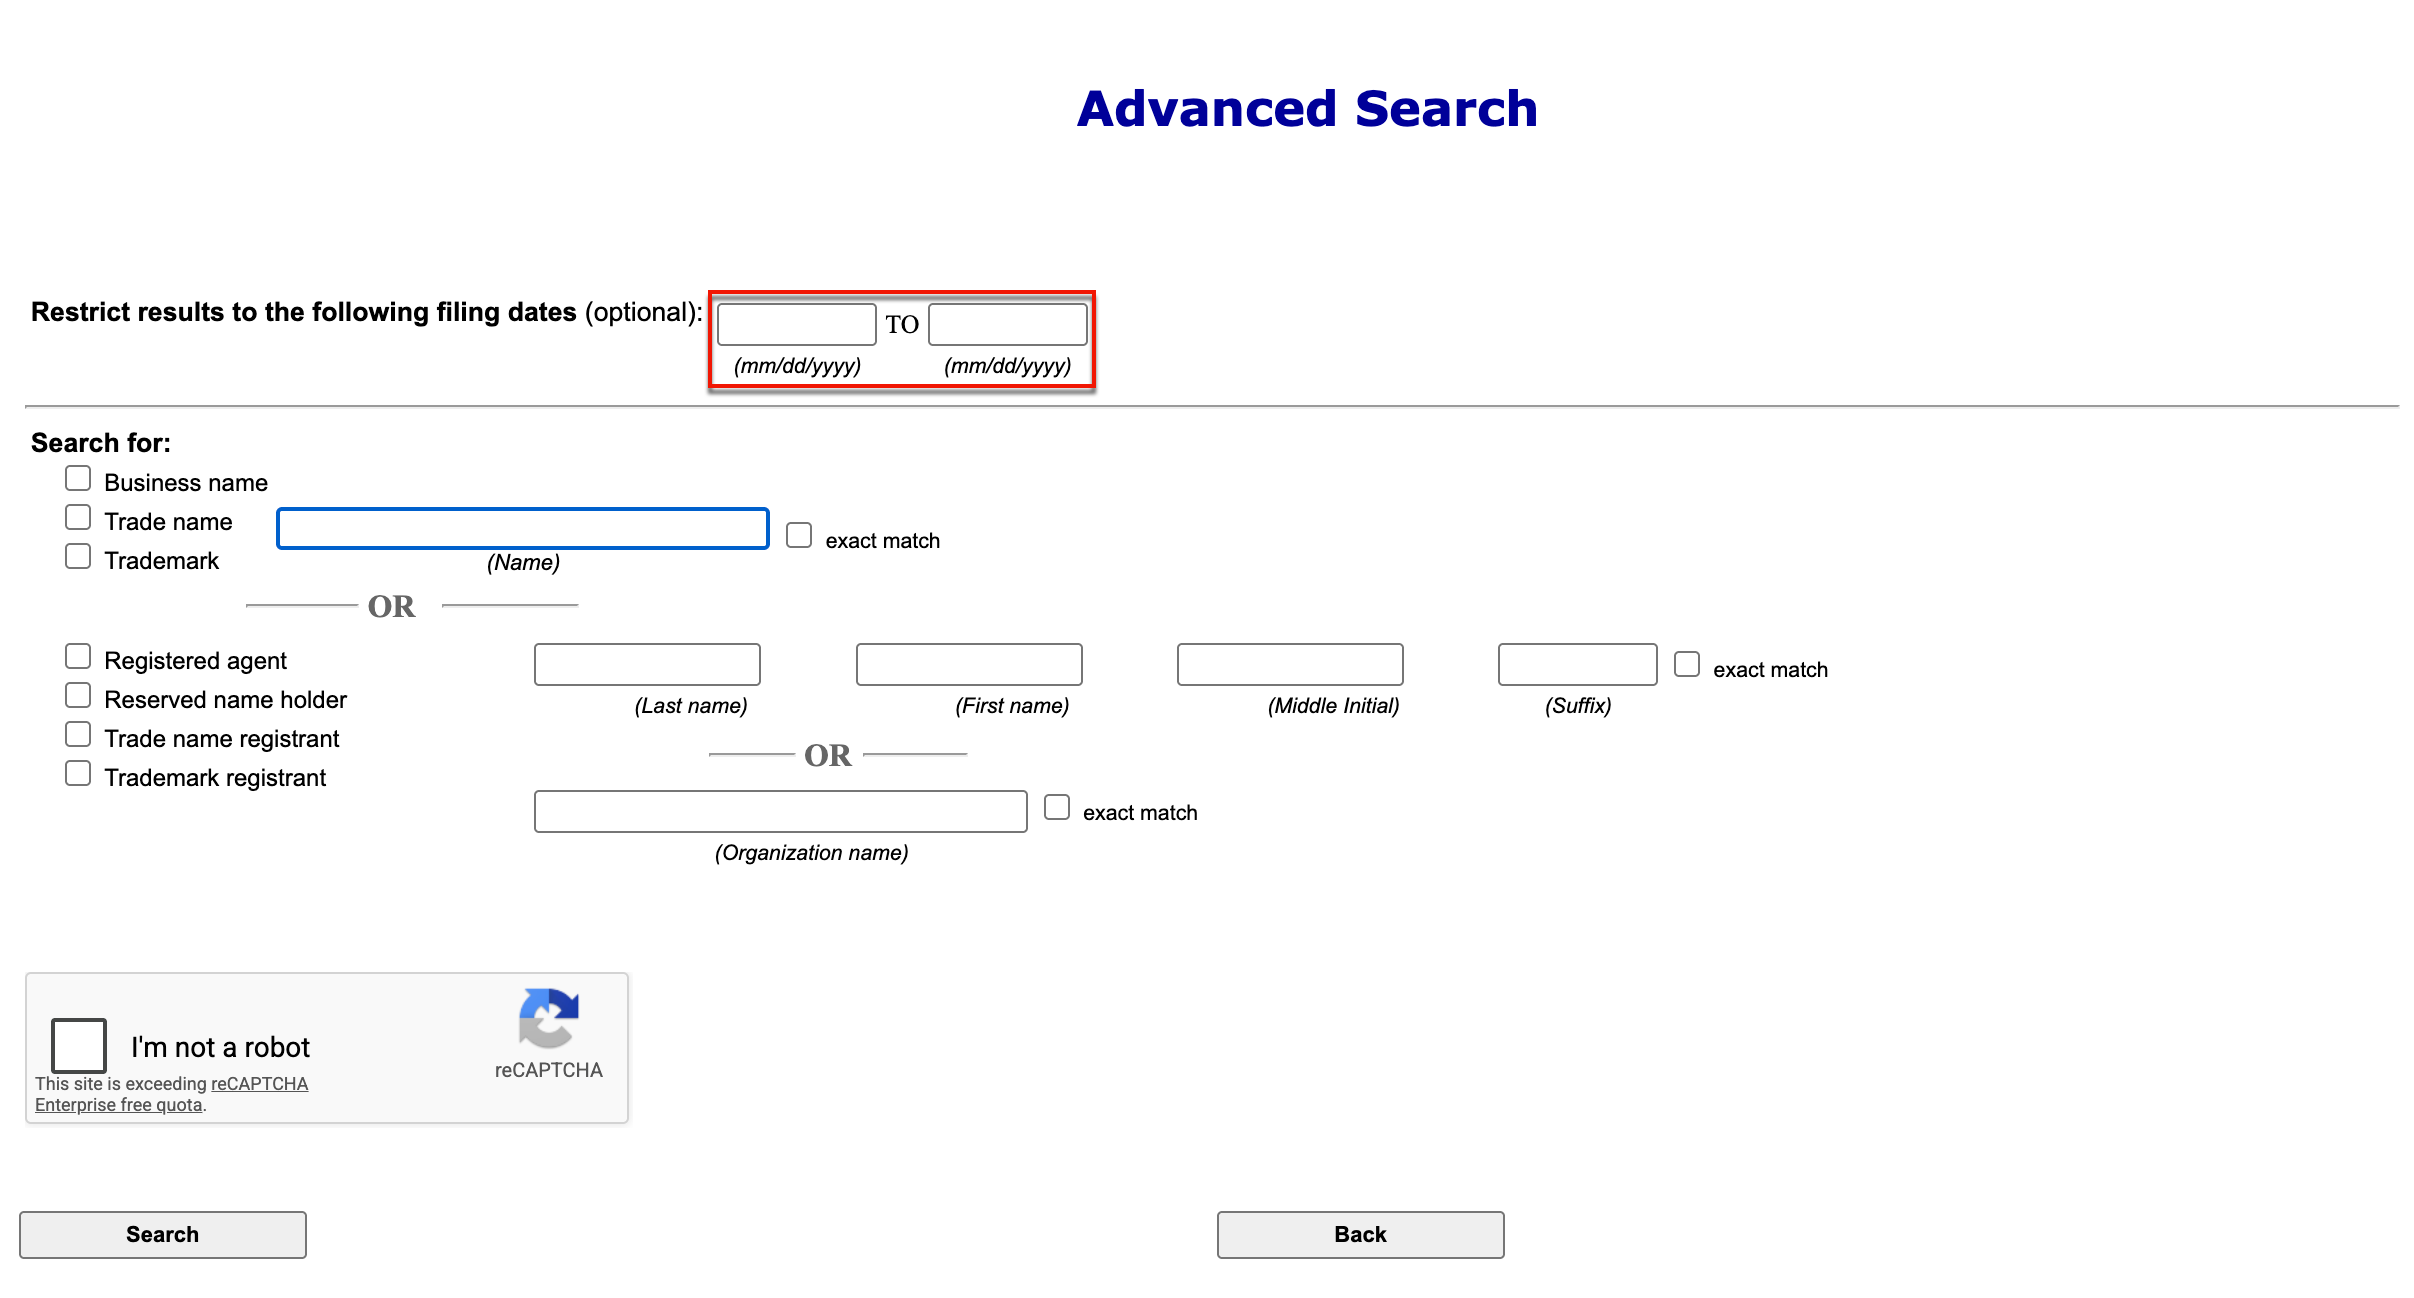
Step 5. Performing an Advanced Search
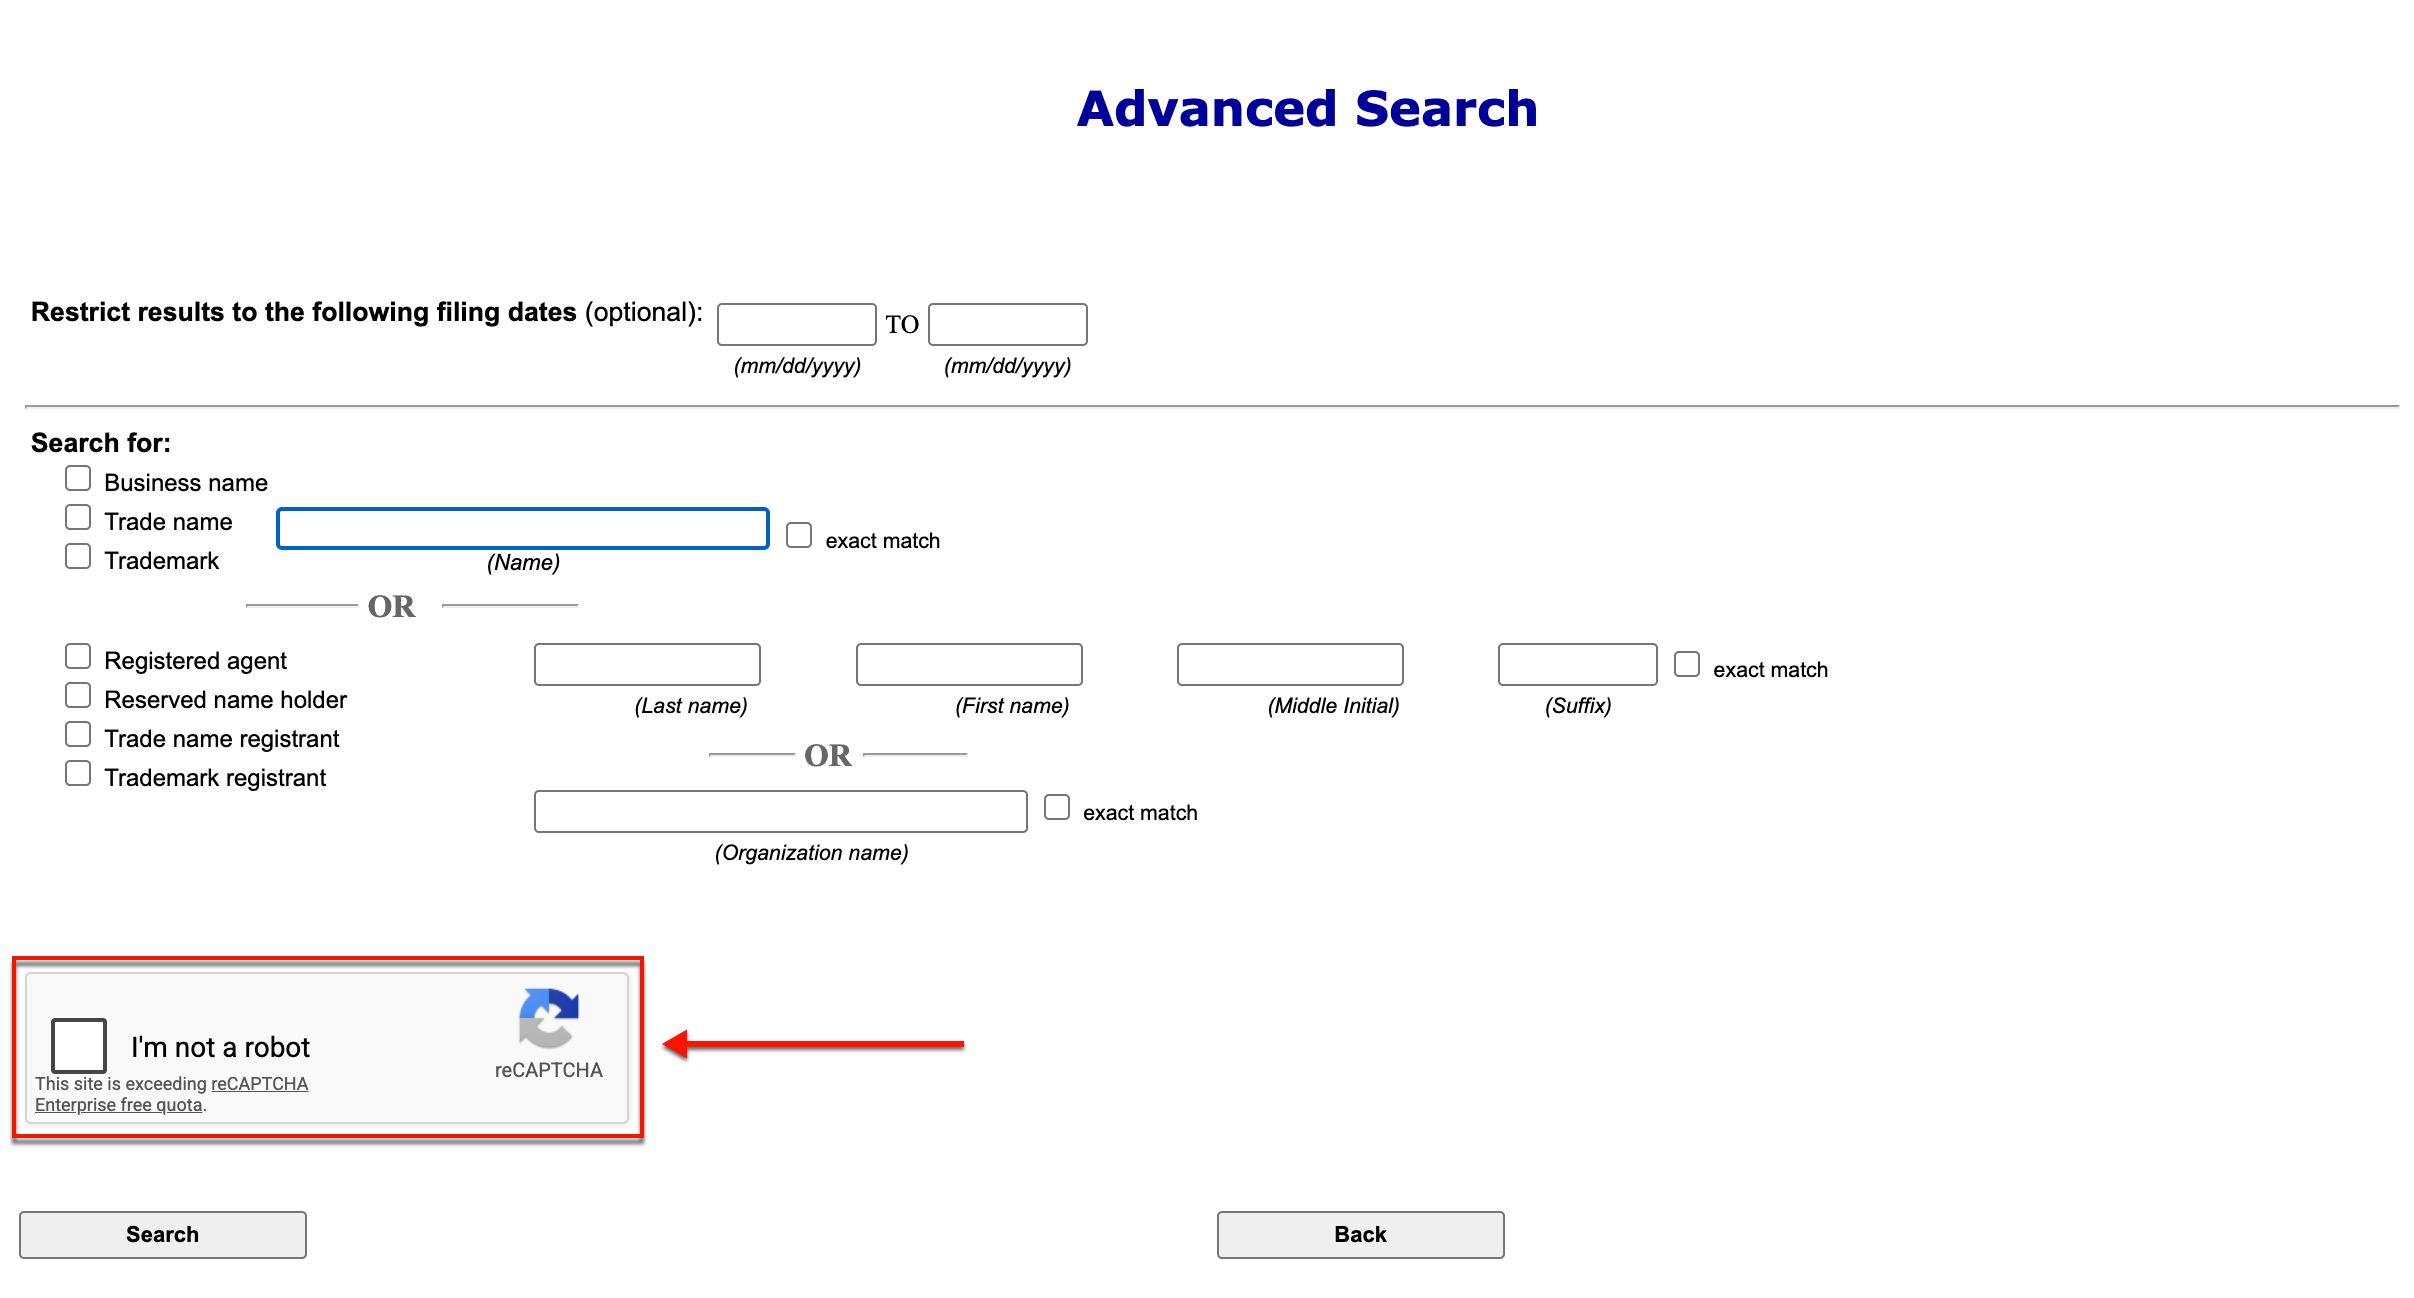
Tighten the search to a specific filing date range using the available filters. While optional, this is useful for narrowing the results.
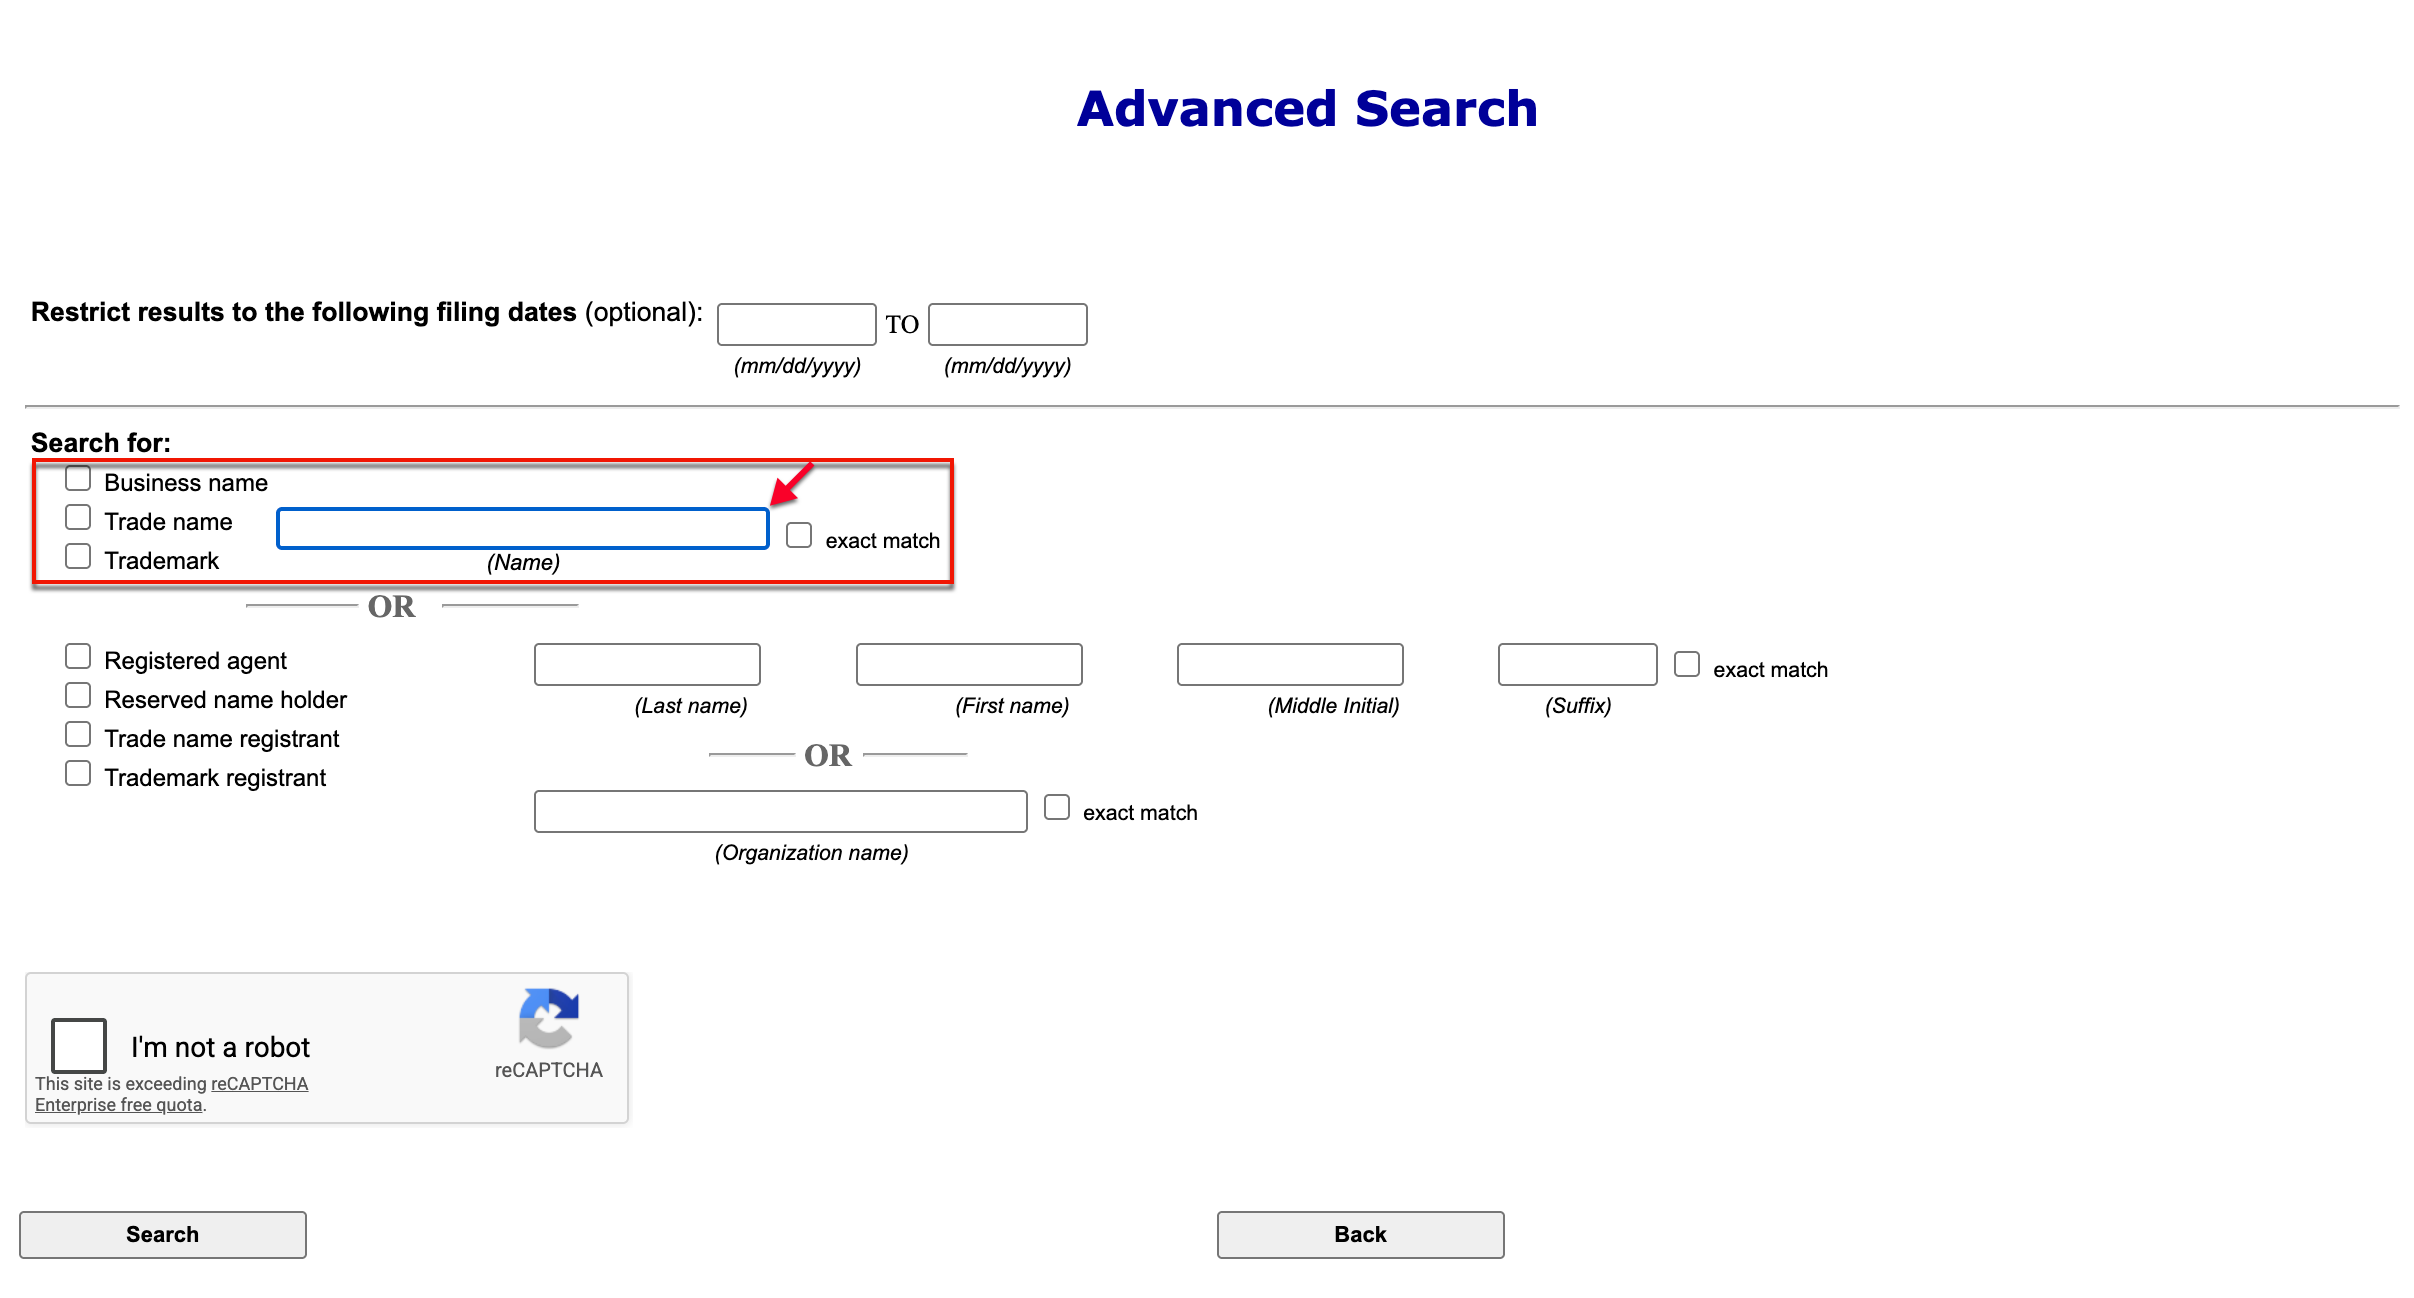
Step 6. Specifically Define the Search Phrase
In order to search for a specific phrase or word in an entity’s name, you must classify how the phrase relates to the entity. Check the appropriate box before continuing.
- Business Name
- Trade Name
- Trademark

Step 7. Option 1: Search For a Phrase
Supply the business name, trade name, or trademark to the box. Once complete, proceed to Step 7.
- Name
- Exact Match
Step 8. Option 2: Define A Name To Search
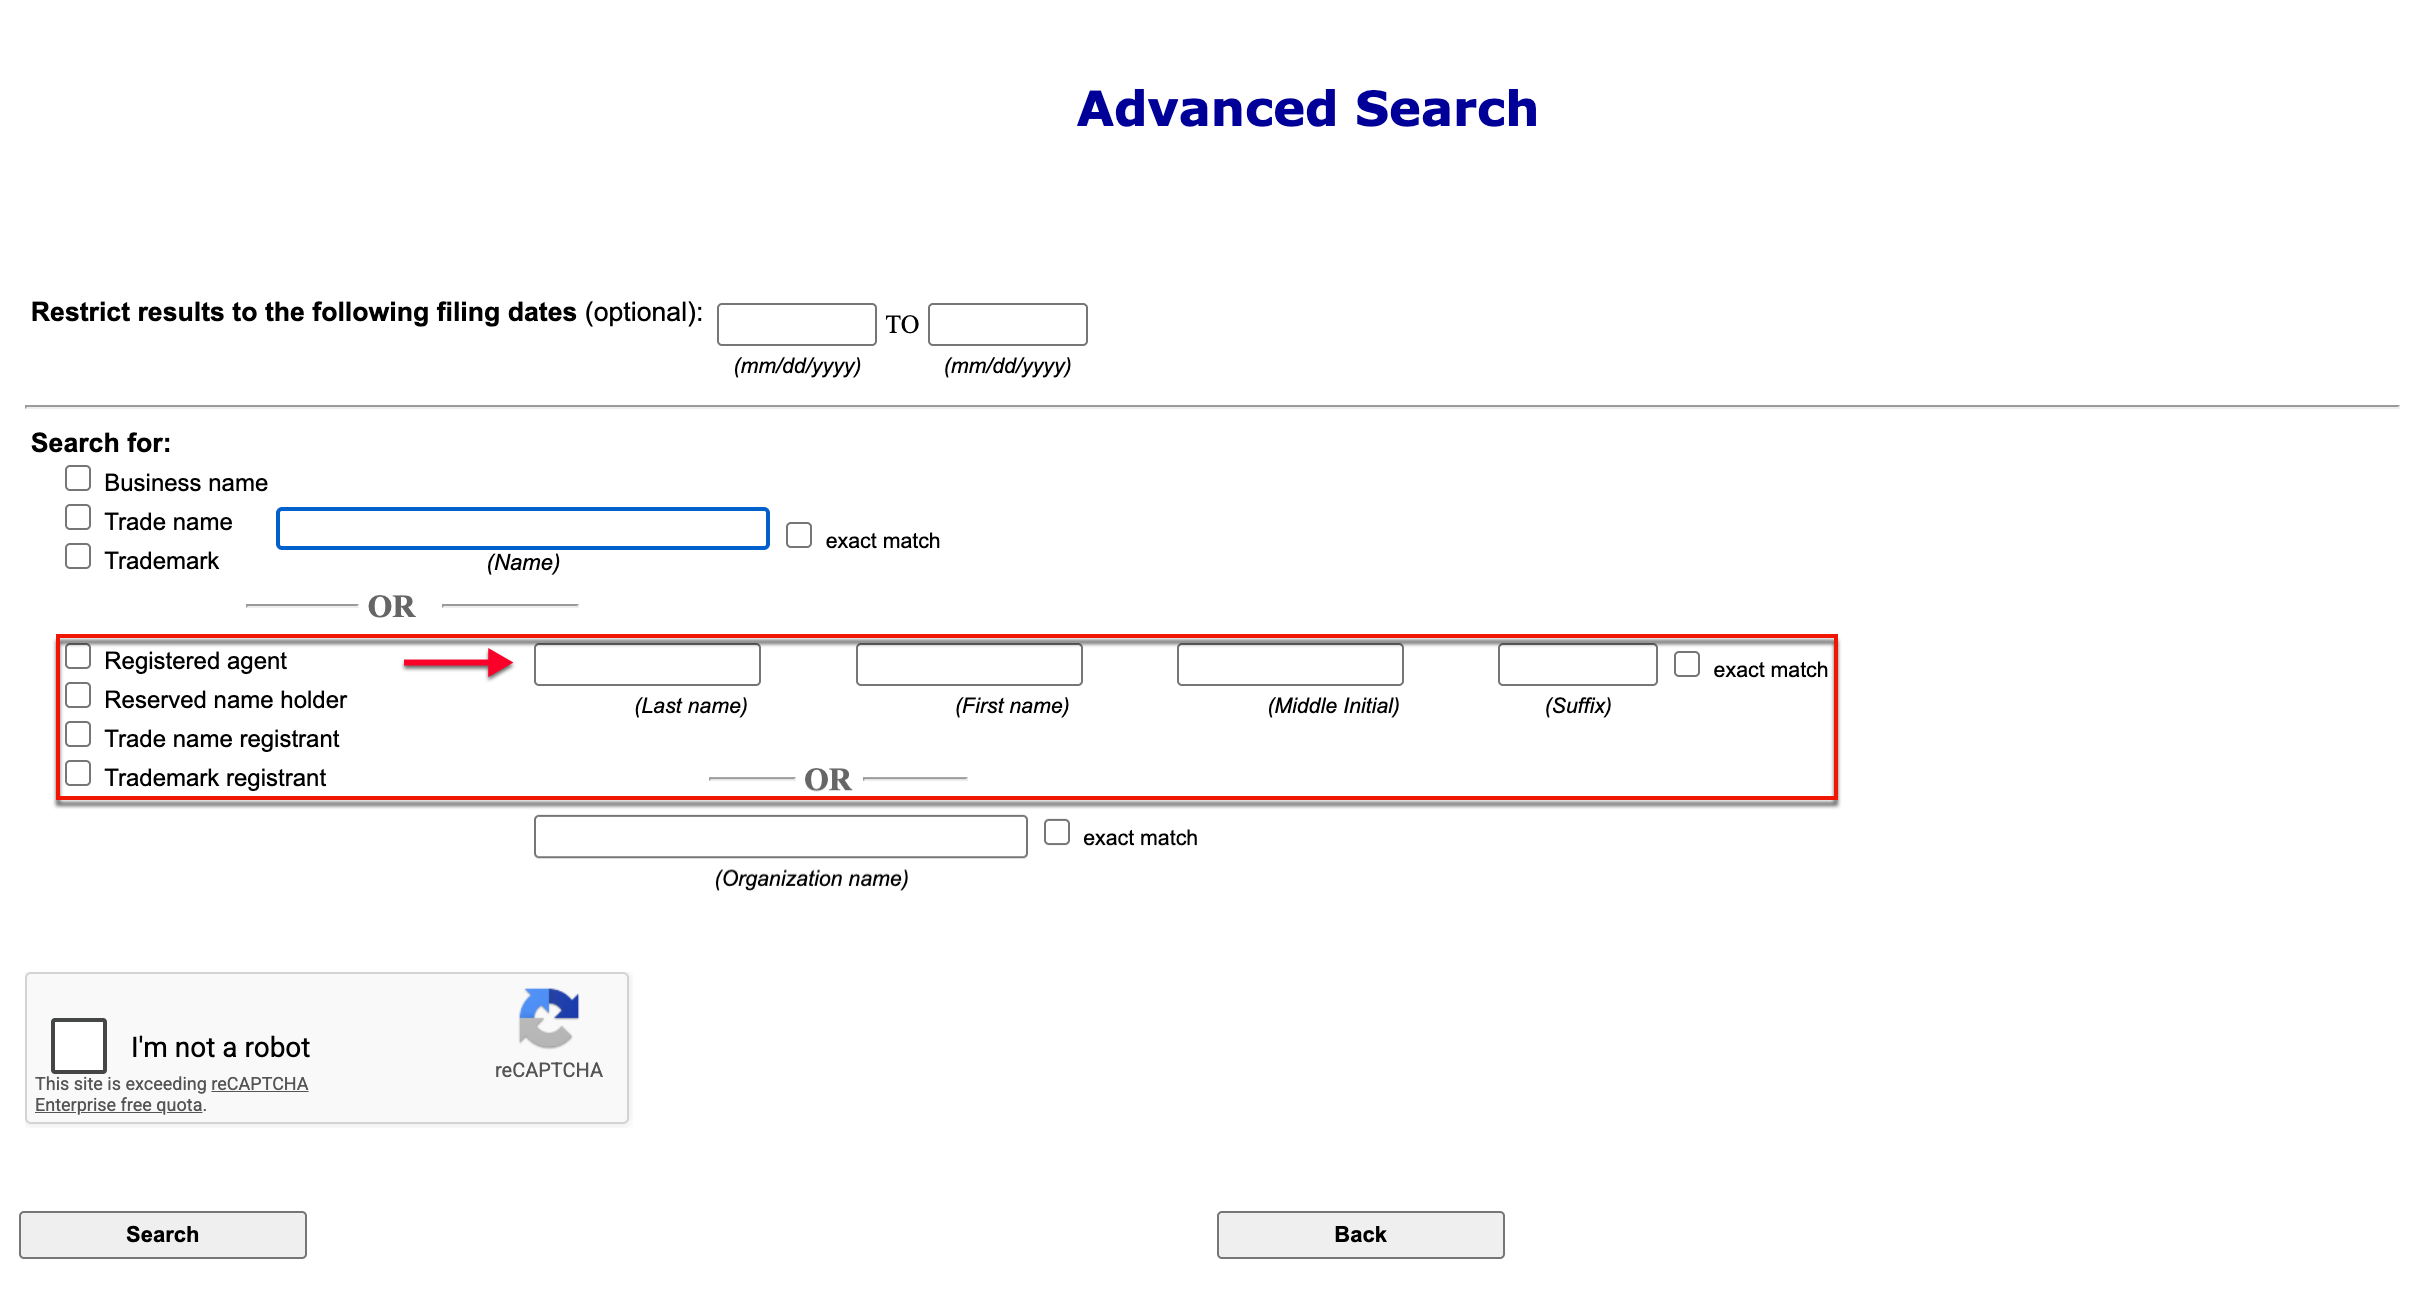
Notice the checkboxes in the next section. Mark the checkbox that best describes who the database must find in its records.
- Registered Agent
- Reserved Name Holder
- Trade Name Registrant
- Trademark Registrant

Step 9. Find A Name
Search for a specific individual by selecting the checkbox to report their status, supplying their full name in the text boxes. Also, indicate if you seek an exact match (if relevant) before going to Step 7.
- Last Name
- First Name
- Middle Initial
- Suffix
- Exact Match
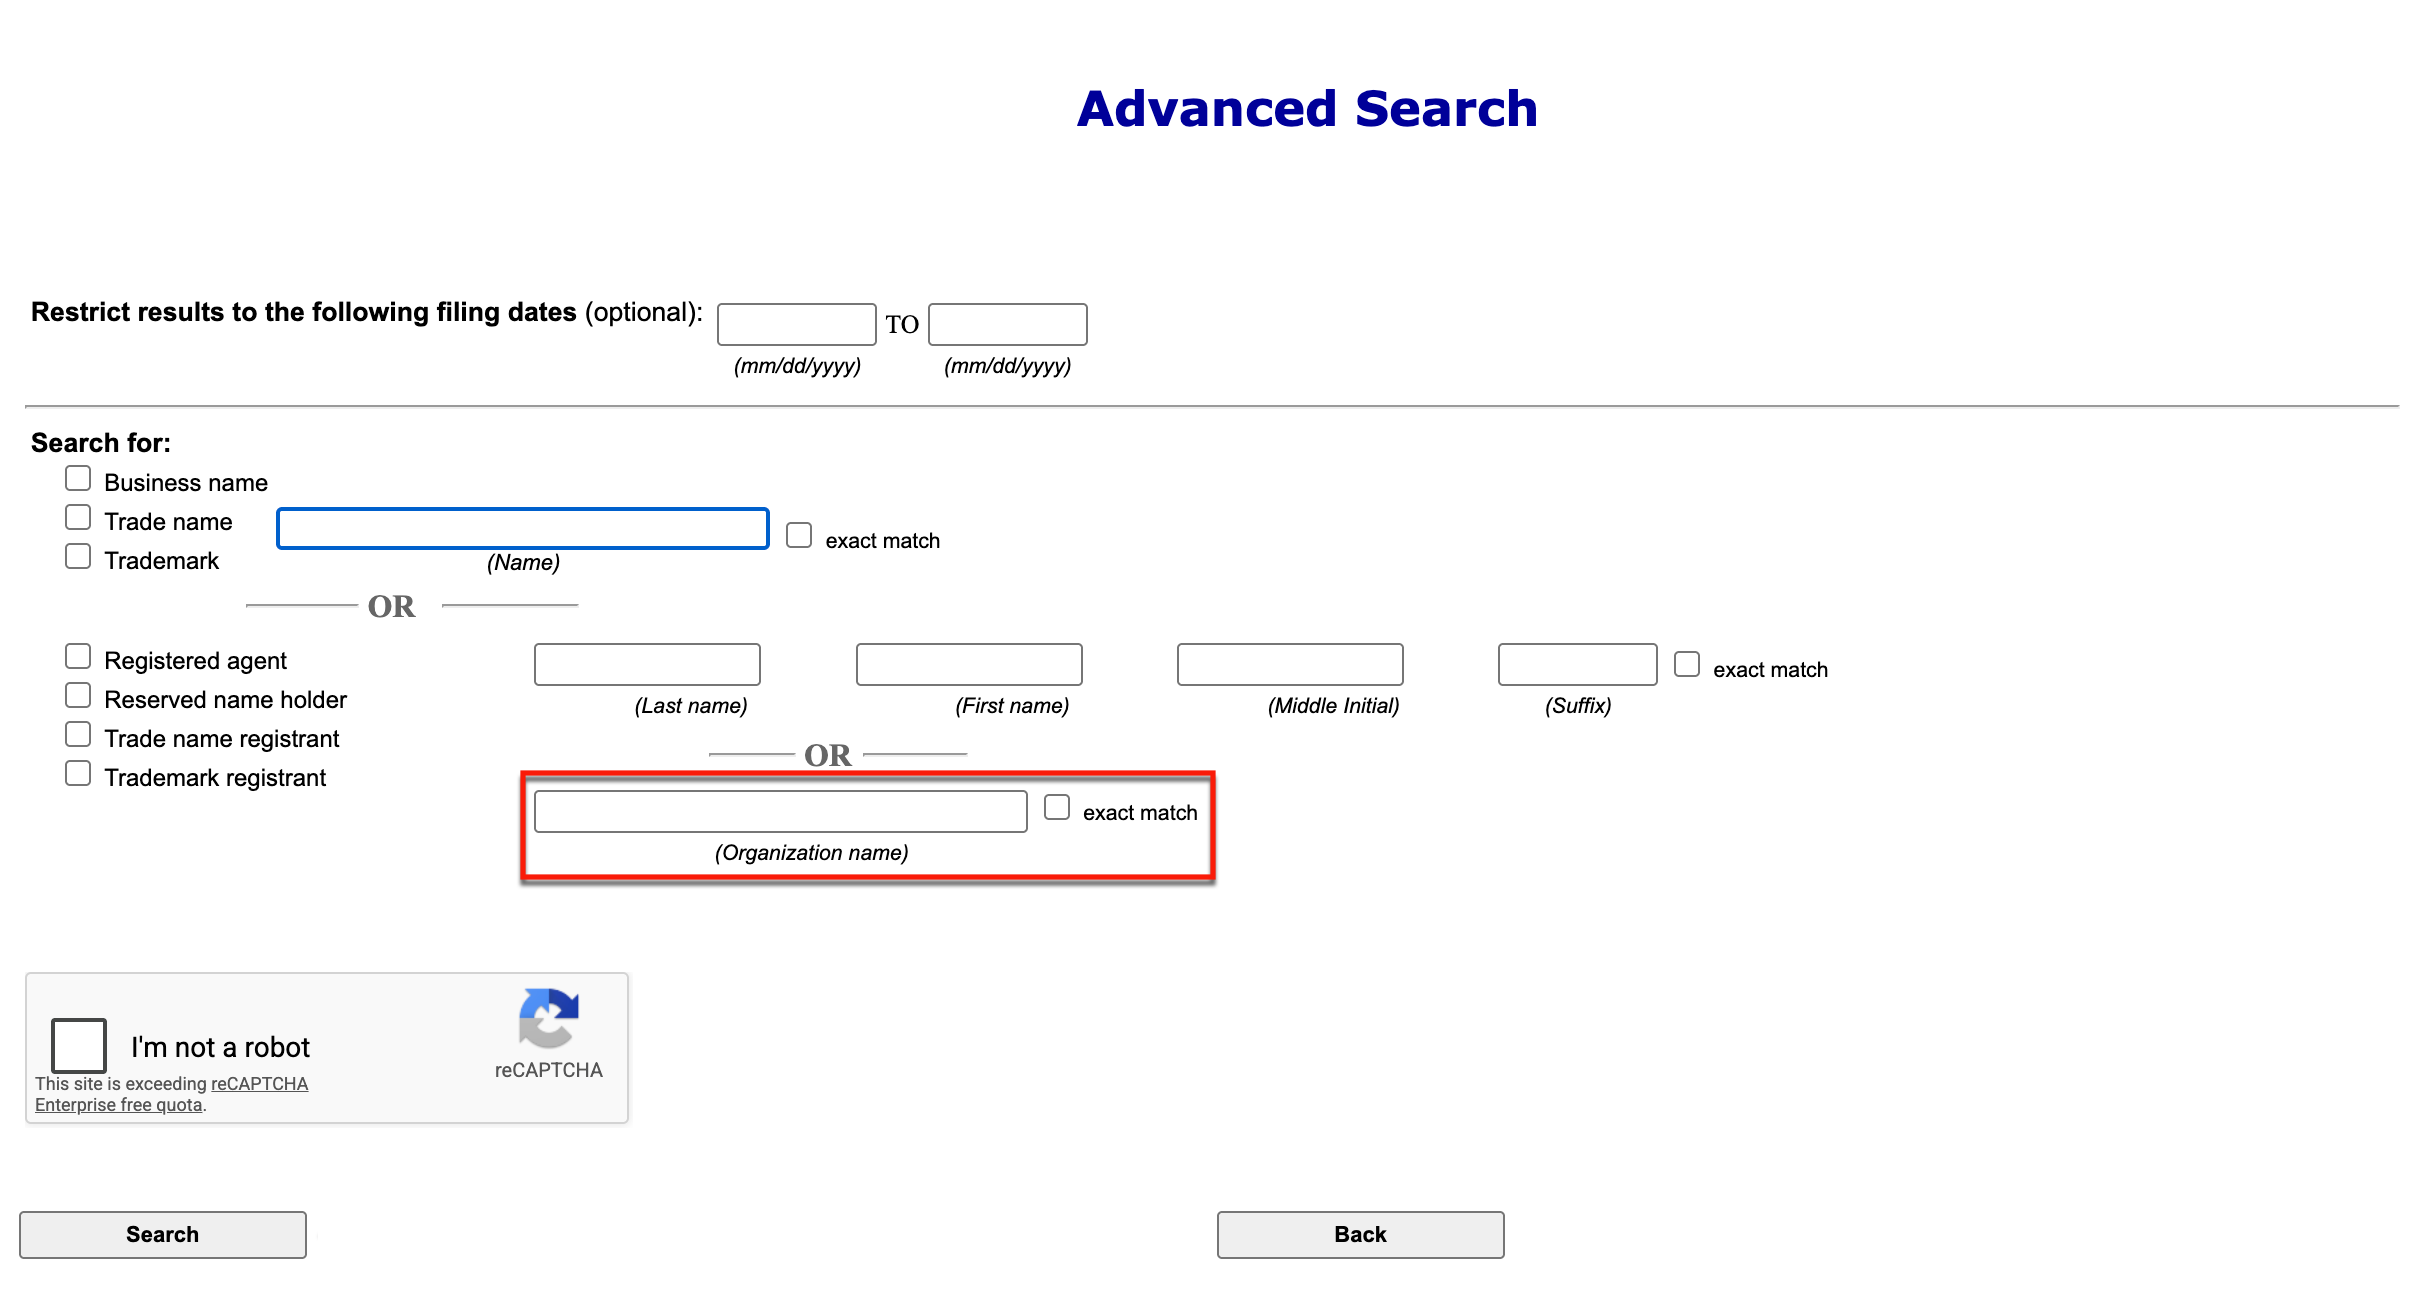
Step 10. Look for an Organization
Type in the partial name of an organization or its exact name in the “Organization Name” box. Select the “Exact Match” checkbox to filter results to precisely what was entered.
- Organization Name
- Exact Match
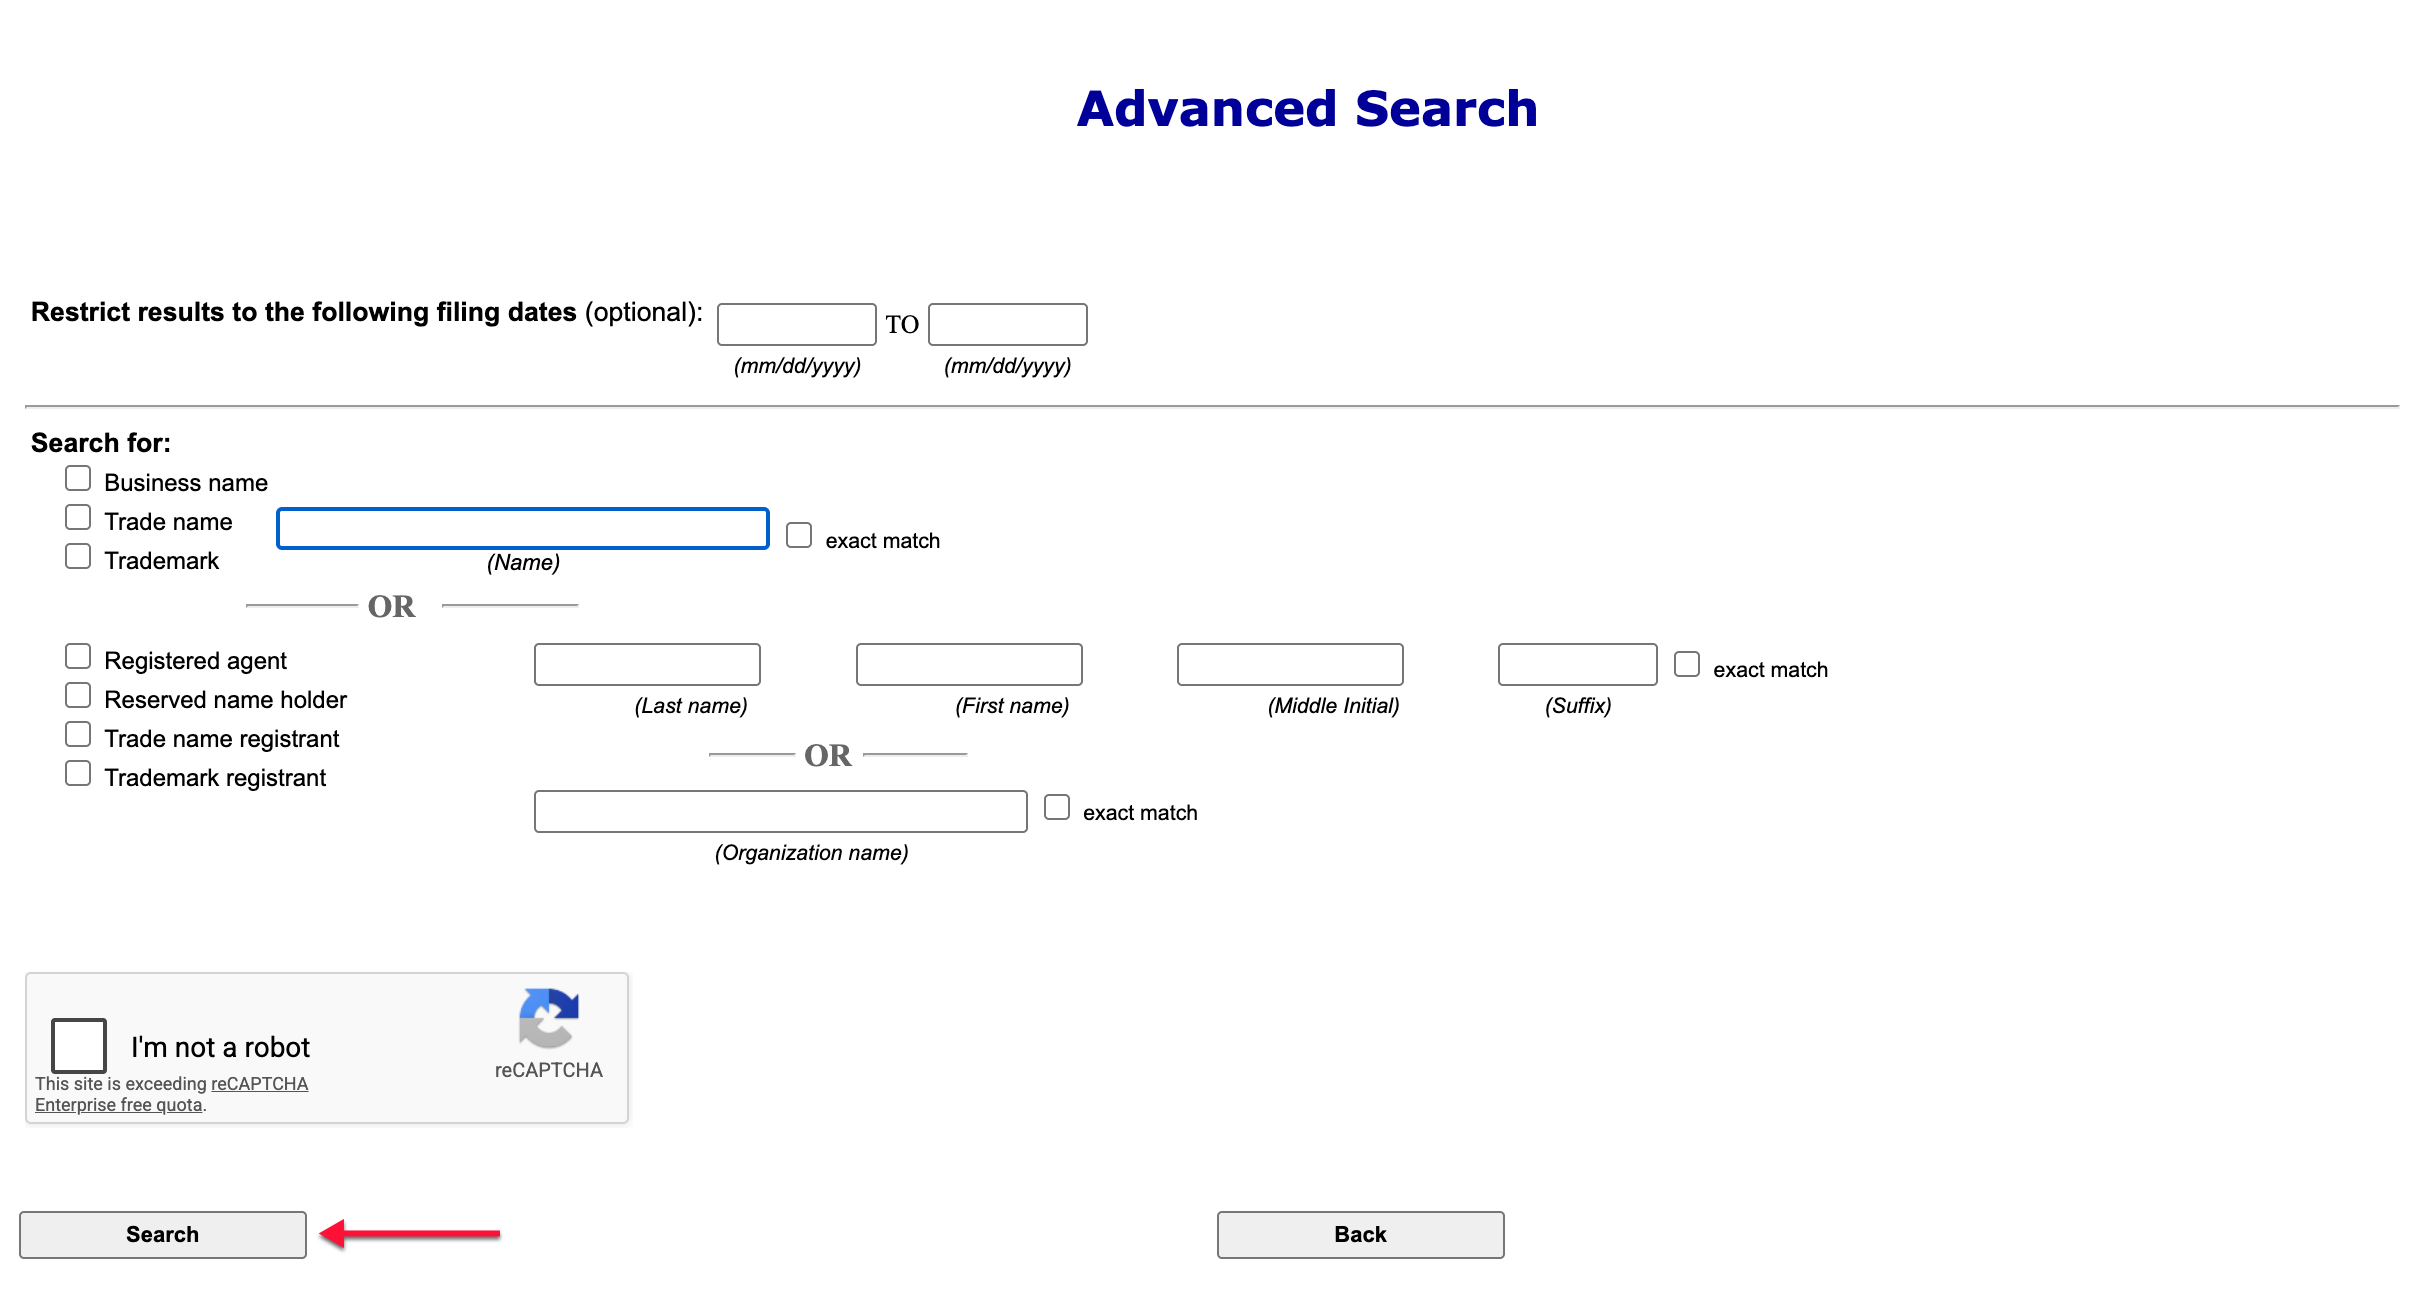
Step 11. Declare Validity and Perform the Advanced Search
To run a search, the user must verify they are not a bot (see image). In the case of an advanced search, provide this verification before initiating the search by clicking “Search.”
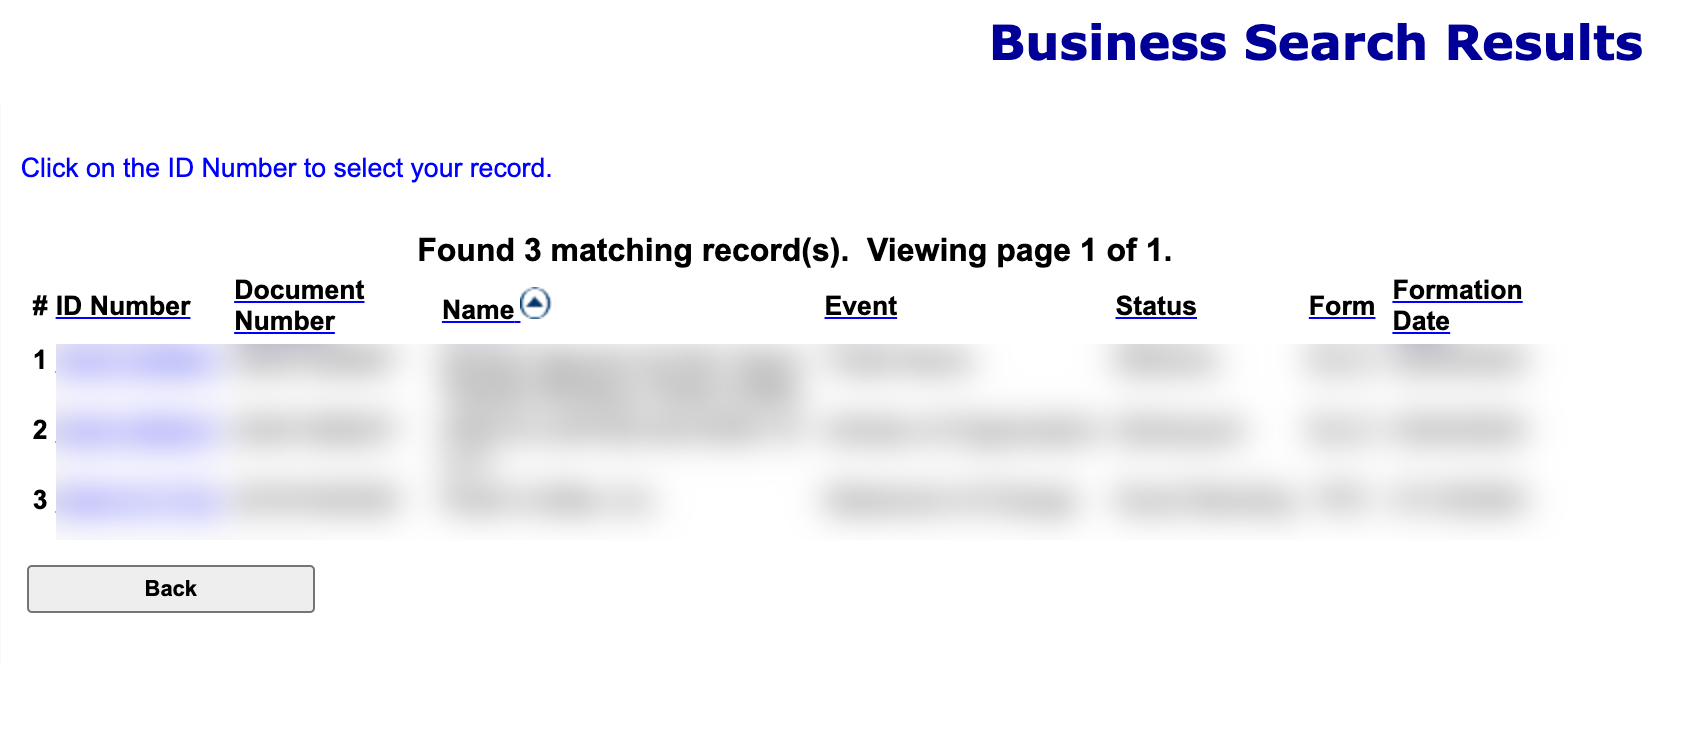
Step 12. Look through the Sortable Results
The resulting matches display in a table with several columns. Sort the information by name by clicking the heading. After finding the entity name, select its ID Number.
- ID Number
- Document Number
- Name (see image)
- Event
- Status
- Form
- Formation Date
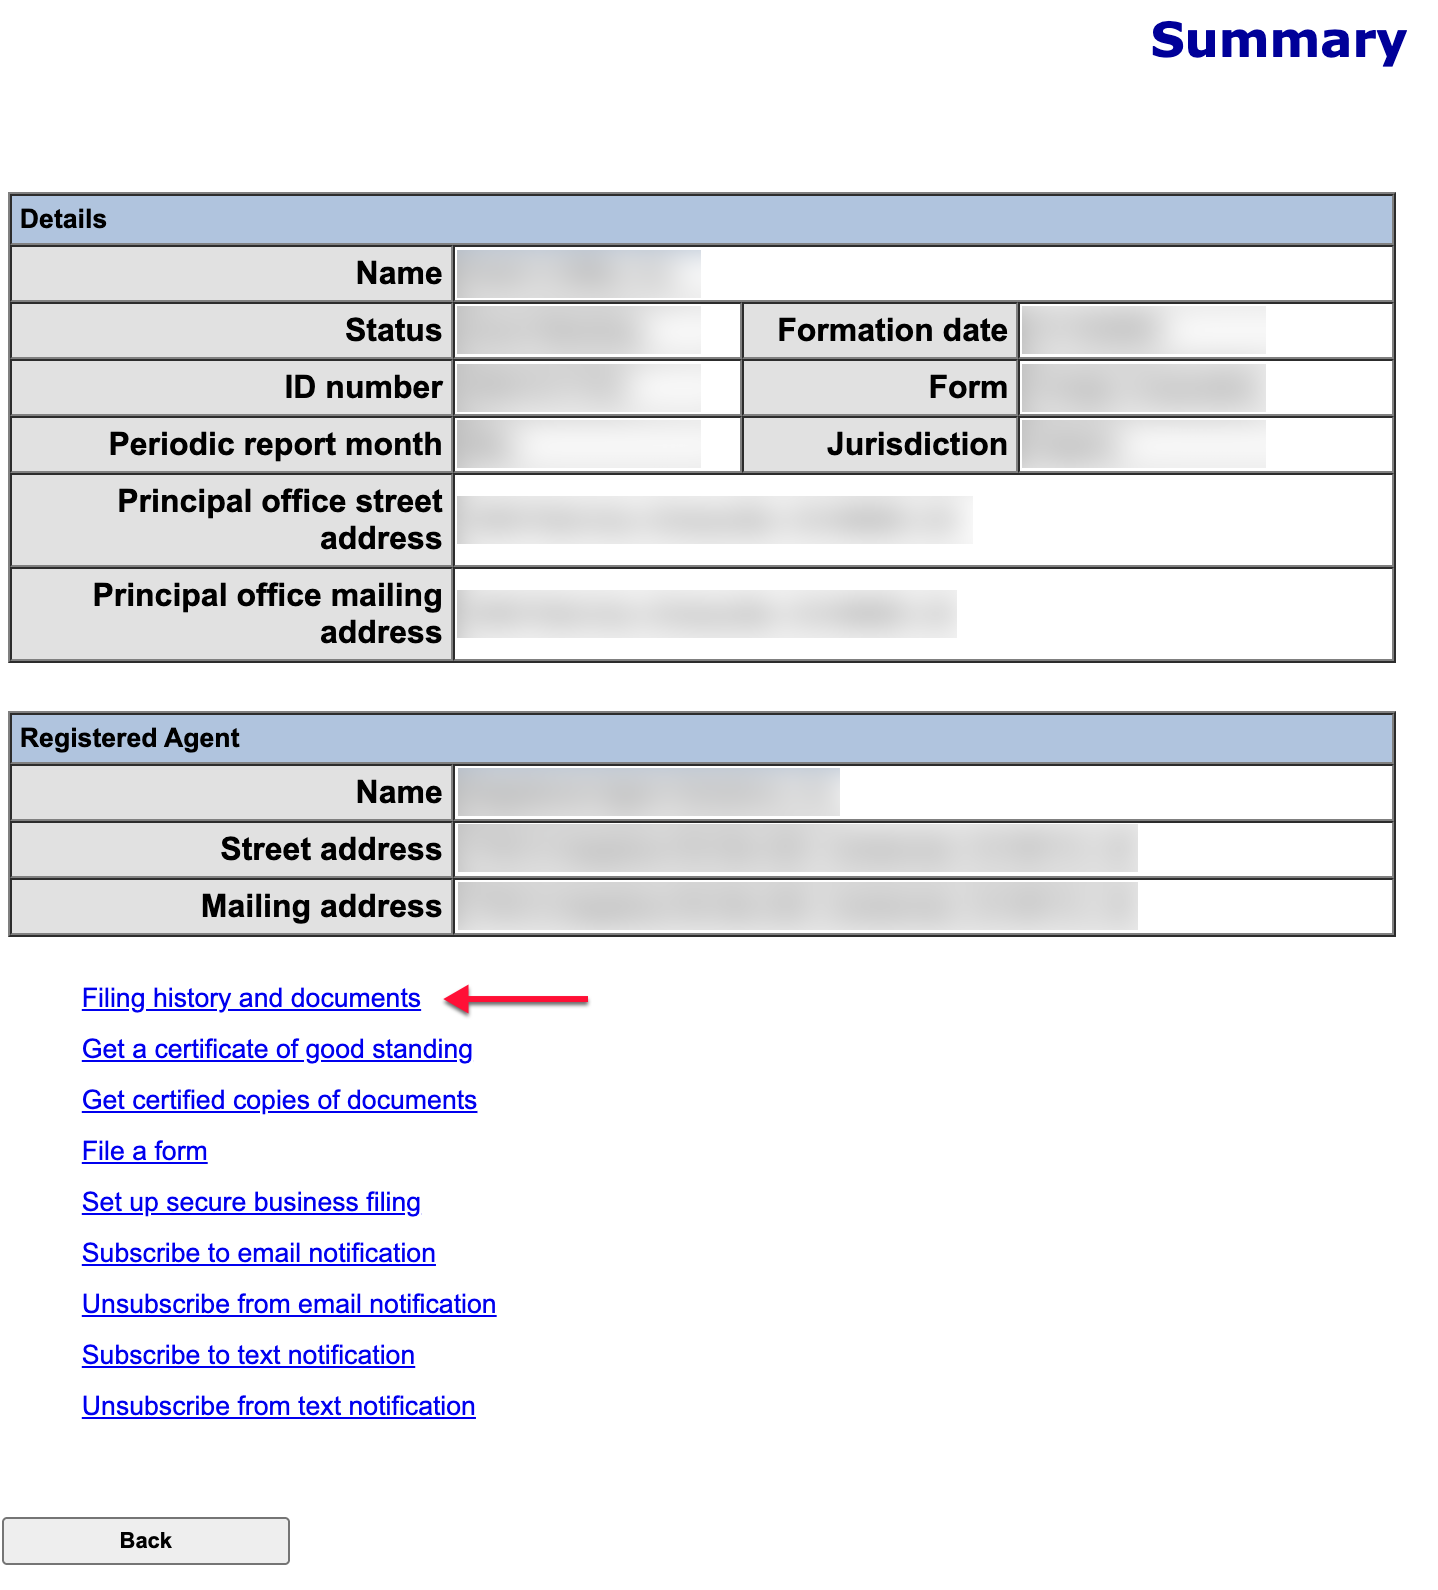
Step 13. Review the Entity Summary
Look through the data appearing on the summary page to learn more about the entity. In order to view its history, select the first link below the summary area.
- Details
- Name
- Status
- Formation Date
- ID Number
- Form
- Periodic Report Month
- Jurisdiction
- Principal Office Street Address
- Principal Office Mailing Address
- Registered Agent
- Name
- Street Address
- Mailing Address
- Filing History and Documents
- Get a Certificate of Good Standing
- Get Certified Copies of Documents
- File a Form
- Set Up Secure Business Filing
- Subscribe to Email Notification
- Unsubscribe from Email Notification
- Subscribe to Text Notification
- Unsubscribe from Text Notification
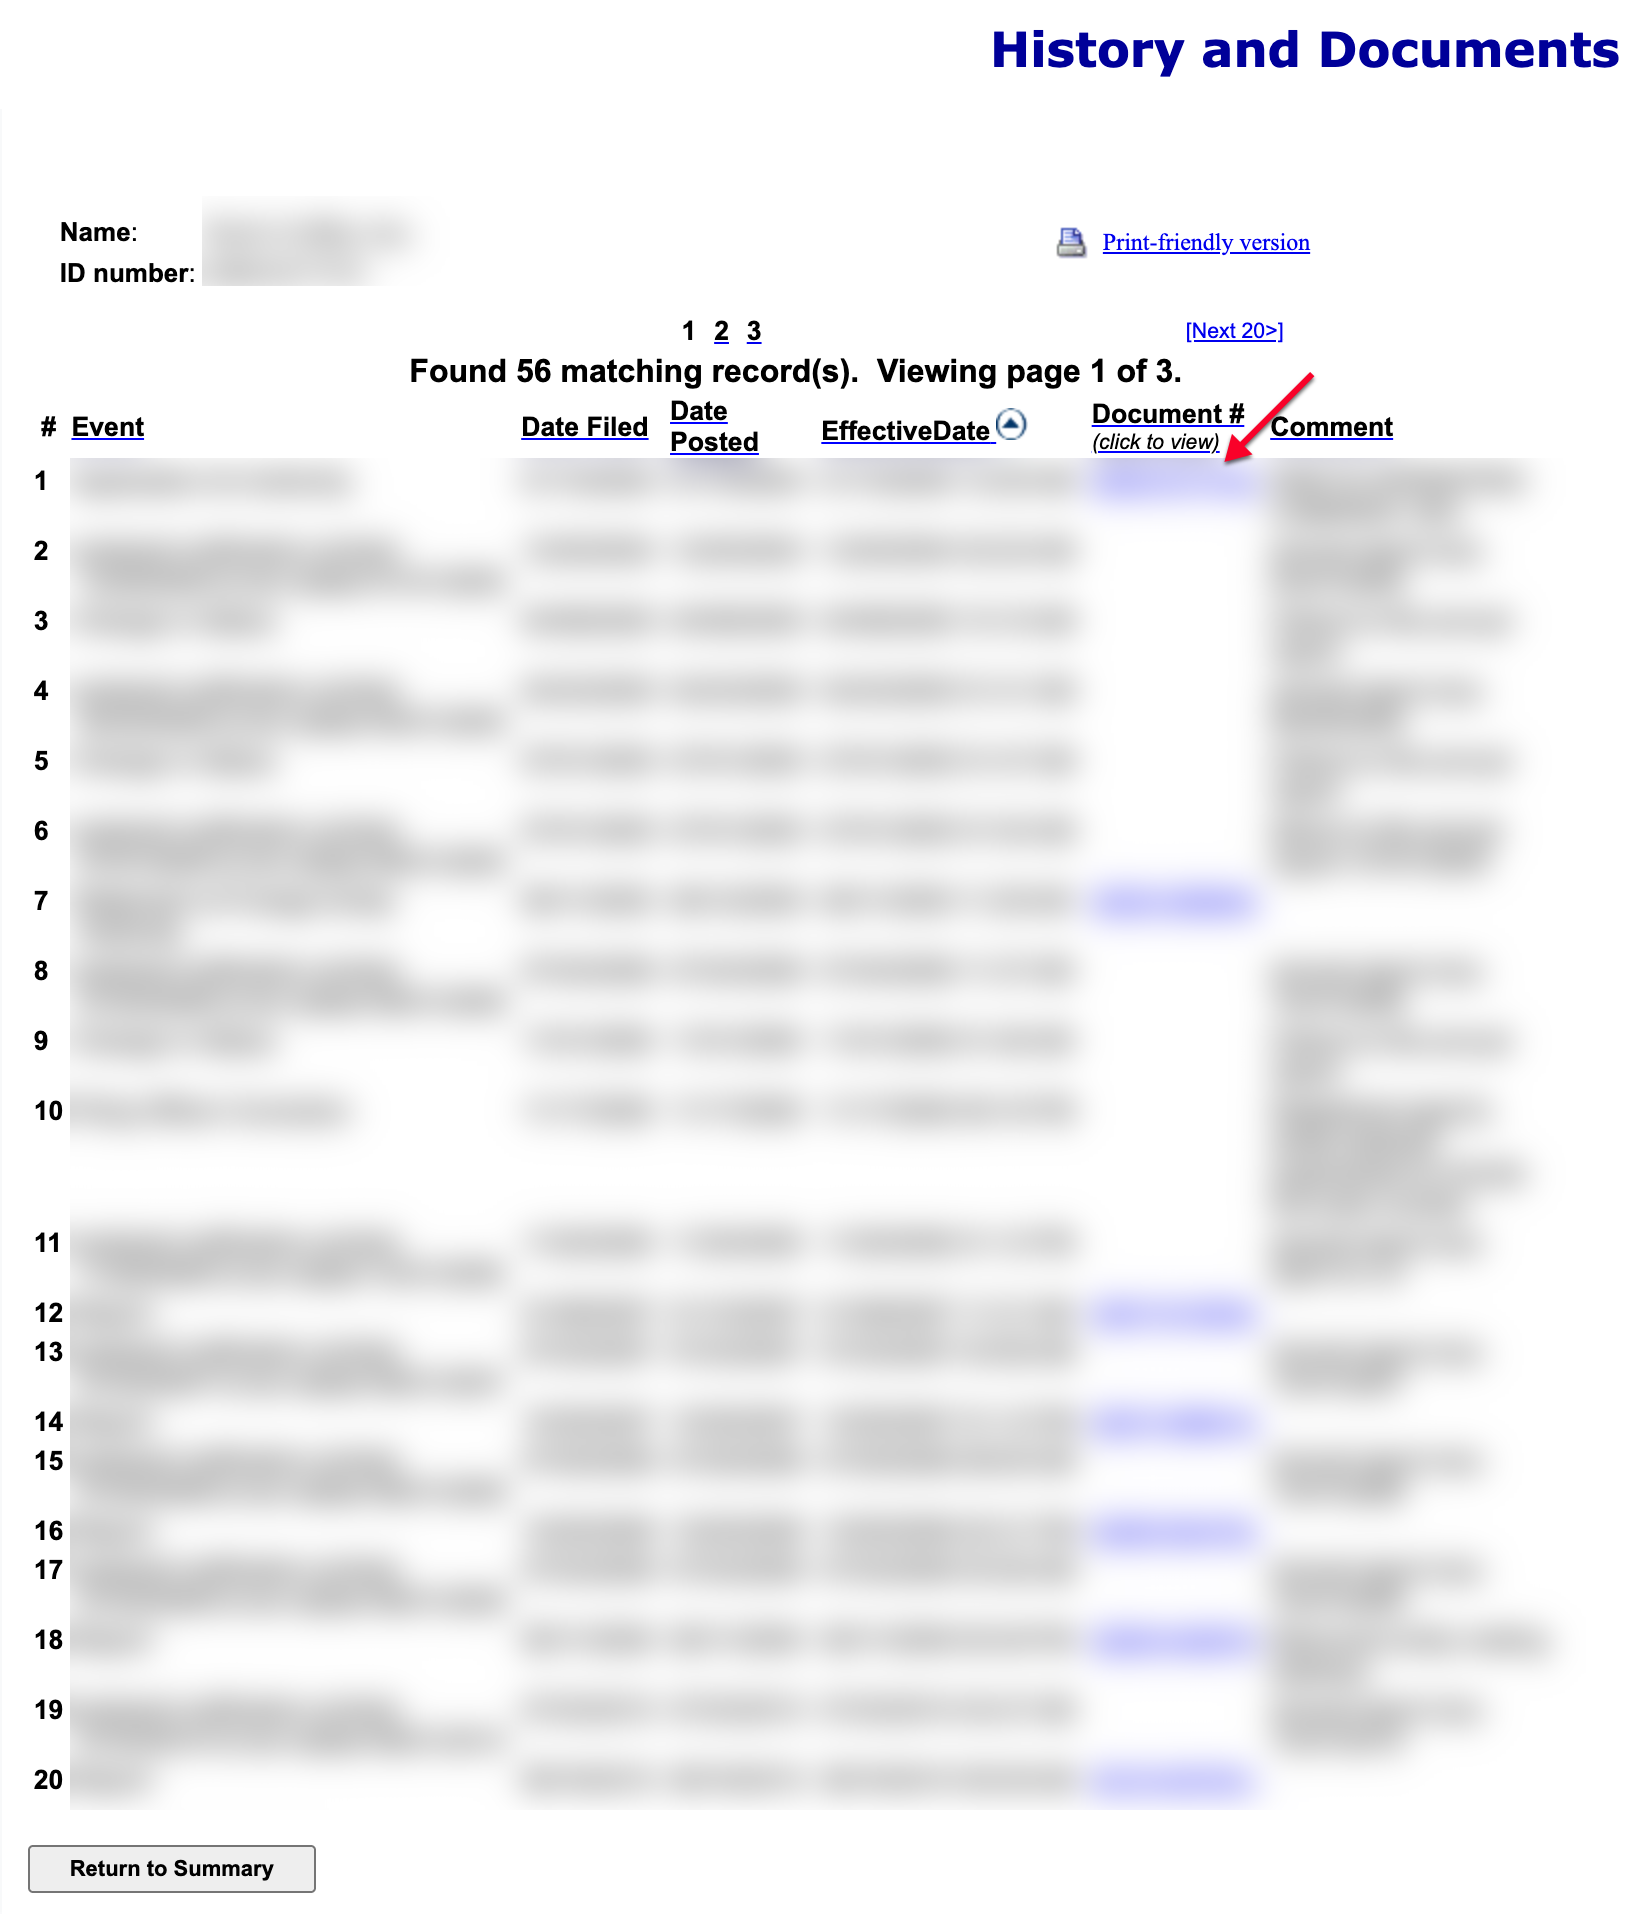
Step 14. Review The Entity’s History and Documents
Notice the first column contains the event (e.g., Application for Authority) that the data in the following columns define. If available, view an event’s PDF in the “Document #” column.
- Event
- Date Filed (see image)
- Date Posted (see image)
- Effective Date (see image)
- Document # (see image)
- Comment (see image)