The District of Columbia Office of the State Department of Licensing and Consumer Protection business entity search tool performs queries to find an entity’s public information. Users supply this query tool with a phrase, name, or filing number, and ideally, attach filter requirements. The query then uses this information to look for and display every entity that satisfies the user’s requirements.
Business Entity Search
Step 1. Access the Washington D.C. Entity Search Tool
Go to the D.C. business entity search page in order to find an entity. Organize as much information as possible regarding the entity the query must target.
Step 2. Set Up a Search Item for the Query
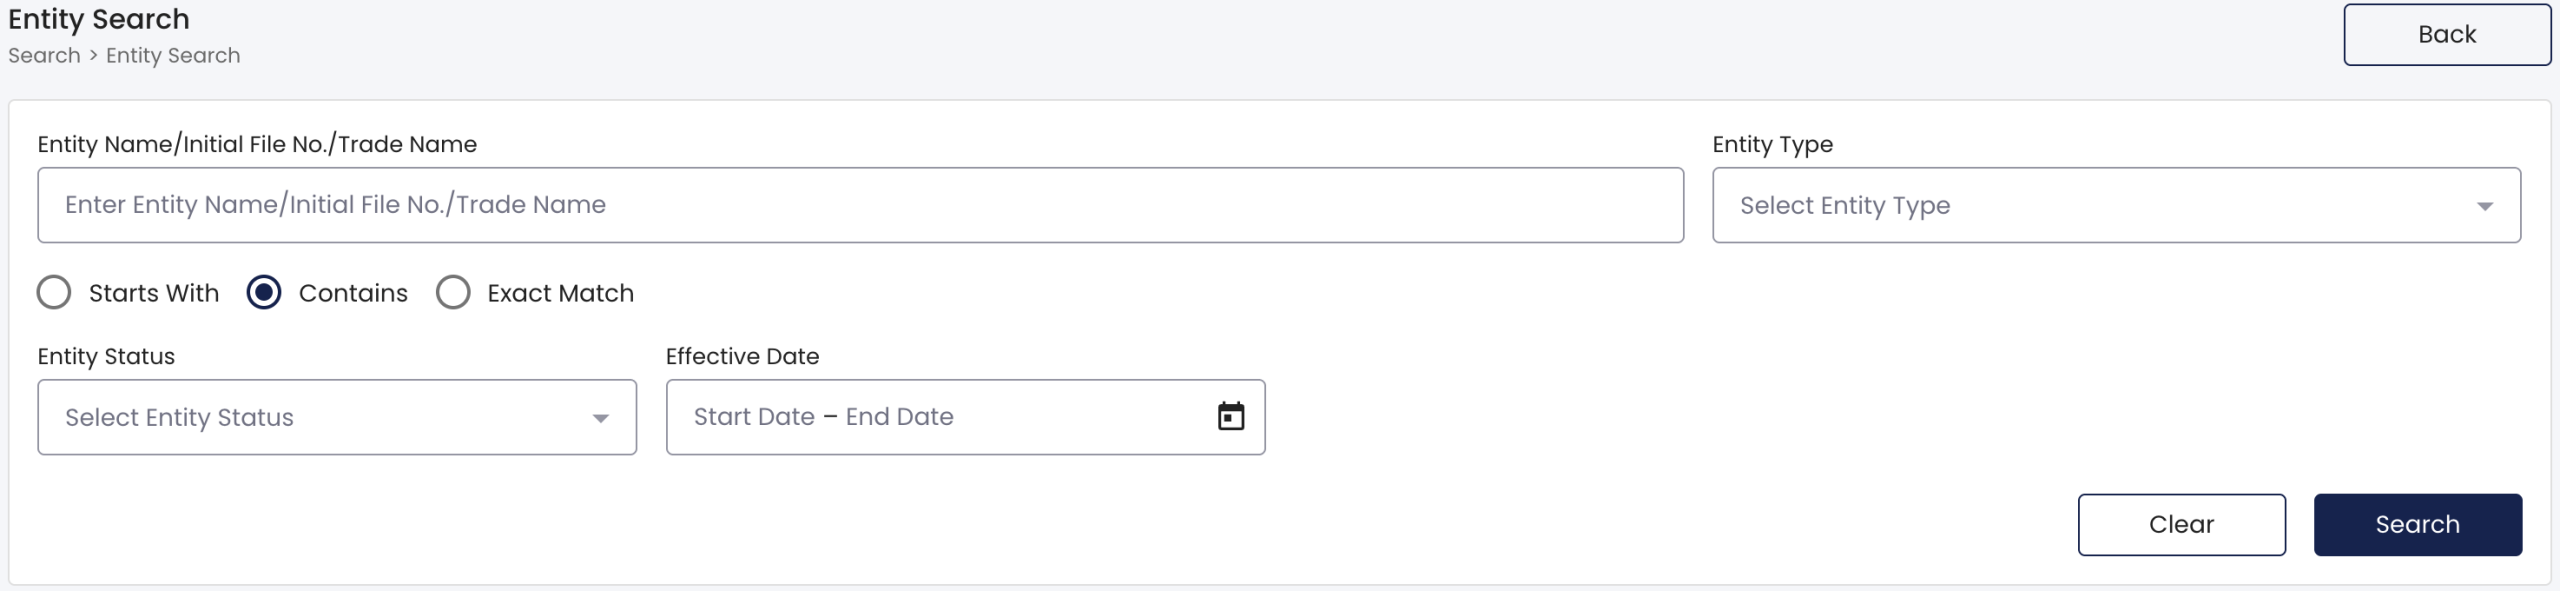
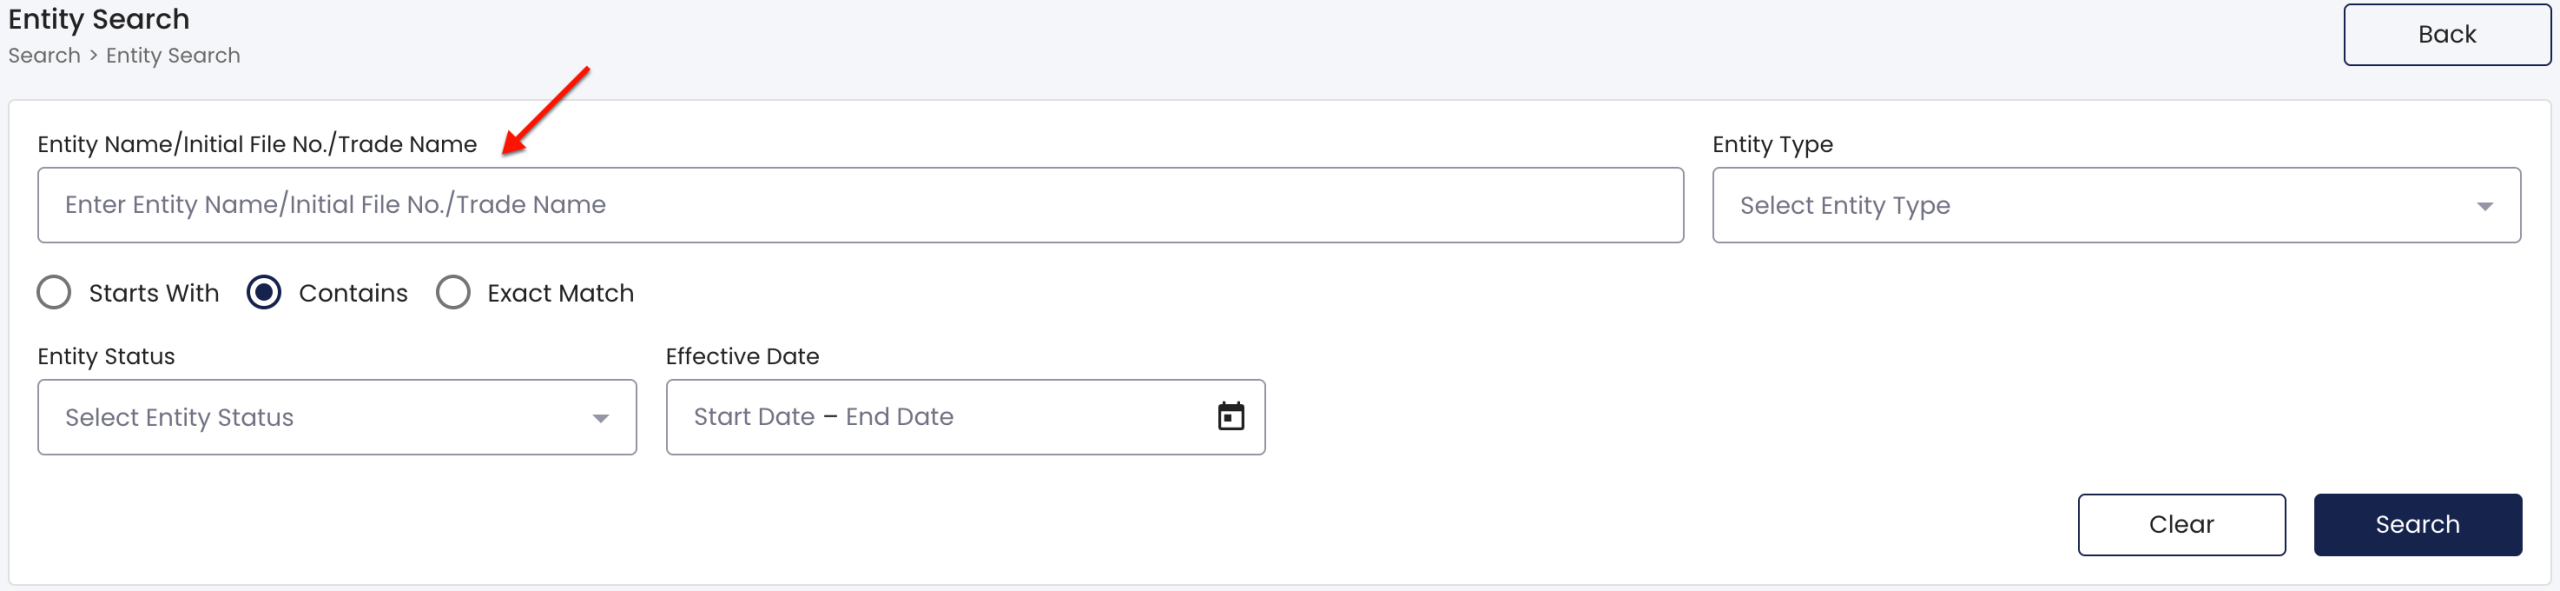
Examine the filter options this tool provides. When ready, supply at least part of the name, filing number, or trade name of the desired entity to the search box.
- Entity Name/Initial File No./Trade Name
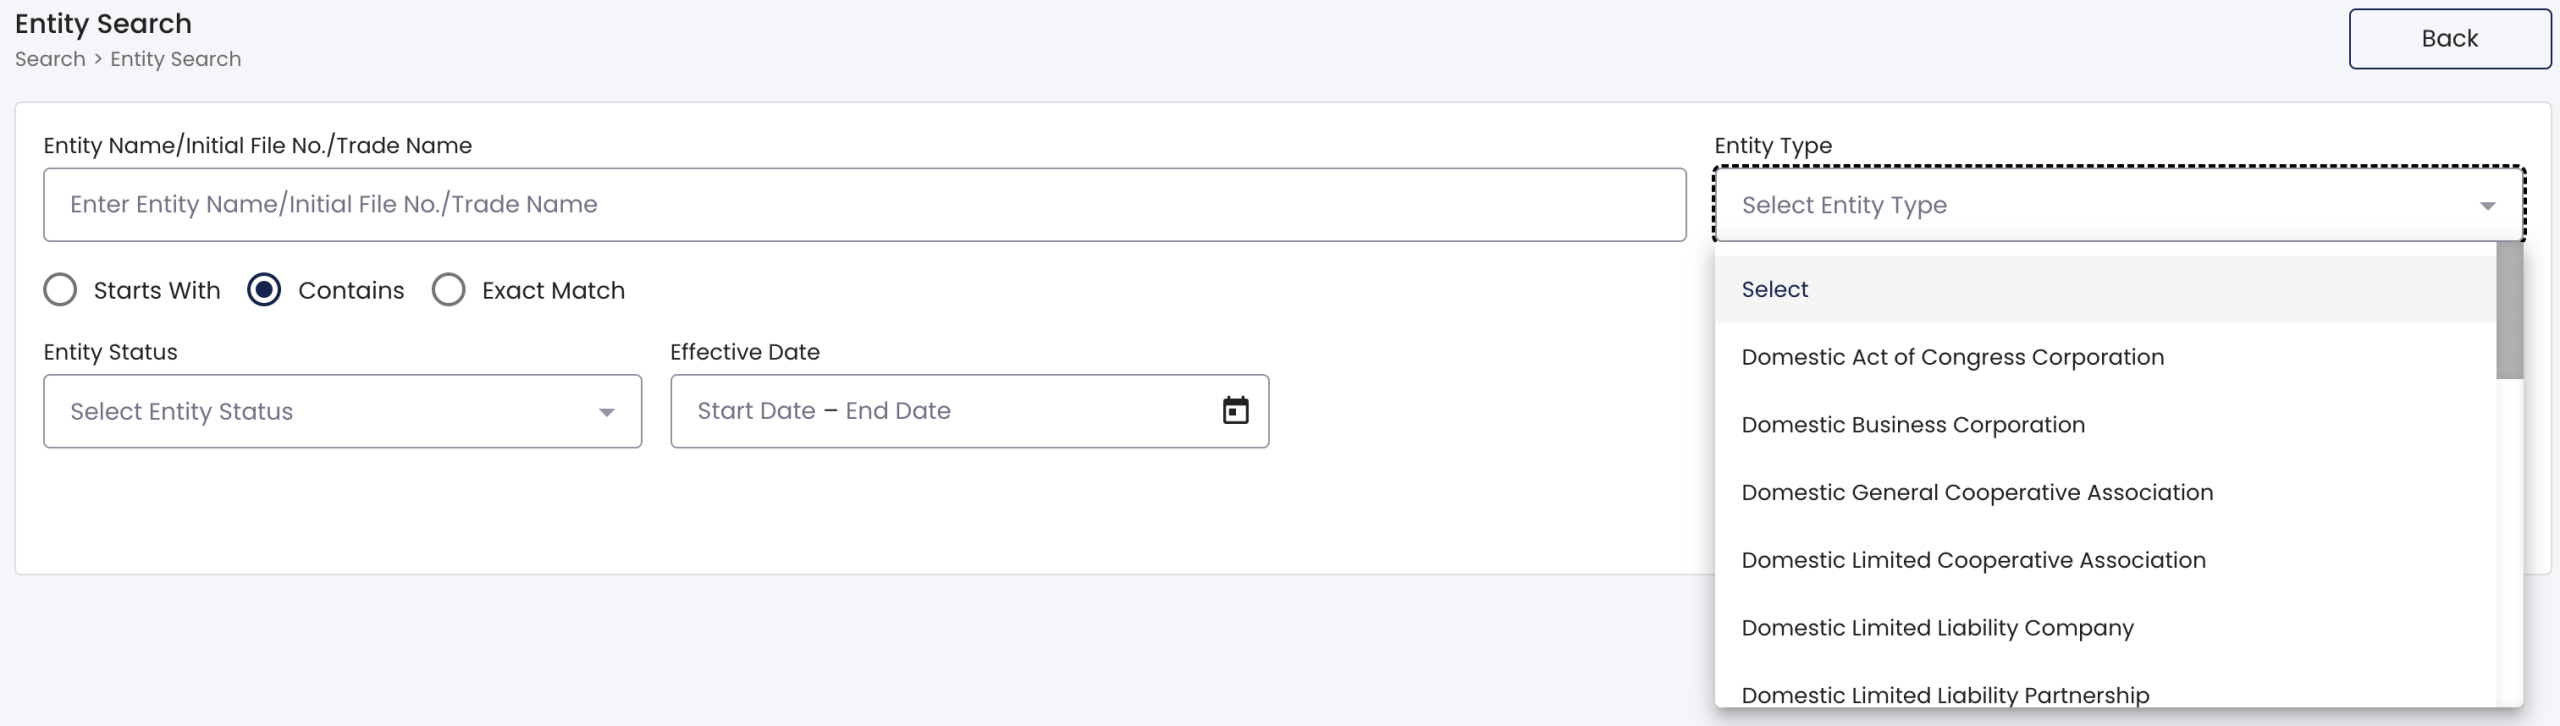
- Entity Type
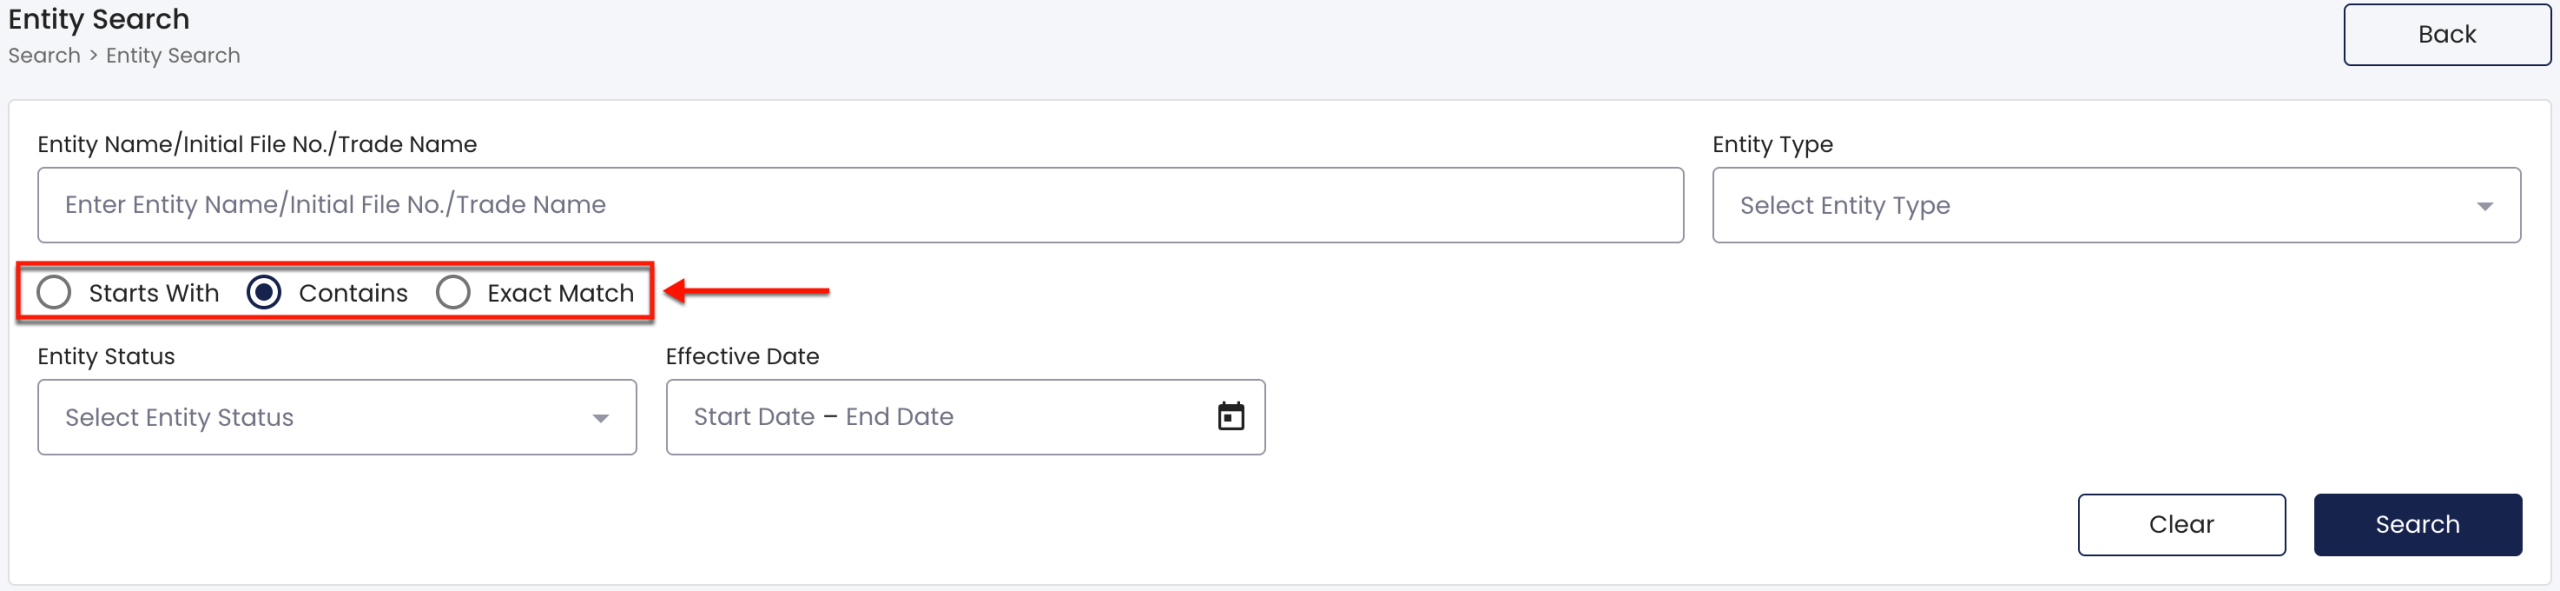
- Starts With
- Contains
- Exact Match
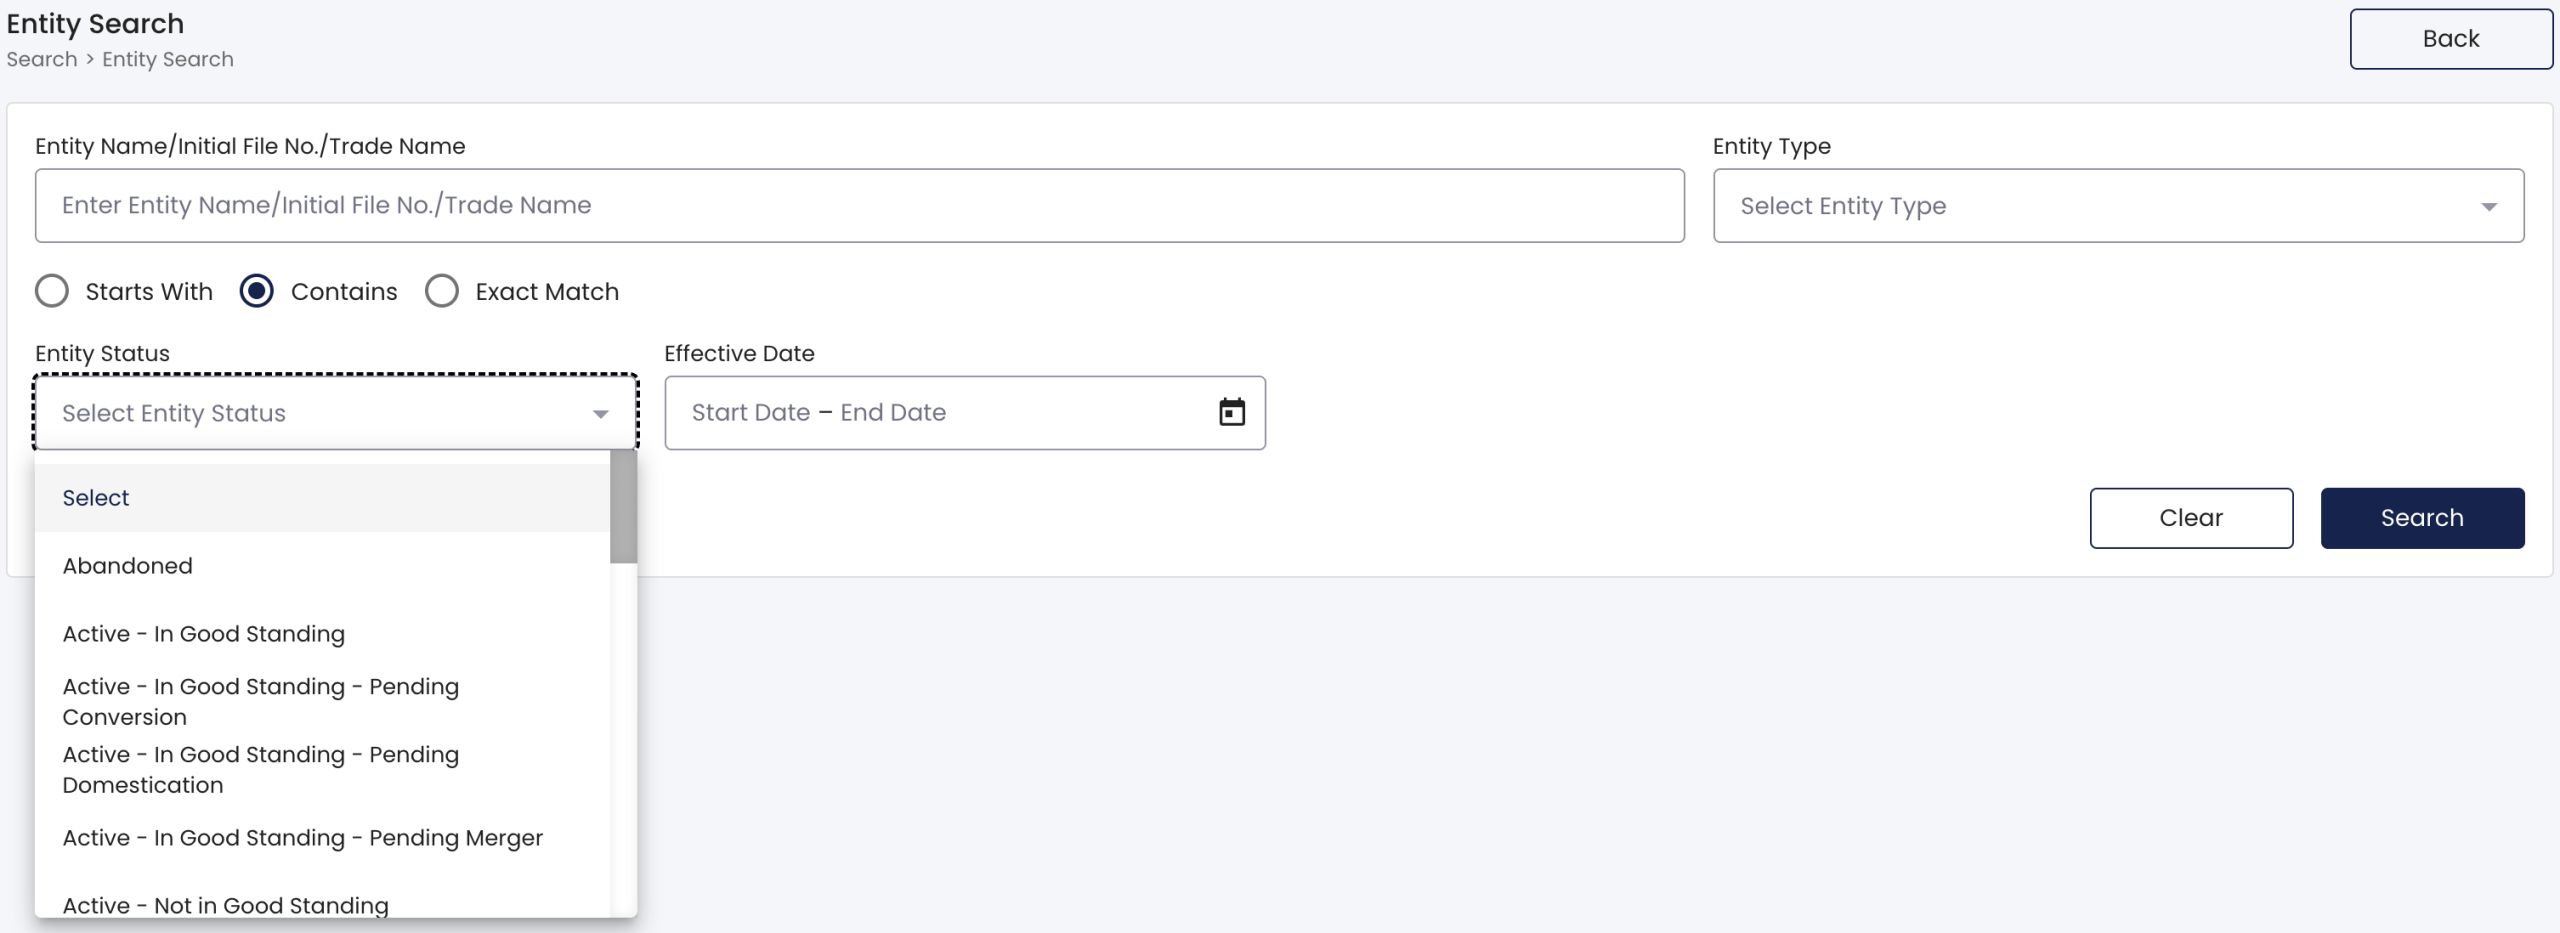
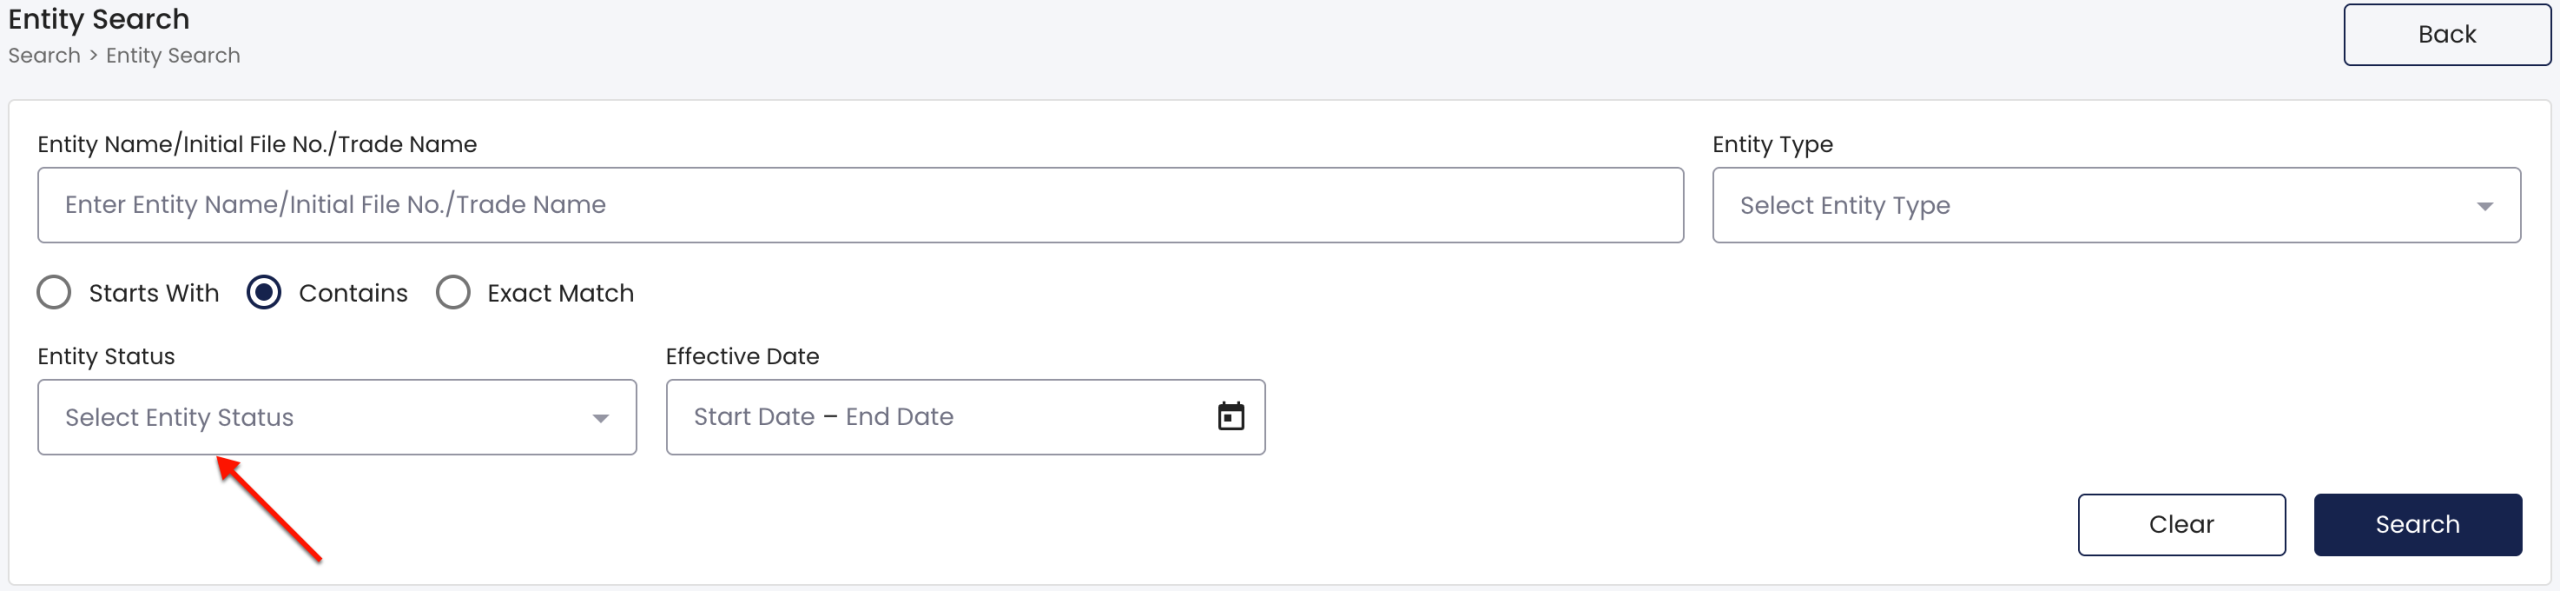
- Entity Status
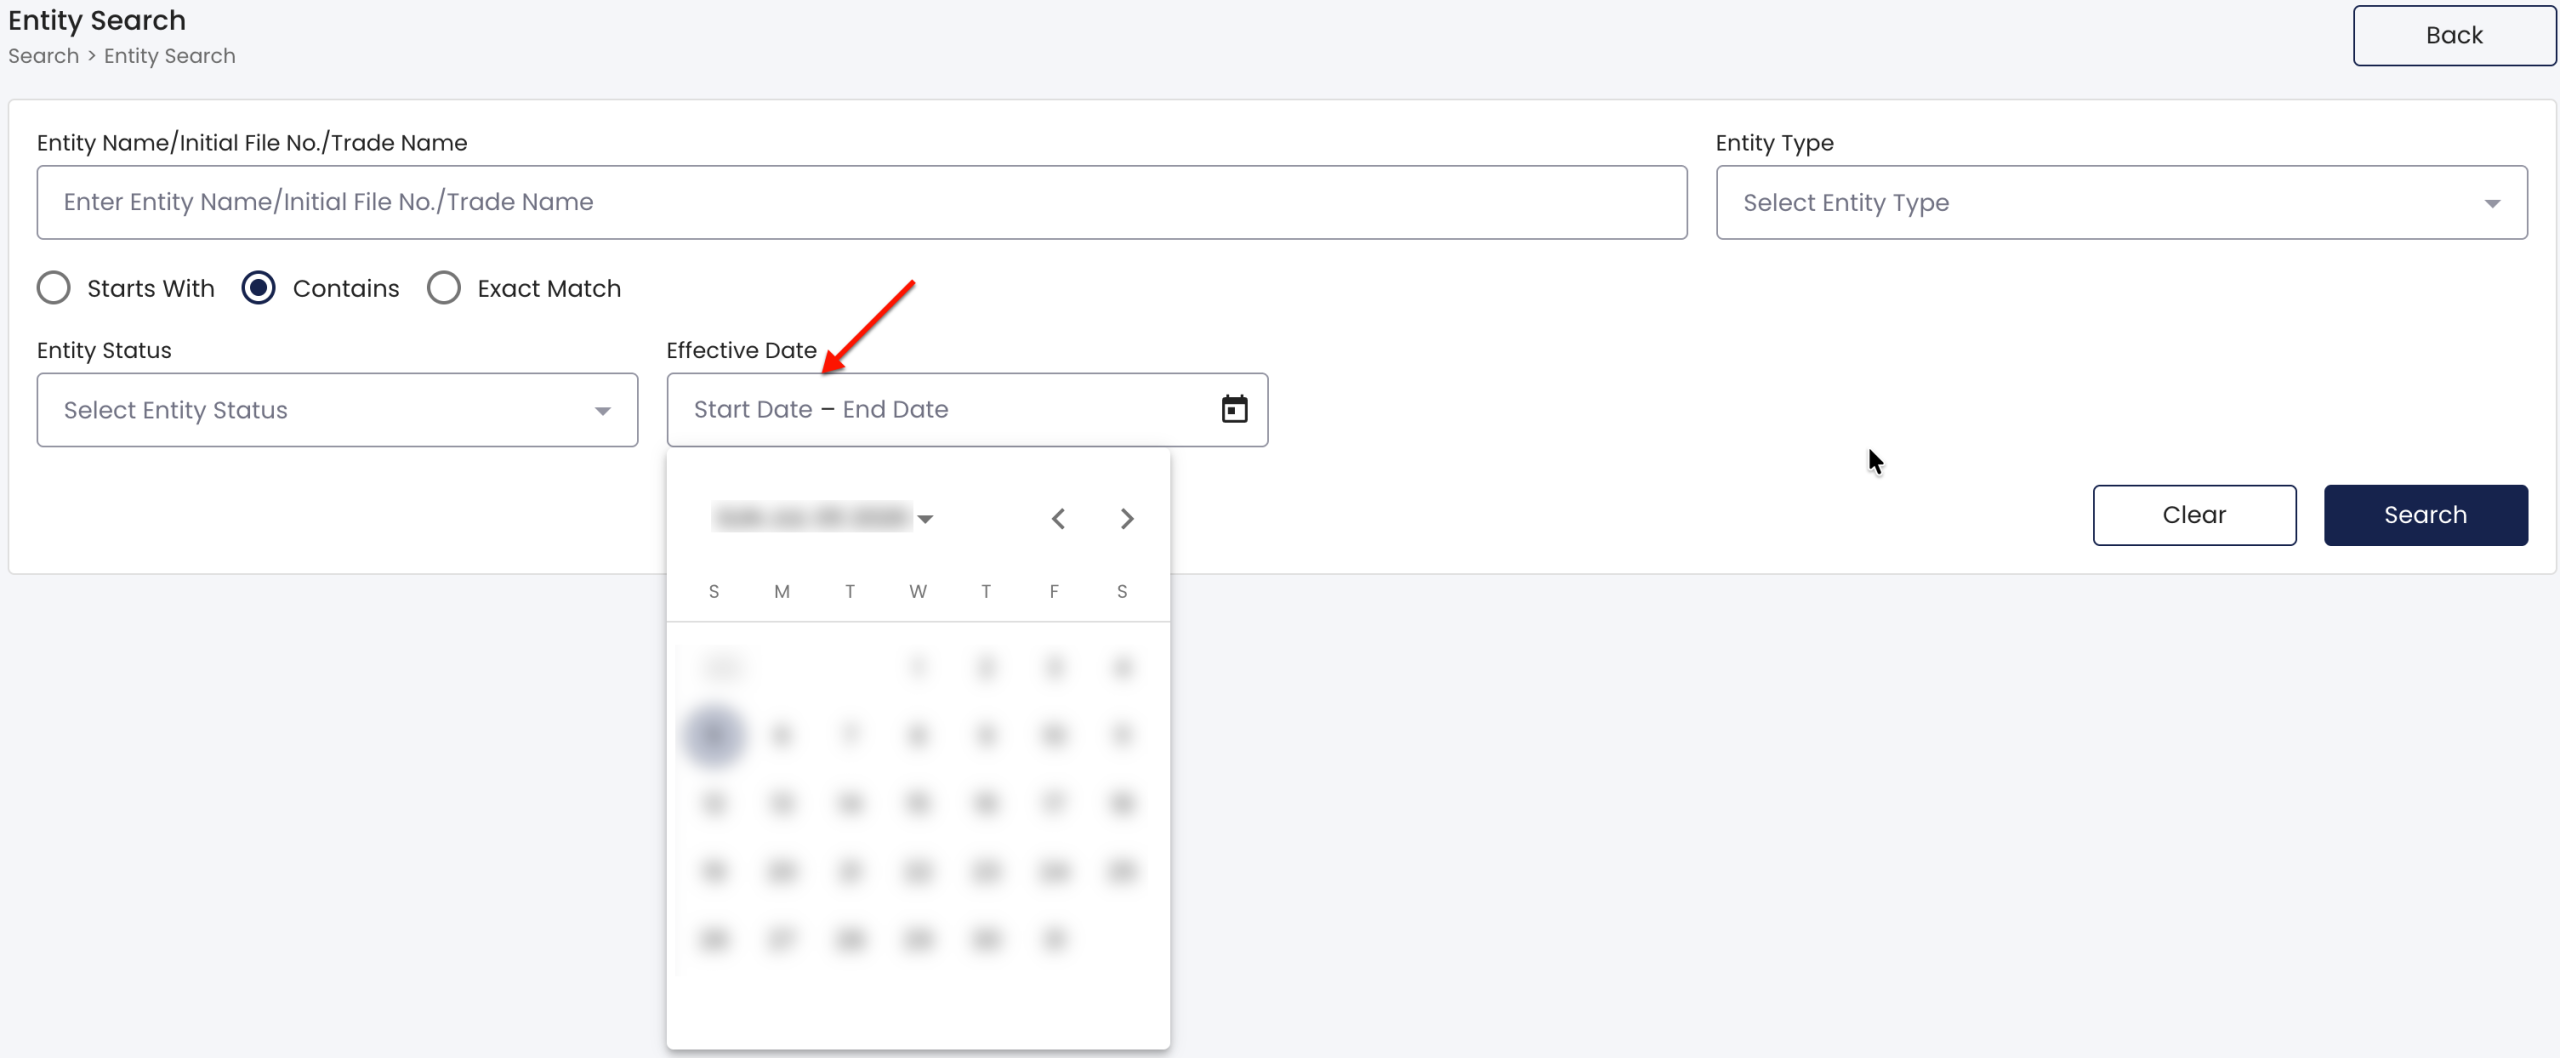
- Effective Date
- Start Date
- End Date
- Clear
- Start
Step 3. Look For One Type of Entity
Note the drop-down menu that follows the search box. Select an entity status type from this menu (see image) to see only entities with this status in the results.

Step 4. Focus the Query with a Search Method
Turn your attention to the three radio buttons. Select one of these to look for the search phrase in a specific area of an entity’s record.
Step 5. Use the Target Entity’s Status as a Filter
If the entity’s status is available, then select it from the drop-down menu “Entity Status” (see image). This selection filters all entities of another status out of the results.
Step 6. Attach A Specific Effective Date Requirement
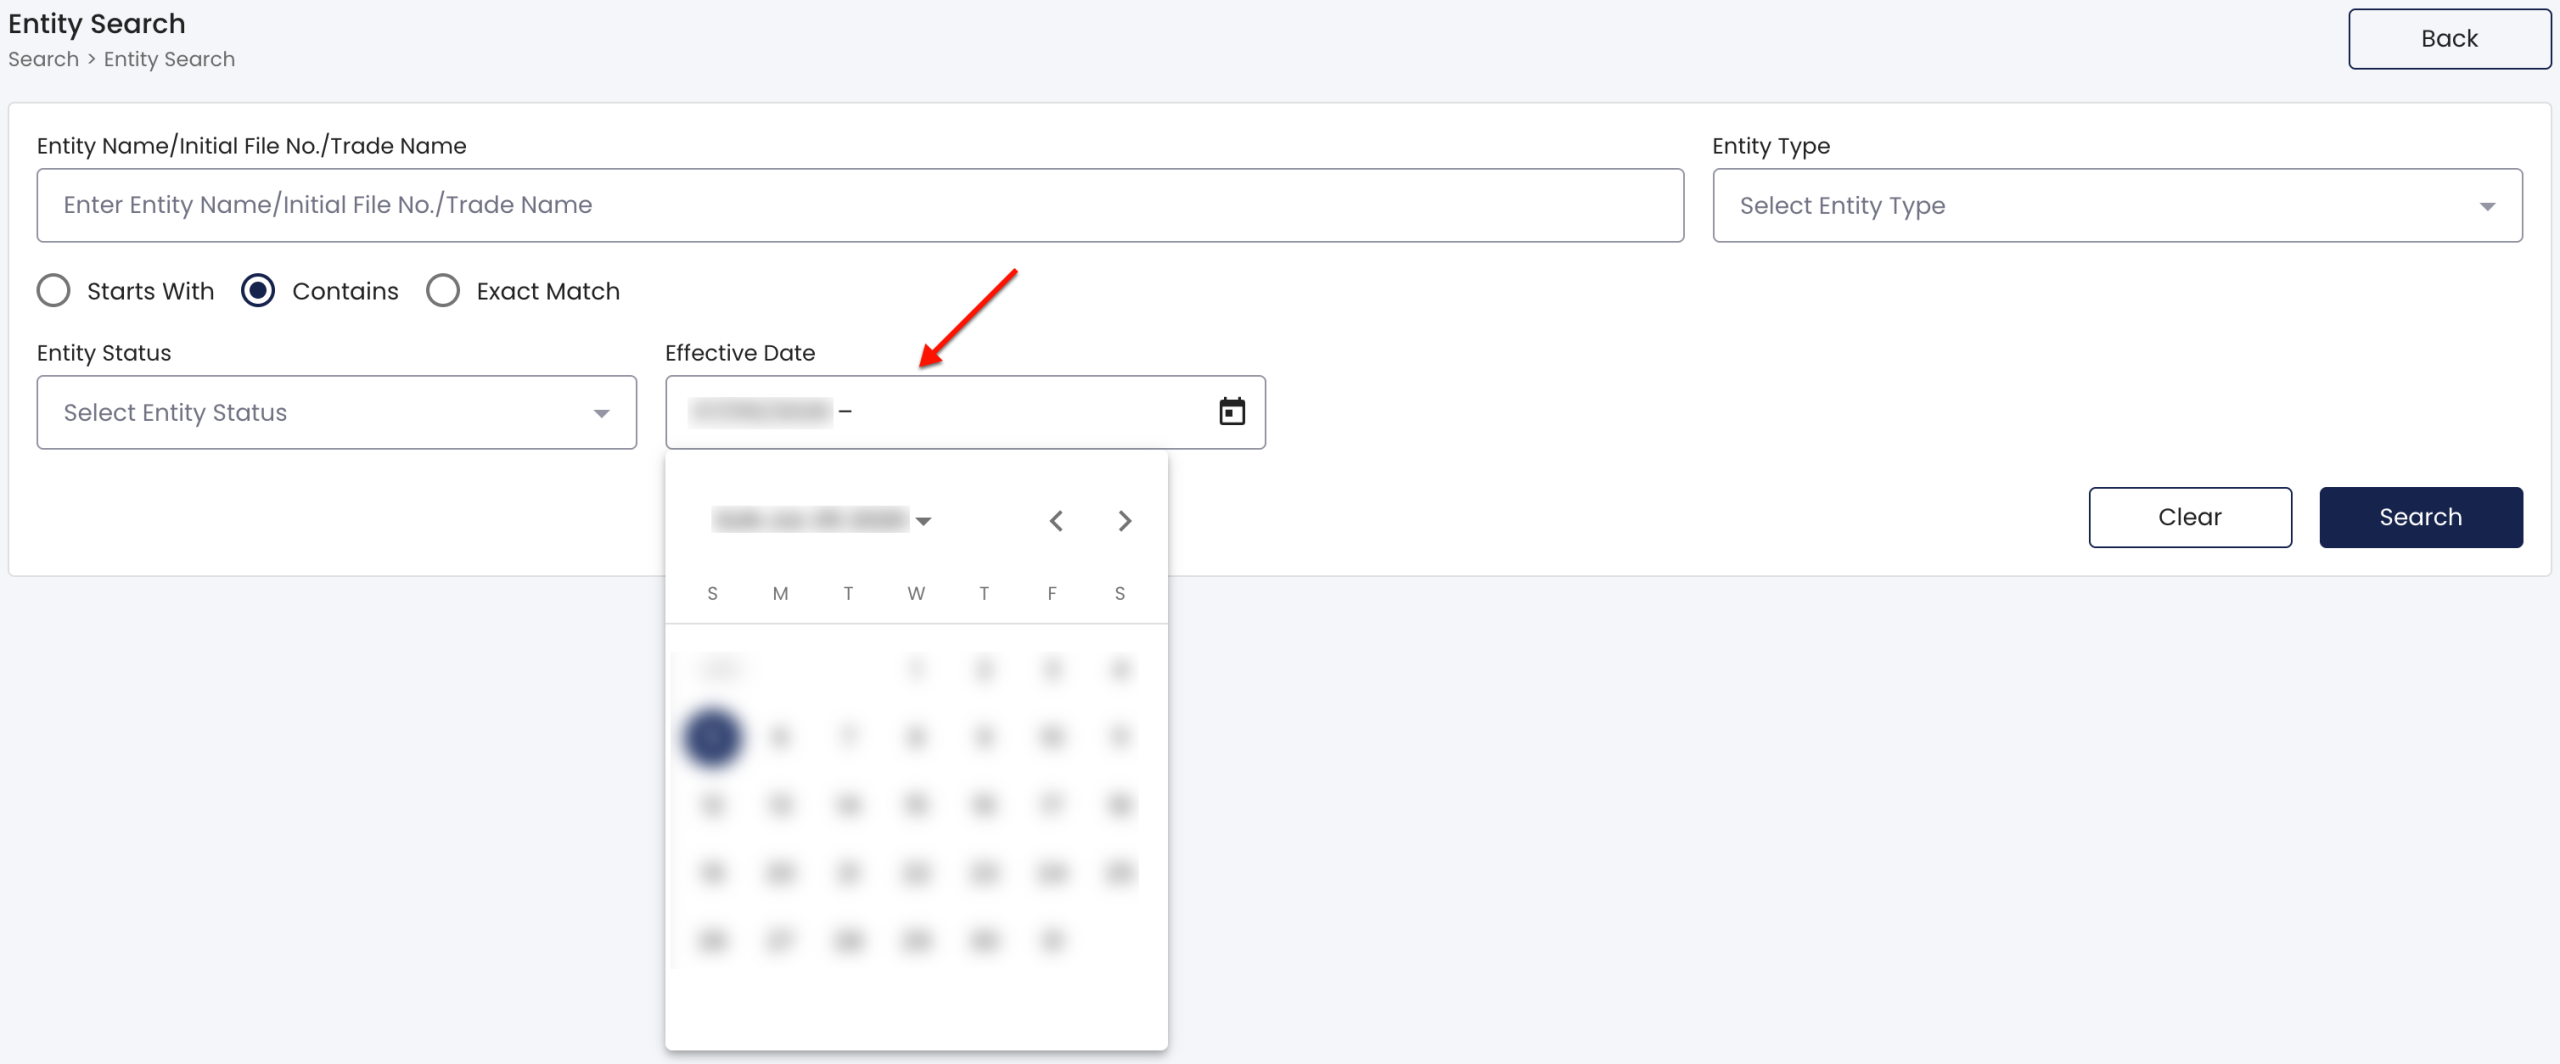
Notice the calendar tool’s “Effective Date” filter. Enter or select the first date defining the period when the target entity’s formation became official in this box.
Step 7. Supply the Final Date
After naming the first date of a range defining the entity’s effective date, enter the last date of this range (or select it from the tool). If a specific date is known, supply it; otherwise, a three-day range is recommended.
Step 8. Begin the Entity Search
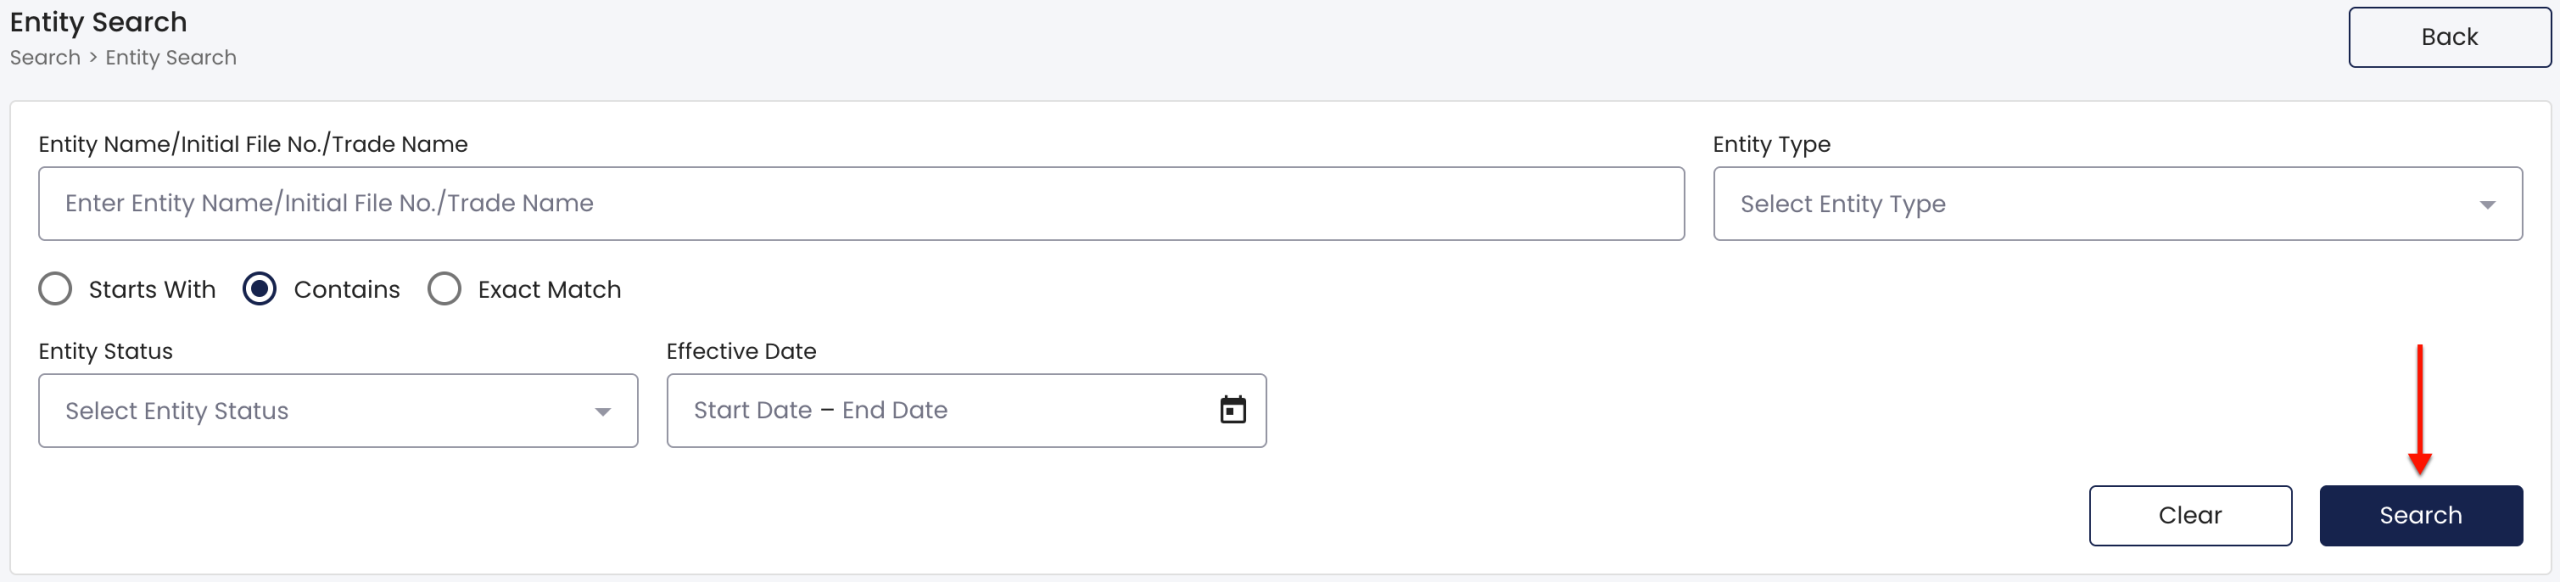
Selecting the “Search” button initiates the query. Review the information the query is using as criteria for accuracy, then engage the query.
Step 9. Confirm Your Status
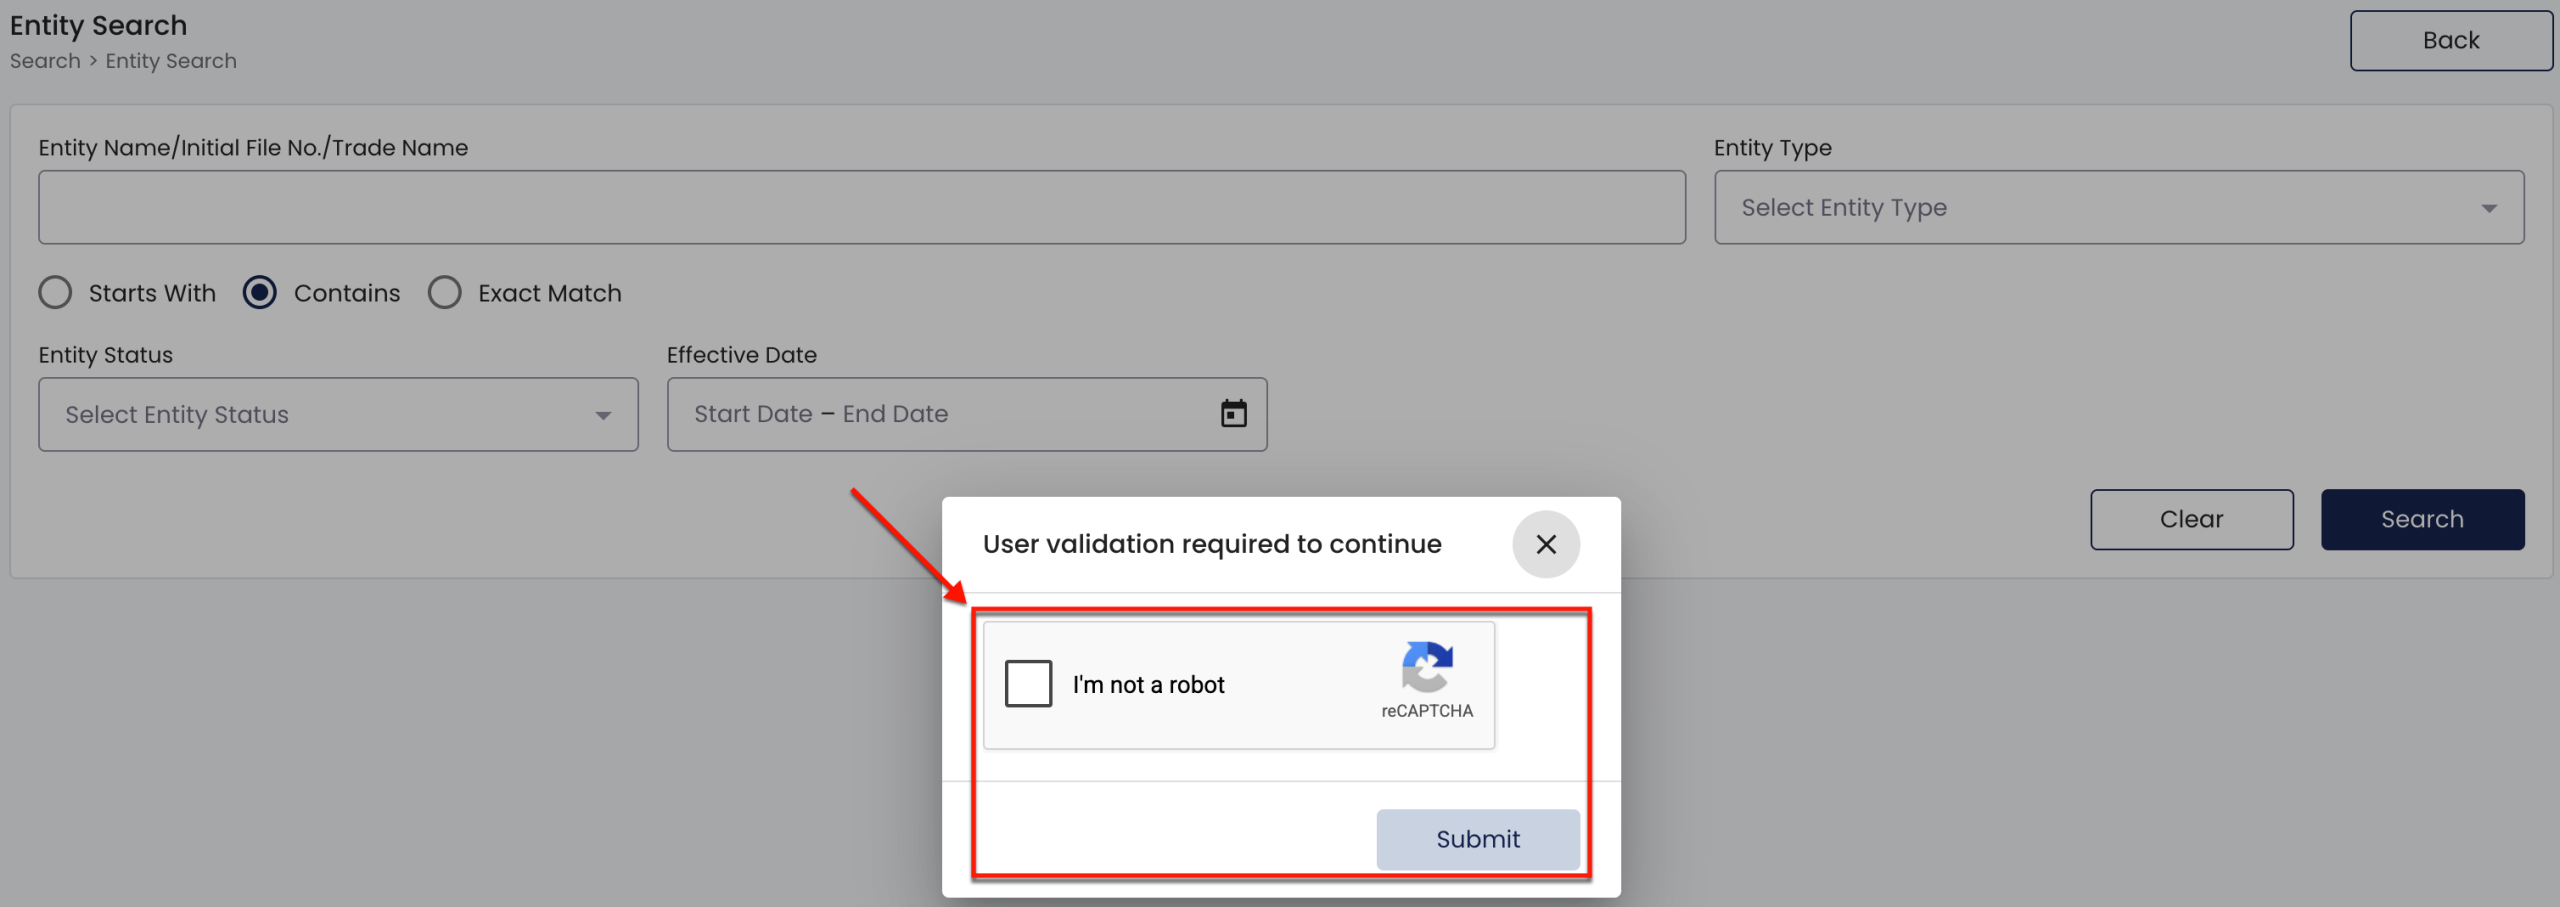
Note that in order to proceed to the query results, you must meet a security requirement. This is a protective measure since the information in an entity record is both public and safeguarded.
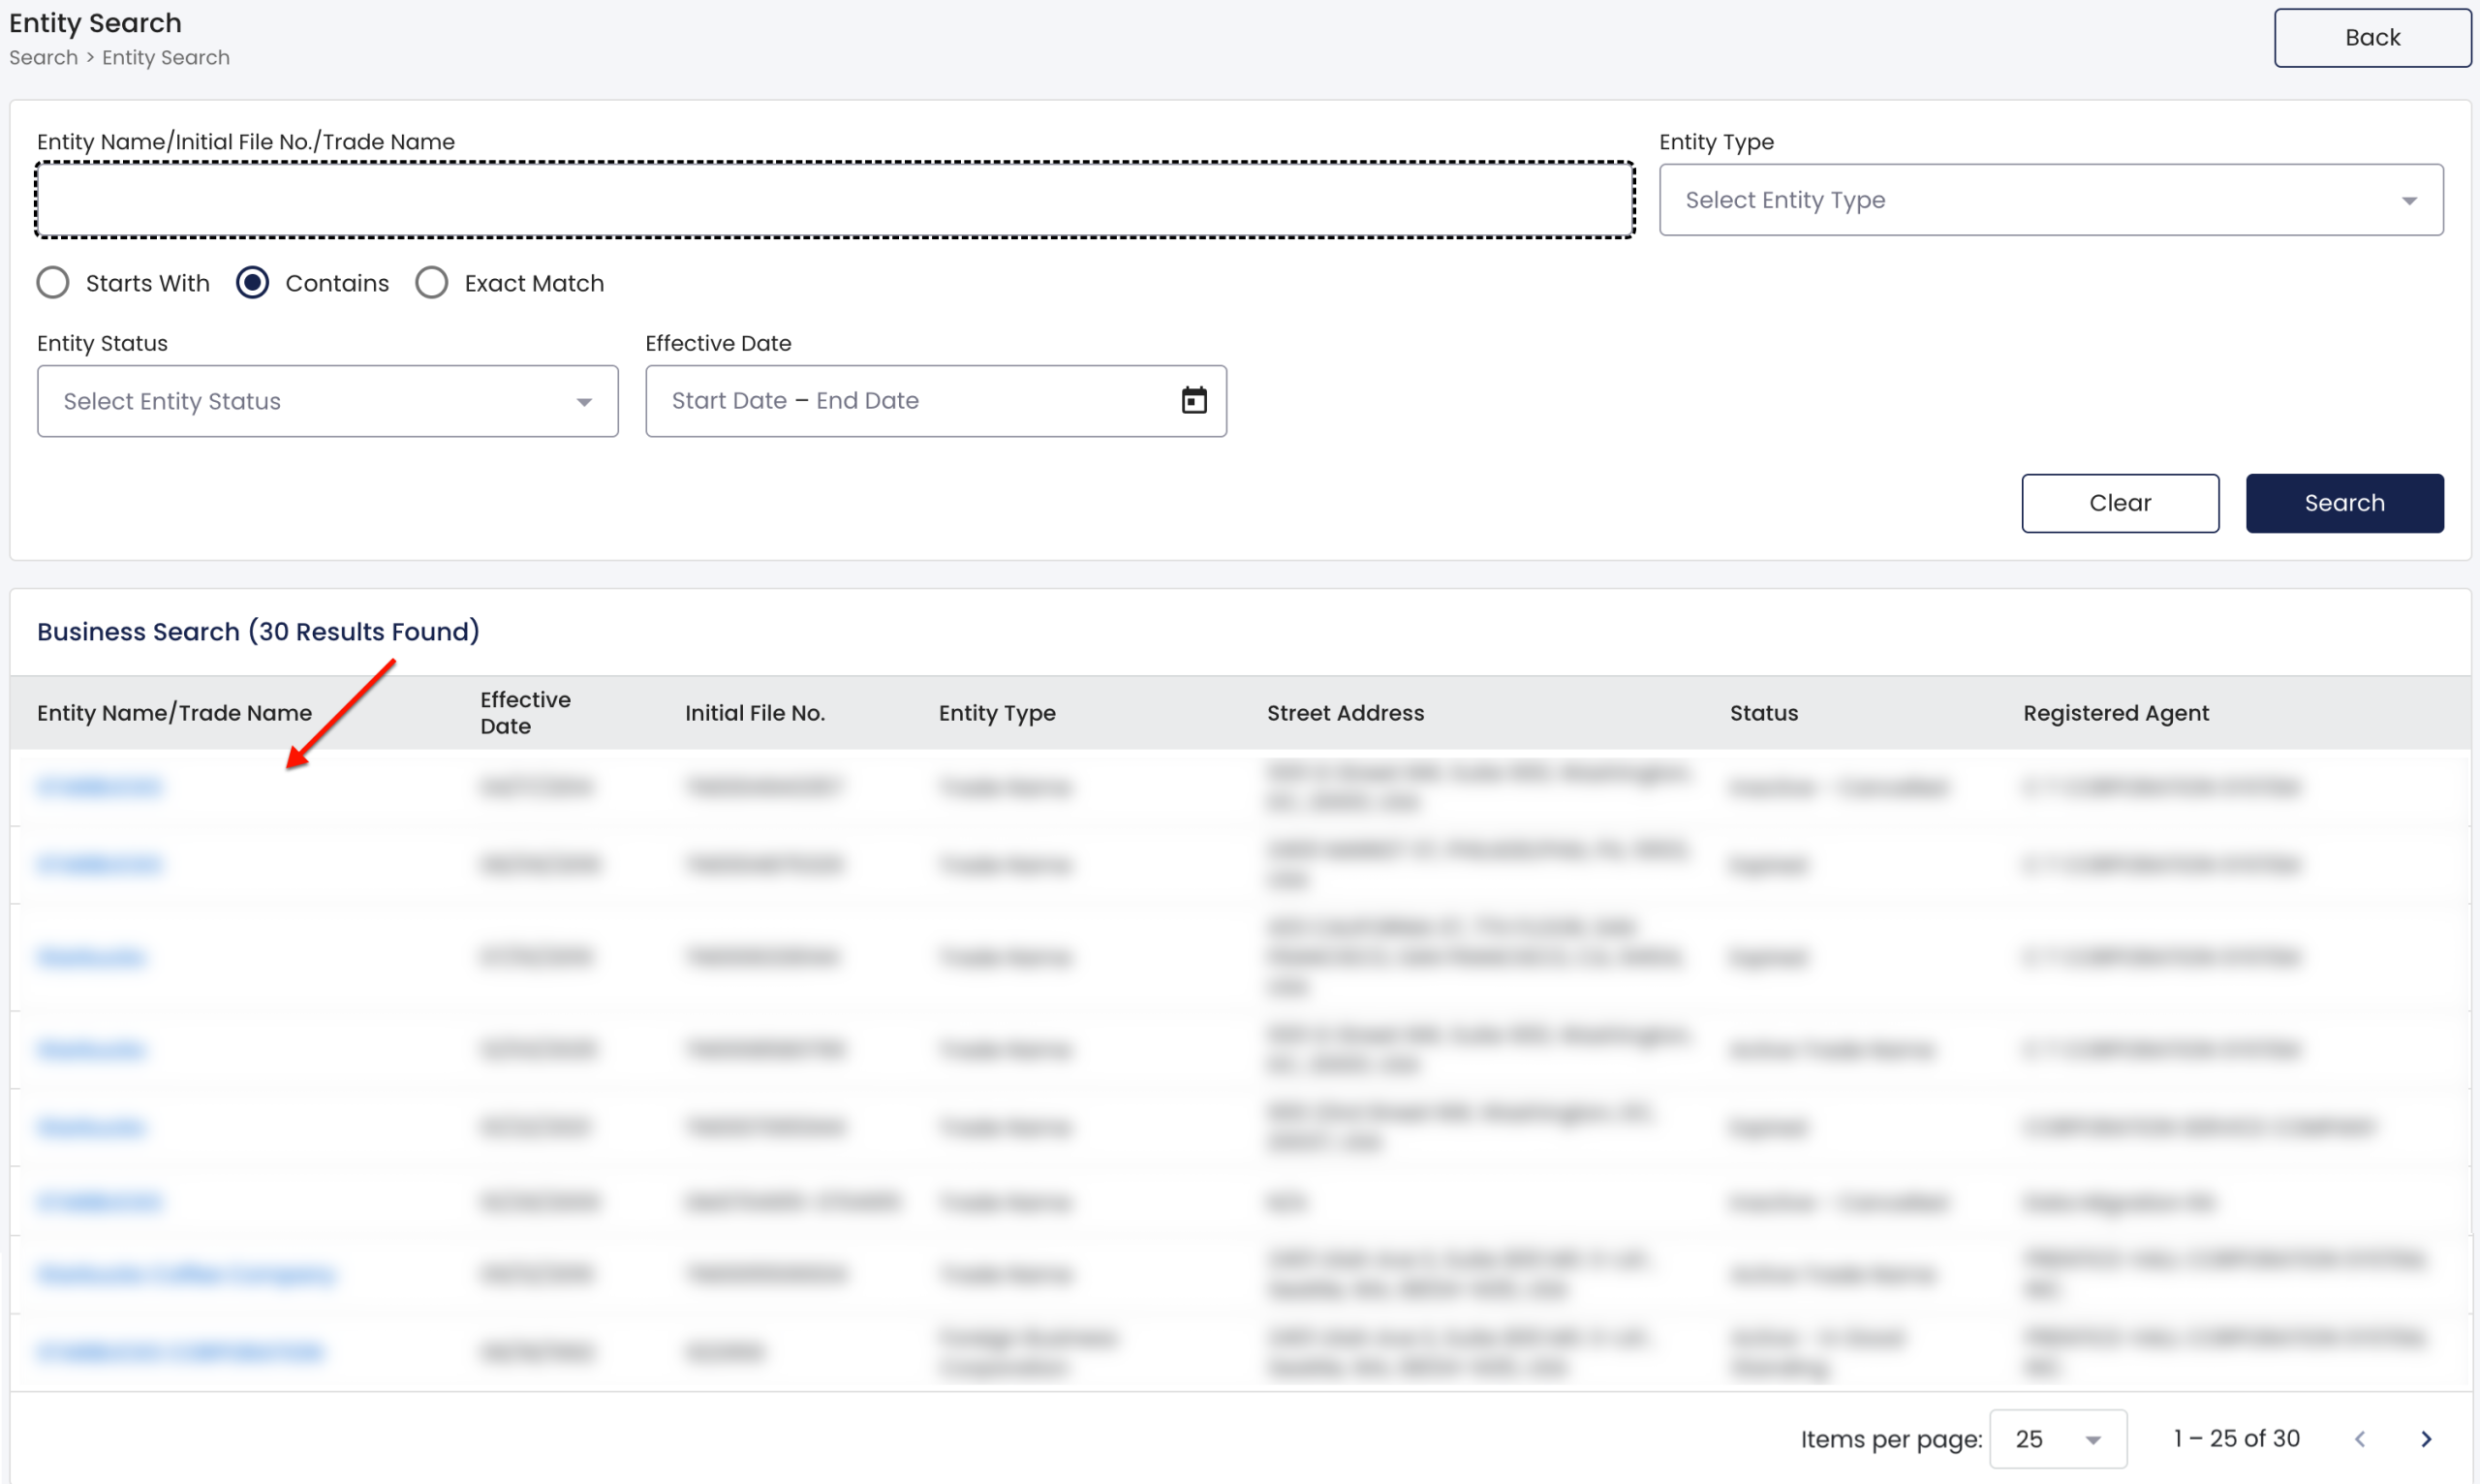
Step 10. View the Business Search Results
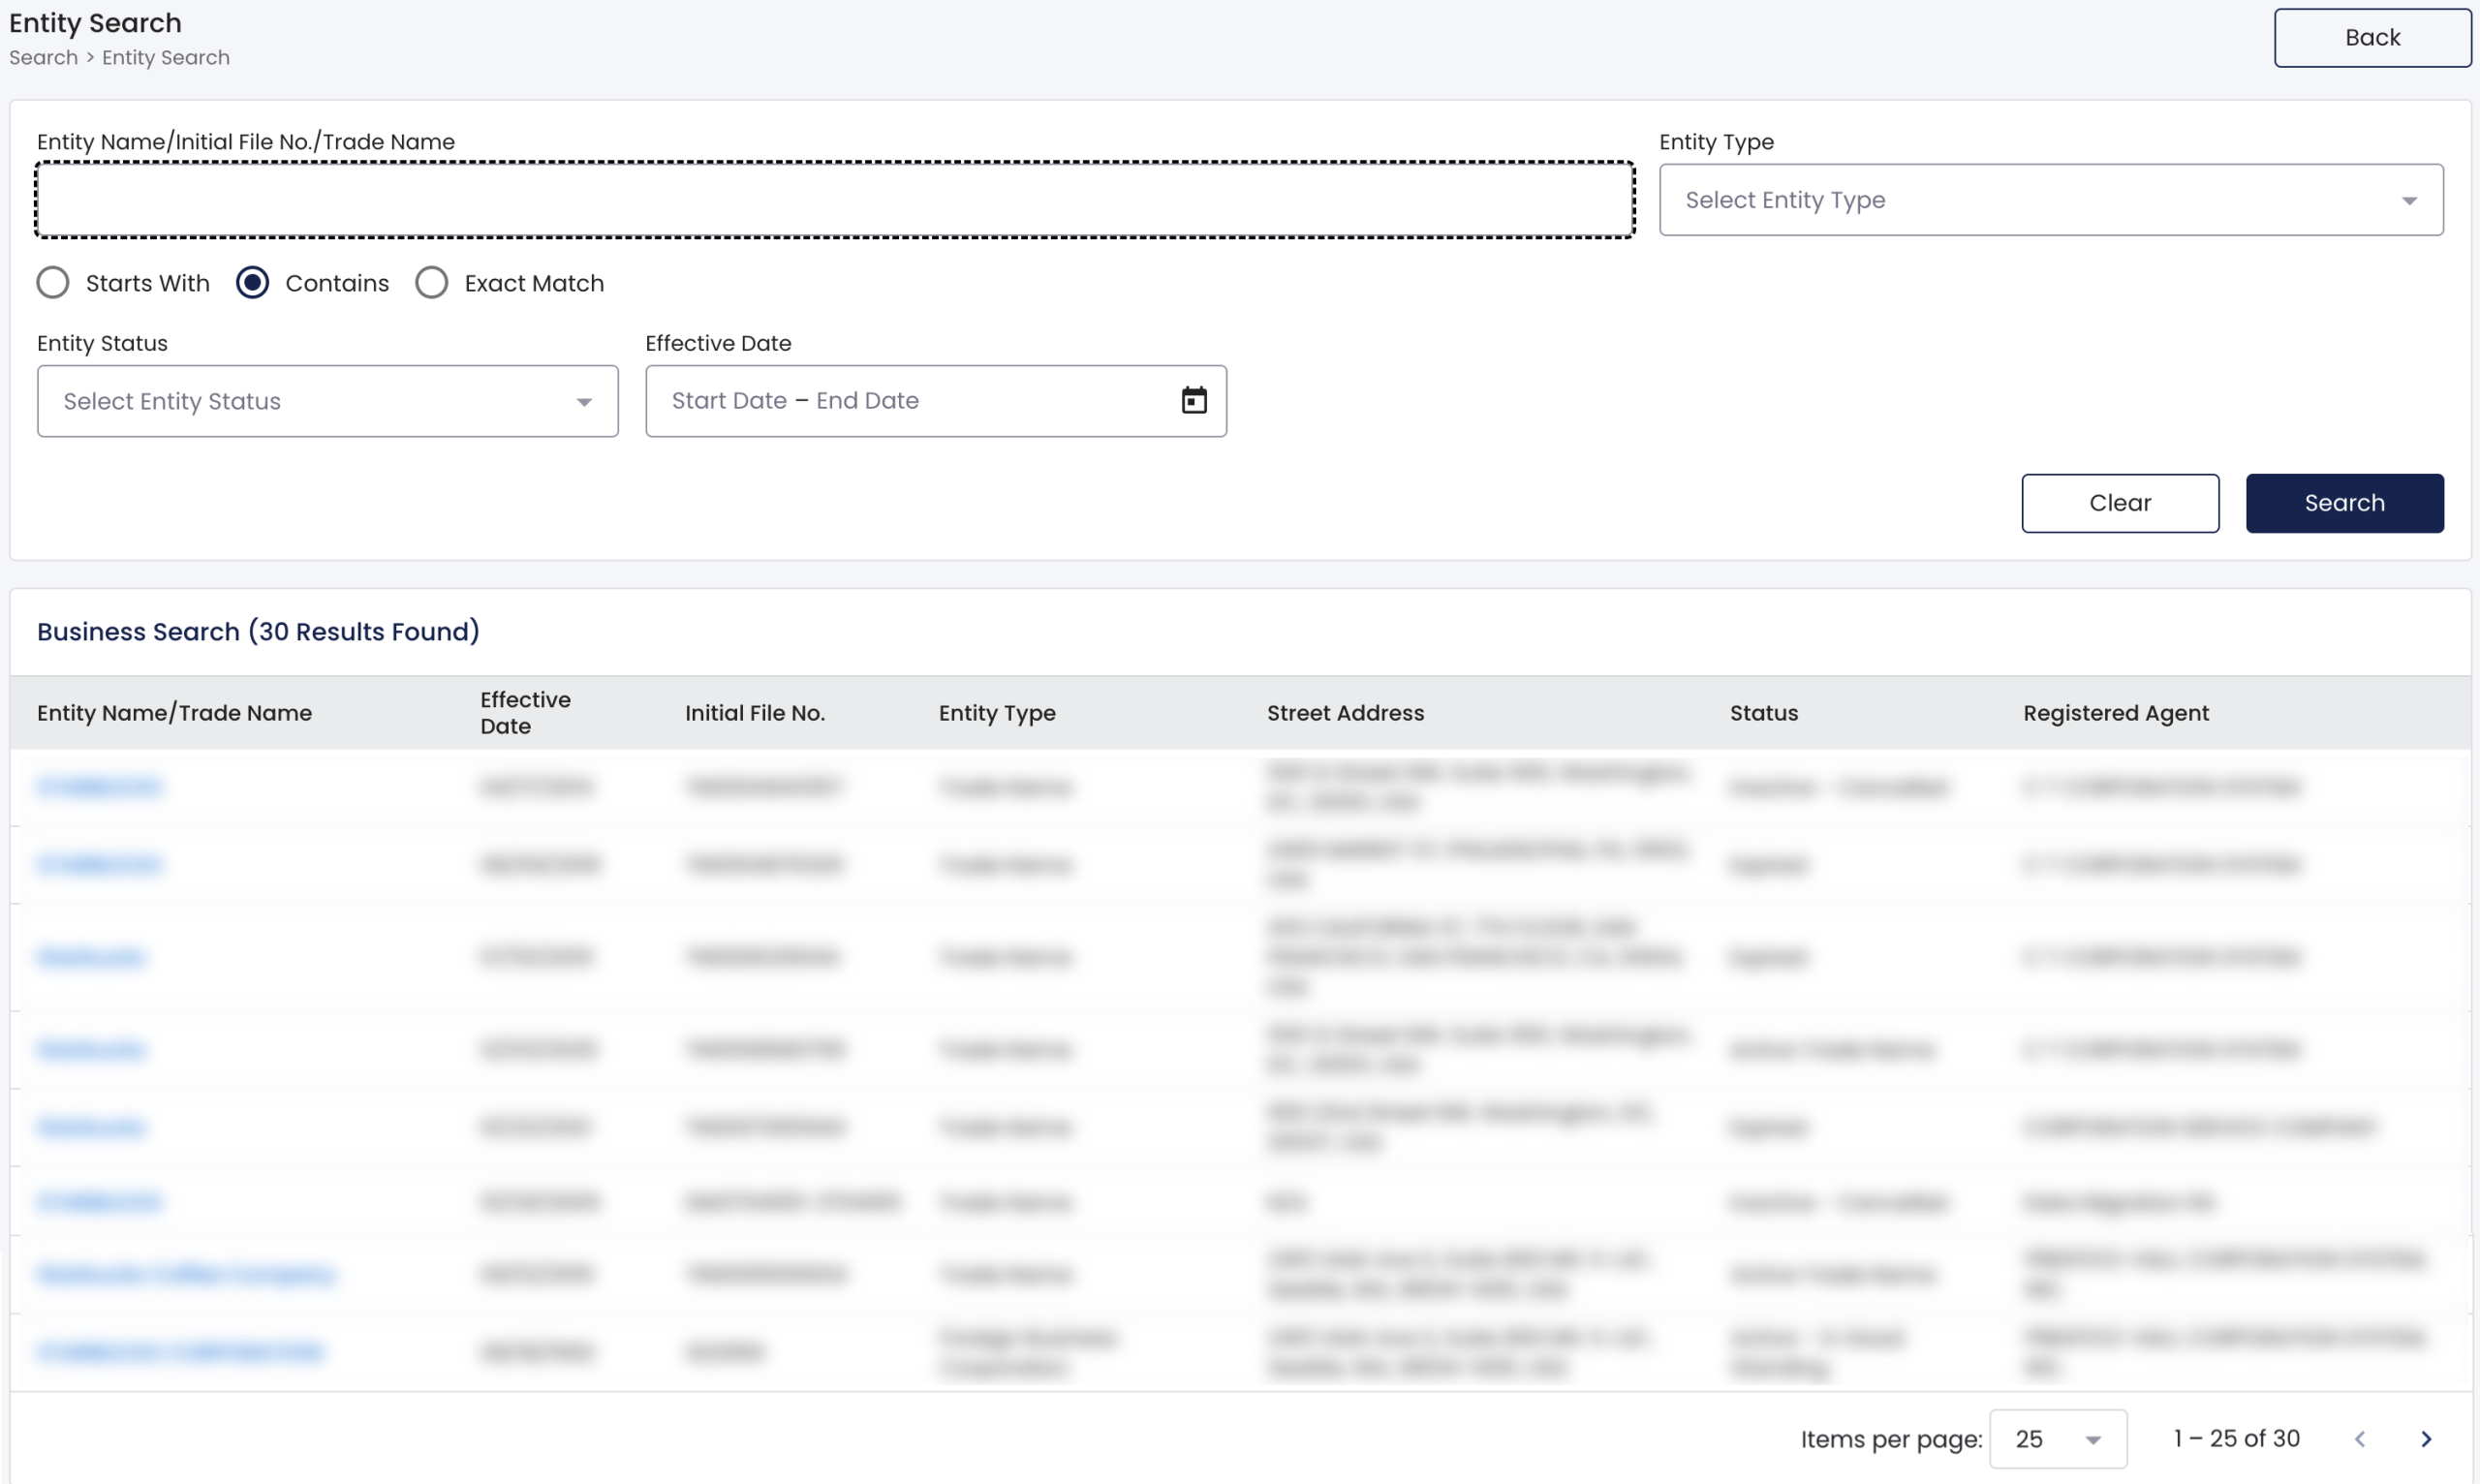
Look through the records that match the criteria in your query within the filter requirements above. Use the first column to find an entity name and the following columns as a preview of that record’s information.
- Entity Name/Trade Name
- Effective Date
- Initial File No.
- Entity Type
- Street Address
- Street Address
- Status
- Registered Agent
Step 11. Choose An Entity of Interest
Determine which entity you would like to examine further. In order to view its record, select its name or trade name from the first column.
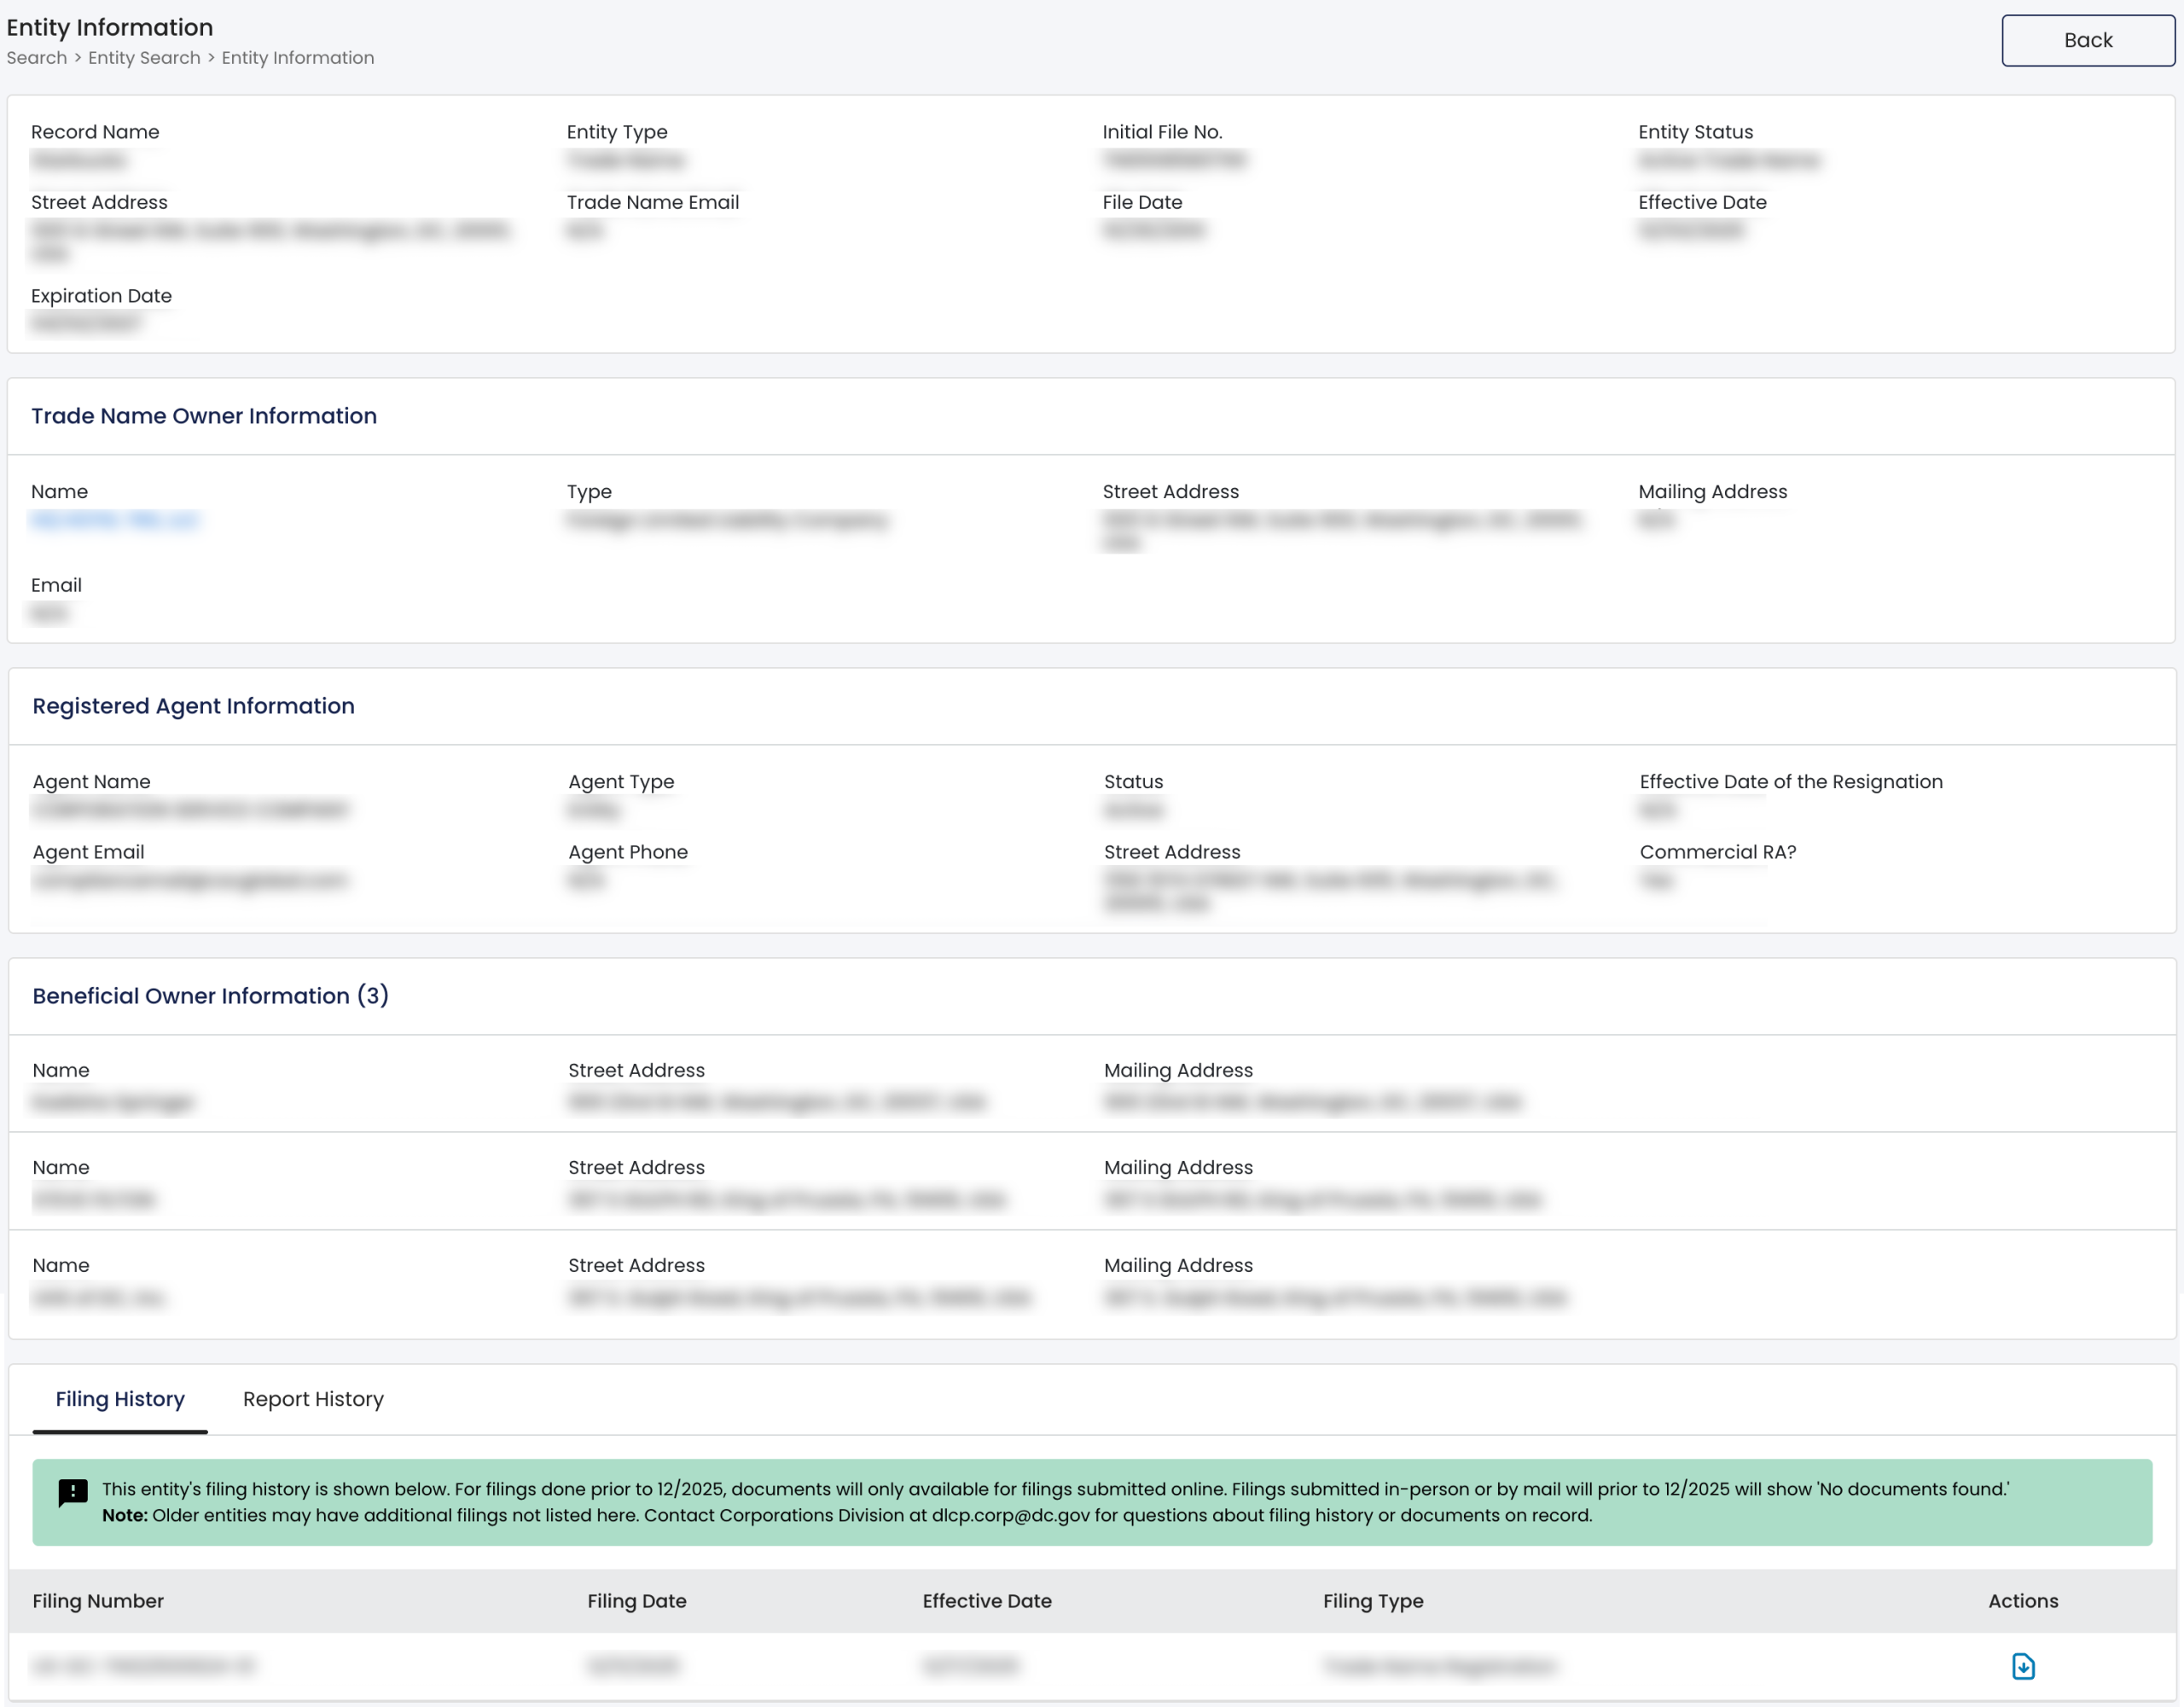
Step 12. Obtain Entity Information
Scan the sections making up the “Entity Information” page for the material you seek. Look to the final area of this page for an opportunity to discover specific information.
- Record Name
- Entity Type
- Initial File No.
- Entity Status
- Street Address
- Trade Name Email
- File Date
- Effective Date
- Expiration Date
- Trade Name Owner Information
- Name
- Type
- Street Address
- Mailing Address
- Registered Agent Information
- Agent Name
- Agent Type
- Status
- Effective Date of the Resignation
- Agent Email
- Agent Phone
- Street Address
- Commercial RA?
- Beneficial Owner Information
- Name
- Street Address
- Mailing Address
- Filing History
- Filing Number
- Filing Date
- Effective Date
- Filing Type
- Actions
- Report History
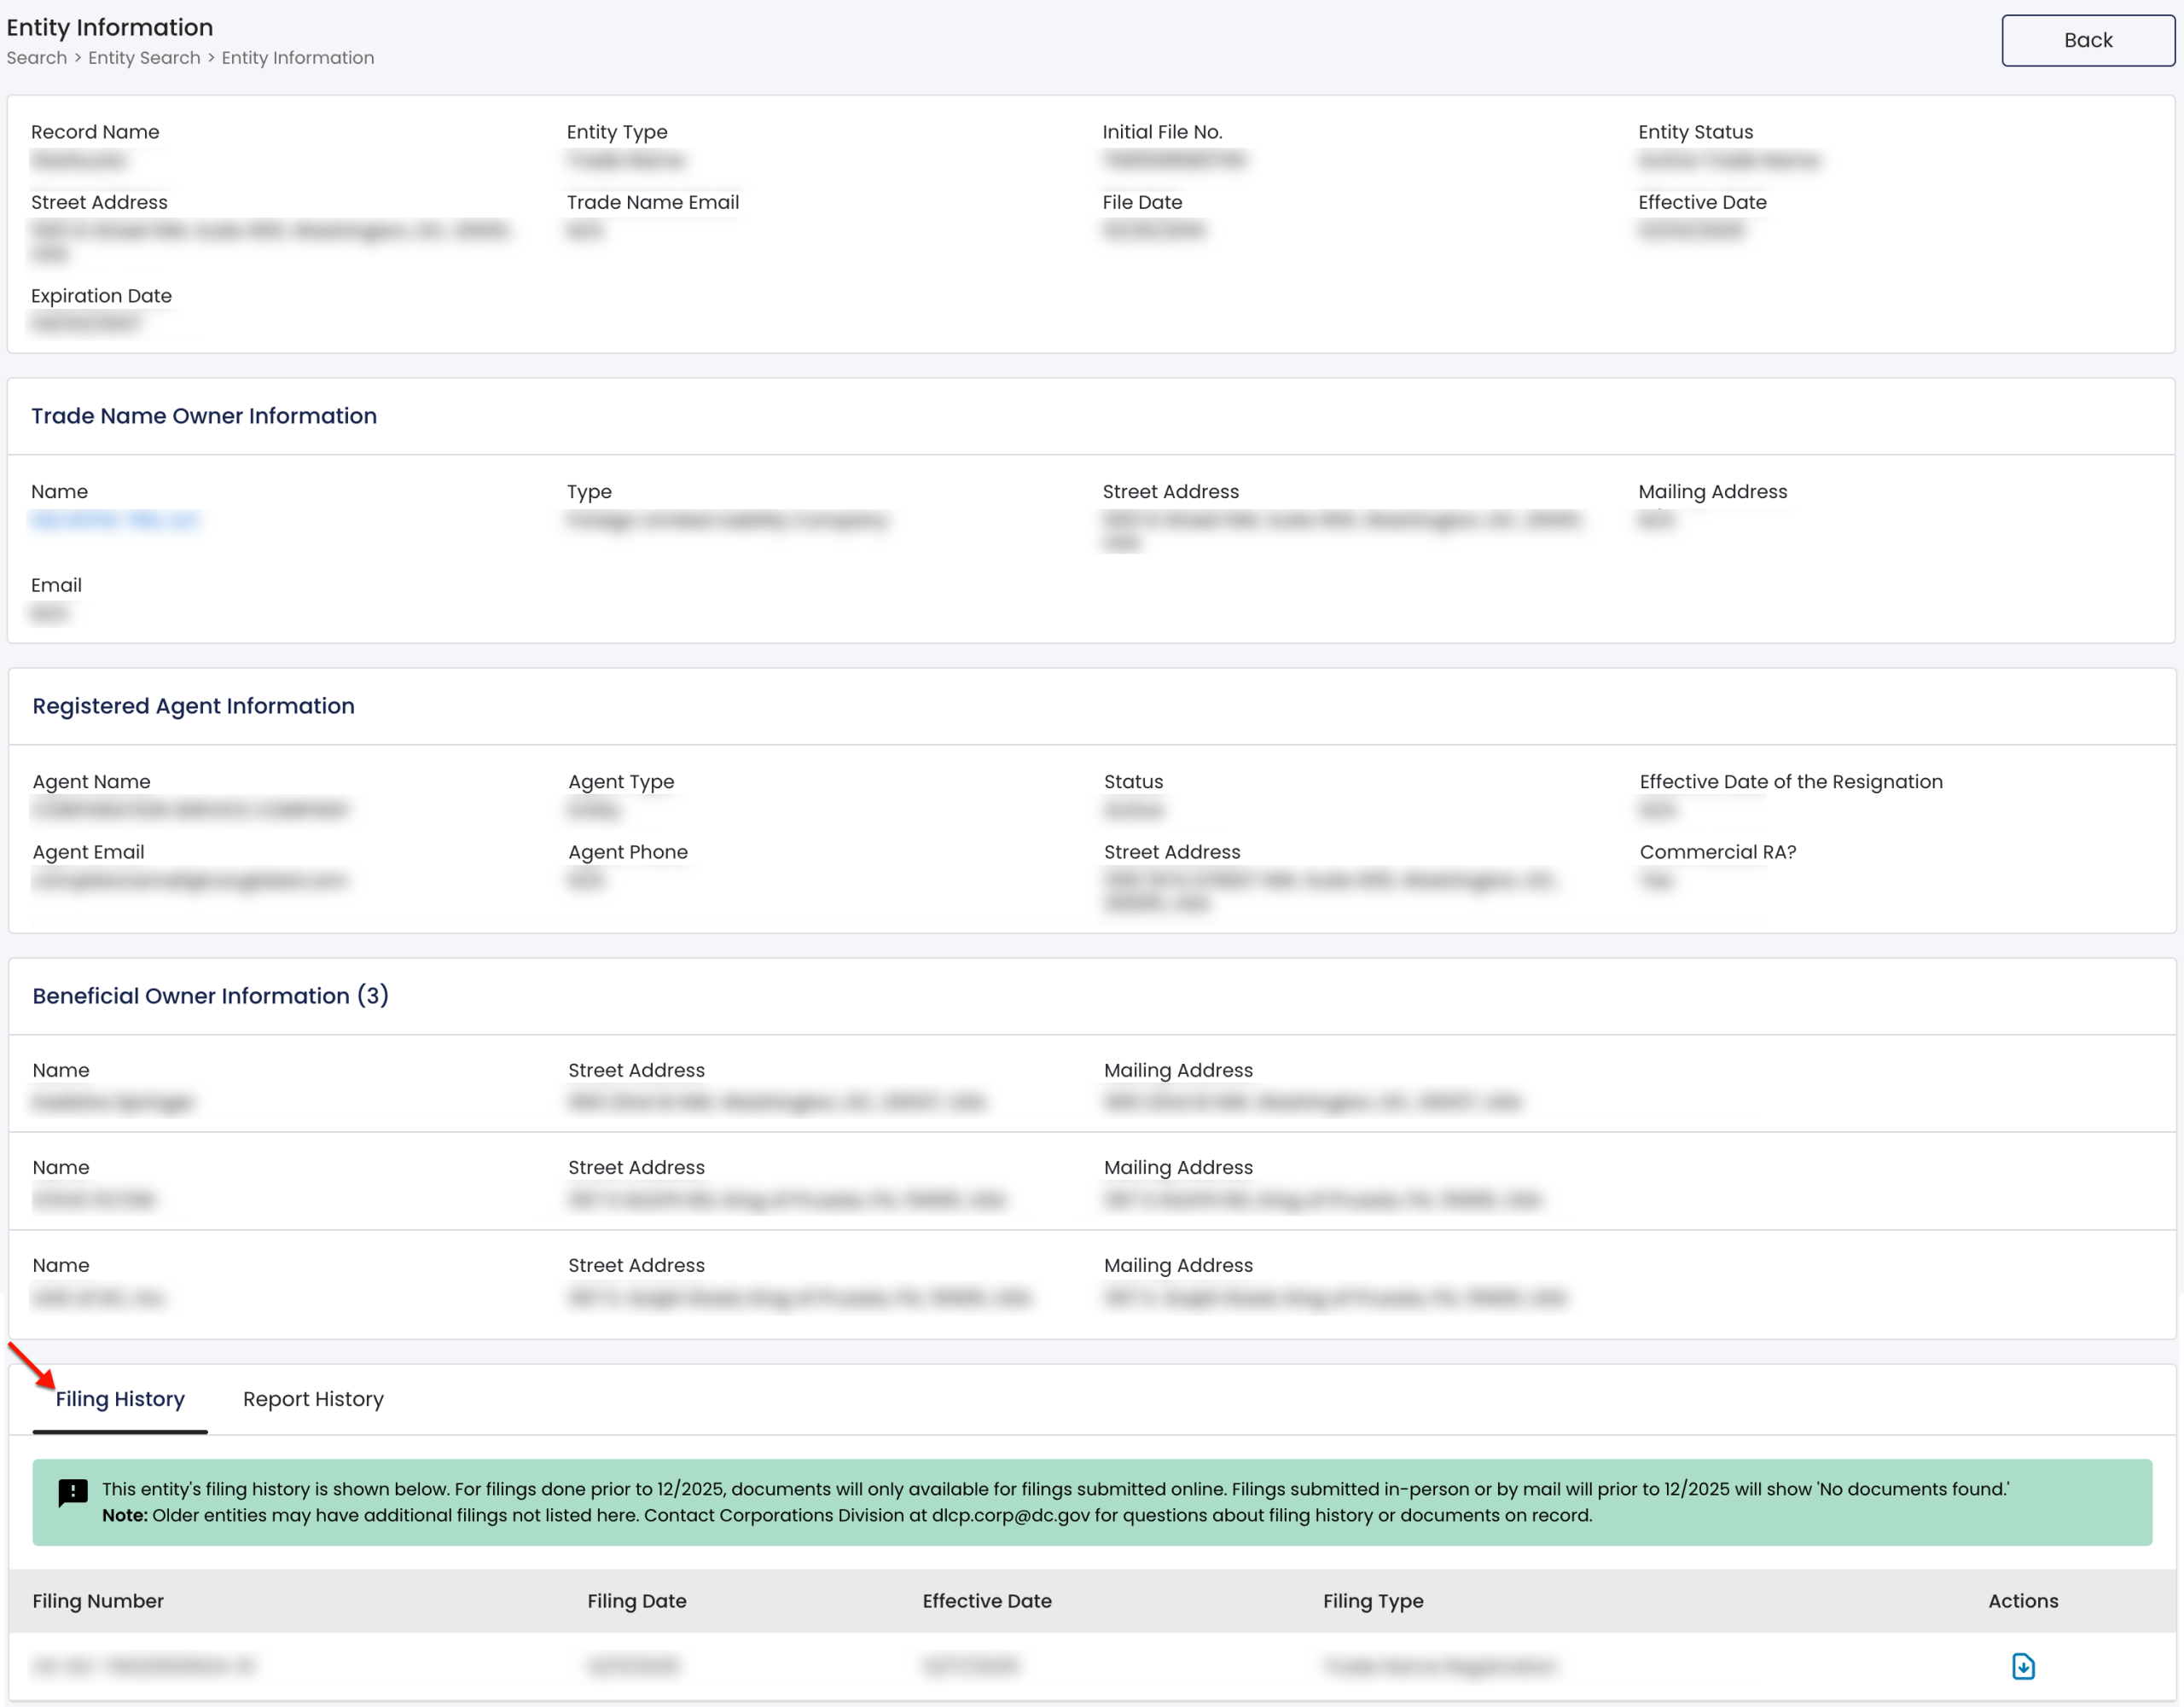
Step 13. Look Over the Entity’s Filing History
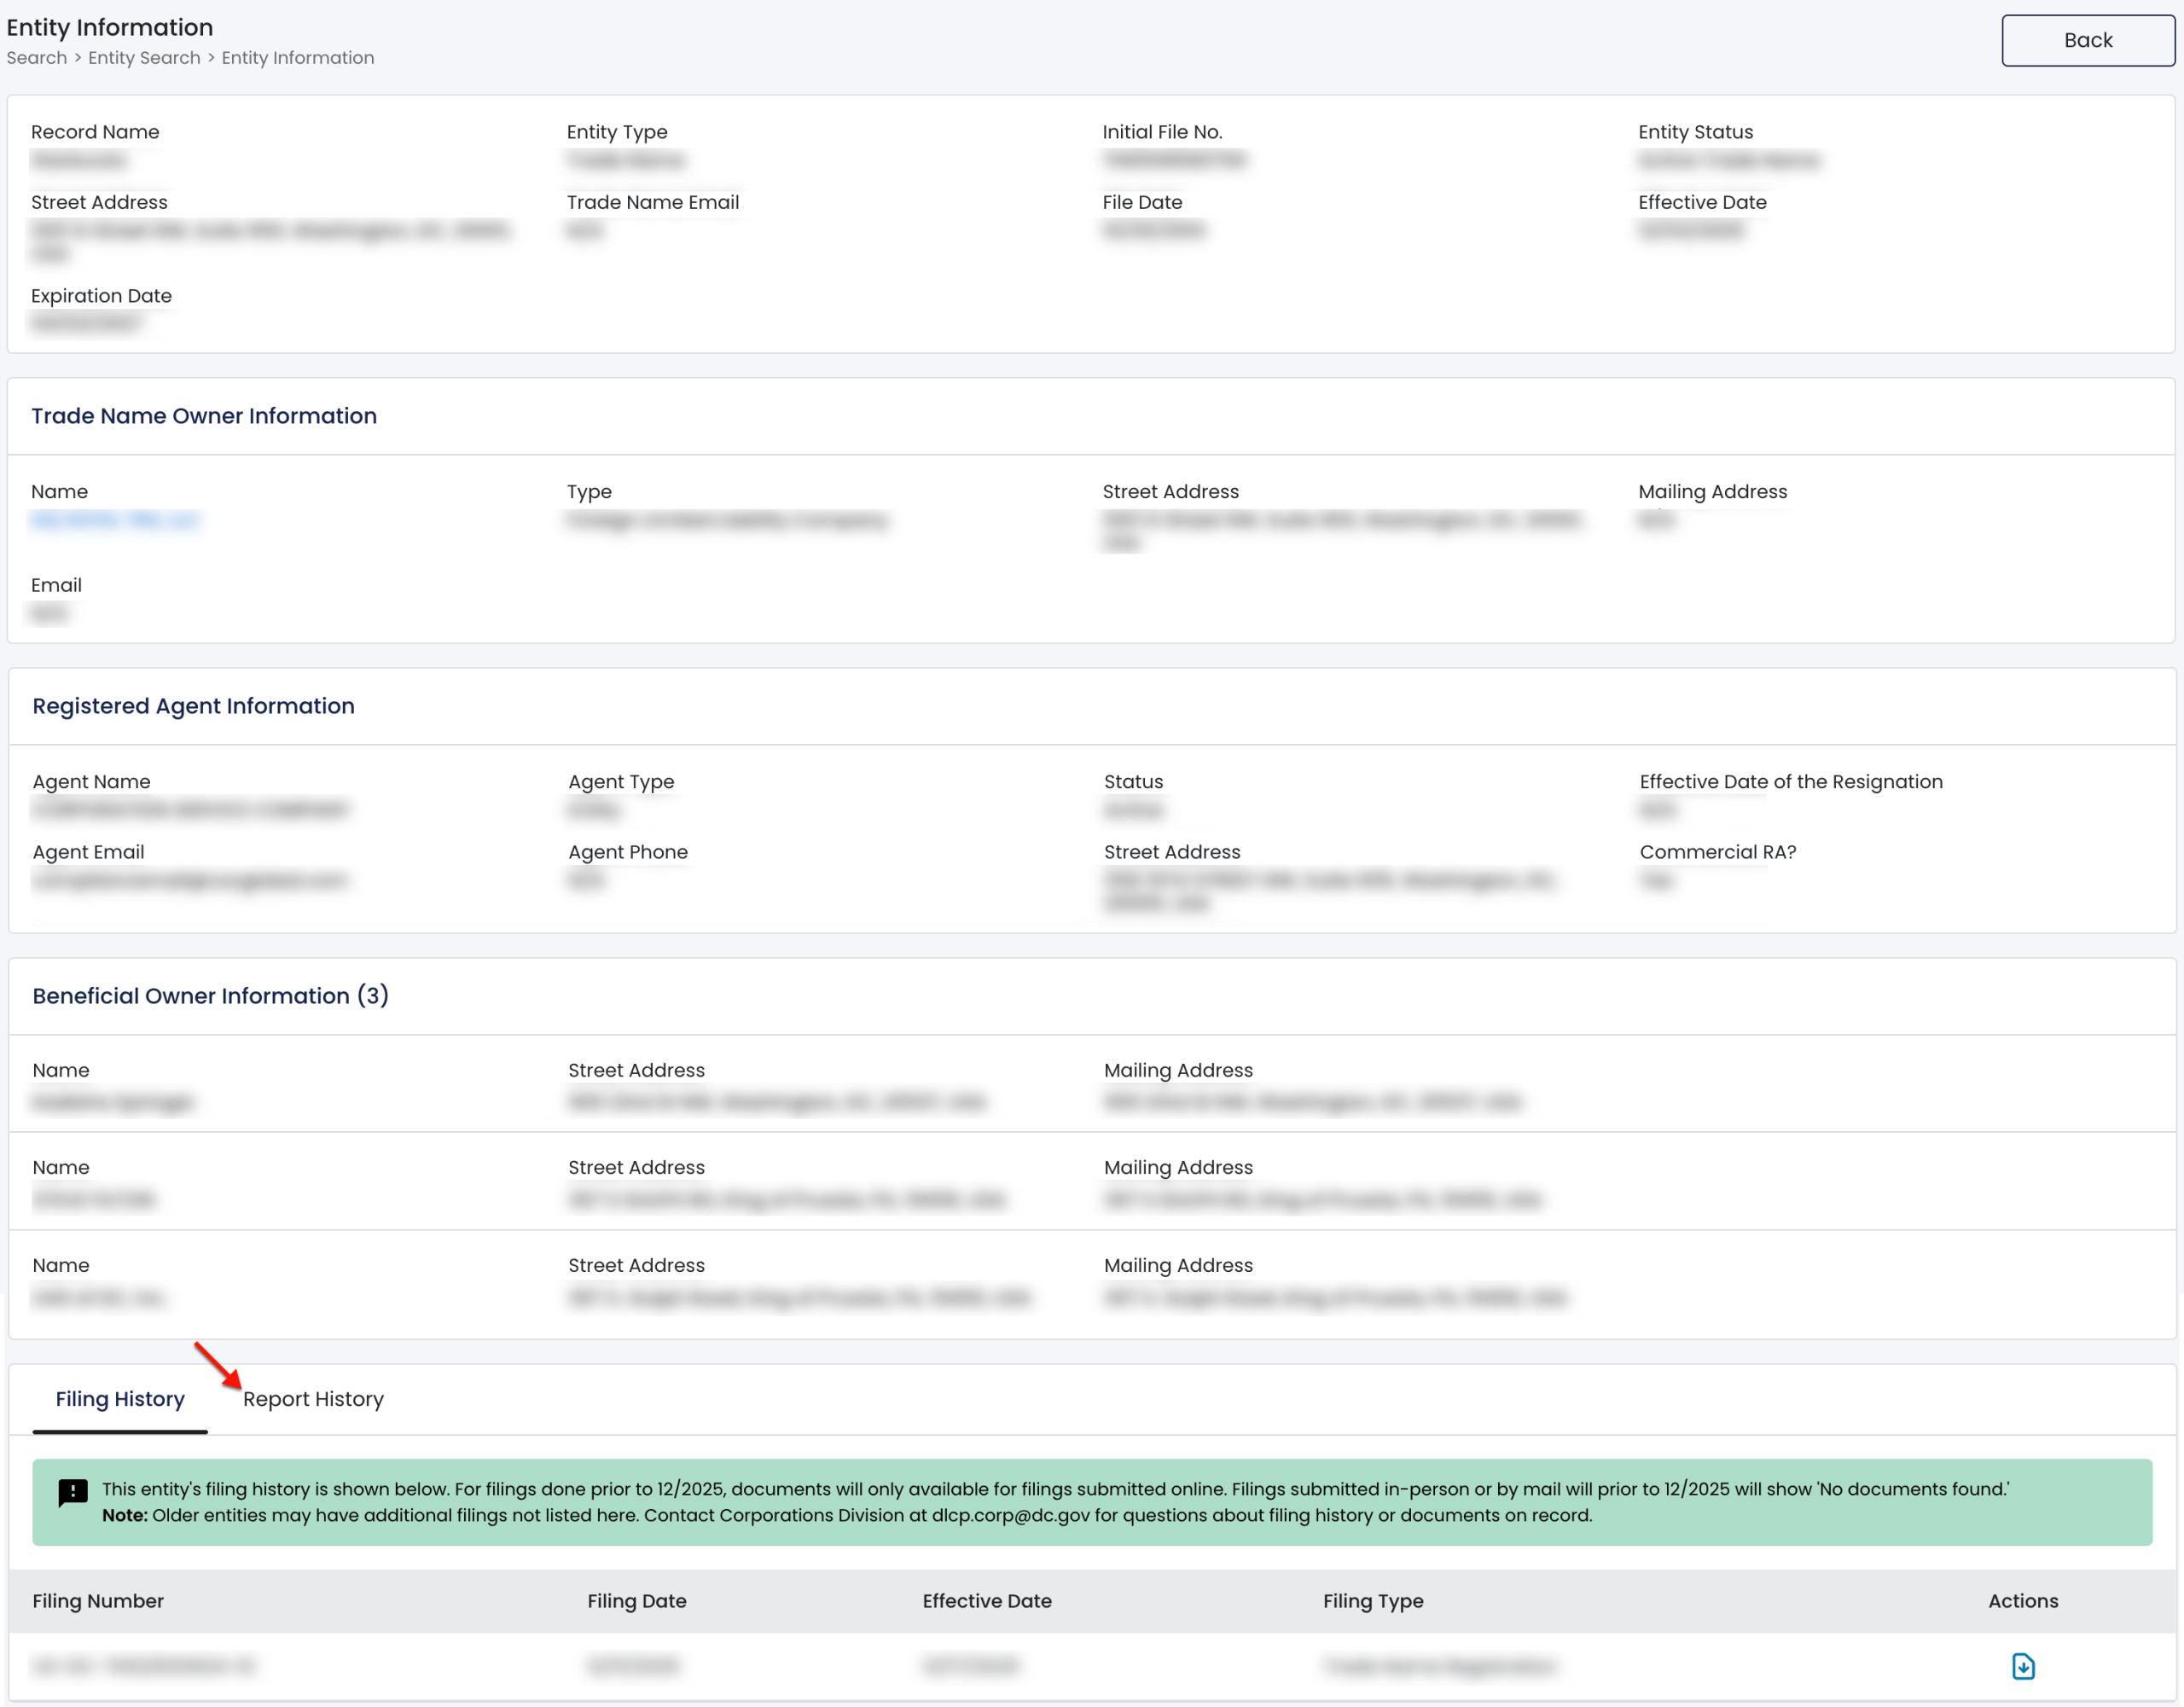
Note the two tabs near the bottom of this page. The first is open to show the entity’s filing history, while the other, “Report History,” is selectable for more information.
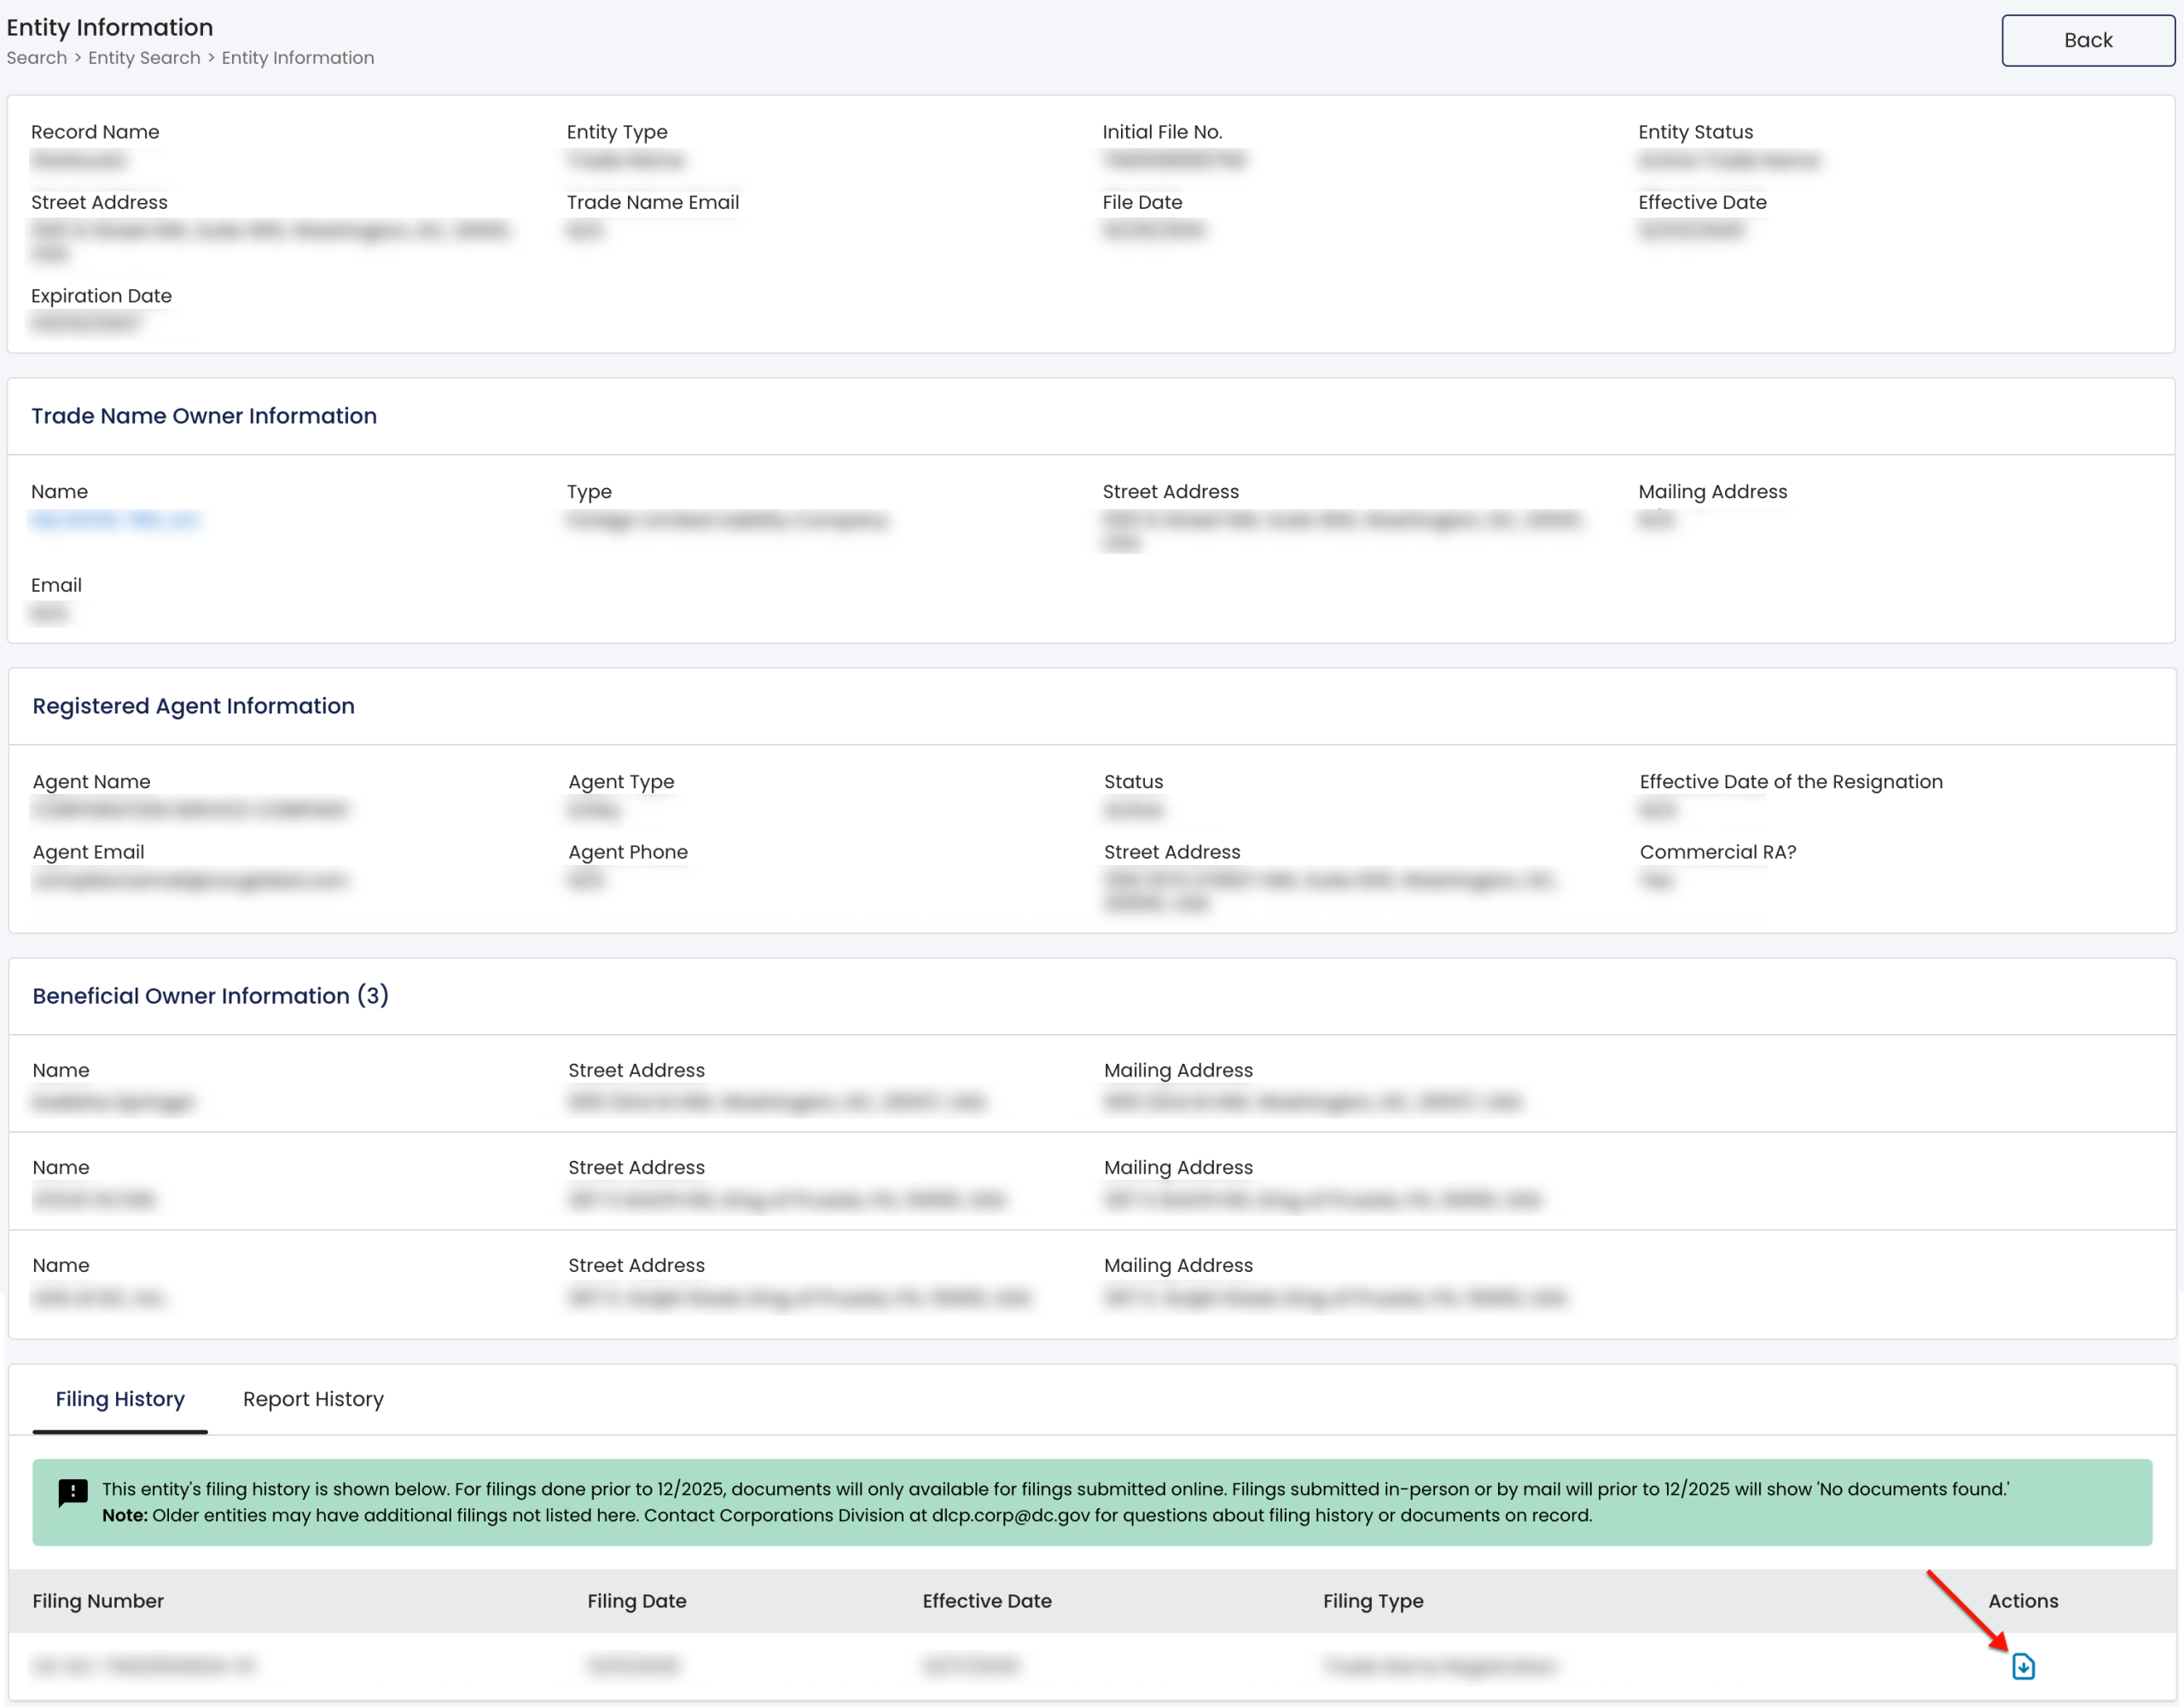
Step 14. Investigate Filing Actions
Learn more about the entity’s actions and structure using the “Filing History” table. Examine these records, which begin with a filing number. Use the “Actions” column to view D.C. scans of an entity’s filing paperwork.
Step 15. Obtain Available Documents
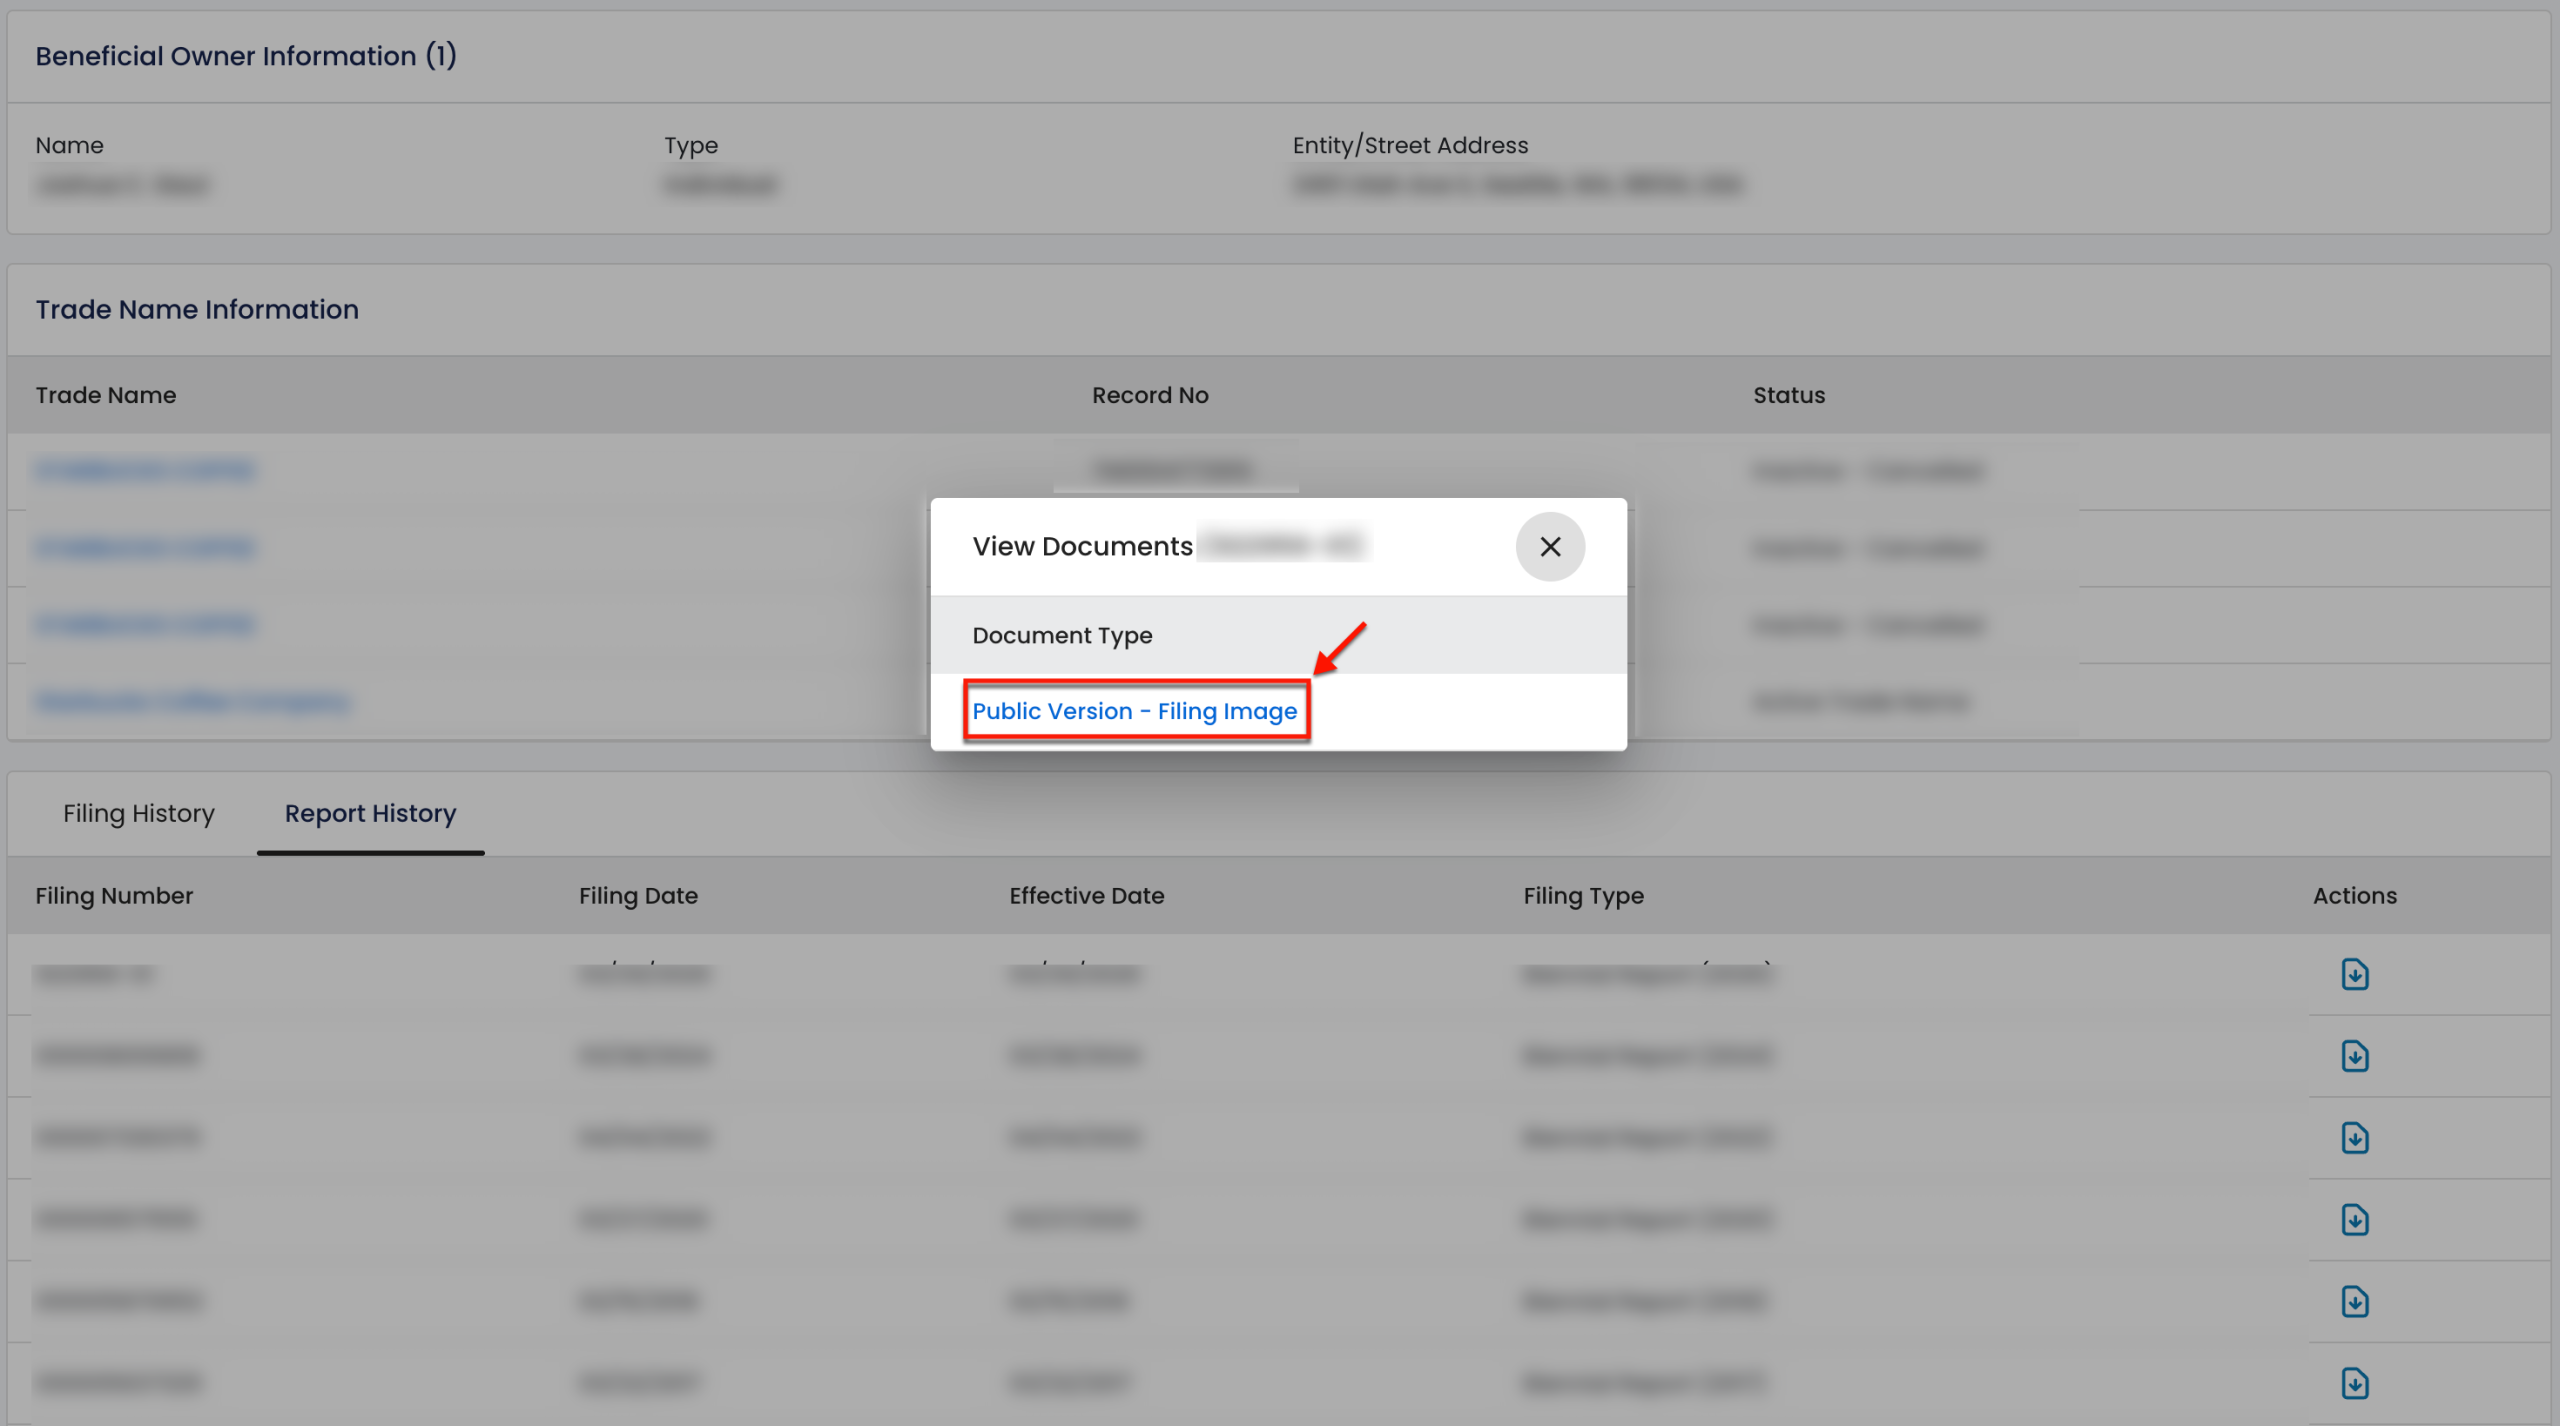
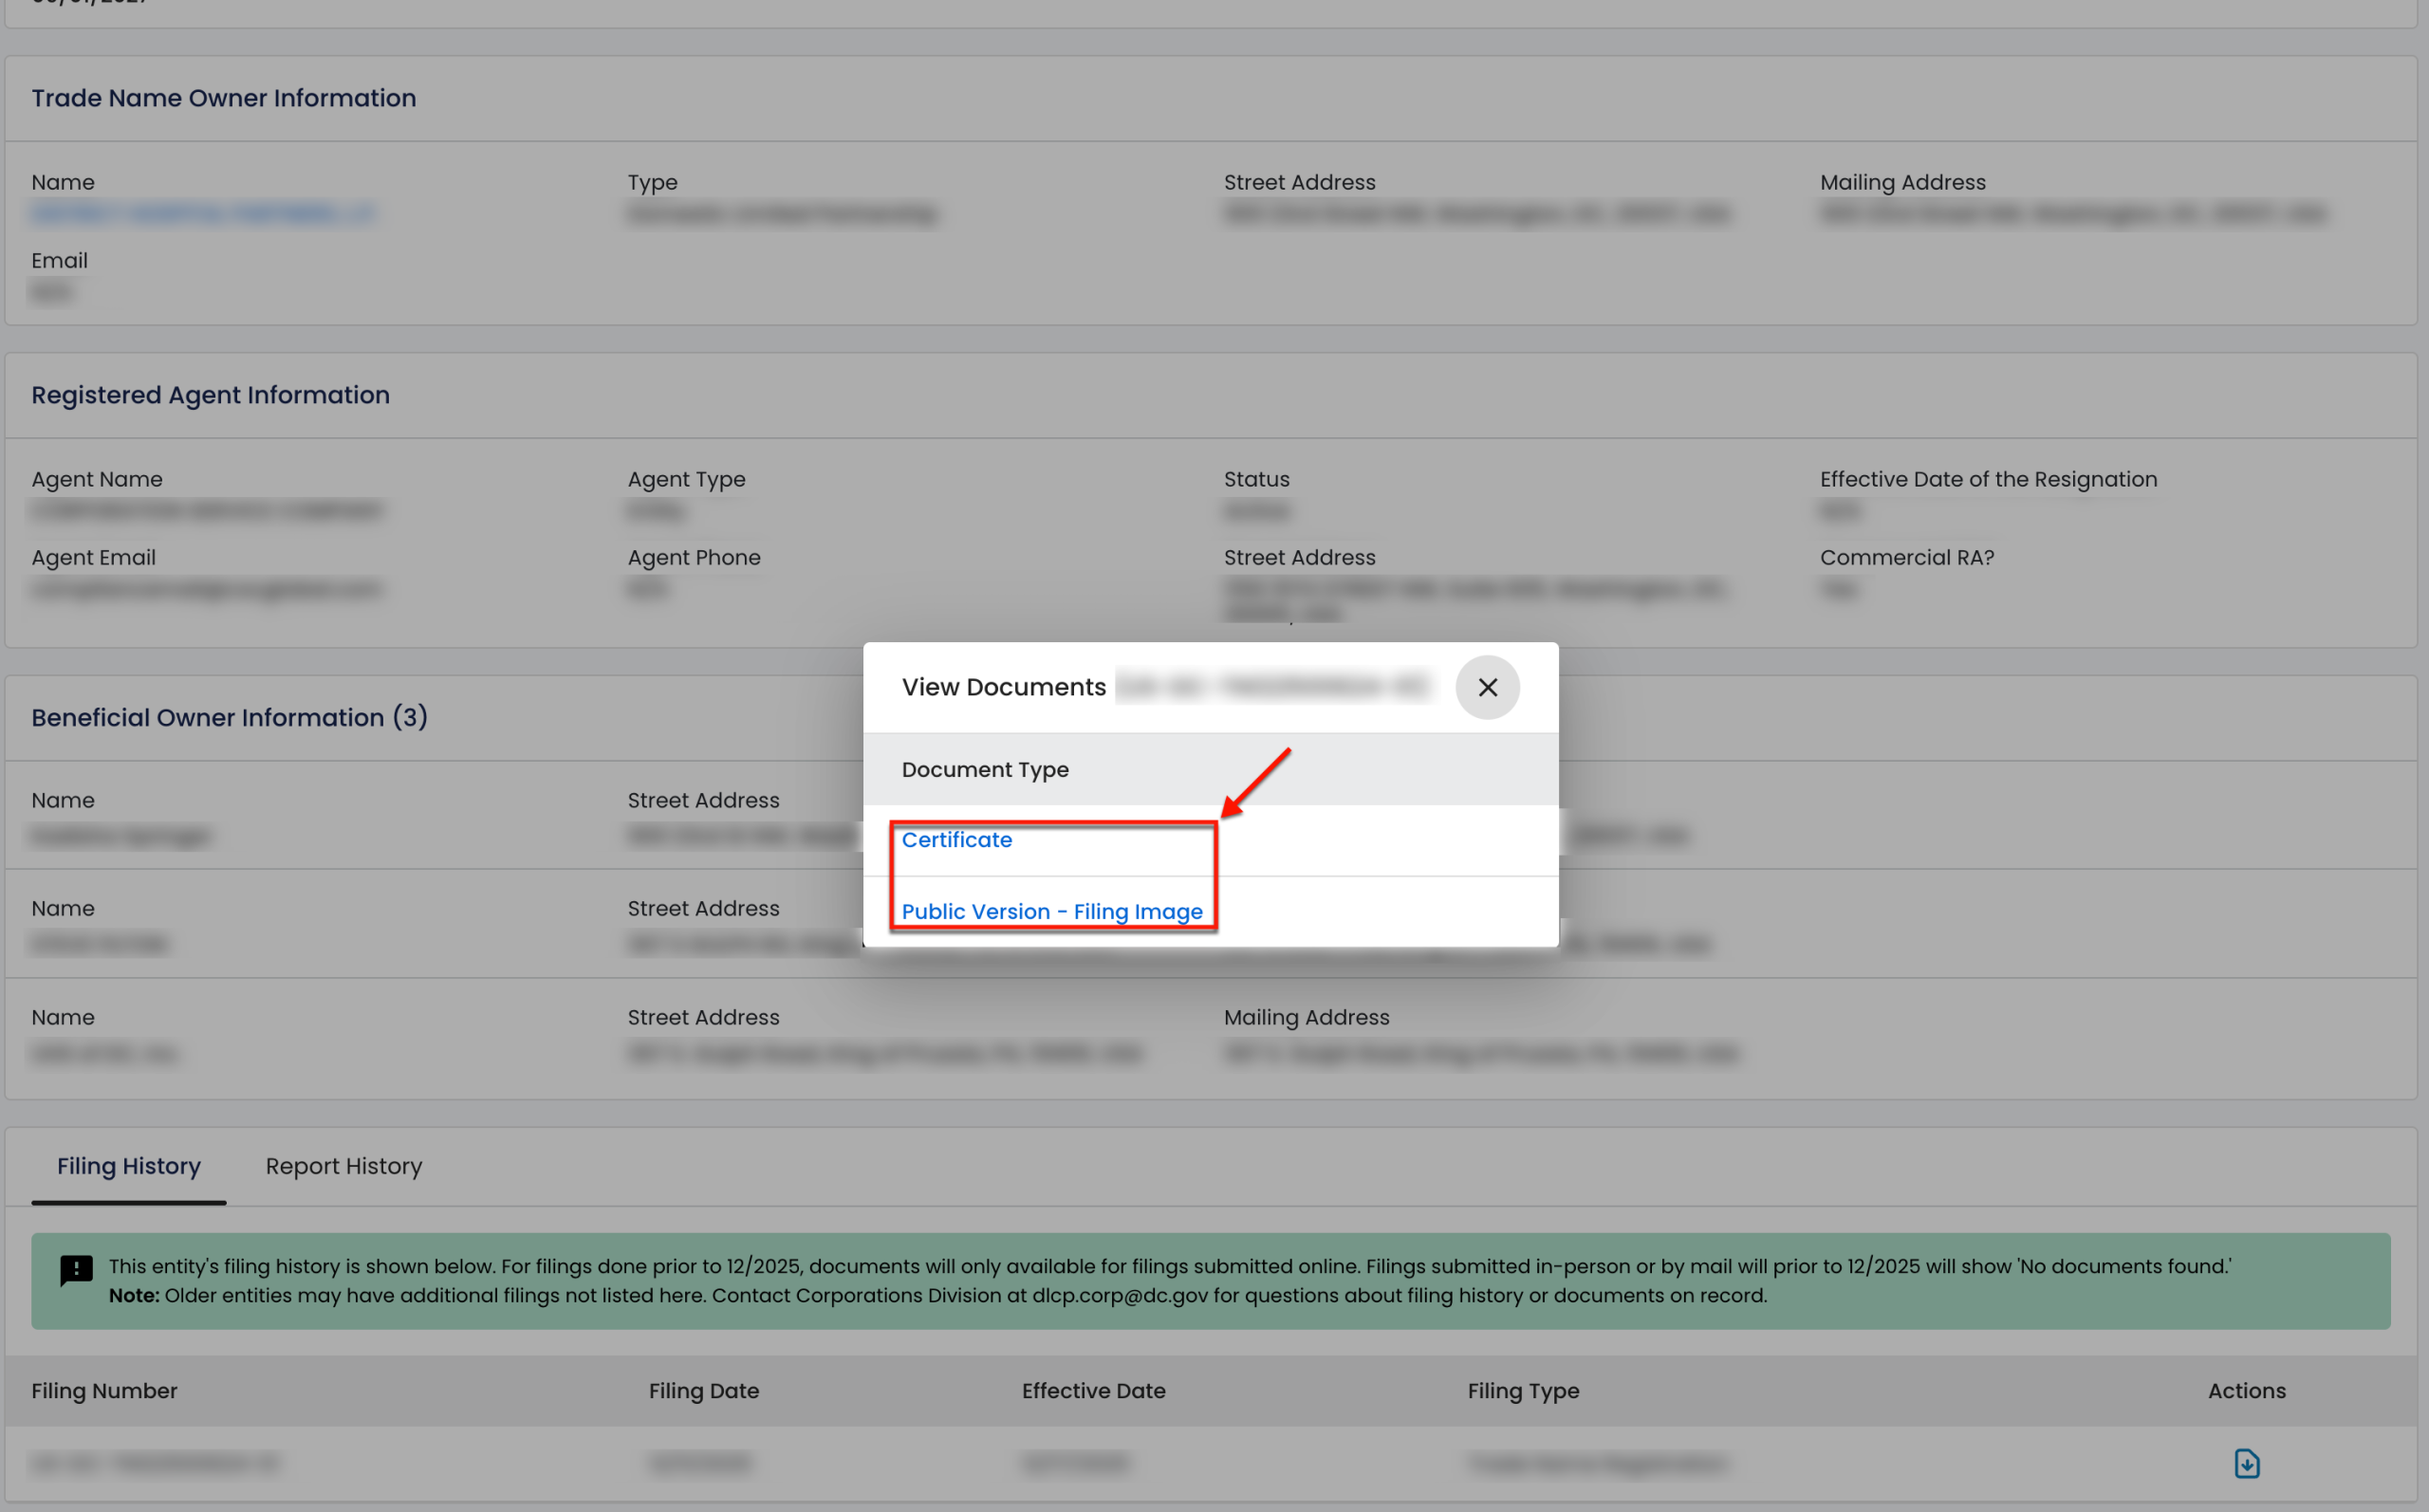
After selecting a download icon for filing record, a pop-up appears. Each link here allows direct access to the scanned paperwork. To view paperwork on screen, select the one of interest accordingly.
Step 16. Examine Report History
Continue to the “Report History” tab. Select this tab in order to open this area for review.
Step 17. Review the Entity’s Report History
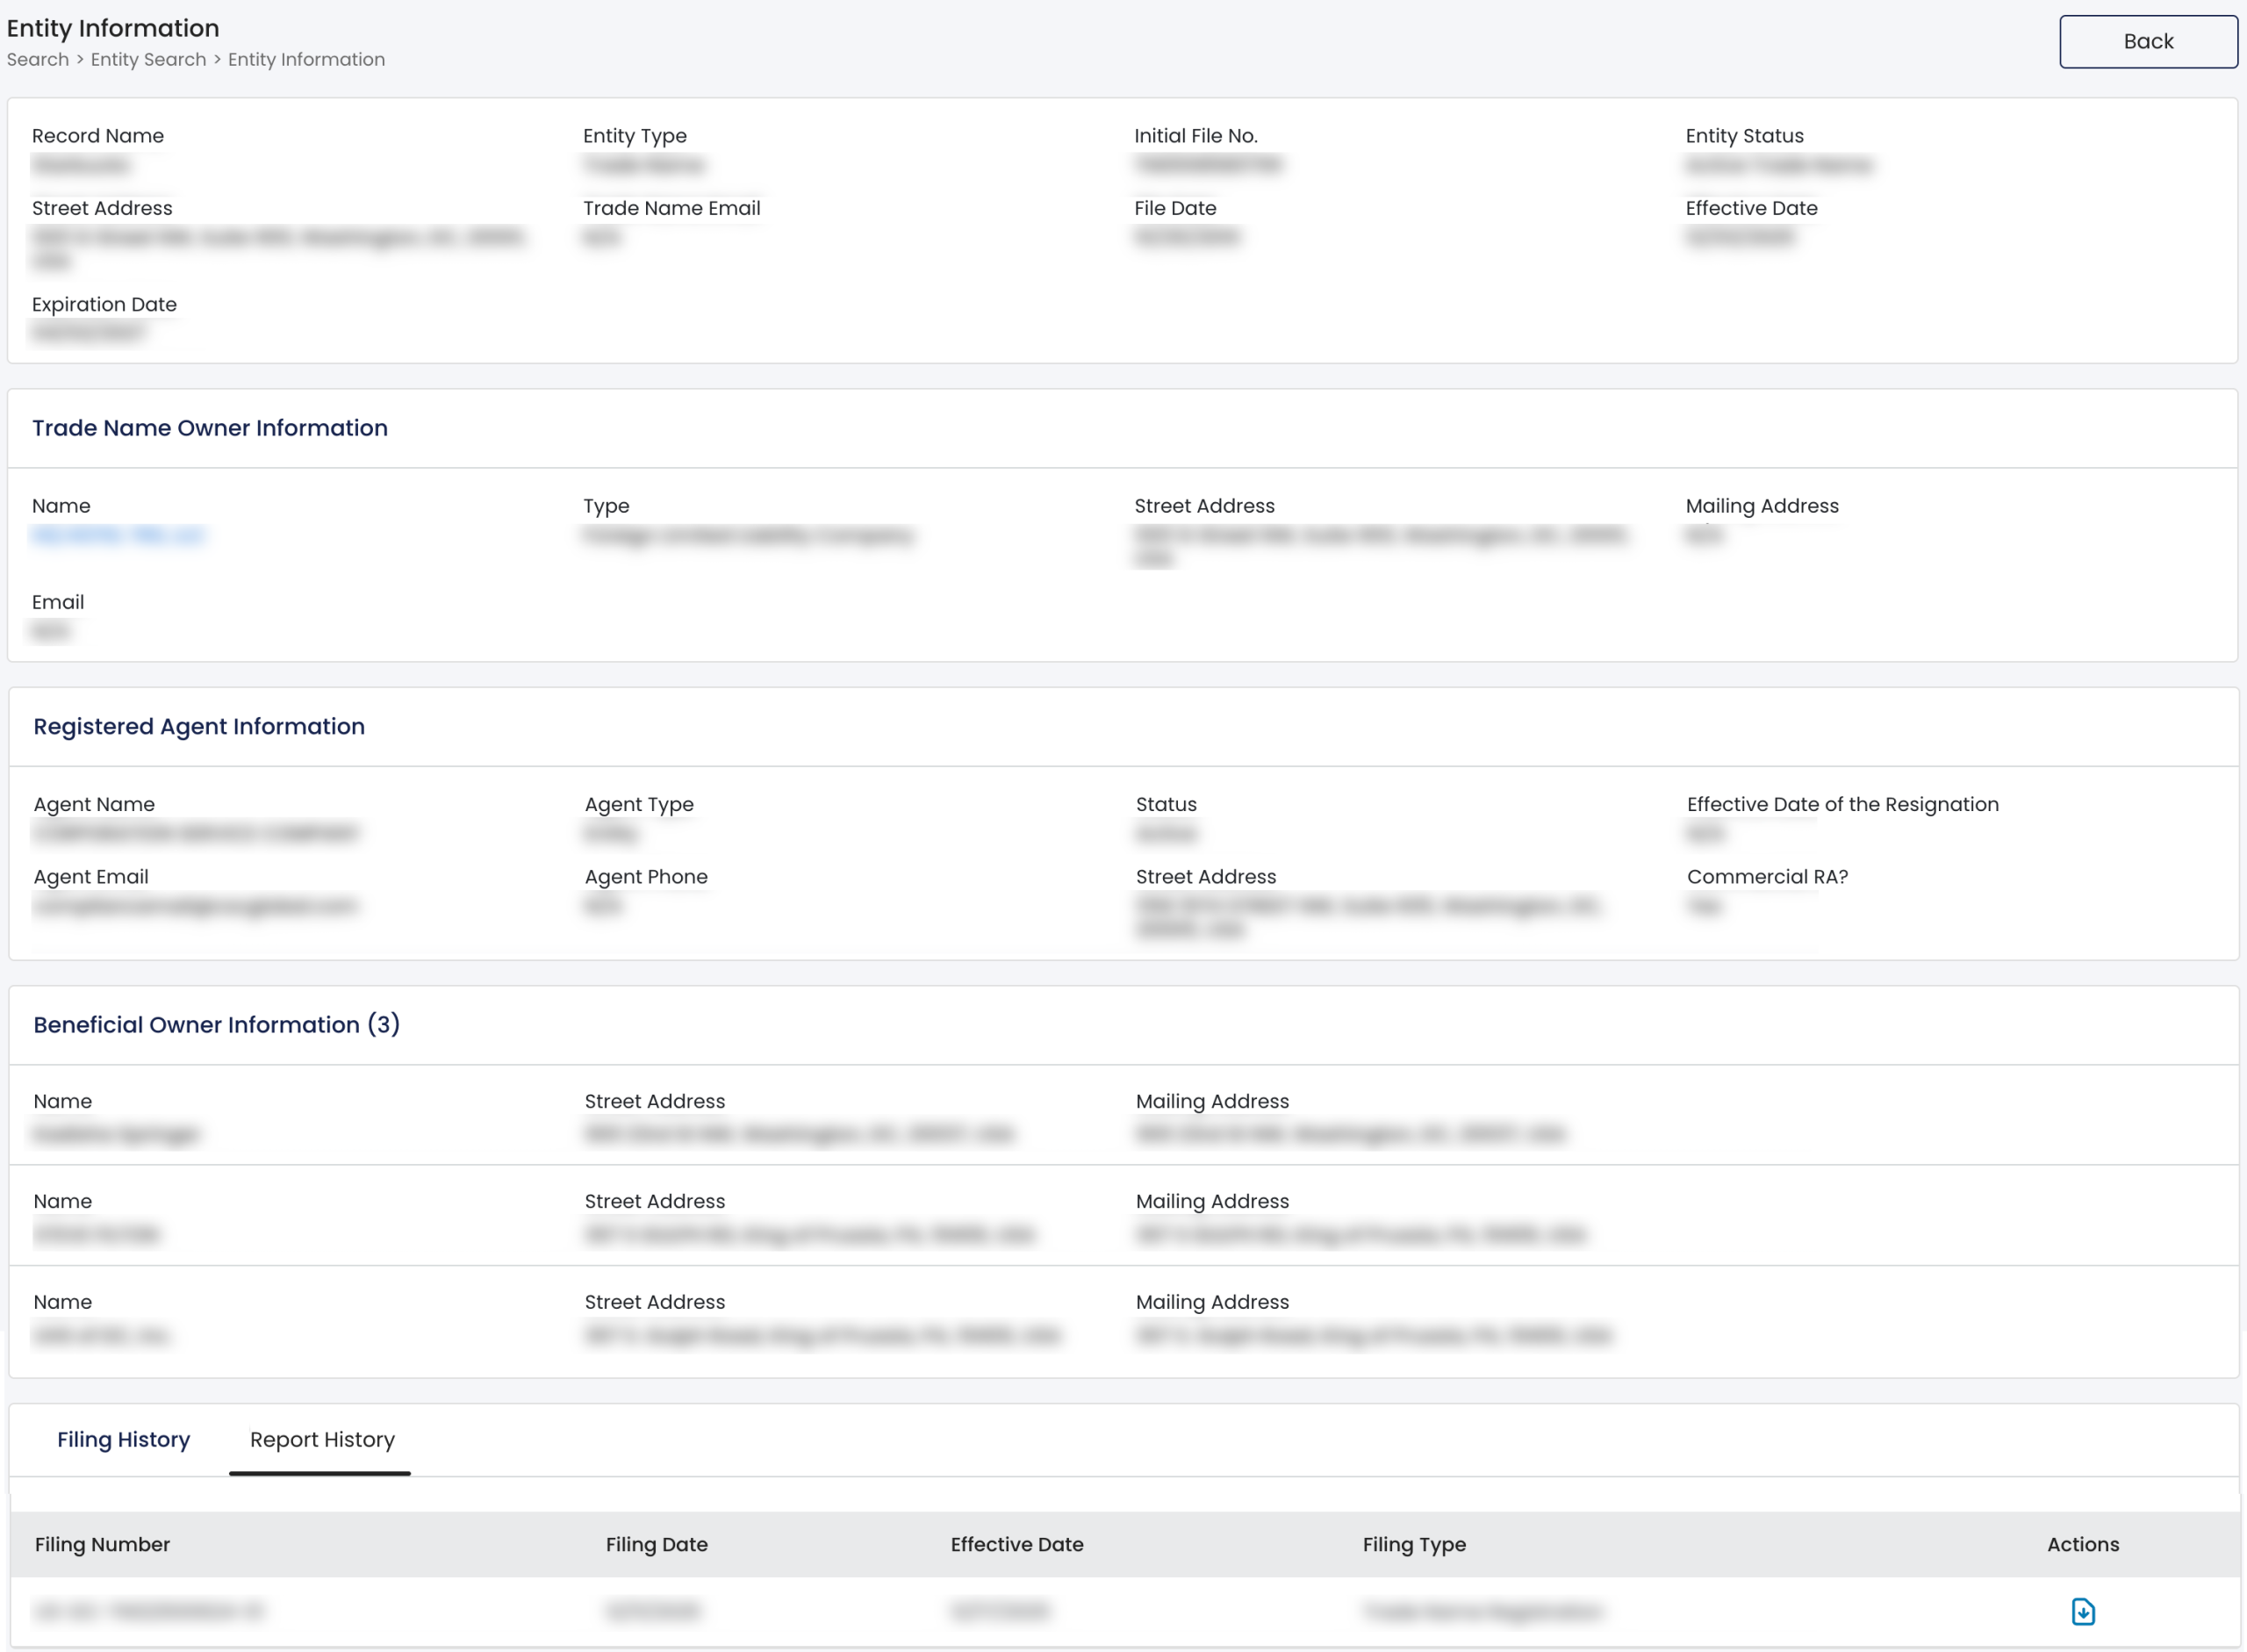
Notice the “Report History” table is also organized by filing numbers. Look through these columns for basic information on an entity report.
- Report History
- Filing Number
- Filing Date
- Effective Date
- Filing Type
- Actions
Step 18. Access an Entity Report
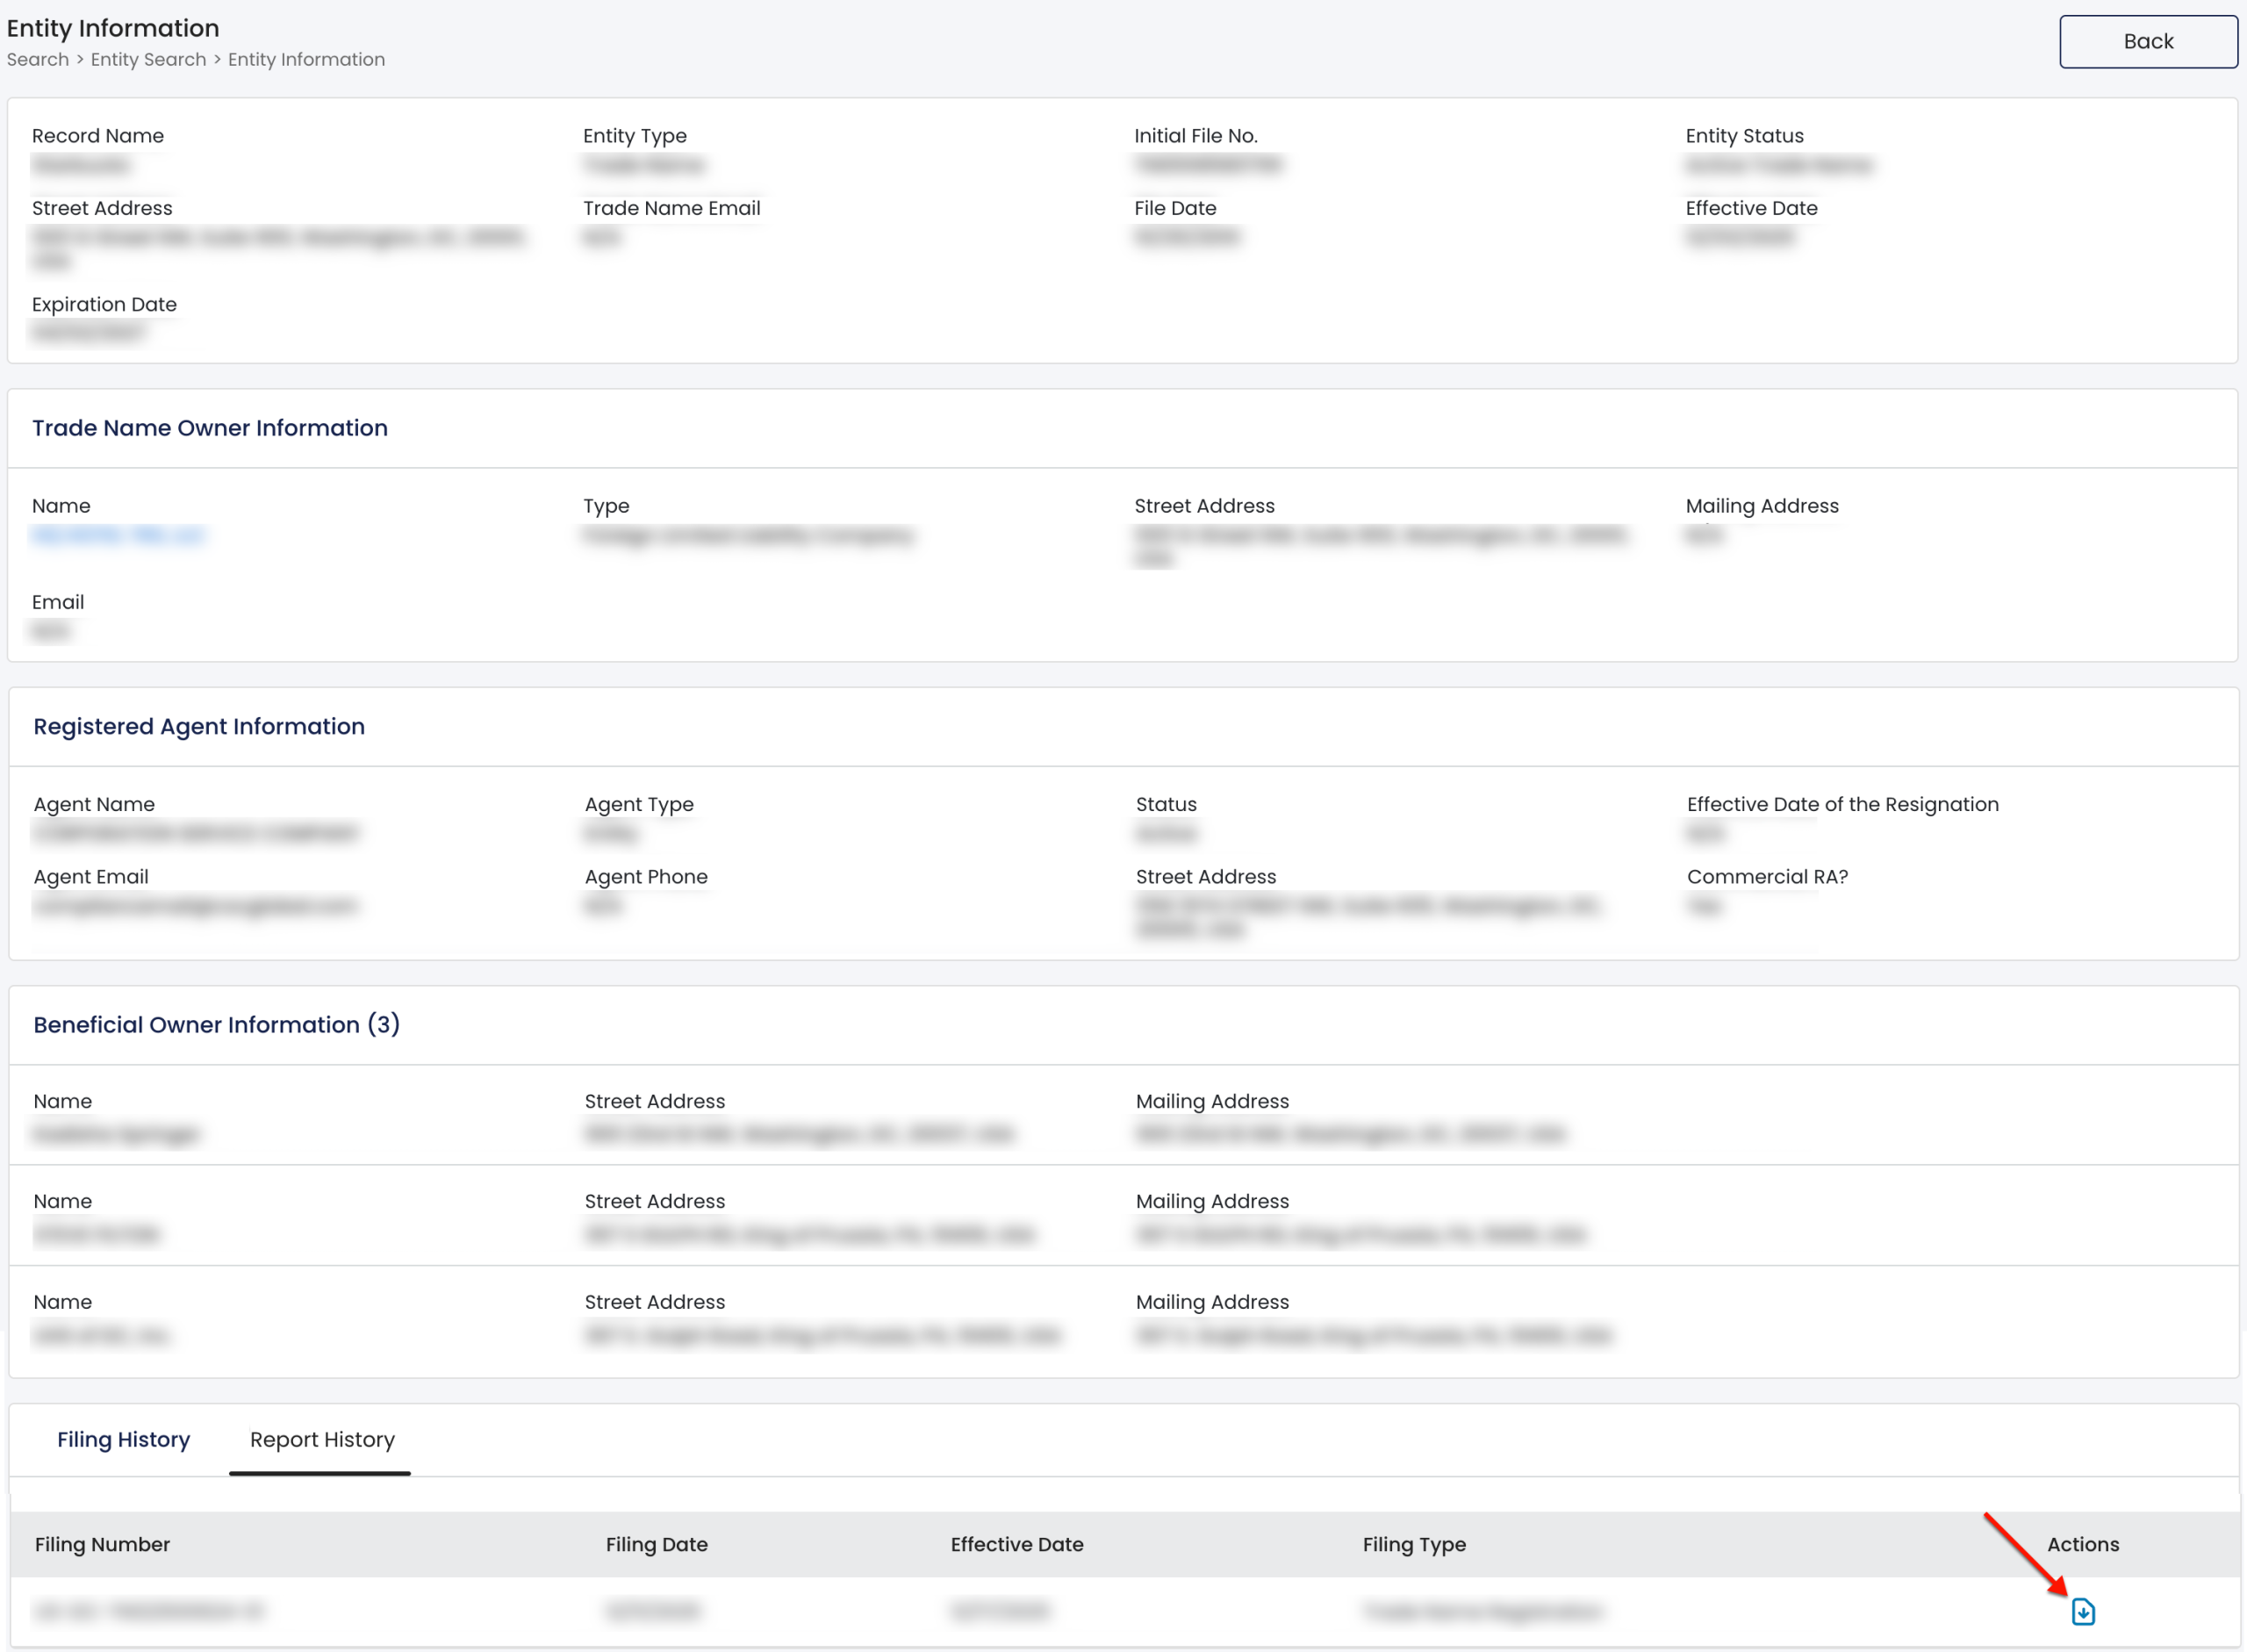
Once you discover a report you would like to investigate, turn your efforts to the final column, “Actions.” Click on the downloadable icon.
Step 19. Download an Entity Report
Upon selection, a pop-up listing the document scans on file appears. Select the document you wish to view onscreen directly from this new window.