The Michigan Secretary of State provides access to LARA’s database of business entities (profit and nonprofit). This enables visitors to discover public information regarding an entity, as well as any filings scanned into the system. Visitors should note this represents current information on file and may not include all pending name reservations.
Business Name Availability Check
State of Michigan

Business Entity Search
Step 1. Access the Michigan LARA Search Tool
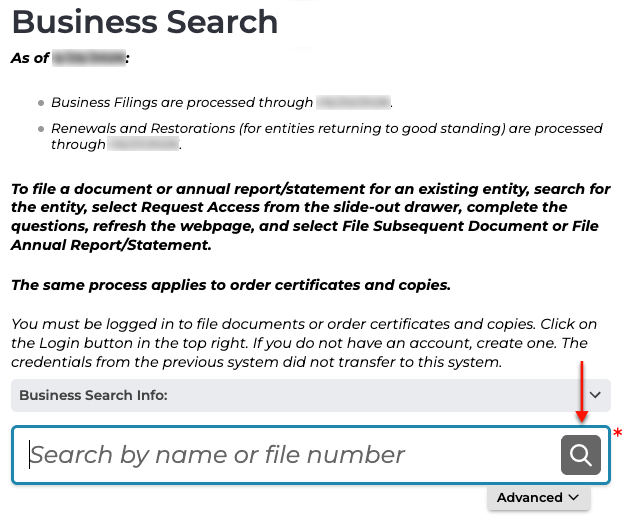
Visit the business entity search page maintained by LARA for its users. Read through the information it presents before continuing.
Step 2. Produce A Name or File Number
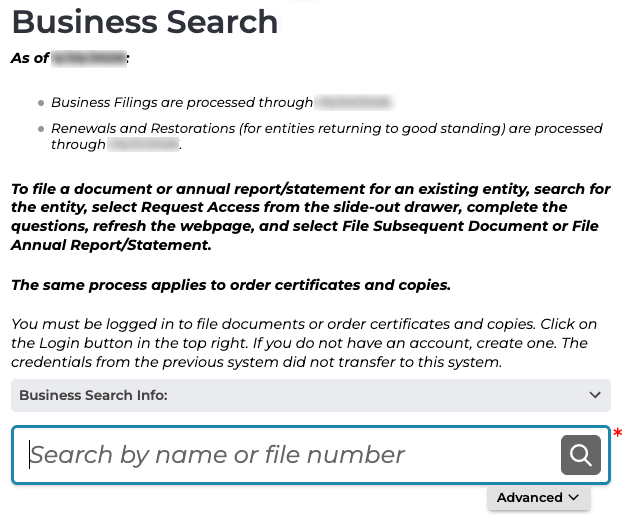
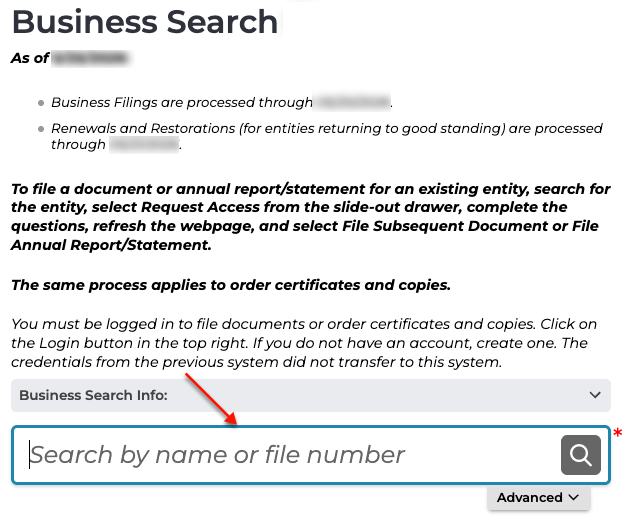
Direct your attention to the text box containing the magnifying glass icon. For a basic search, input the search item then continue to Step 9.
Step 3. Set Up an Advanced Search
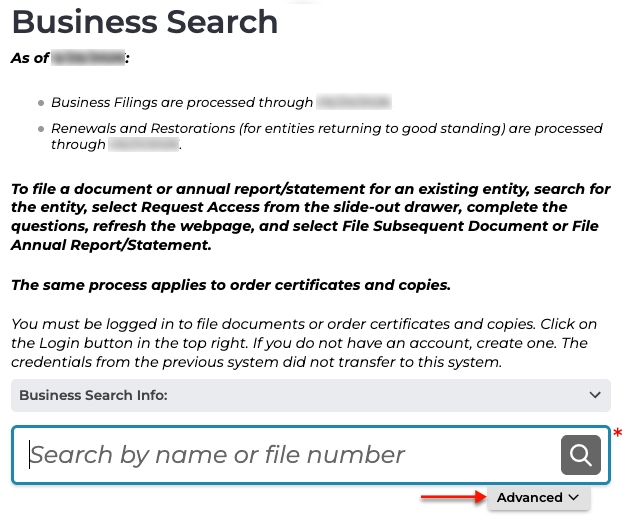
Presenting as much defining information as possible can narrow the matching results. Select “Advanced” to open a new area where such options are available.
Step 4. Name the Method
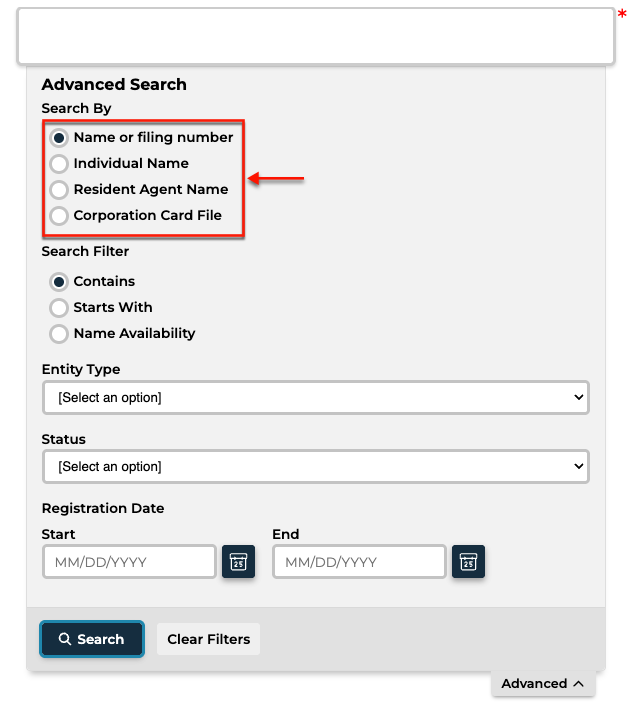
Defining the appropriate target optimizes how the query finds results. Thus, select one of the radio buttons to indicate what you are searching for.
- Name or Filing Number
- Individual Name
- Resident Agent Name
- Corporation Card File
Step 5. Apply the Appropriate Filter
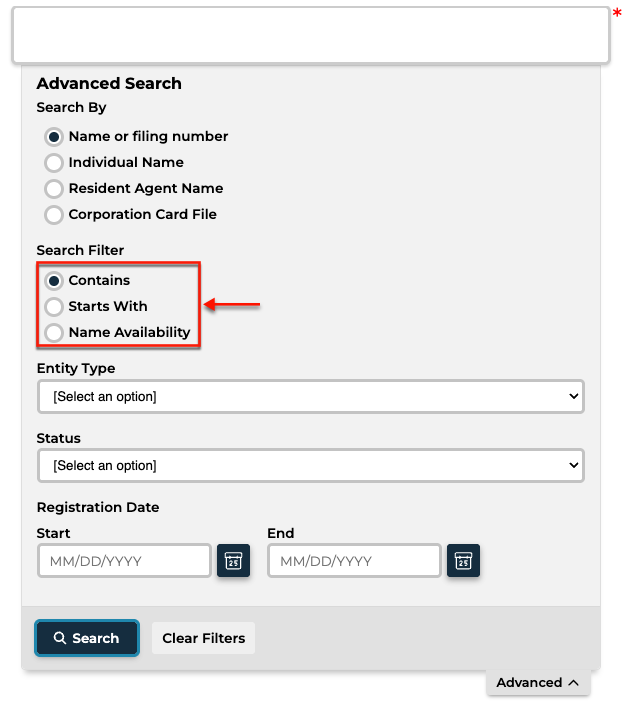
Since this database holds every legal Michigan entity on file, it is best to narrow the results. Select one of the next three radio buttons to further define search parameters for the target.
- Contains
- Starts With
- Name Availability
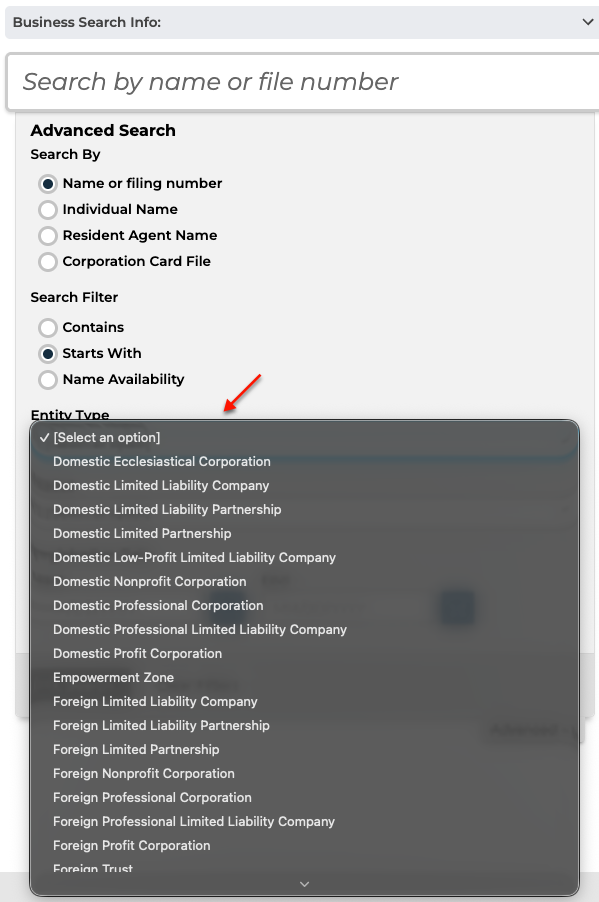
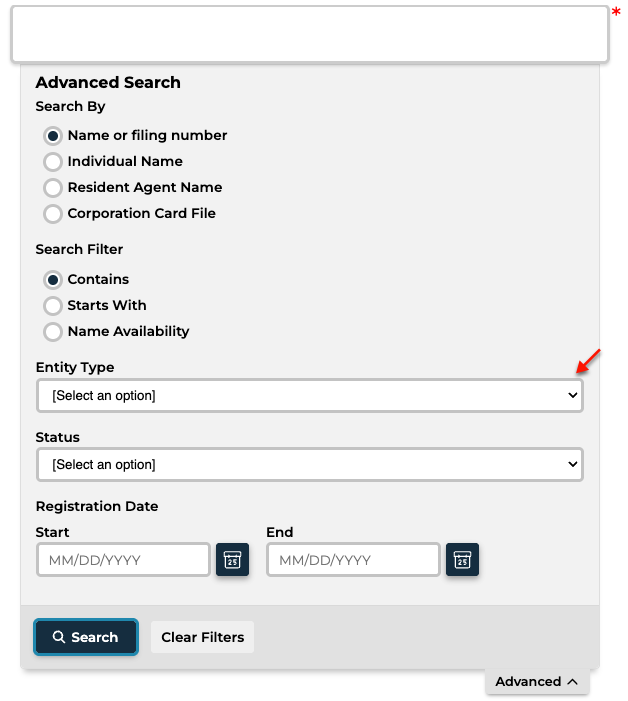
Step 6. Describe the Type of Entity
In order to specify the kind of entity we are searching for in our example, select the appropriate description from the drop-down menu (see image).
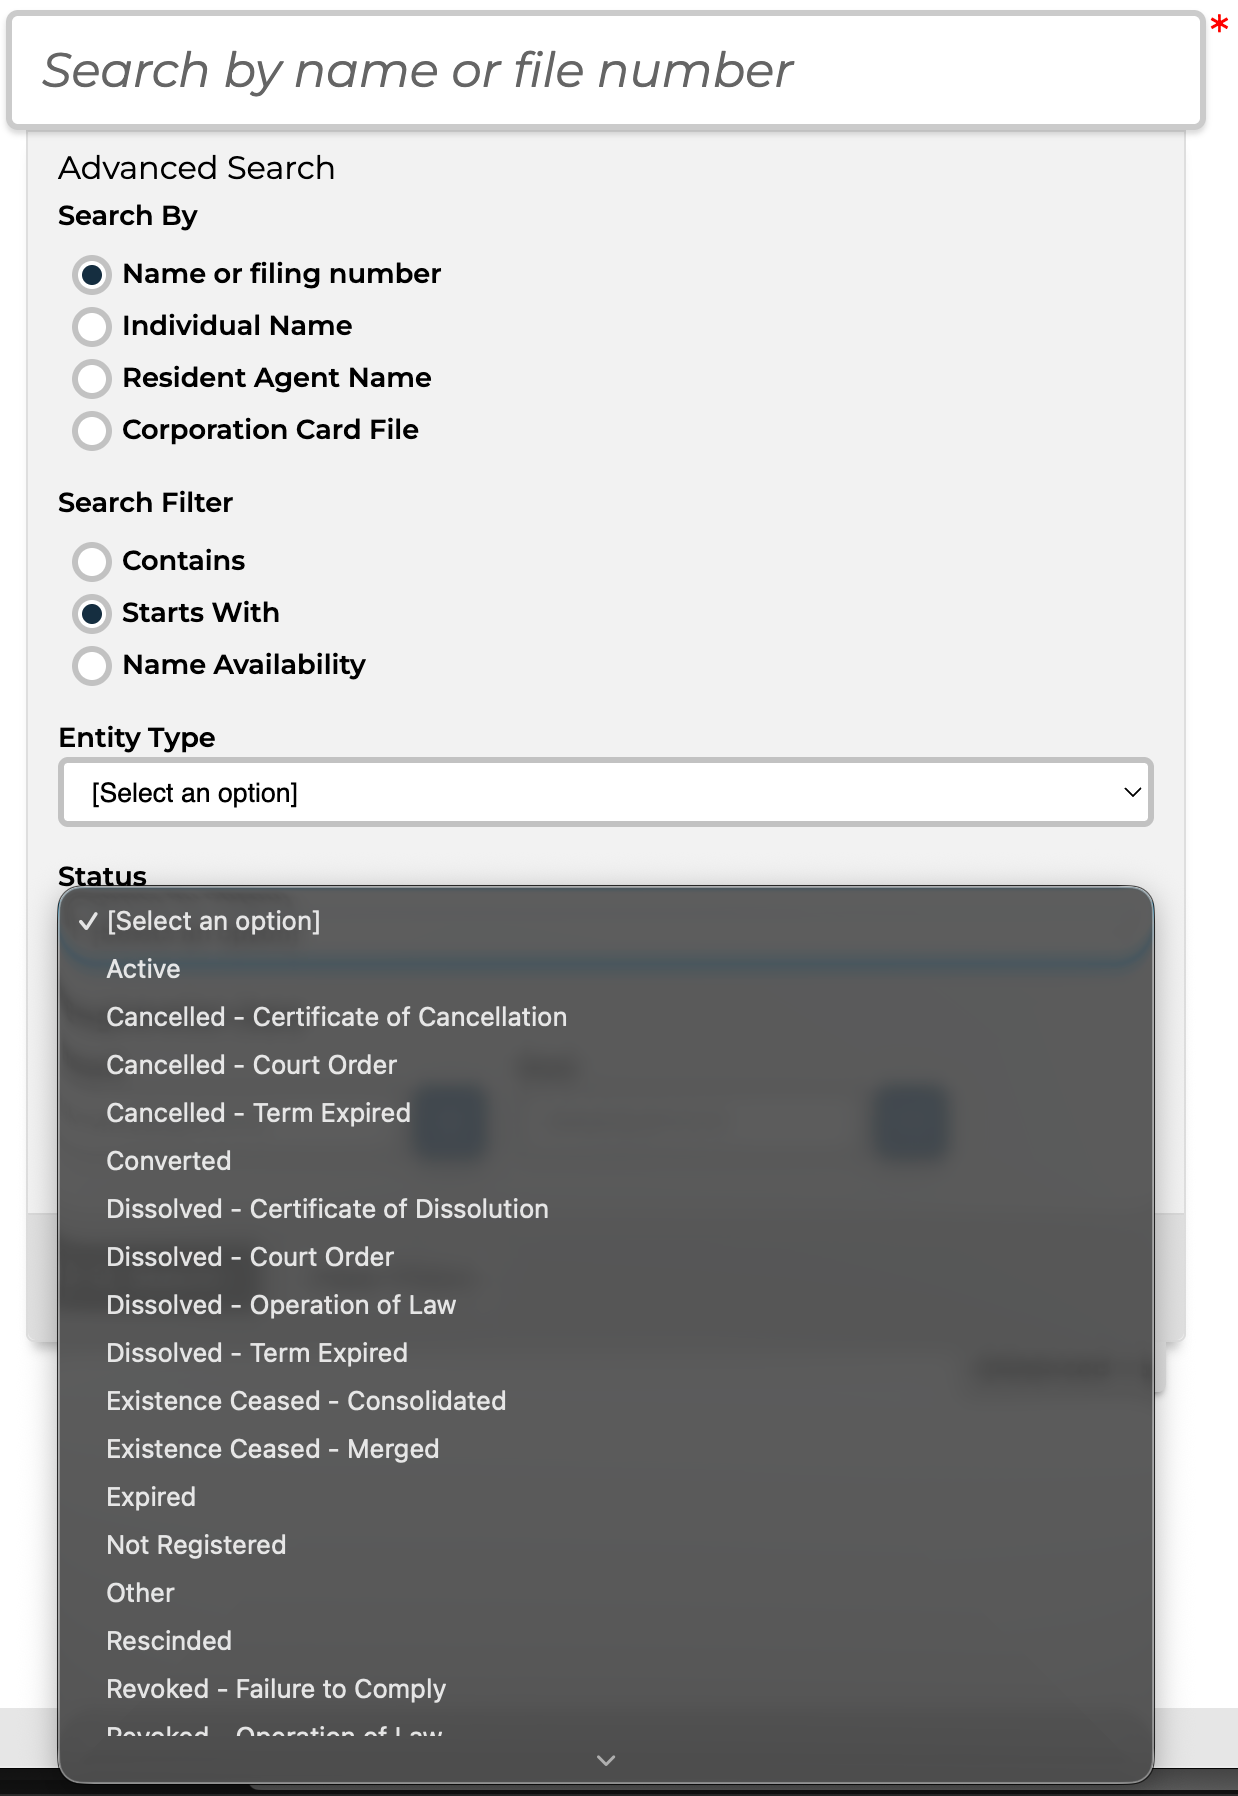
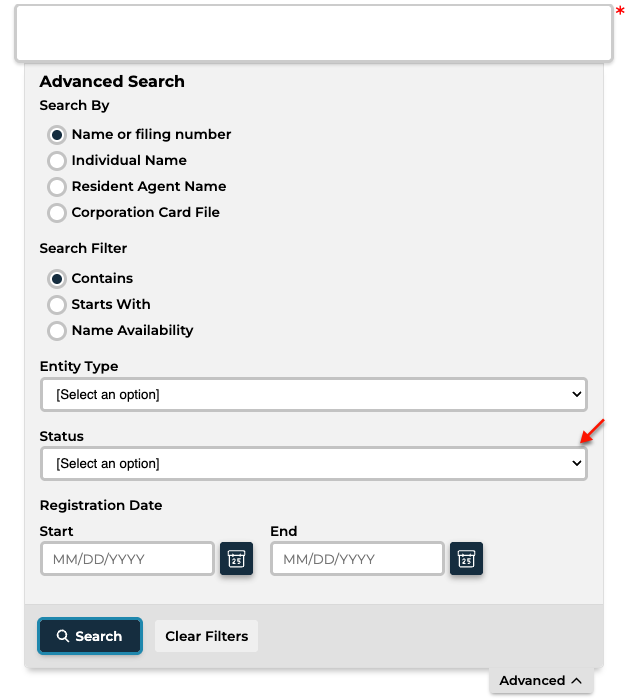
Step 7. Attach Its Status
Use the second drop-down menu to require a specific entity status in the results (see image). This aids the query focus in presenting only entities with this status.
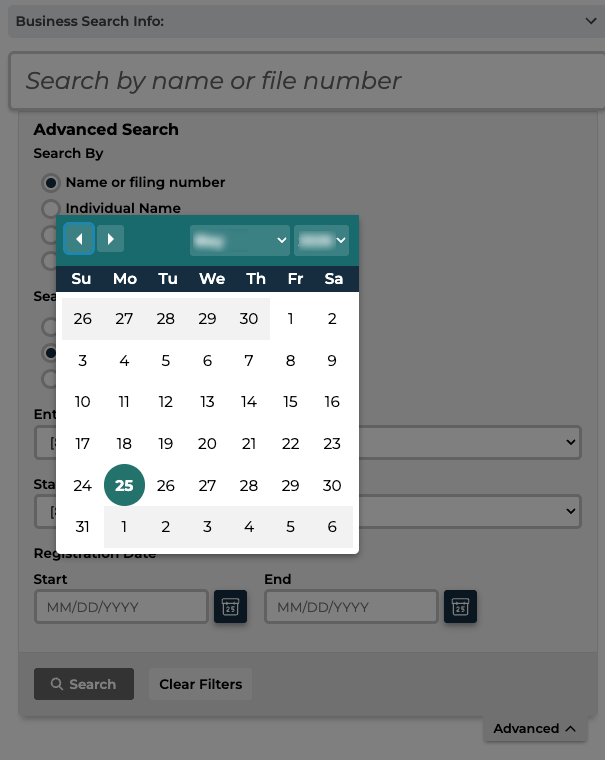
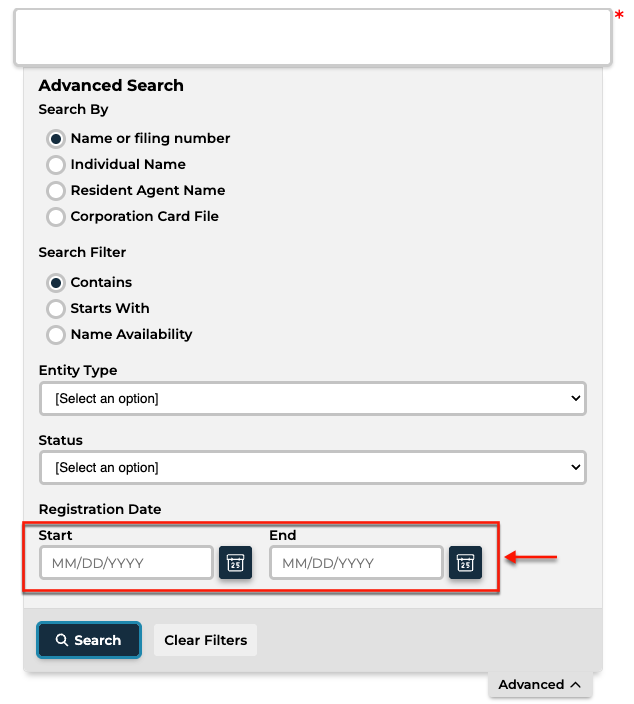
Step 8. Focus on a Date Range
In addition to the previous definitions, you can set a date range for the entity’s filing history. Report the first and last dates defining this range using the calendar tool (see image).
- Registration Date
- Start
- End
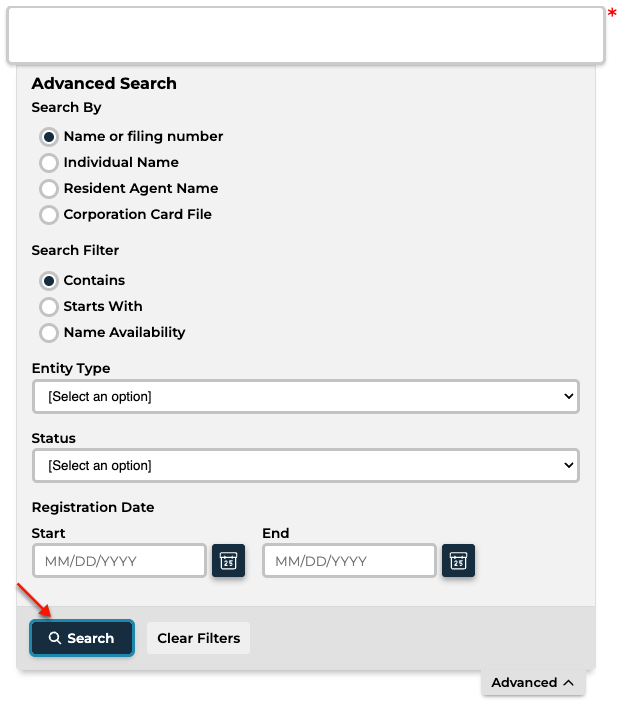
Step 9. Run the Query on the Search Information
Initiate the search using the magnifying glass for a basic search (see image). If, however, this is an advanced search, then select the “Search” button.
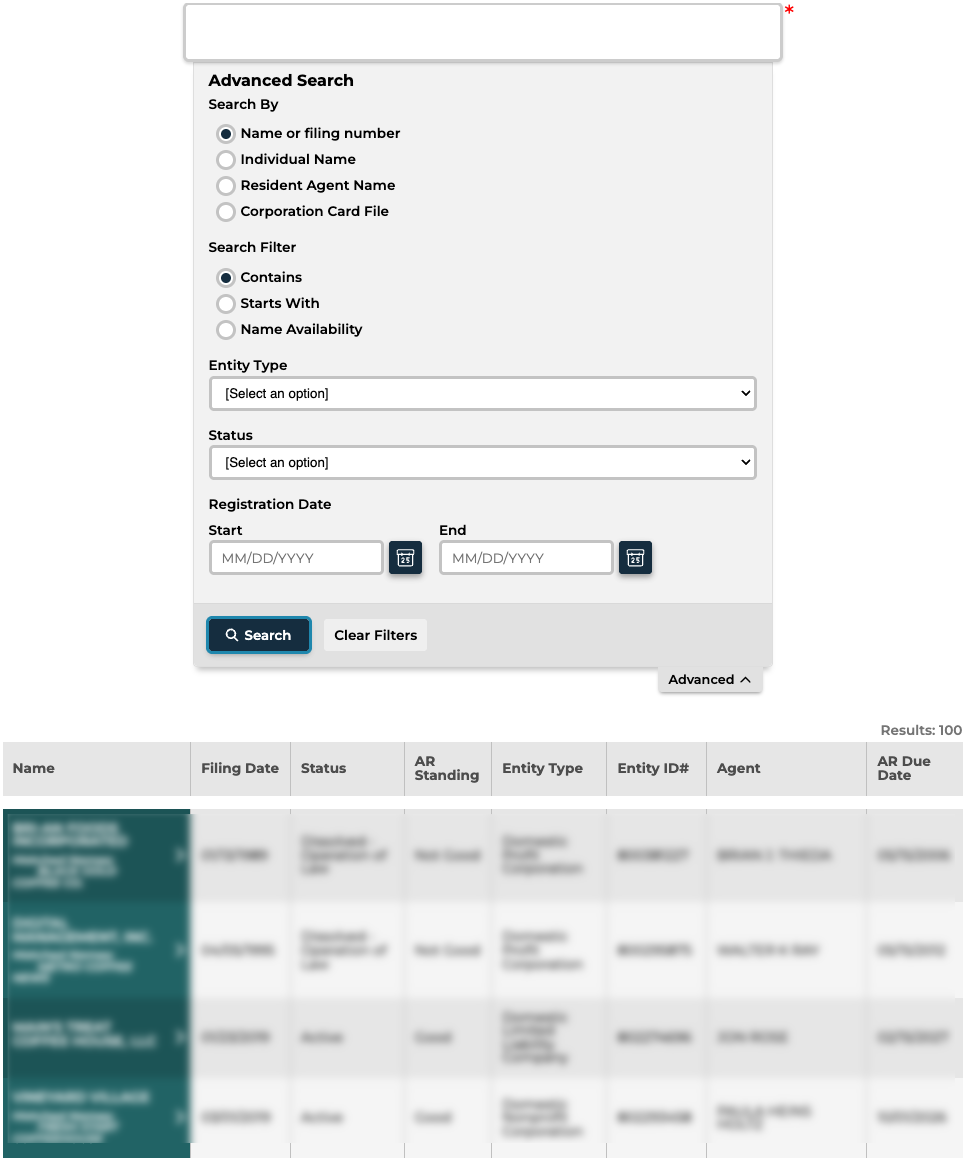
Step 10. Scan the Resulting Matches
Direct your attention to the table that populates the area below the search tool. Read through the columns of information to find an entity to examine.
- Name
- Filing Date
- Status
- AR Standing
- Entity Type
- Entity ID
- Agent
- AR Due Date
Step 11. Access the Targeted Entity’s Information
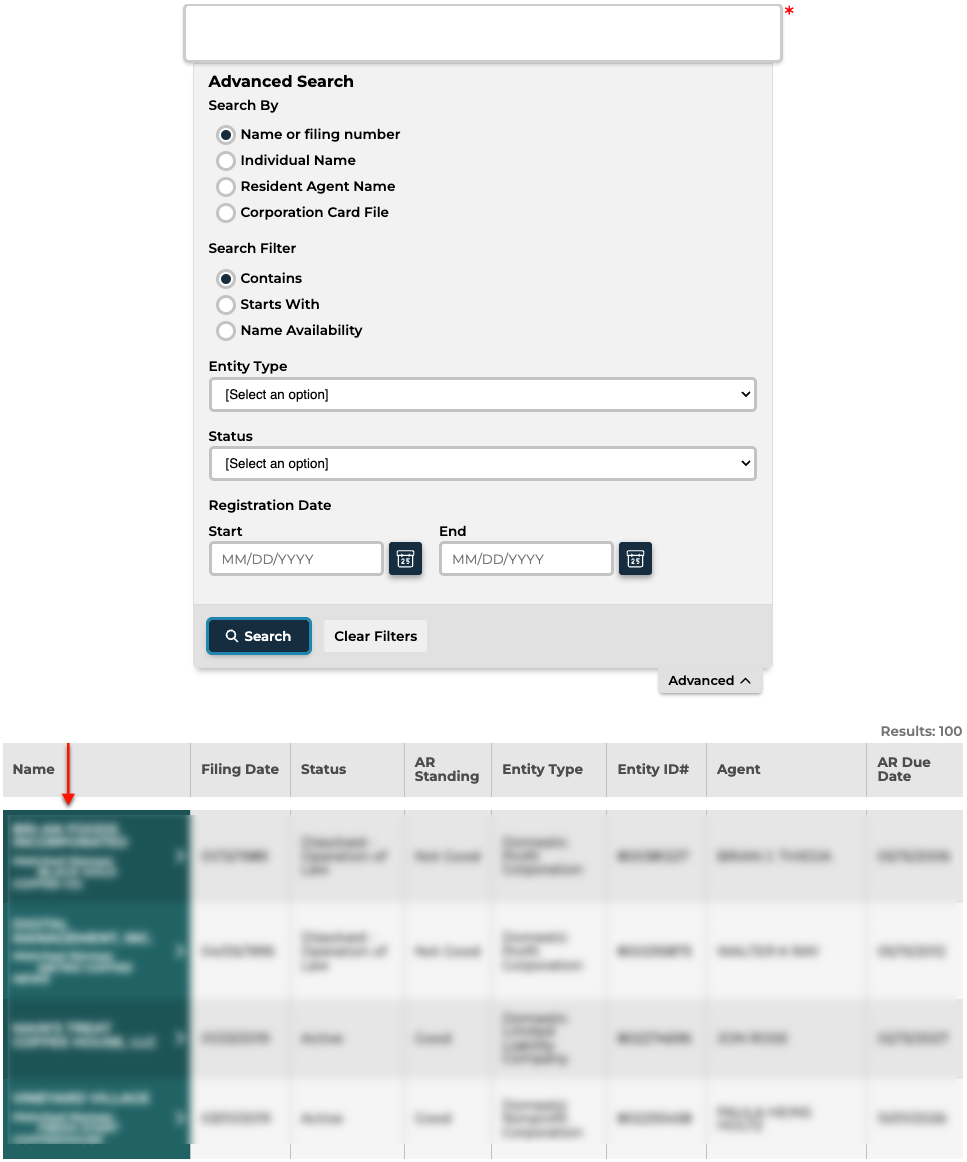
After settling upon an entity, select the name from the first column in order to view its details. Your browser will remain on this screen for future queries if necessary.
Step 12. Look At Entity Information
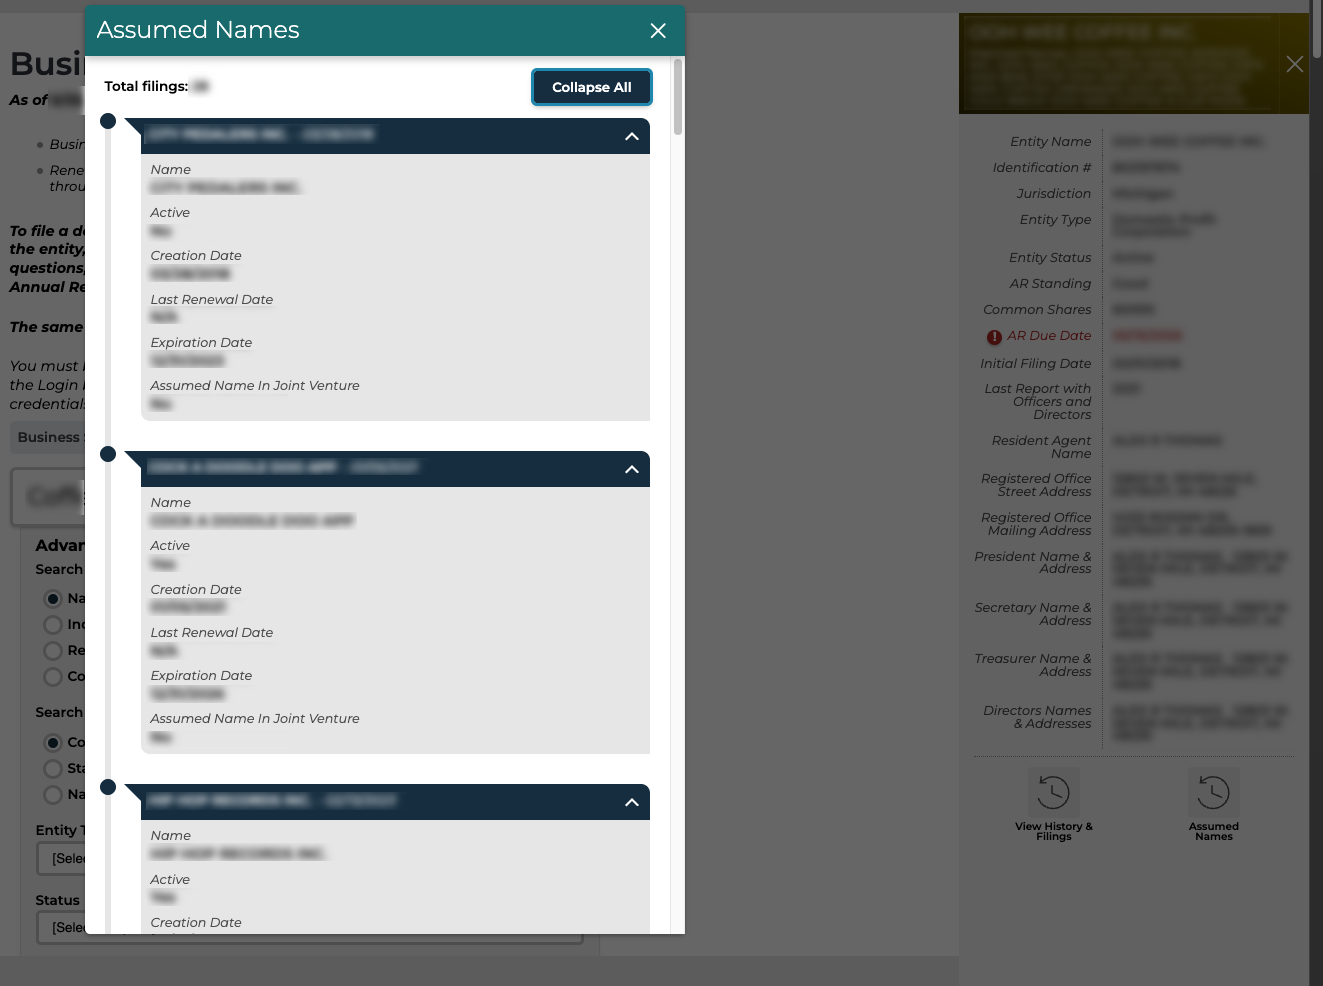
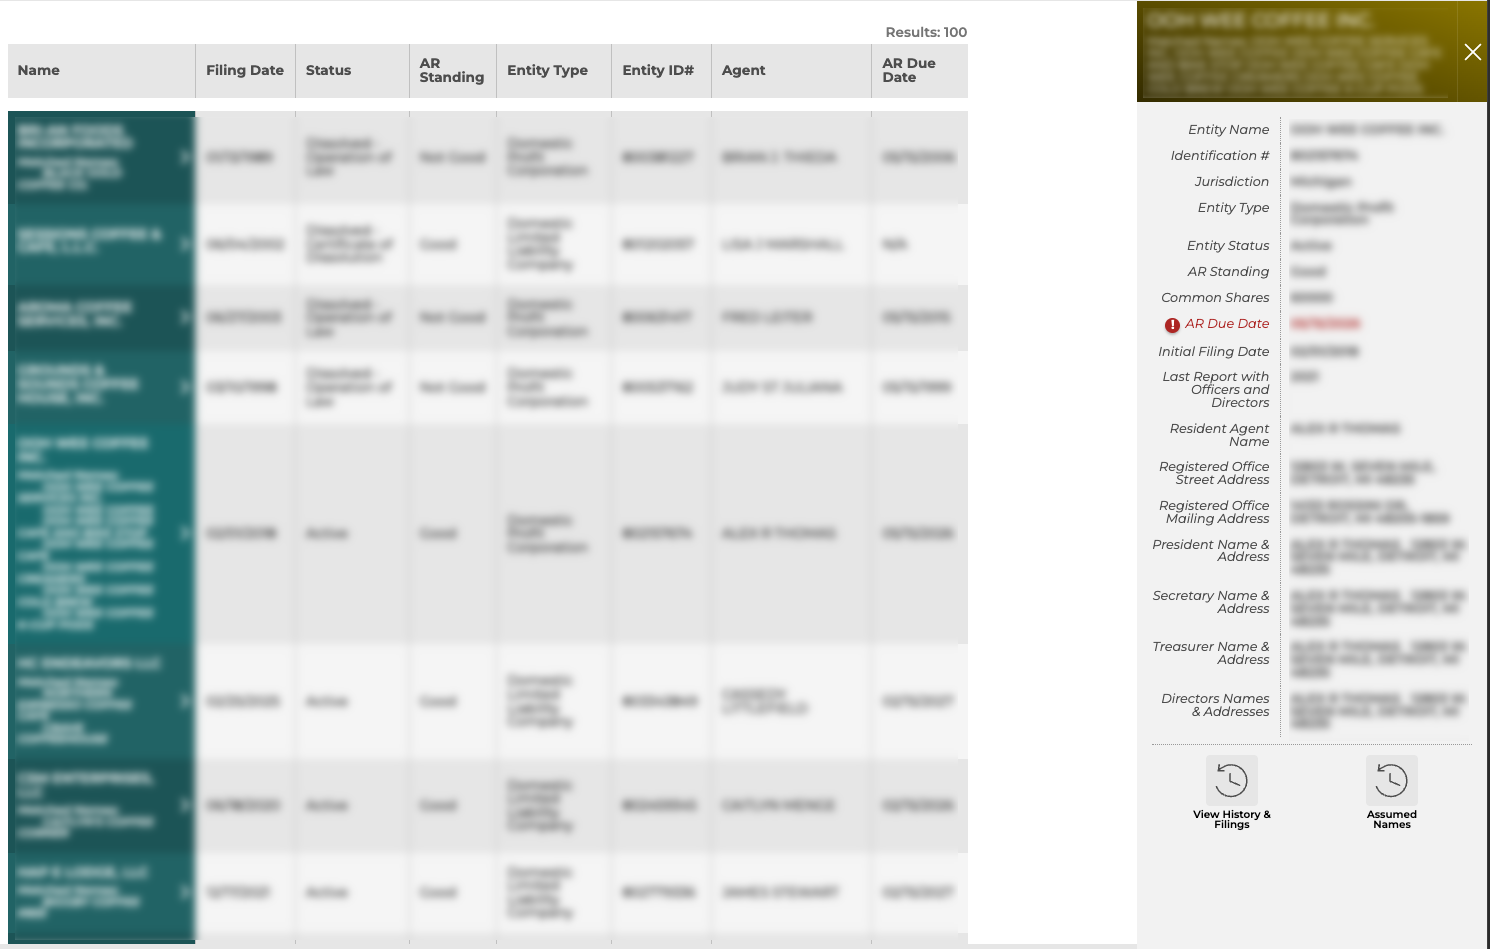
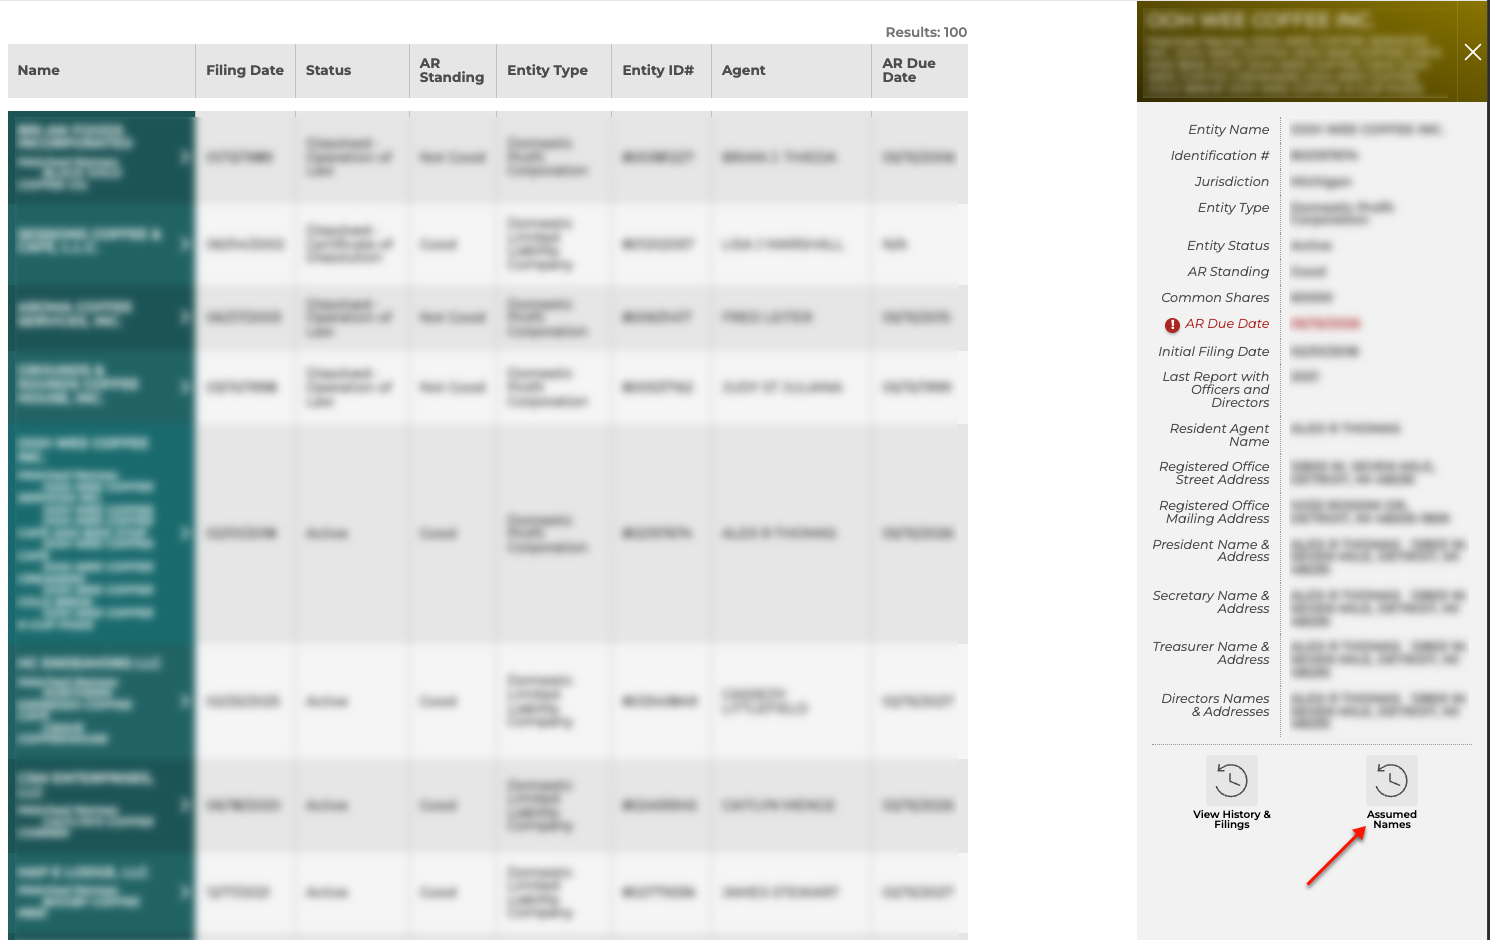
Notice the sidebar that opens upon selecting the entity. This section displays entity details while providing access to optional information.
- Entity Name
- Identification
- Jurisdiction
- Entity Type
- Entity Status
- AR Standing
- Common Shares
- AR Due Date
- Initial Filing Date
- Last Report and Officers and Directors
- Resident Agent Name
- Registered Office Street Address
- President Name & Address
- Secretary Name & Address
- Treasurer Name & Address
- Directors Names & Addresses
- View History & Filings
- Assumed Names
Step 13. View Filing Details
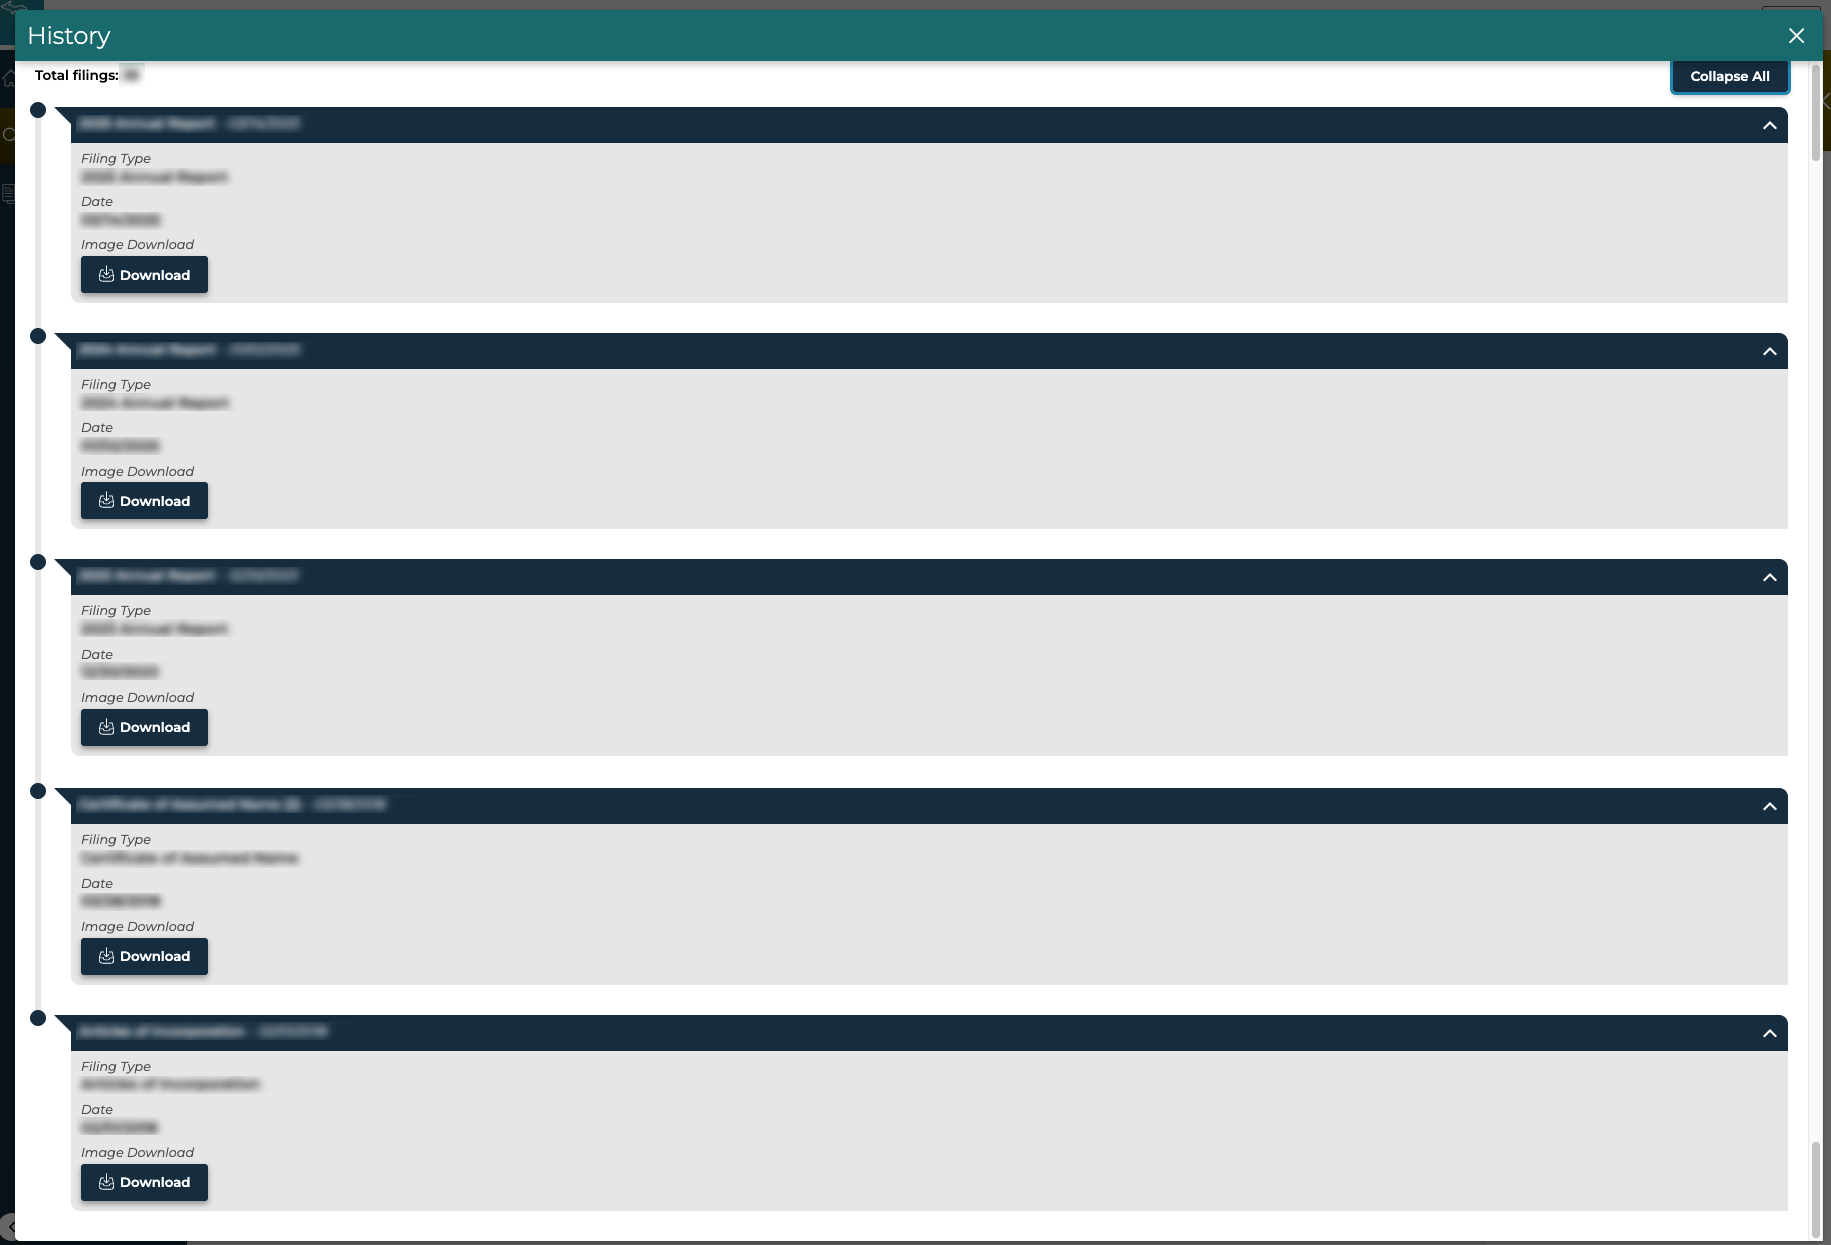
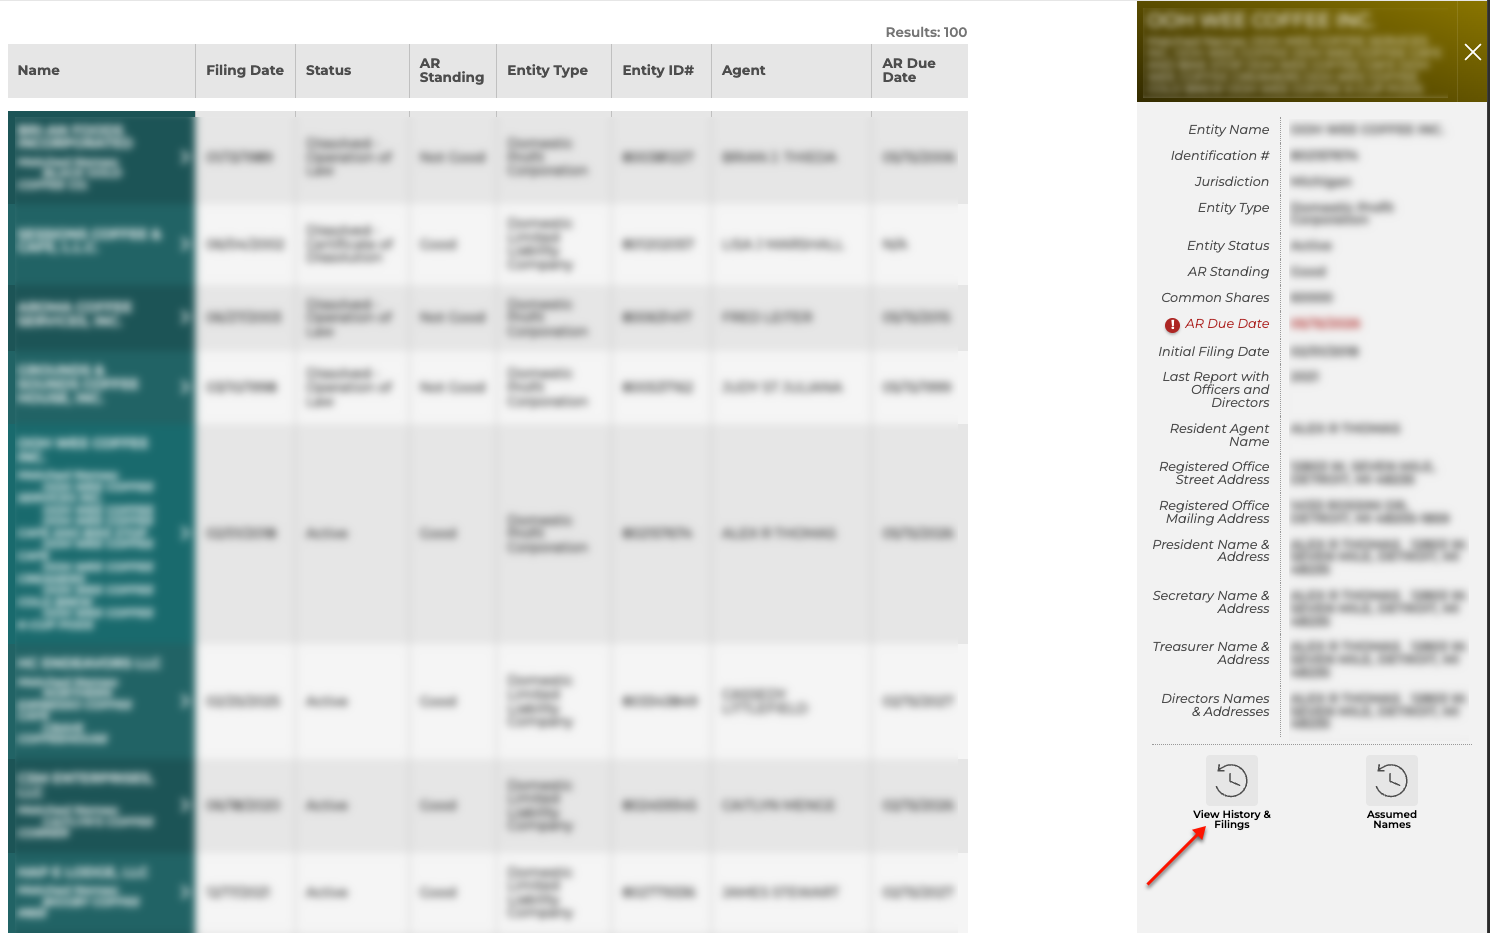
To delve deeper into the entity’s past, locate the “View History & Filings” icon. Select this icon to continue.
Step 14. Select Files to Review
Take a moment to review the pop-up window. Each row lists the year and filing, with the exact date, and can be viewed separately by selecting that row or all at once by selecting “Expand All” (see image). Close the pop-up when you are ready to continue.
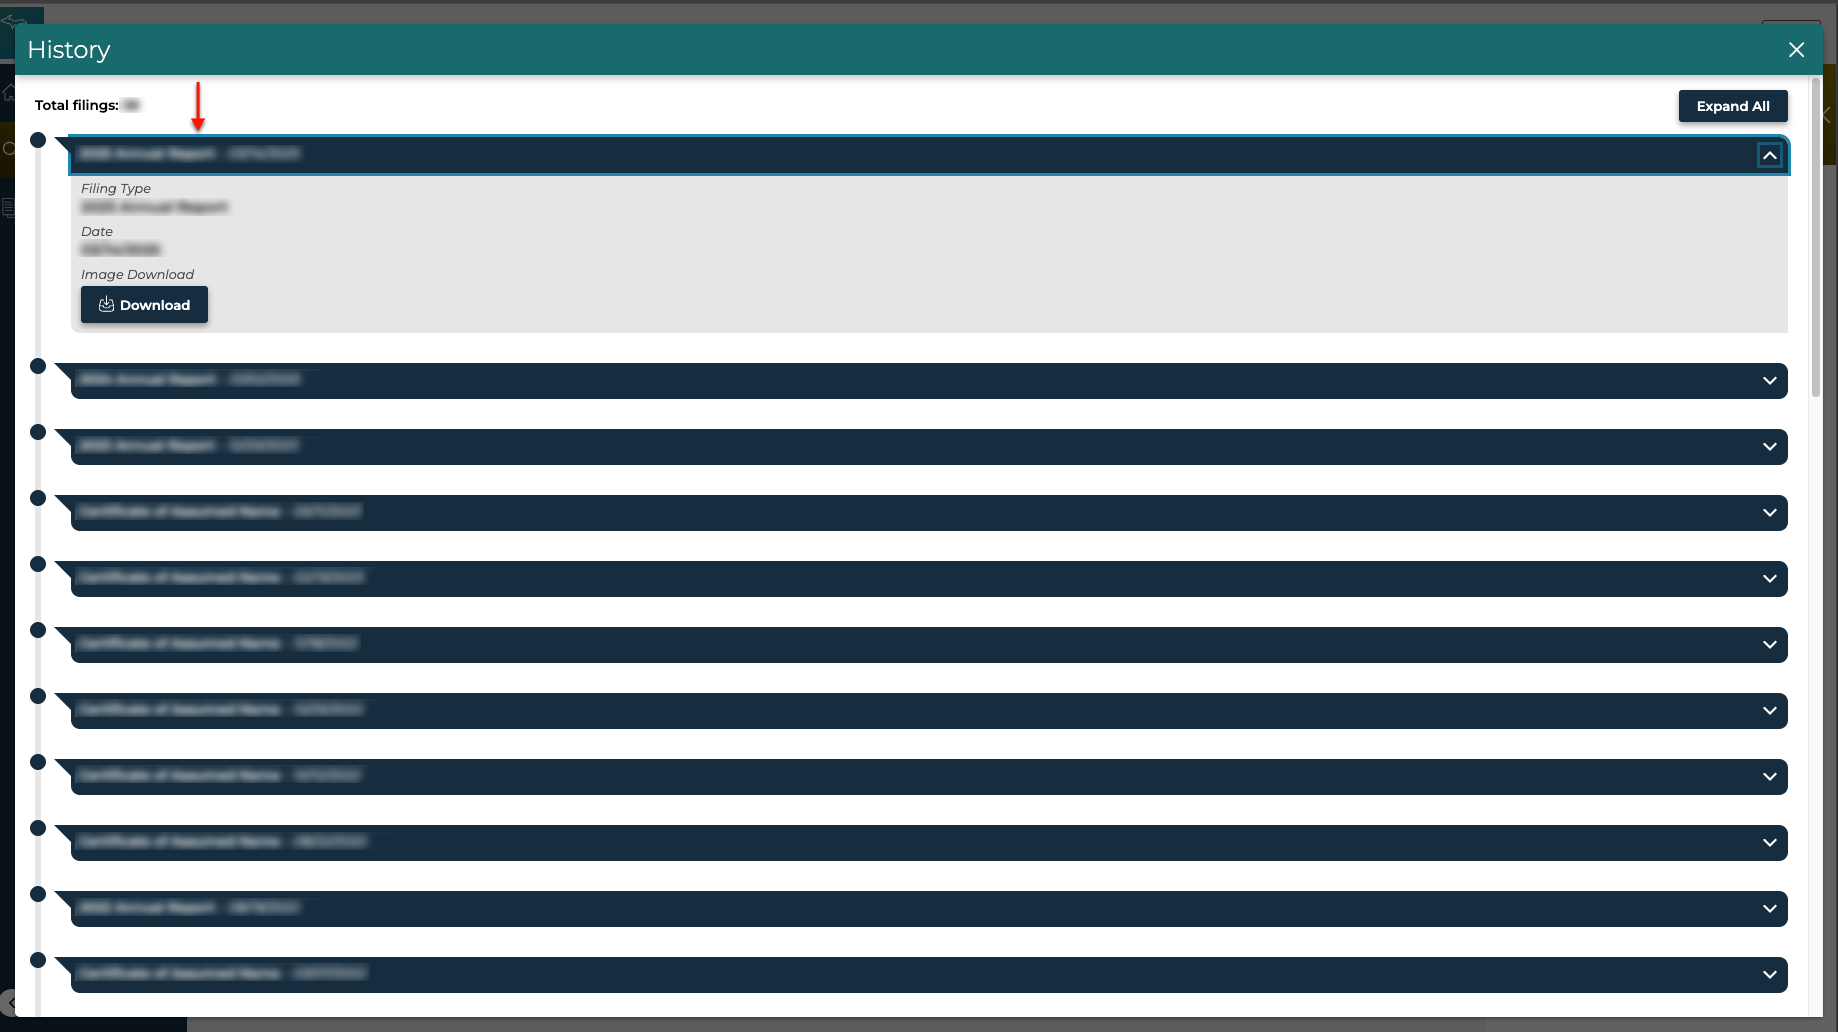
Step 15. Downloading A Filing
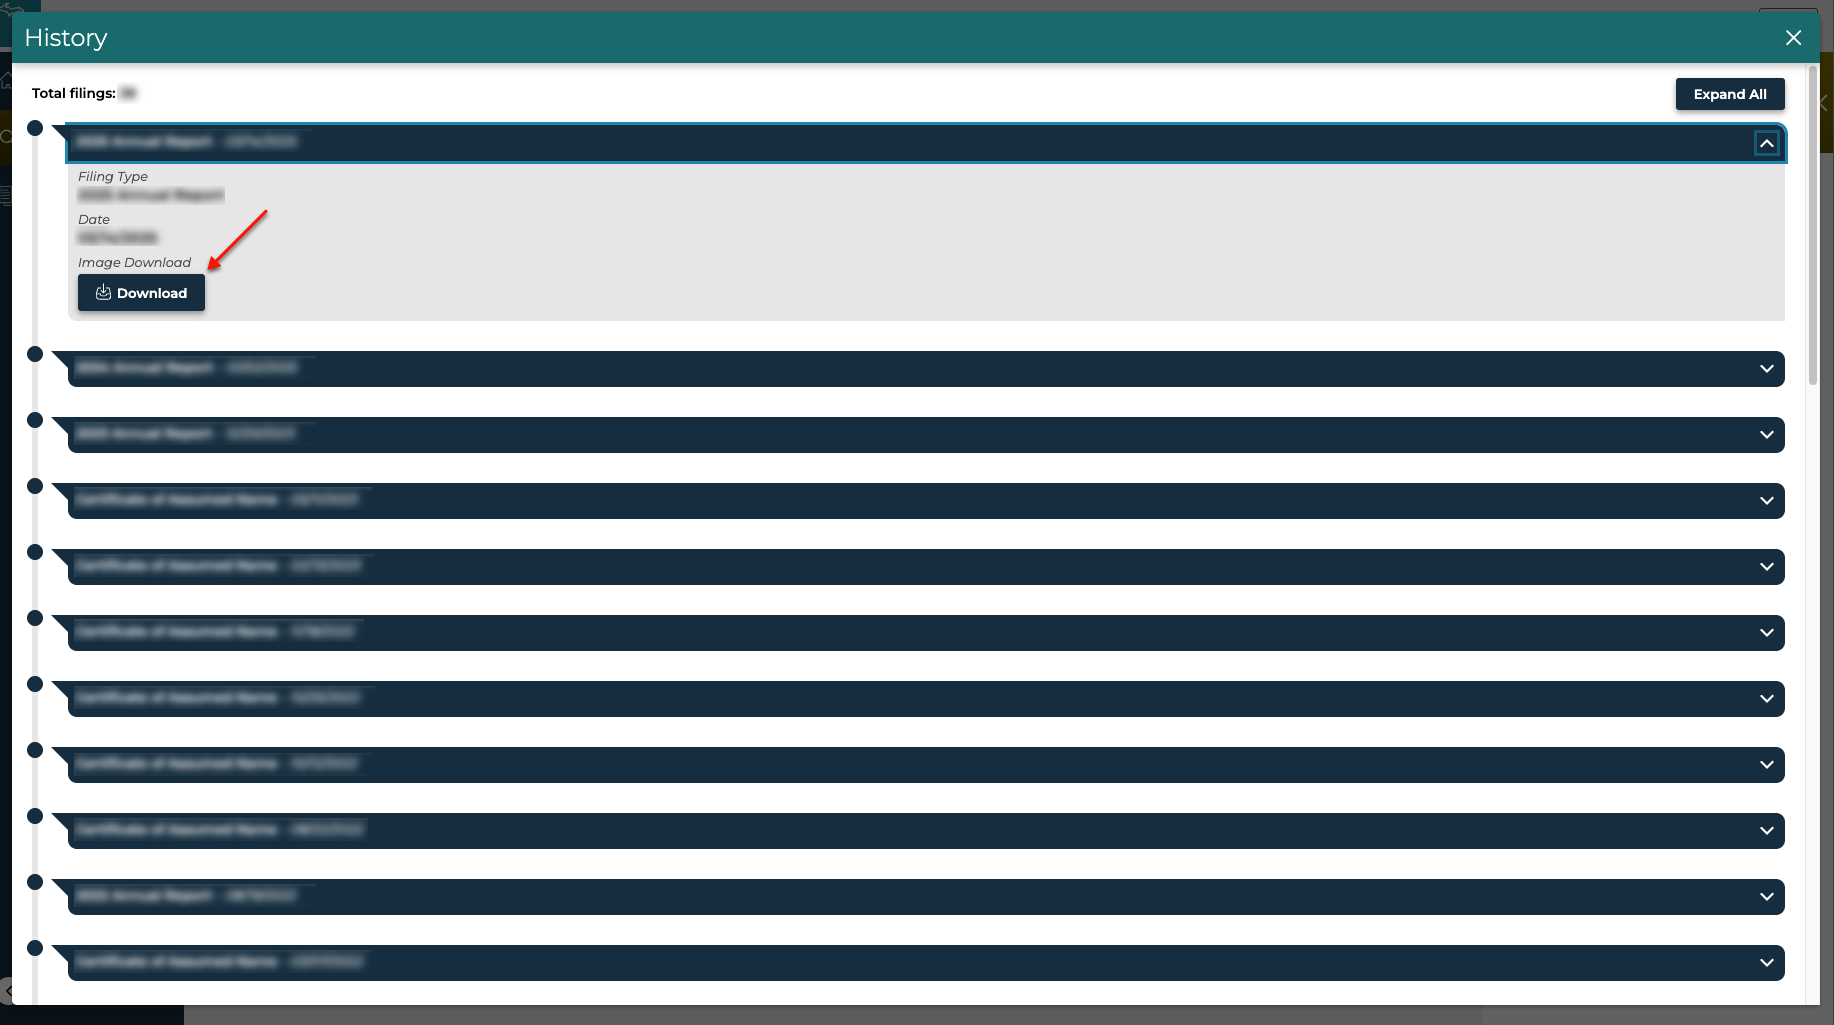
To view a specific filing on screen, begin by locating the download button (if present). Select the “Download” button for the scanned record. When ready, close this pop-up to return to the screen.
Step 16. Investigate Name History
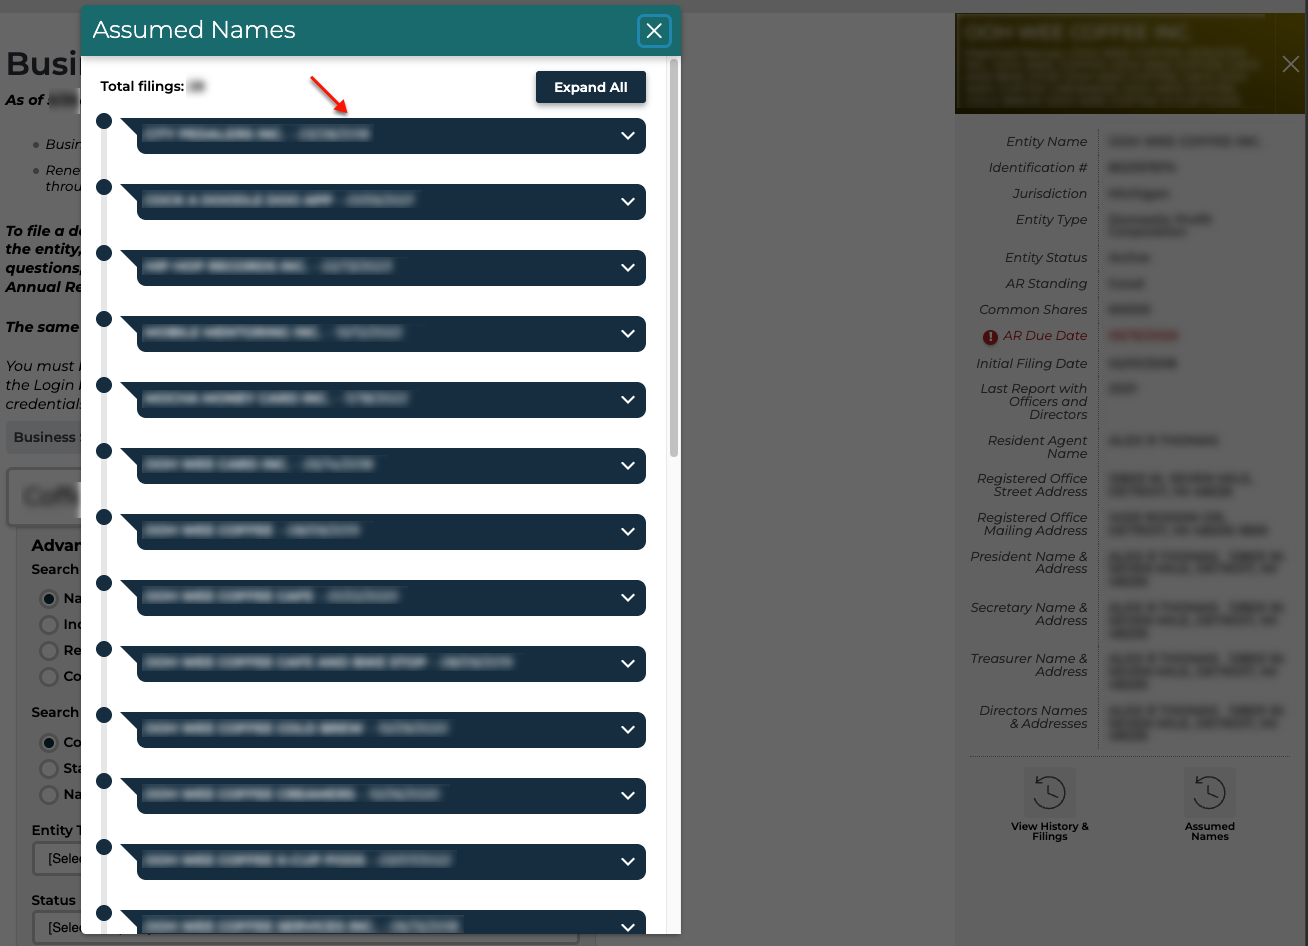
Assumed names on file with the state can be reviewed by choosing the “Assumed Names” icon. This opens a similar area to the previous one.
Step 17. Reviewing An Assumed Name’s Details
Look through the rows of information (if any) to review an entity’s other names. Select a row to view details of one record, or select “Expand All” (see image).